Demo page
Introduction
With this plugin, you can draw a (animated) Leader Line that connects 2 elements!
The line will stay attached to these elements even if you resize the page. You can customize the line in many ways.
Features
How to Setup
Draw a Leader Line that connects 2 elements.
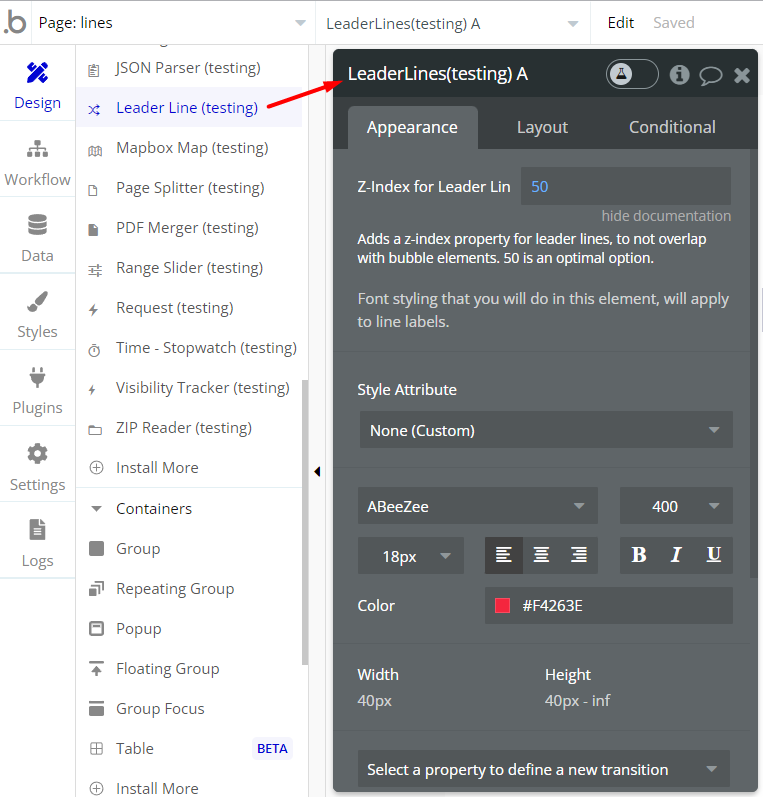
1 - Put the Leader Line element on your page

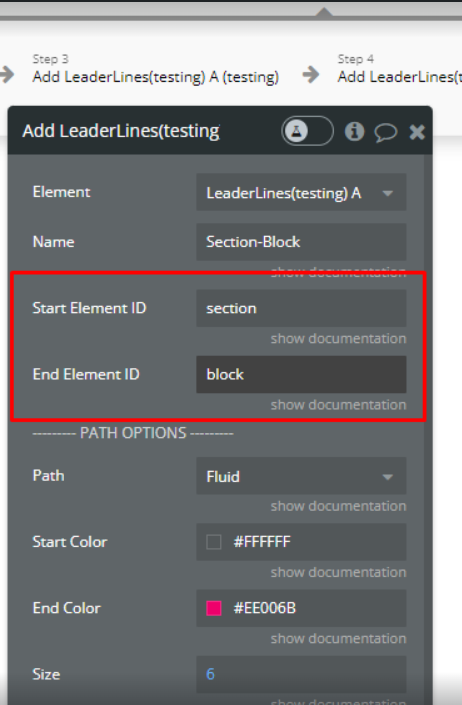
2 - Make a workflow action and choose the action named ‘Connect elements with a Leader Line’.
3 - Enter the required fields. If you have not turned on the option for elements to show an element ID, you can do that by following these steps:
To give an ID to an element, you need to turn on ‘Expose the option to add an ID attribute to HTML elements in Settings -> general (under general appearance). See a short guide: https://docs.rapidevelopers.com/how-to-assign-an-id-to-the-element
You can see the ID field at the bottom of the element’s settings.
4 - When this action runs, a Leader Line is drawn from the ‘start’ element to the ‘end’ element!
5 - The Leader Line ID (type Number) of the drawn line is available as an element state.
Hide a Leader Line.
1 - Make a workflow action and choose the action named ‘Hide a Leader Line’.
2 - Enter the Leader Line ID (type Number, see above how to get it). You can also use a list of Leader Line IDs to hide more than one line at a time.
3 - When this action runs, a Leader Line is hidden!
Frequently Asked Questions
Can this plugin draw lines between Repeating Groups?
Sure, to connect these RGs, you need to dynamically create unique IDs for each RG cell.
These IDs will then be used to establish relationships between the cells. In the 'Add Line' feature, we input the 'Start element ID' and the 'End element ID' to draw connections.

Additionally, our demo page showcases an example where multiple lines can be drawn simultaneously with a single button press.
Have a question, or suggestion, or encountered an issue? 🤷♂️
Please contact us by sending an email to: support@rapidevelopers.com
Want to report a bug? Please follow this guideline!