Dedicated forum thread: https://forum.bubble.io/t/cloudinary-uploader-plugin-by-rapid-dev/303628
Demo page
Introduction
Enhance your app's media capabilities and try the Cloudinary Uploader Widget for Bubble – the perfect tool for developers seeking efficiency and elegance in media management.
This easy-to-integrate plugin transforms the way you handle images and videos, offering a streamlined, user-friendly experience.
It enables your users to upload files from a variety of sources to your website or application.
Features
✅ Effortless Integration:
Seamlessly embed the widget into your Bubble projects with just a few clicks.
✅ Advanced Media Handling:
Upload, store, and manage images and videos effortlessly.
✅ High Performance:
Enjoy fast, reliable uploads and optimized media delivery.
✅ Customizable Design:
Tailor the widget's appearance to match your app's aesthetics.
✅ Secure & Scalable:
Benefit from Cloudinary's robust security and scalability to grow with your needs.
How to Setup
1. Sign in to your Cloudinary account
Sign in and navigate to the dashboard:
https://console.cloudinary.com/In this section you'll get access to your API Key / API Secret

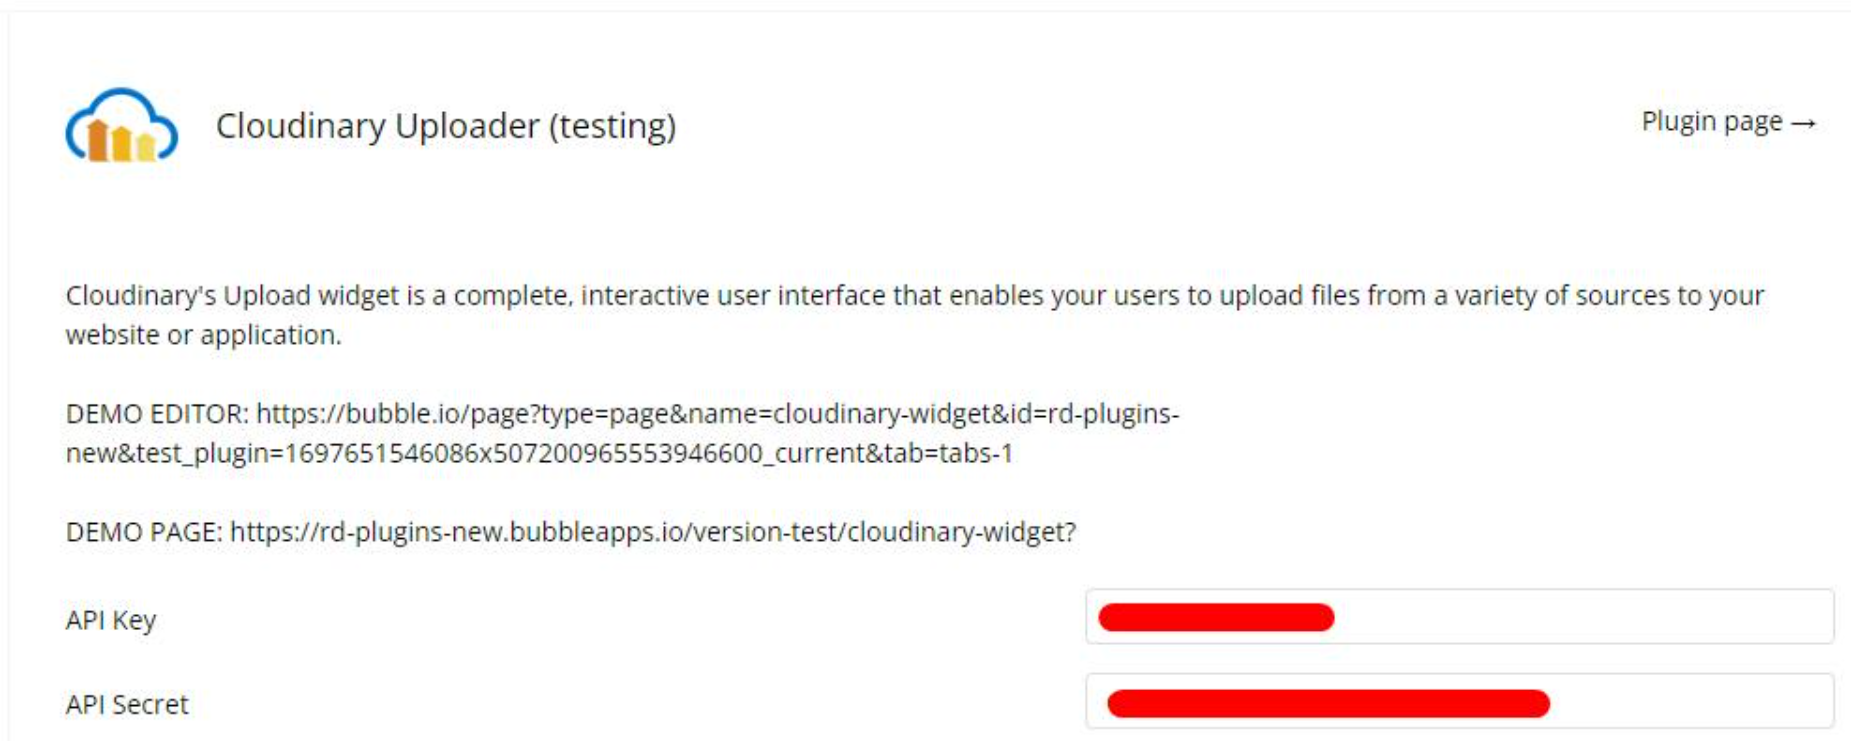
2. Populate plugin API Key / API Secret
After successfully logging into your Cloudinary account and locating your API credentials, it is time to grab them and populate plugin fields accordingly.
3. Setup uploader element
Now you can set up the Cloudinary Uploader element itself.
Drag it on your page and make sure you populate a few mandatory fields:
1. Cloud Name - it is located alongside the API Key and API Secret in your Cloudinary dashboard.
2. Preset Name - presets are workflow on the Cloudinary side that can handle file uploading and act as a middleware to modify uploaded files.
You'll be able to find your preset name in the "Settings -> Upload" section in your dashboard: https://console.cloudinary.com/settings
Element setup example:

Upload presets in Cloudinary (here you can add tags, and specify allowed types of files):

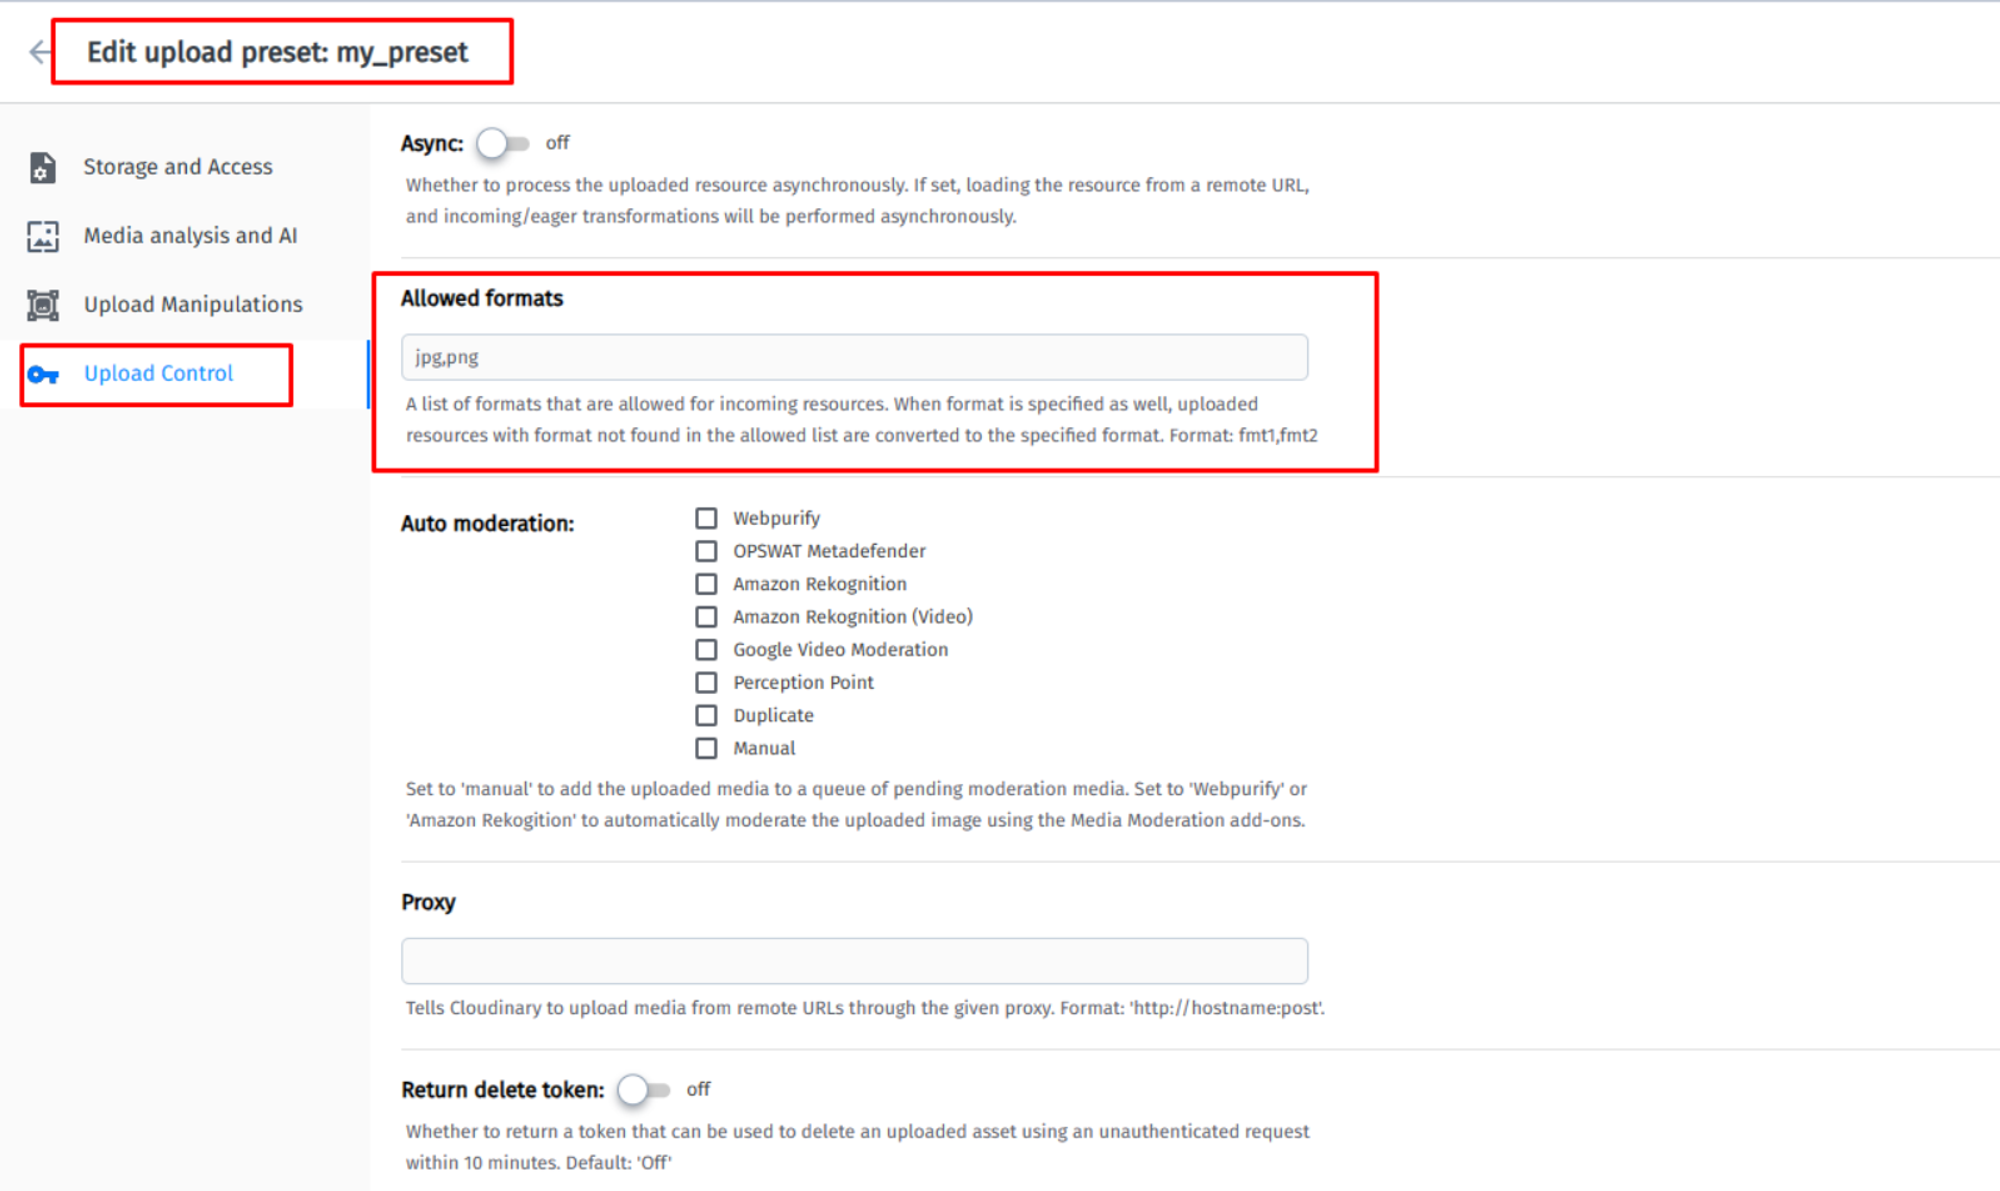
Also, the plugin comes with its actions to manage presets, or at least create/delete presets "Create upload preset", and "Delete upload preset".
Use those actions to quickly create a preset for example then after you can customize the created preset in your Cloudinary dashboard.
4. Result
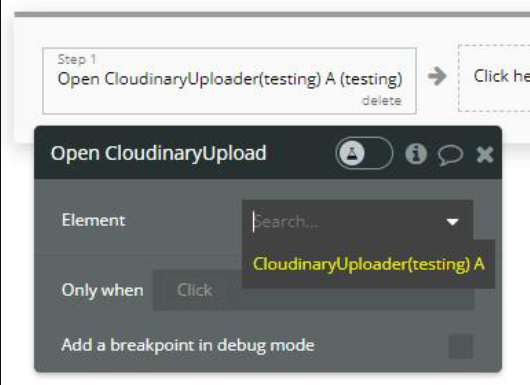
After setting up the element with the required fields, it is time to test it and open the uploader on a button click for example as shown on this demo page.
To do this, you need to use "Open" element action:
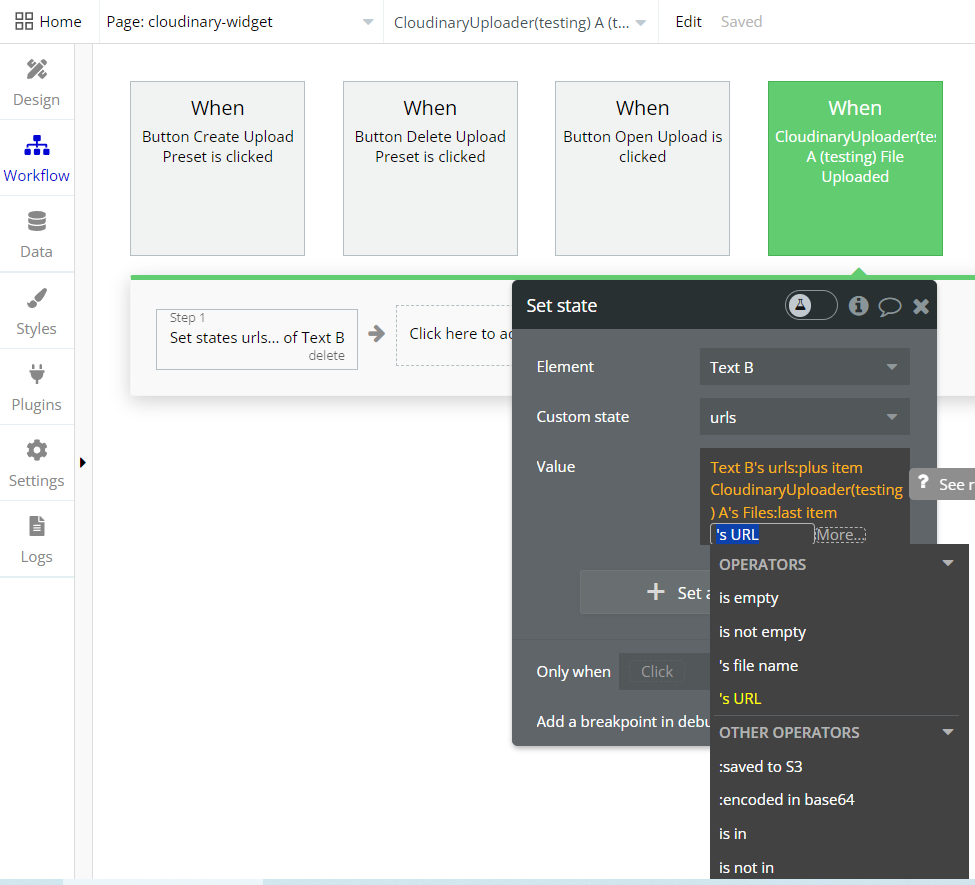
The result:

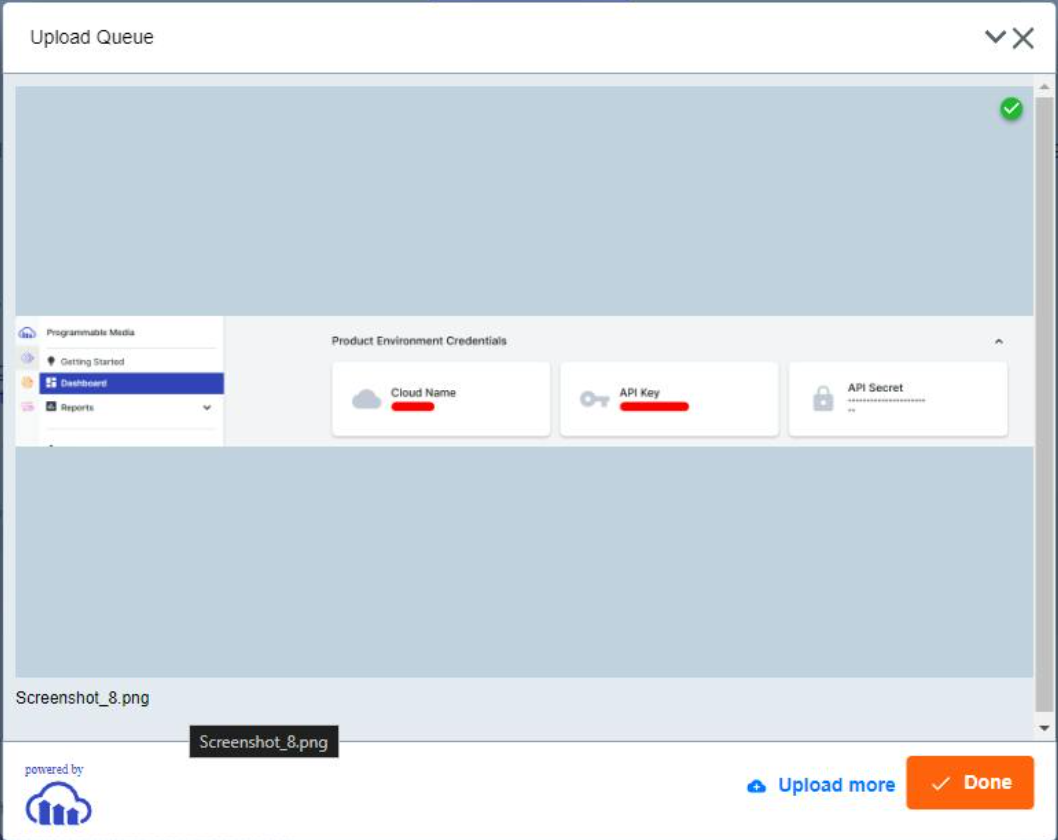
As you can see, the uploader is up on a button click and now we can start to upload from different sources or just drag and drop some files from a personal computer.
After the upload is done, the plugin element will return a state that will be a list of uploaded file URLs.
Frequently Asked Questions
Have a question, or suggestion, or encountered an issue? 🤷♂️
Please contact us by sending an email to: support@rapidevelopers.com
Want to report a bug? Please follow this guideline!