This section states the purpose of each page.
Introduction
In this summary, we will describe each page and its content. The Page Element is the fundamental one that contains all the other elements.
Tip: See Bubble Reference for more information about Pages element https://bubble.io/reference#Elements.Page 🙂
Pages
index
This is the main page typically encountered first on the web app that usually contains links to the other pages of the site. A homepage includes a variety of menus that make it easy for users to find the information they need.
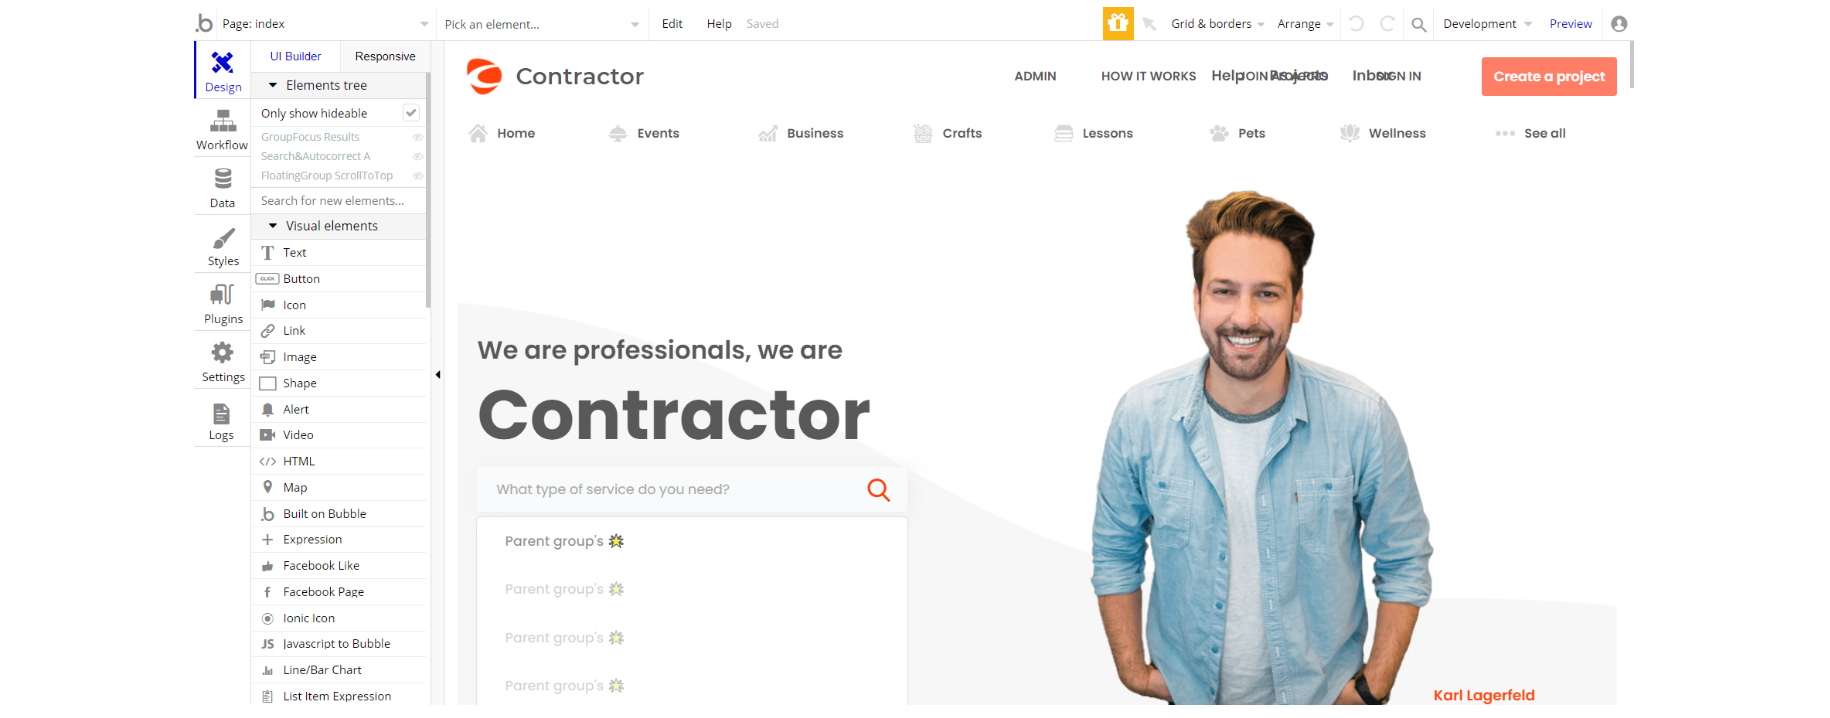
Also you can create a project here - pick a type of service from the "All Services" section on this page and follow the next steps.
Tip: When creating a project the customer is on the
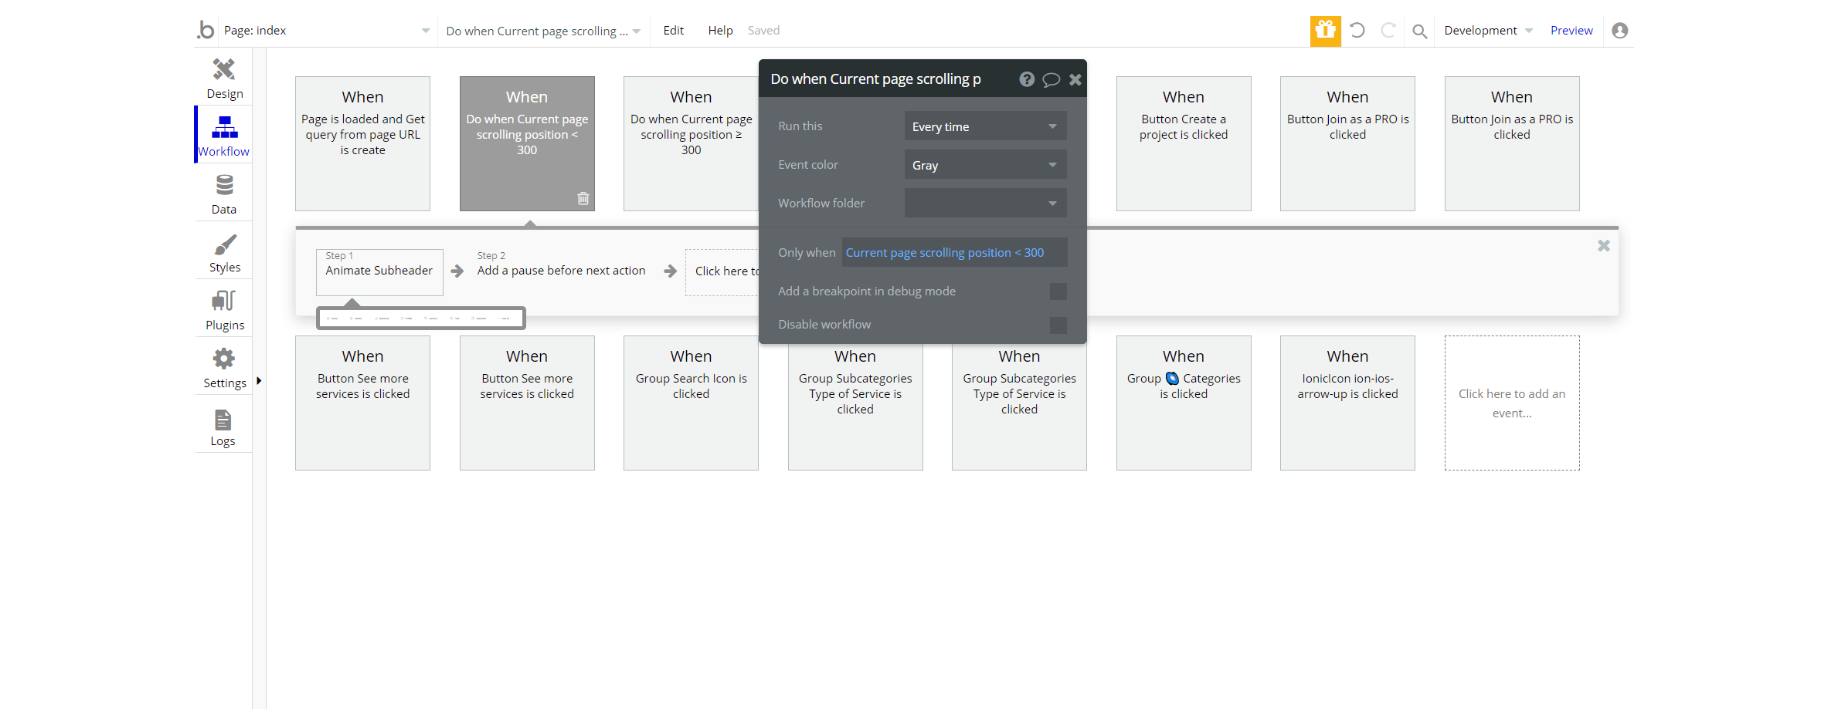
customerpage, he will be redirected to index page to pick a type of service.The workflows describe the logic of transitions from the "index" page to other platform pages, as well as the resizing of a Subheader reusable element.
adminpanel
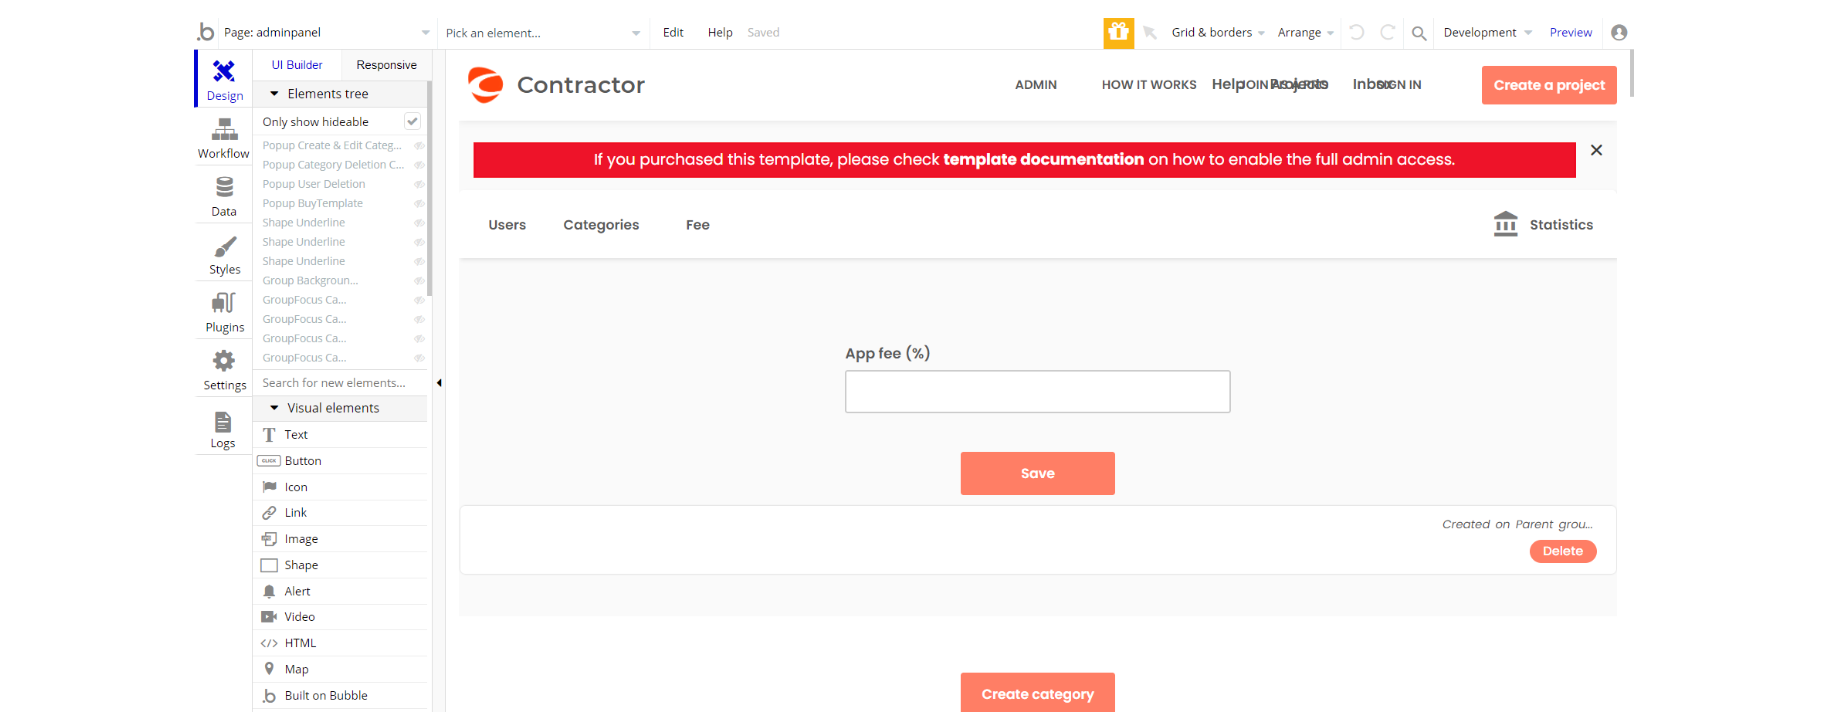
This page is designed to manage platform data, e.g. Users, Categories, Fee and Statistics. Only users with admin rights are able to access this page (in read-only mode), and those users who have access rights can edit or delete anything here.
The workflow section describes the logic of showing hidden page elements when clicking on various buttons: "delete", "close", "save", "cancel" and others.
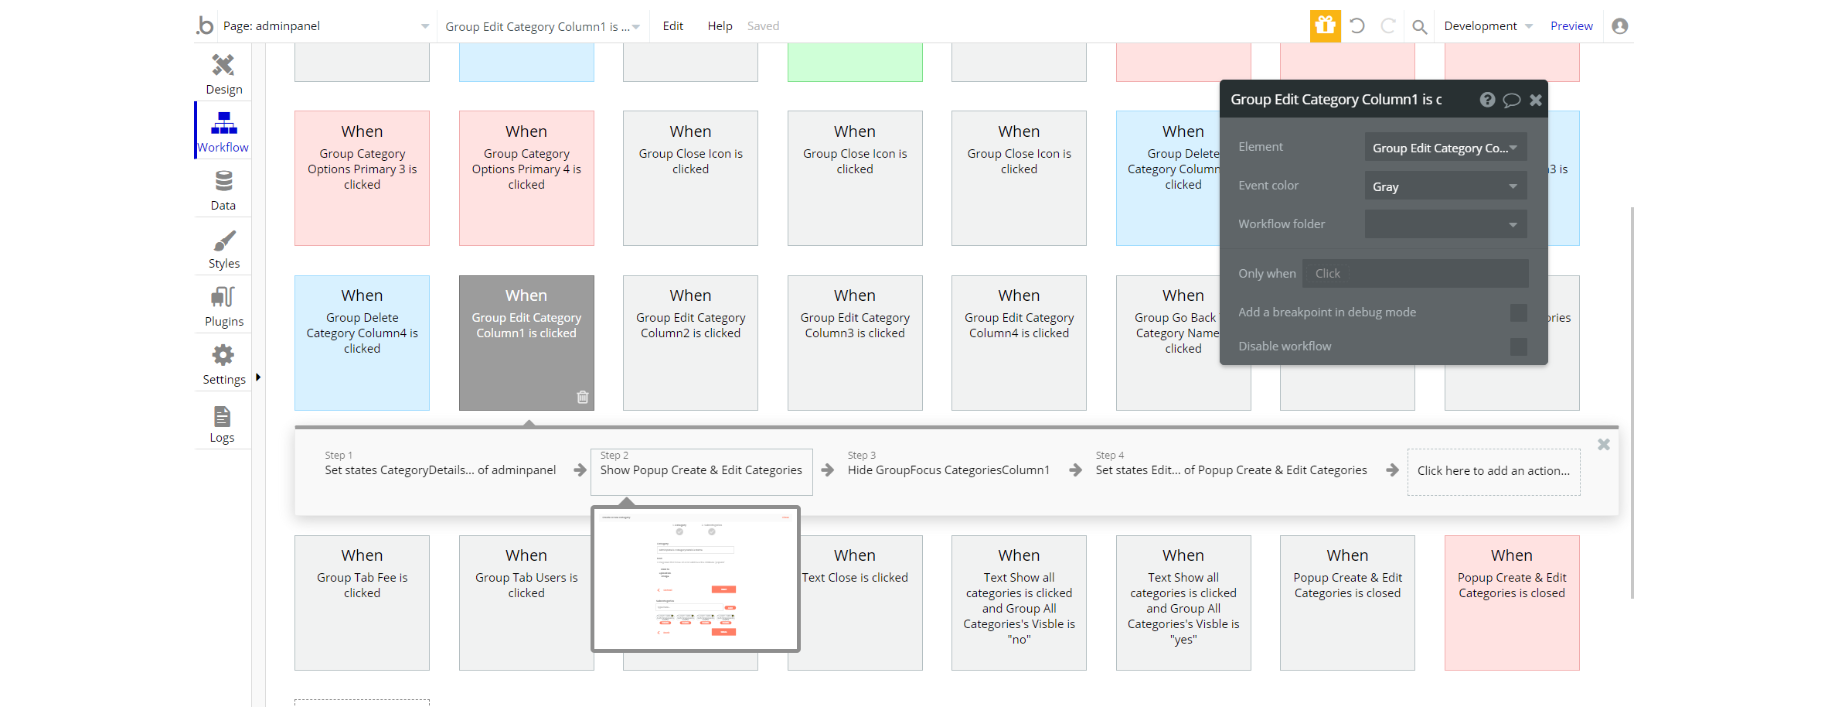
Only admin can add new or modify the existing categories.
Admin has the following options:
- create a category using "Create category" button;
- edit a category by clicking on one of the groups: "EditCategoryColumn1", "EditCategoryColumn3" , "EditCategoryColumn3" and "EditCategoryColumn4";
- delete a category by clicking on one of the groups: "DeleteCategoryColumn1", "DeleteCategoryColumn2", "DeleteCategoryColumn3" and "DeleteCategoryColumn4".
Important: When deleting a category, all the subcategories linked to it are deleted too. If you want to modify category name or add/delete its subcategories, please use "edit" option.
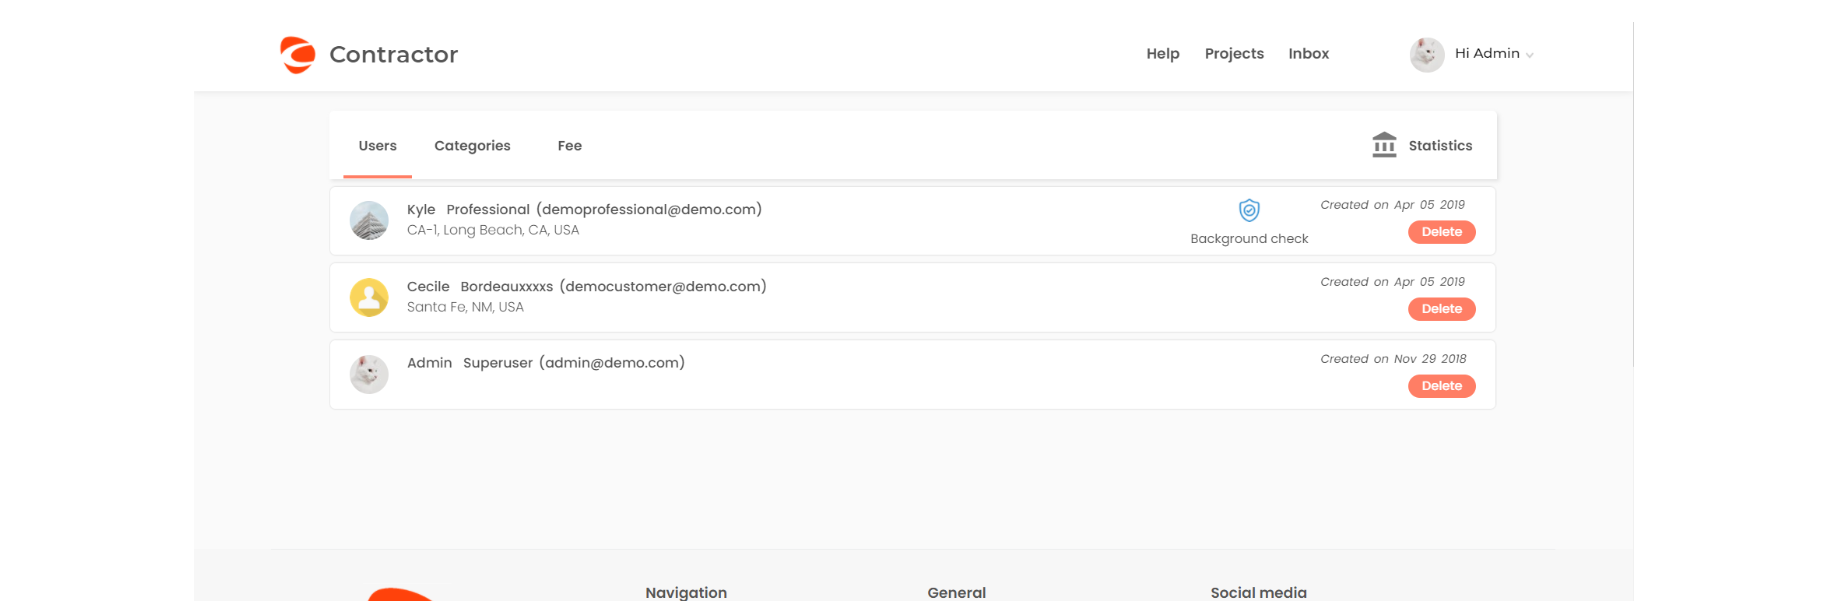
Users tab
On this tab, the admin can see all users on the platform, and also delete any of them.
Categories tab
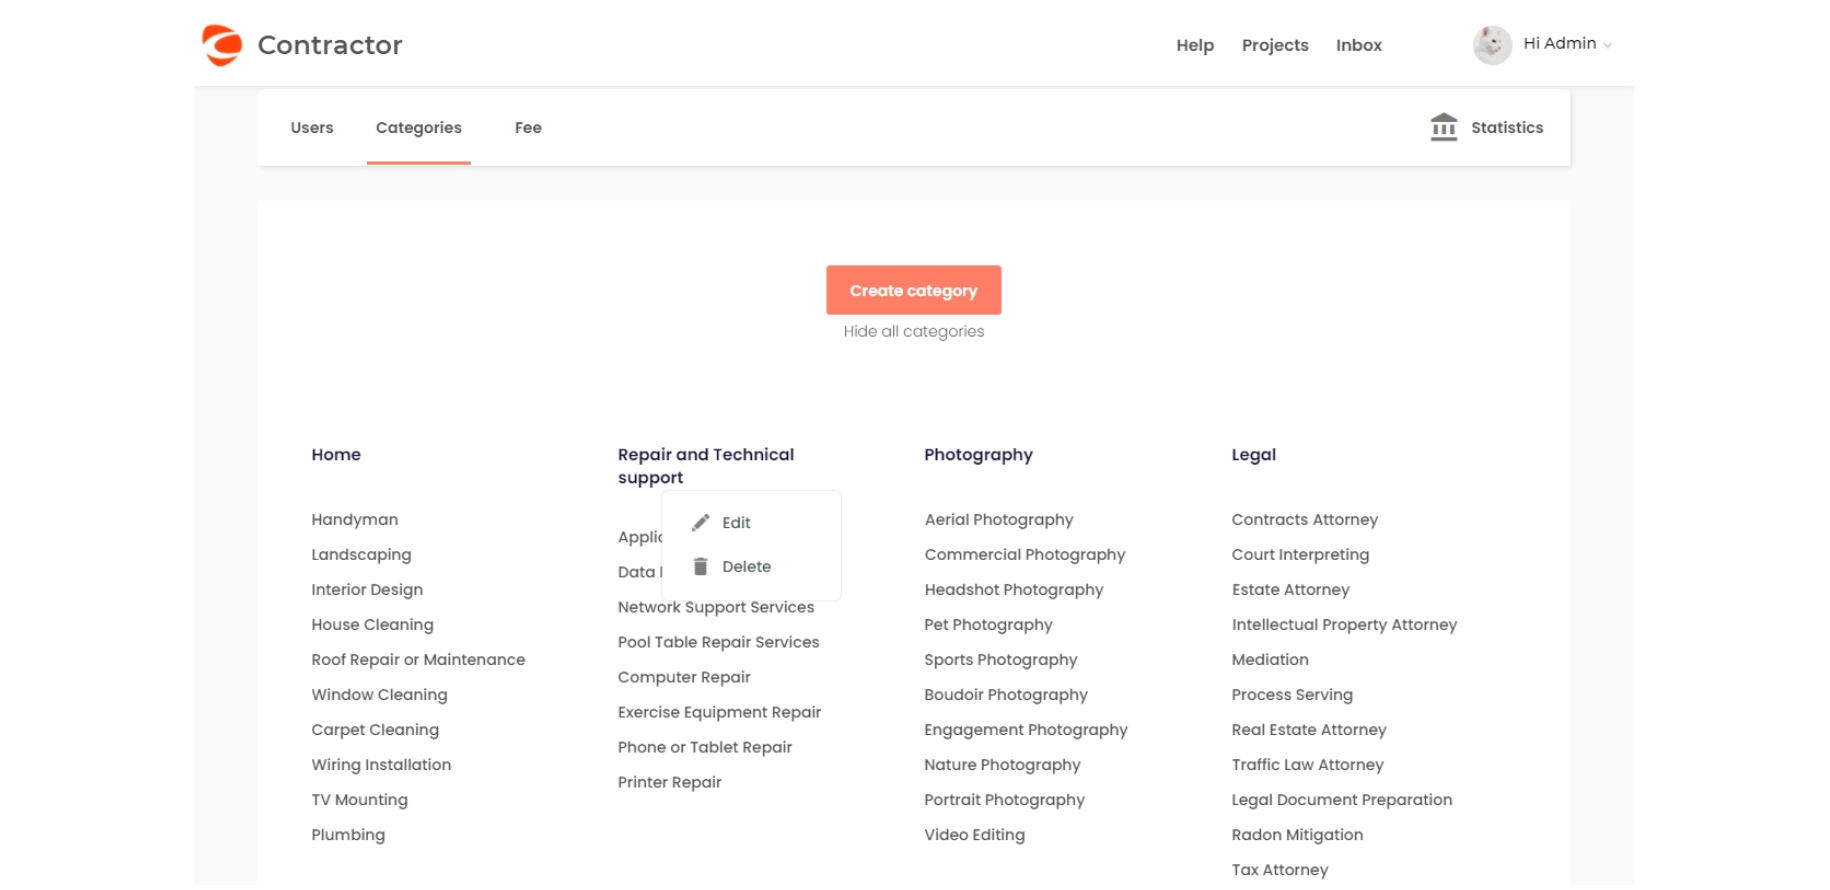
In this tab admin can see all the categories added, edit or delete them by clicking on the category or adding new ones.
Categories that have icons become "popular" and are listed on the index page and in the header.
Fee tab
This template gives to platform owner the ability to receive a fee from every charge that occurs between customers and professionals.
It is set to 10% by default just for testing purposes, but you can easily modify.
There 2 options for that:
1. Go to Data -> App data -> All Fee/Rights and modify the number to the amount you want
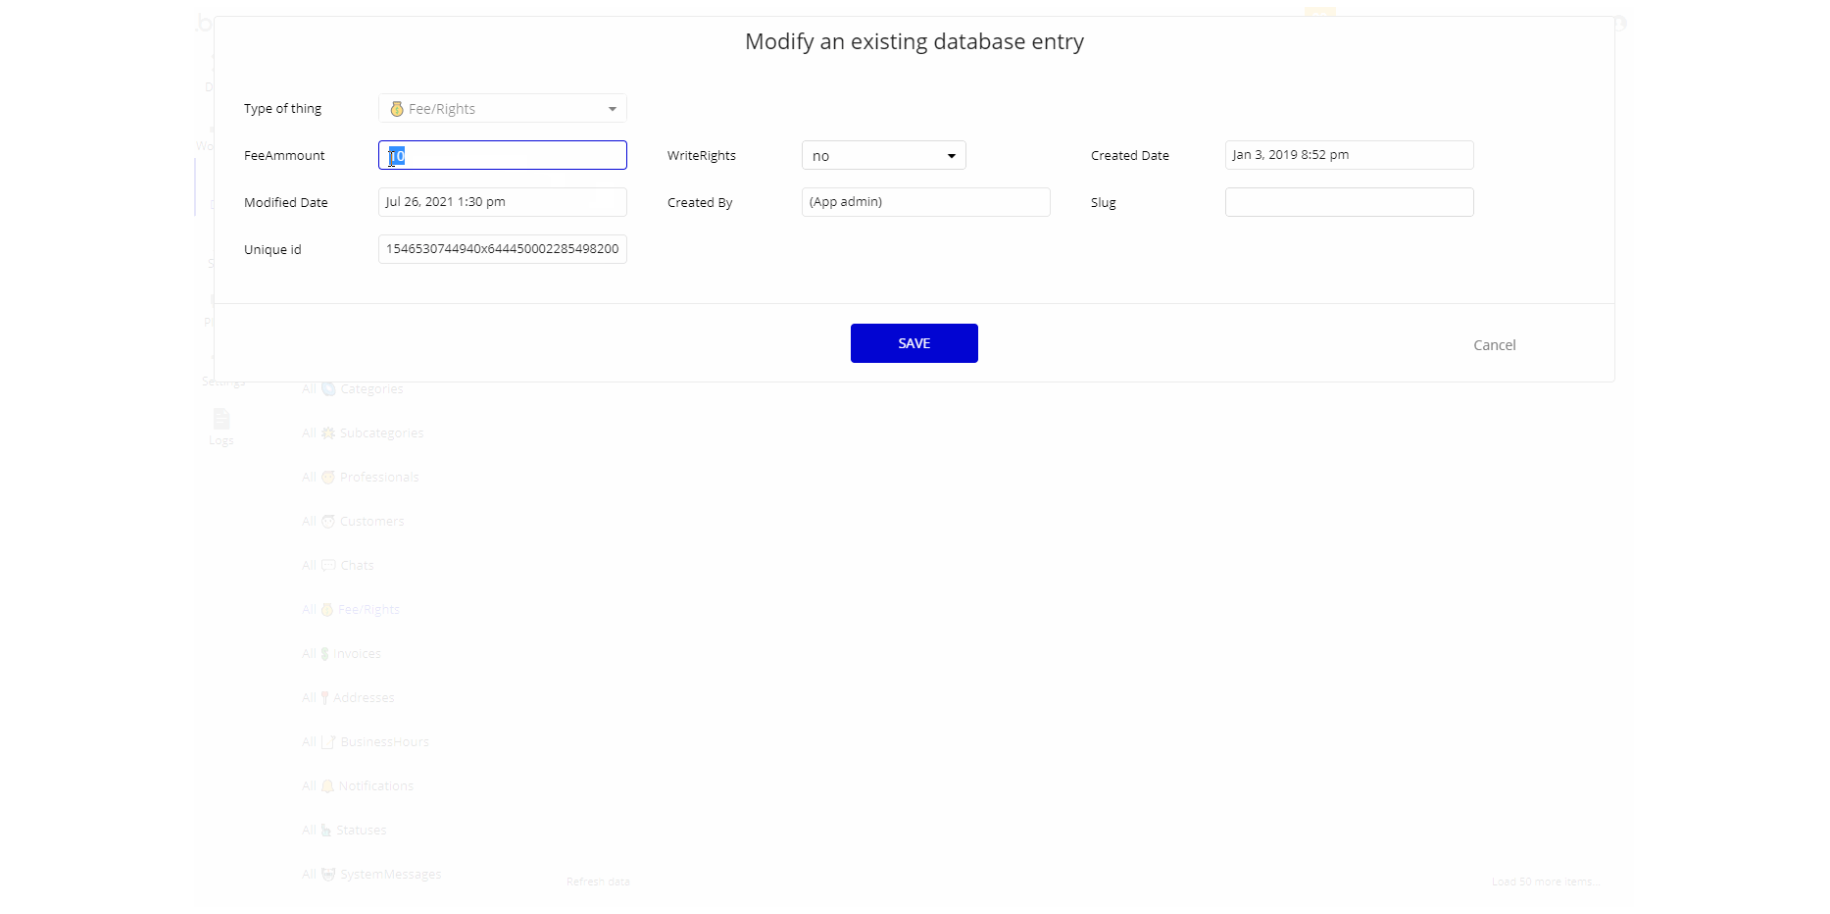
Note: Don't forget that the platform fee is a percentage value.
2. Log in as an admin, find "AppFee" input on the
adminpanel page and modify its value.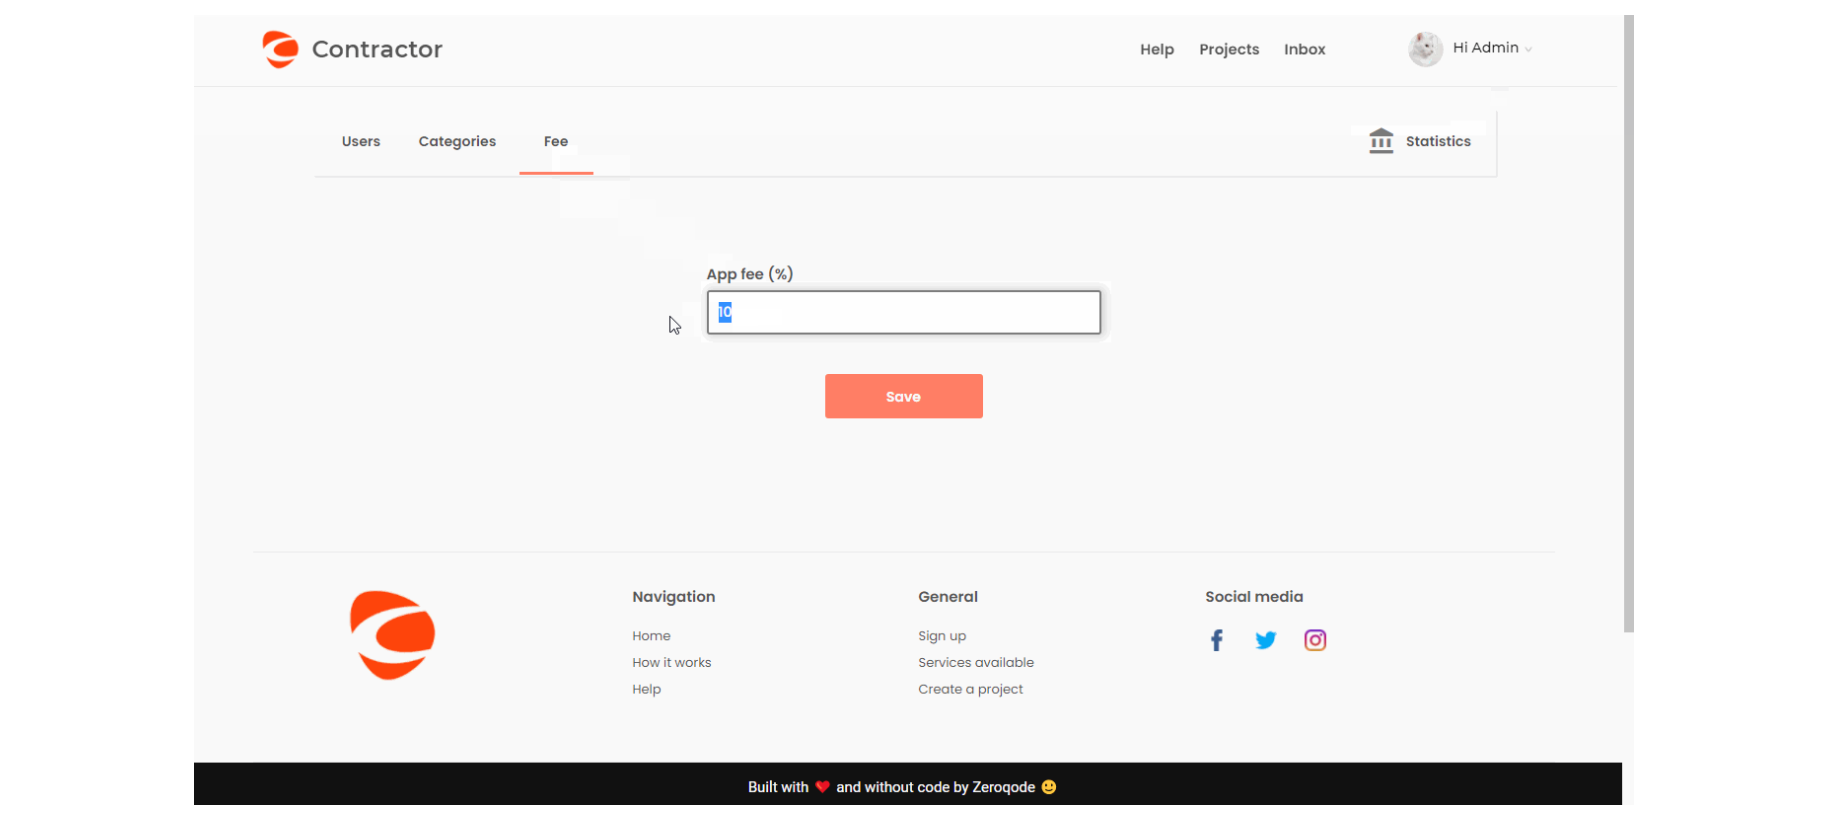
Statistics tab
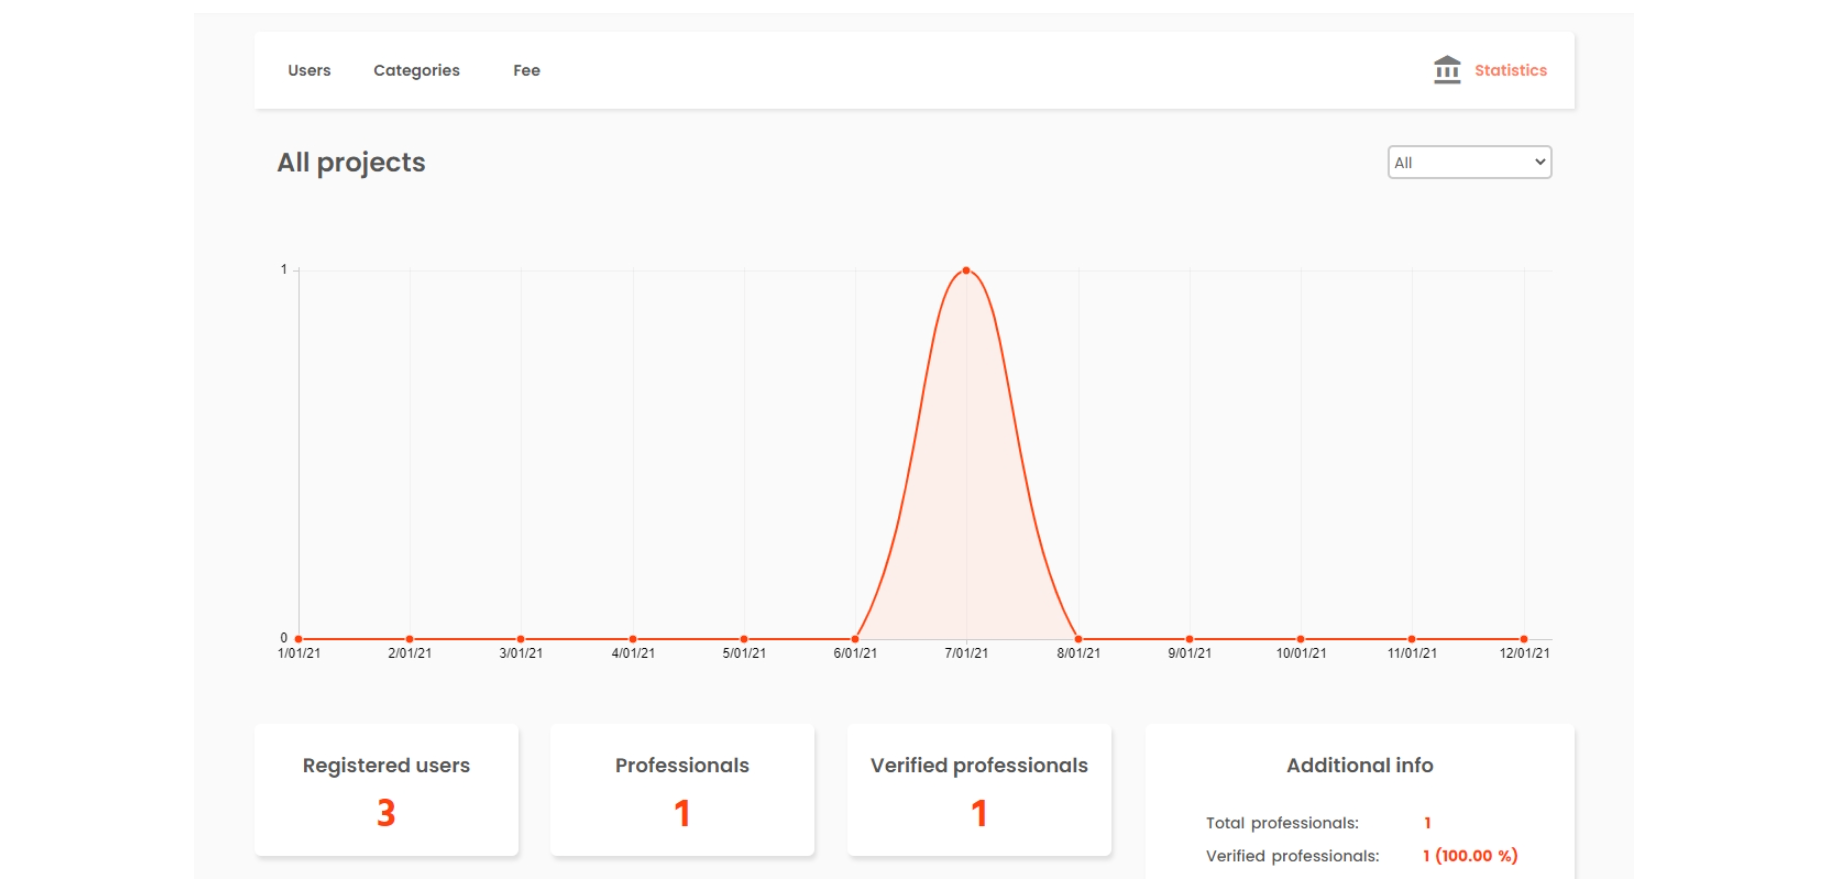
Here admin can see stats on the app on customers, professionals, etc.
allcategories
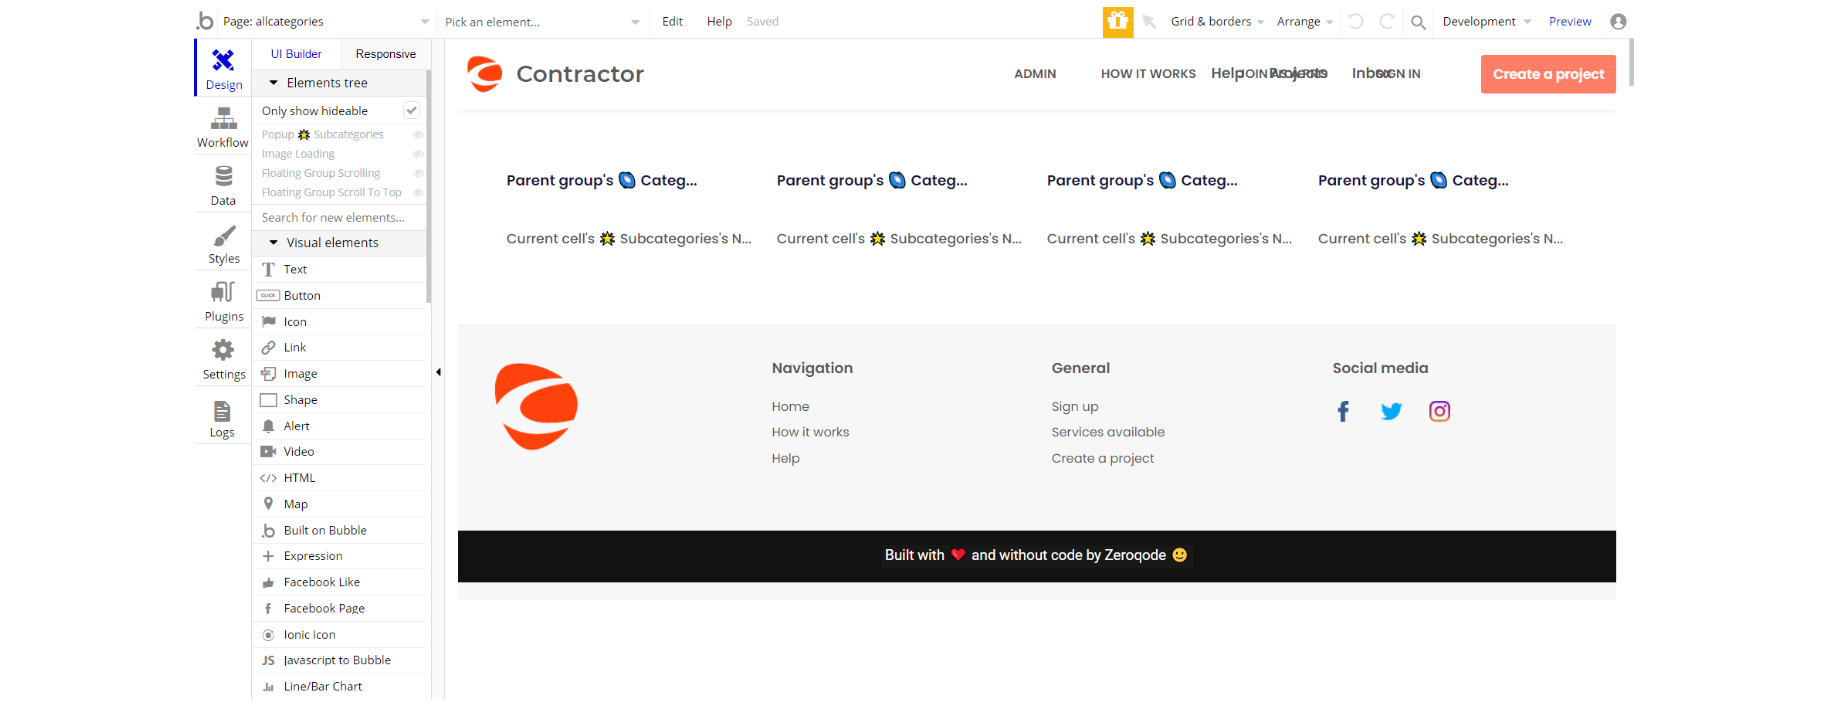
This page just lists all categories and subcategories that were added to the platform.
- "Payment" - here the customer will pay a professional for provided services and at the end of it can initialize the review process.
- "Feedback" - here the customer will leave feedback for professional's services provided.
- "FireProfessional" - here the customer will confirm or cancel the firing of the hired professional.
- "HireAnotherPro" - here the customer will confirm or cancel the hiring of a professional if he already has hired one.
- "ProjectDeletionConfirmation" - here the customer will confirm or cancel the deletion of a project.
- "ProfessionalExperiencePictures" - here the customer will view pictures of a professional's work or licenses.
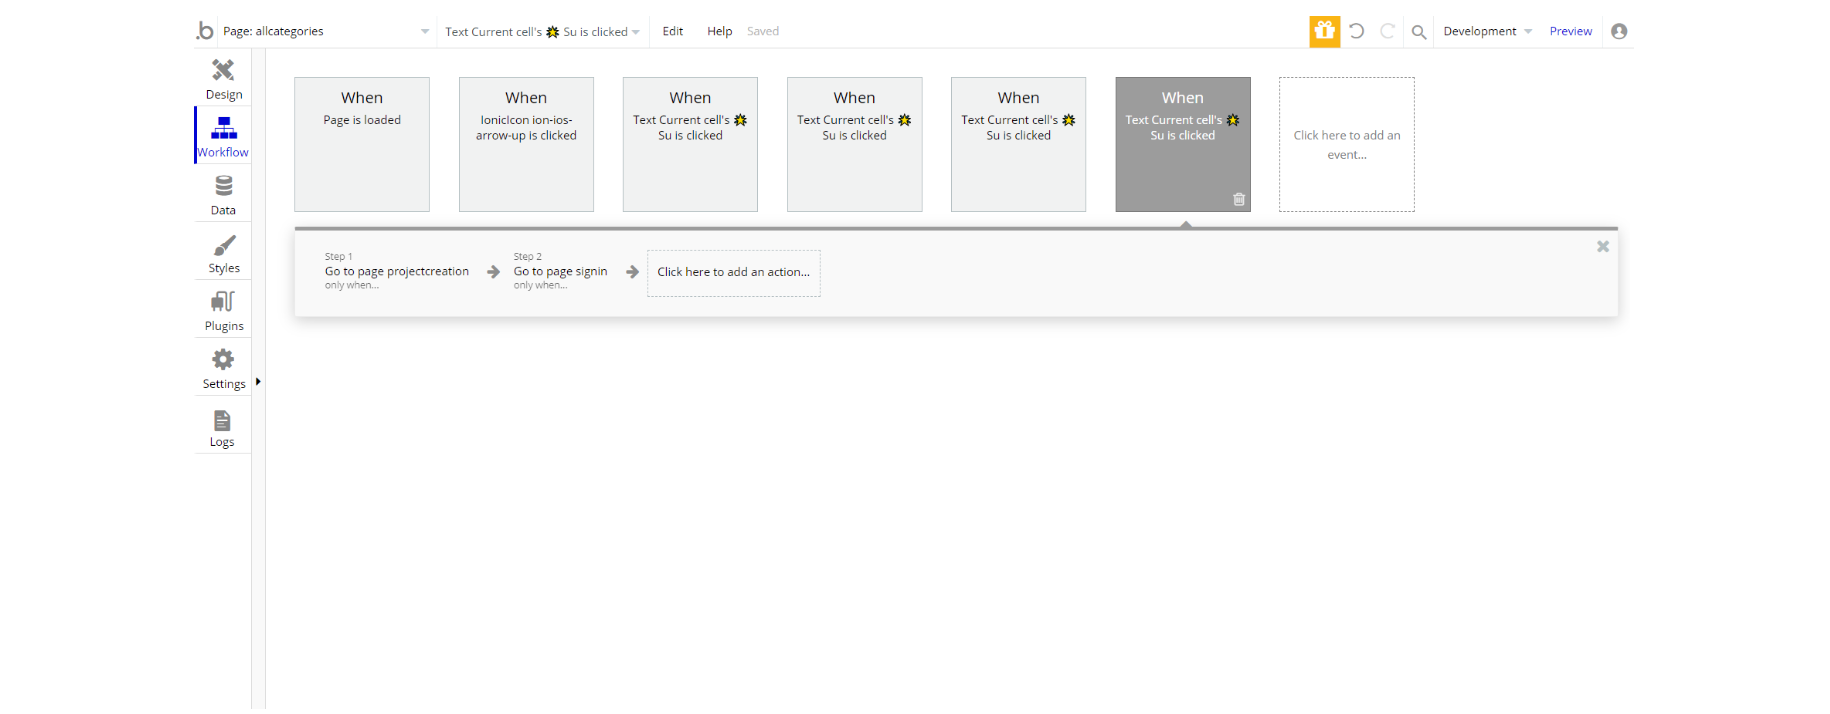
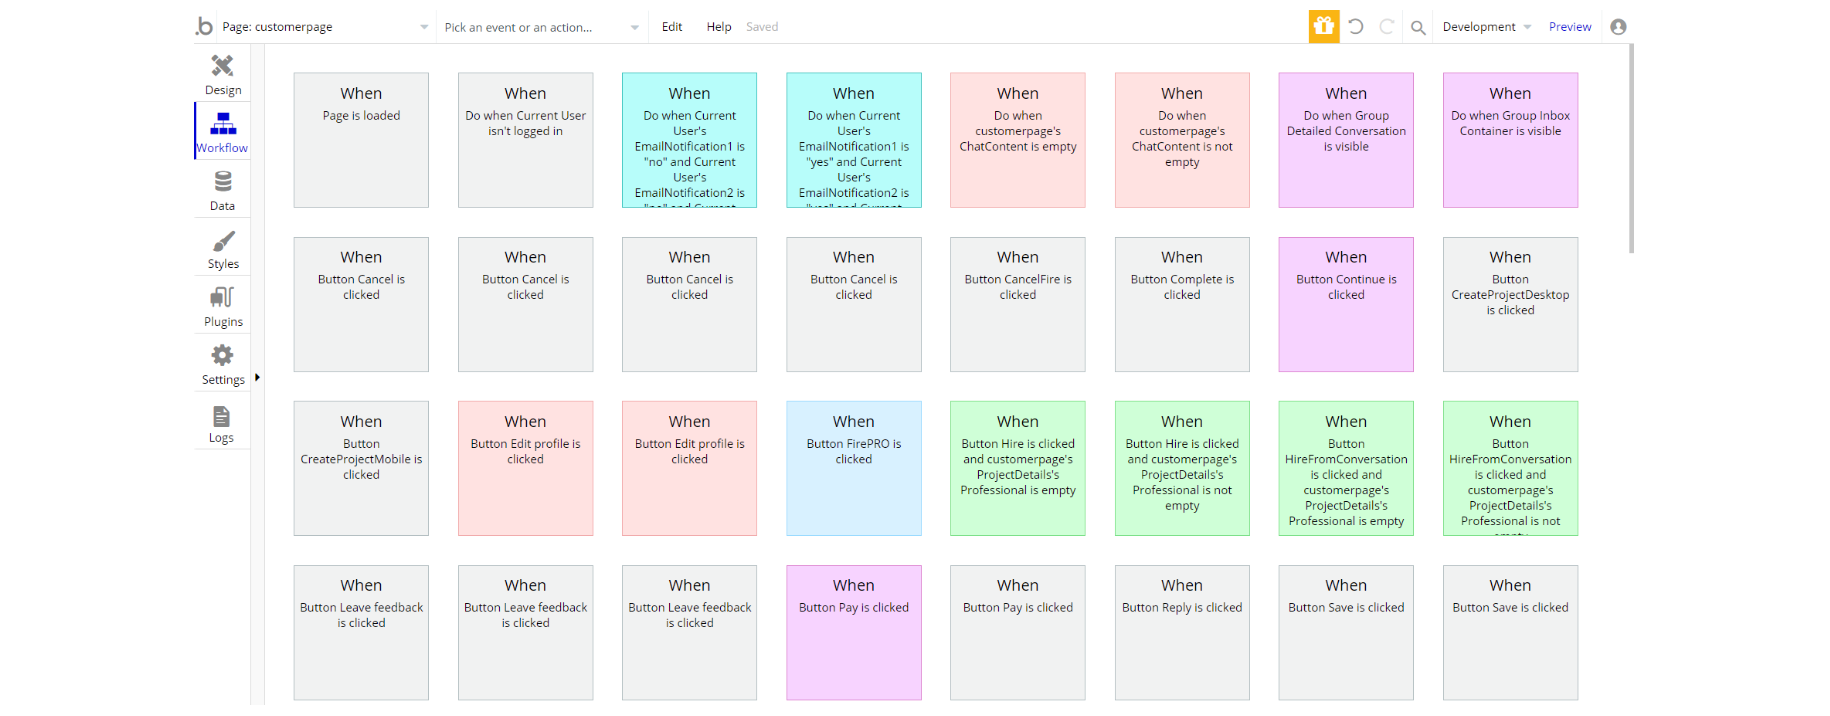
The workflow describes the logic of transitions from a page to other pages of the platform.
categories
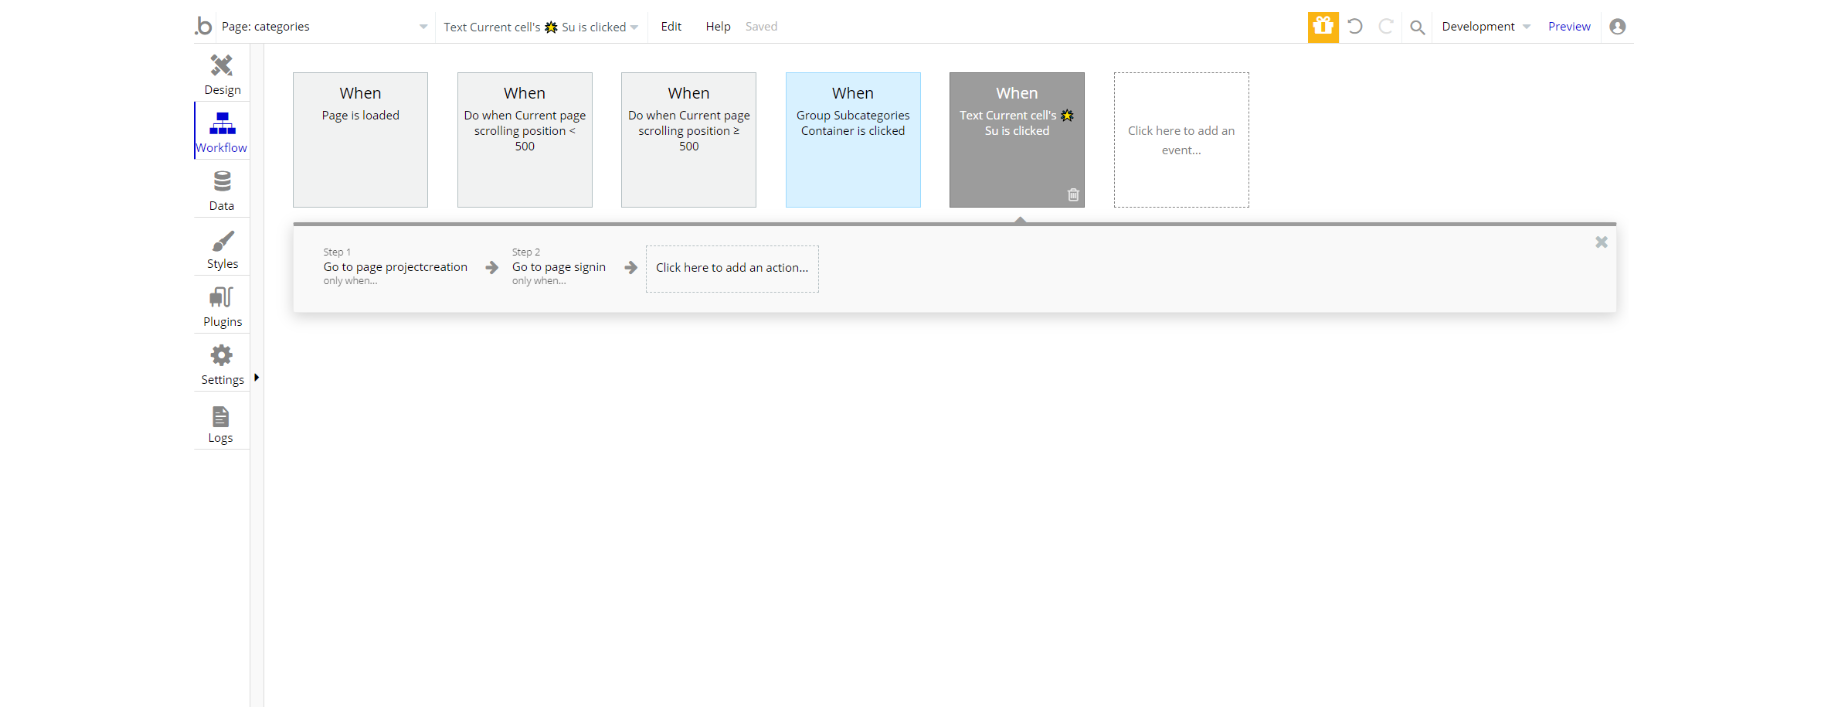
This page lists category name and most popular subcategories in it.
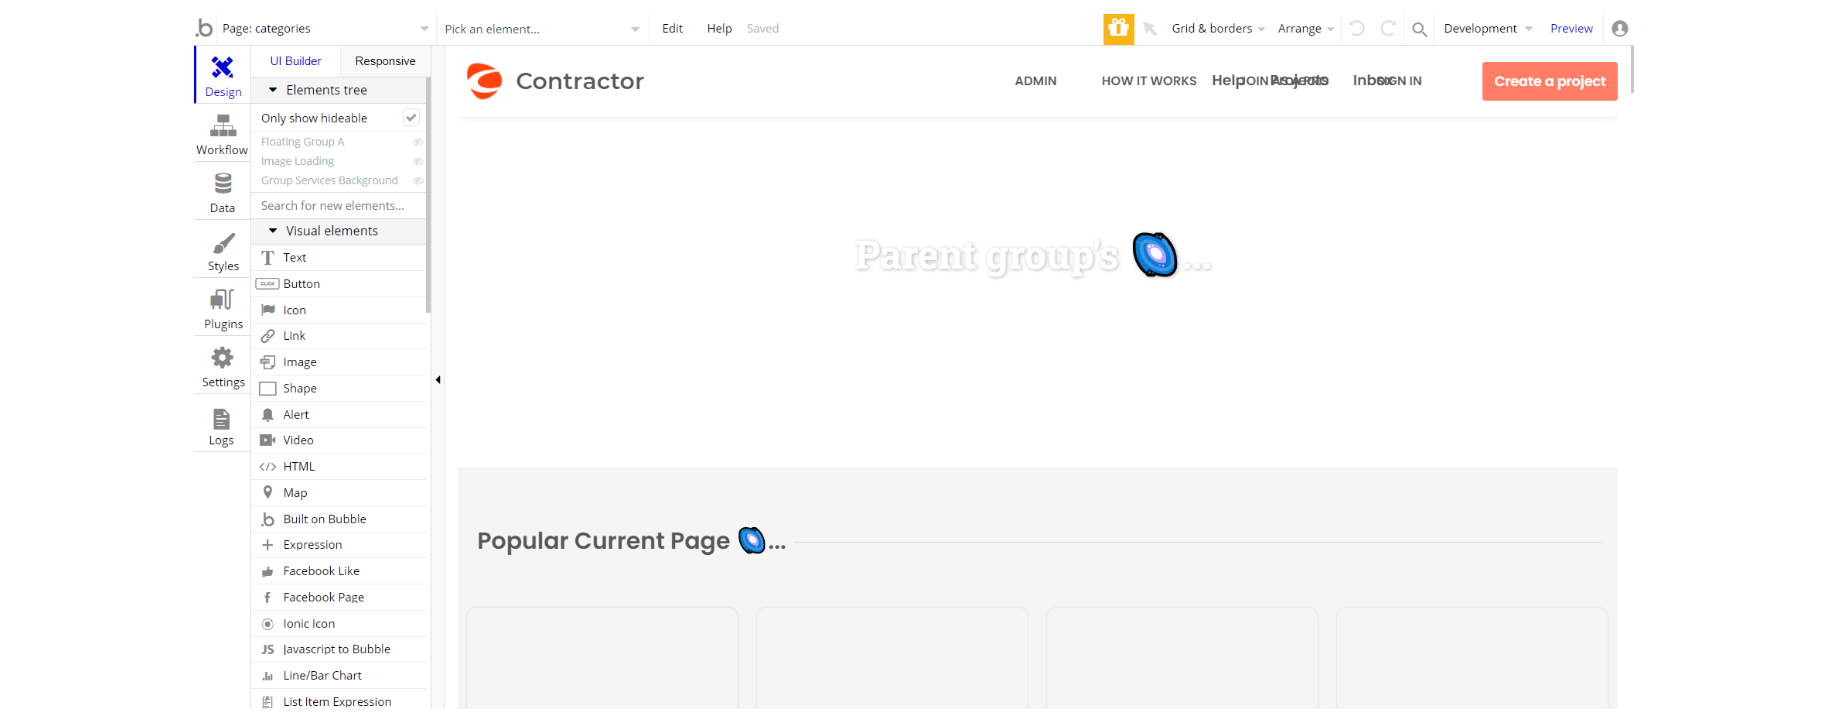
We show the most popular subcategories in a repeating group (to make the subcategory popular you should add a picture for it in DB).
Tip: Only subcategories with filled in 'Photo' field will be shown.
customerpage
Customers have their own page on the platform.
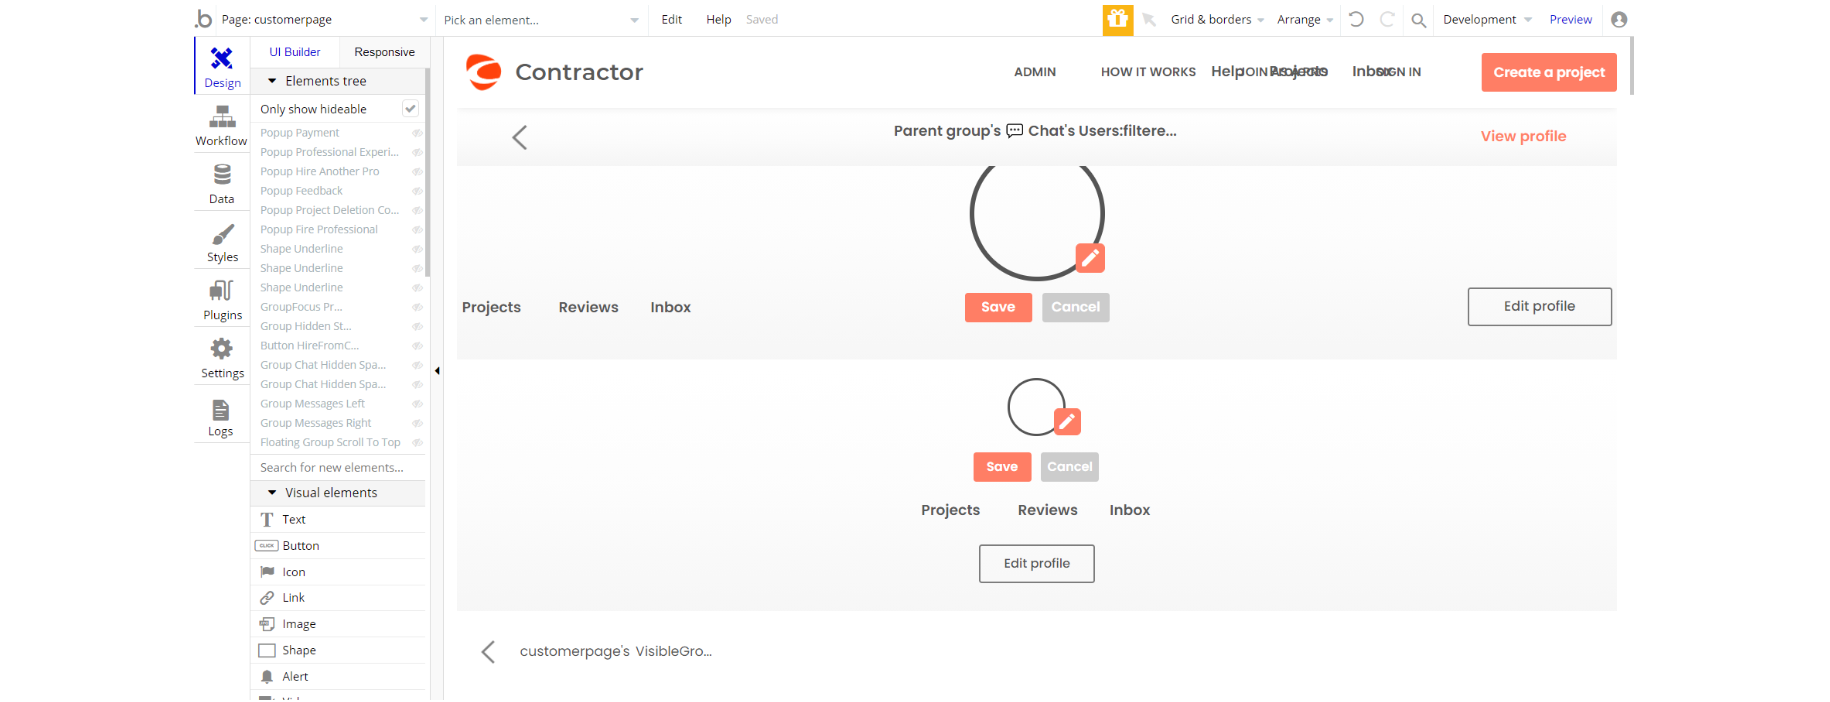
There is also present a number of popups which function is to complete some important actions or just to confirm some changes.
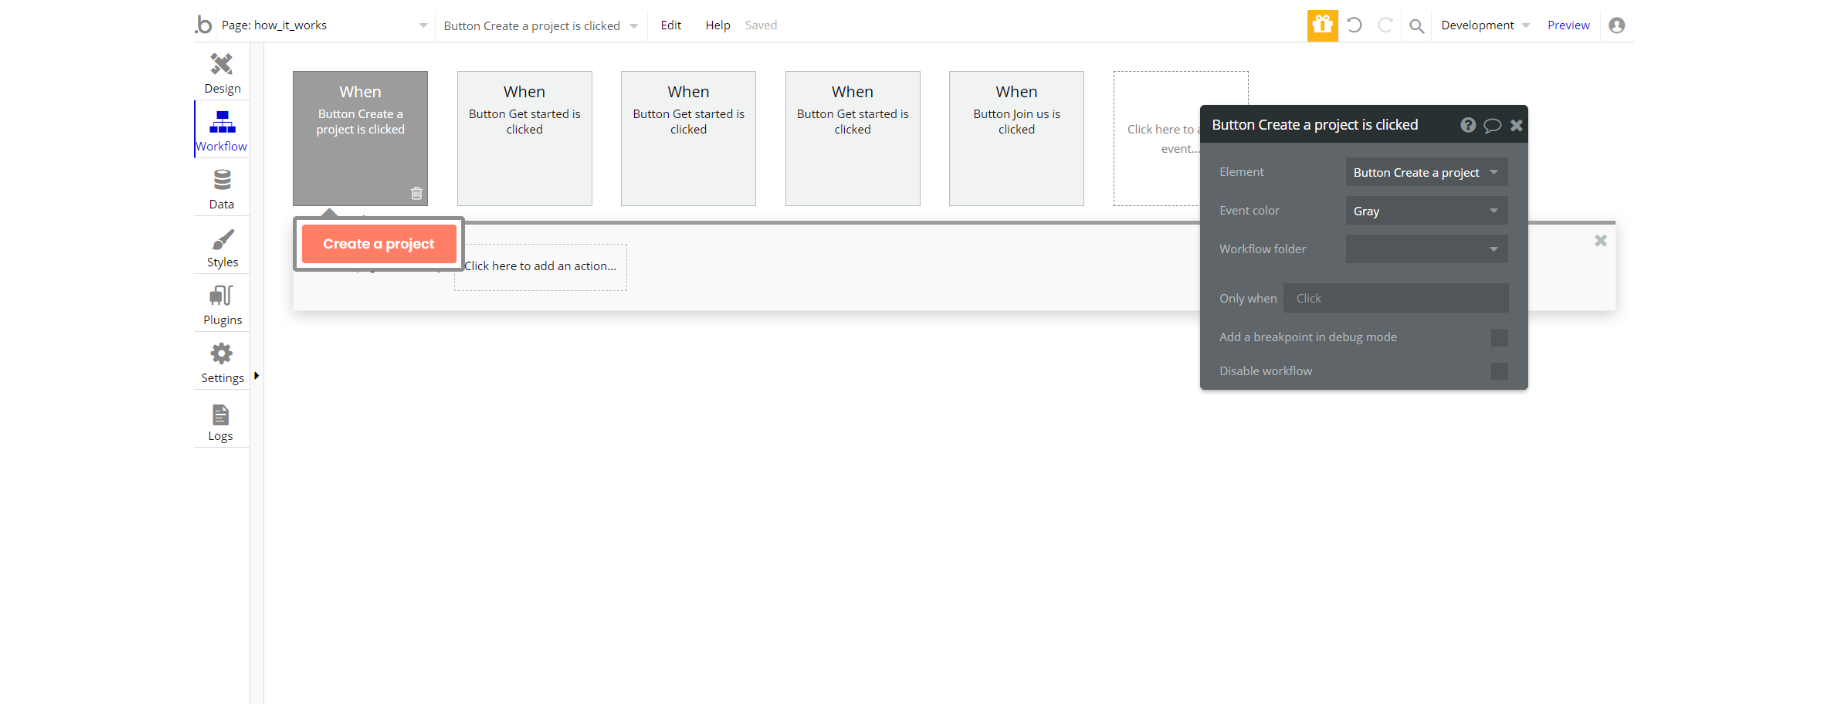
how_it_works
This page describes in detail the purpose of the platform, as well as the difference between a customer and a professional, and gives the opportunity to register as any of them.
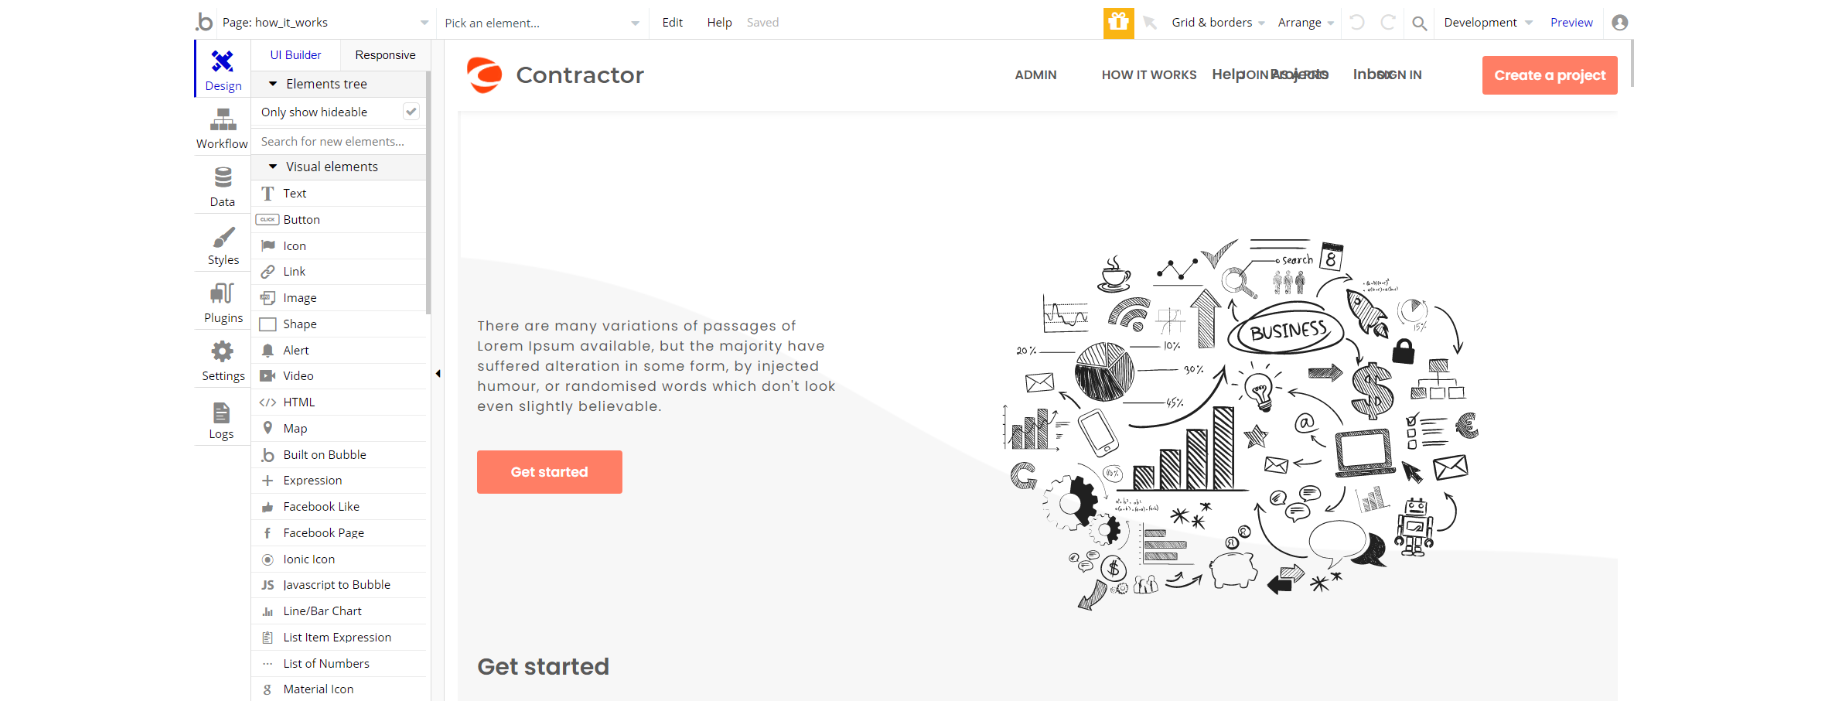
Each workflow on the page is a button that opens the registration window or it redirects user to another page.
professionalpage
Professional page is the user page for professionals. It consists of blocks (tabs). The page consists of basic profile info, business profile, jobs, payments, reviews, inbox and notification settings, chat, and Stripe profile.
The are also some popups that are very important:
- "ProjectDetails" - this popup contains all the details about the project.
- "InvoiceCreation" - here the professional will create an invoice for his customer.
- "JobAcceptConfirmation" - here the professional will accept or reject a job invitation.
- "ChatDeletionConfirmation" - here the professional will accept or cancel a chat/job deletion.
- "ProjectPictures" - here the professional has view large versions of the project's pictures.
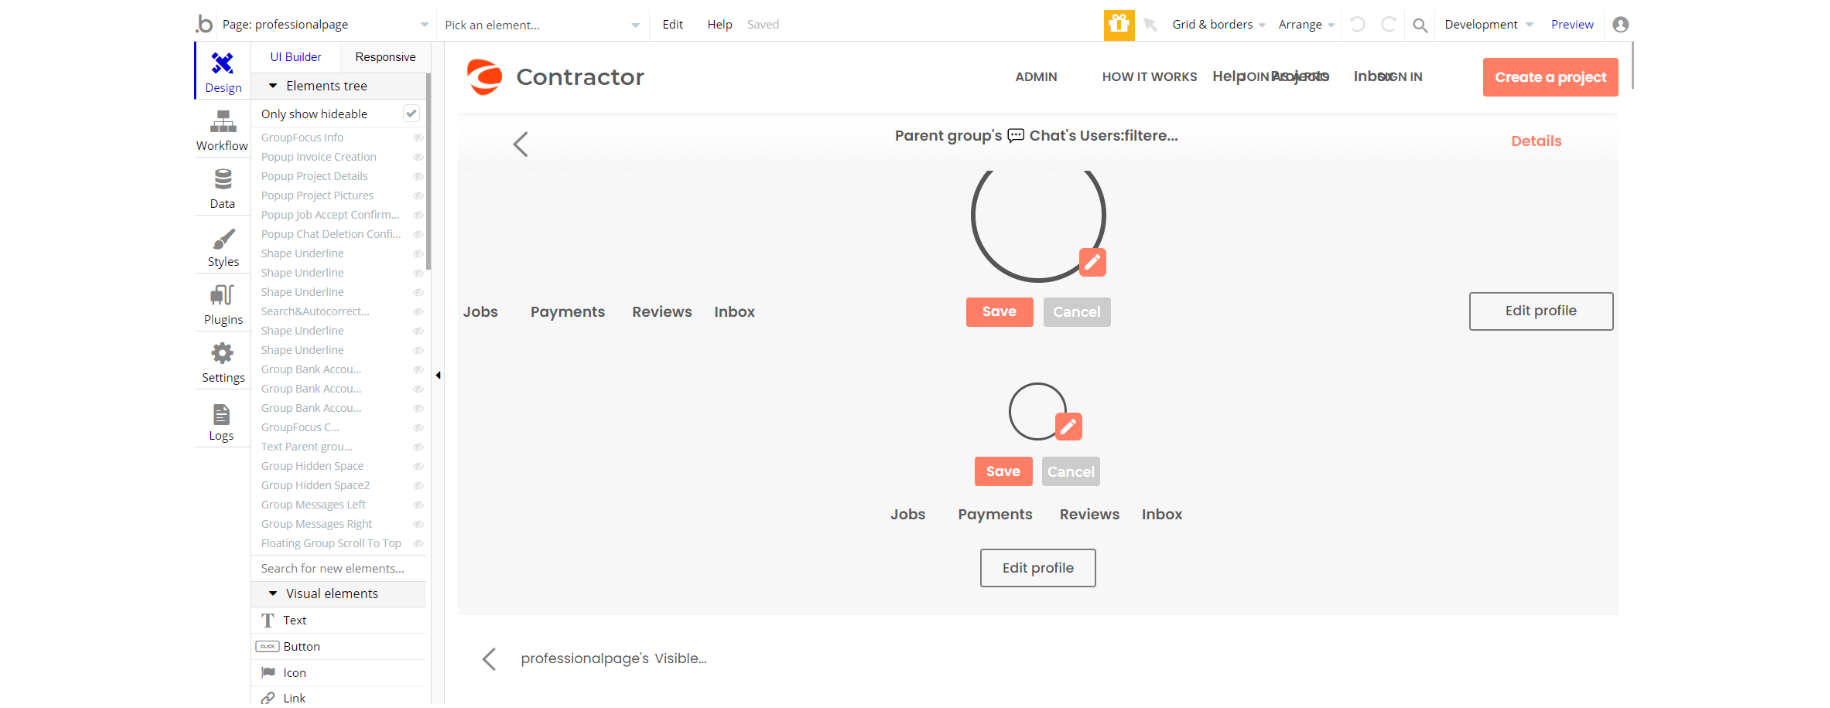
Opening the "Jobs" tab will show the professional all the conversations with the customers he's in, and all the jobs available at the moment.
Besides the messages, the conversation also contains all the project details. Clicking on the conversation will open the chat and in the right top corner, there is a 'Details' button that follows the user to project info.
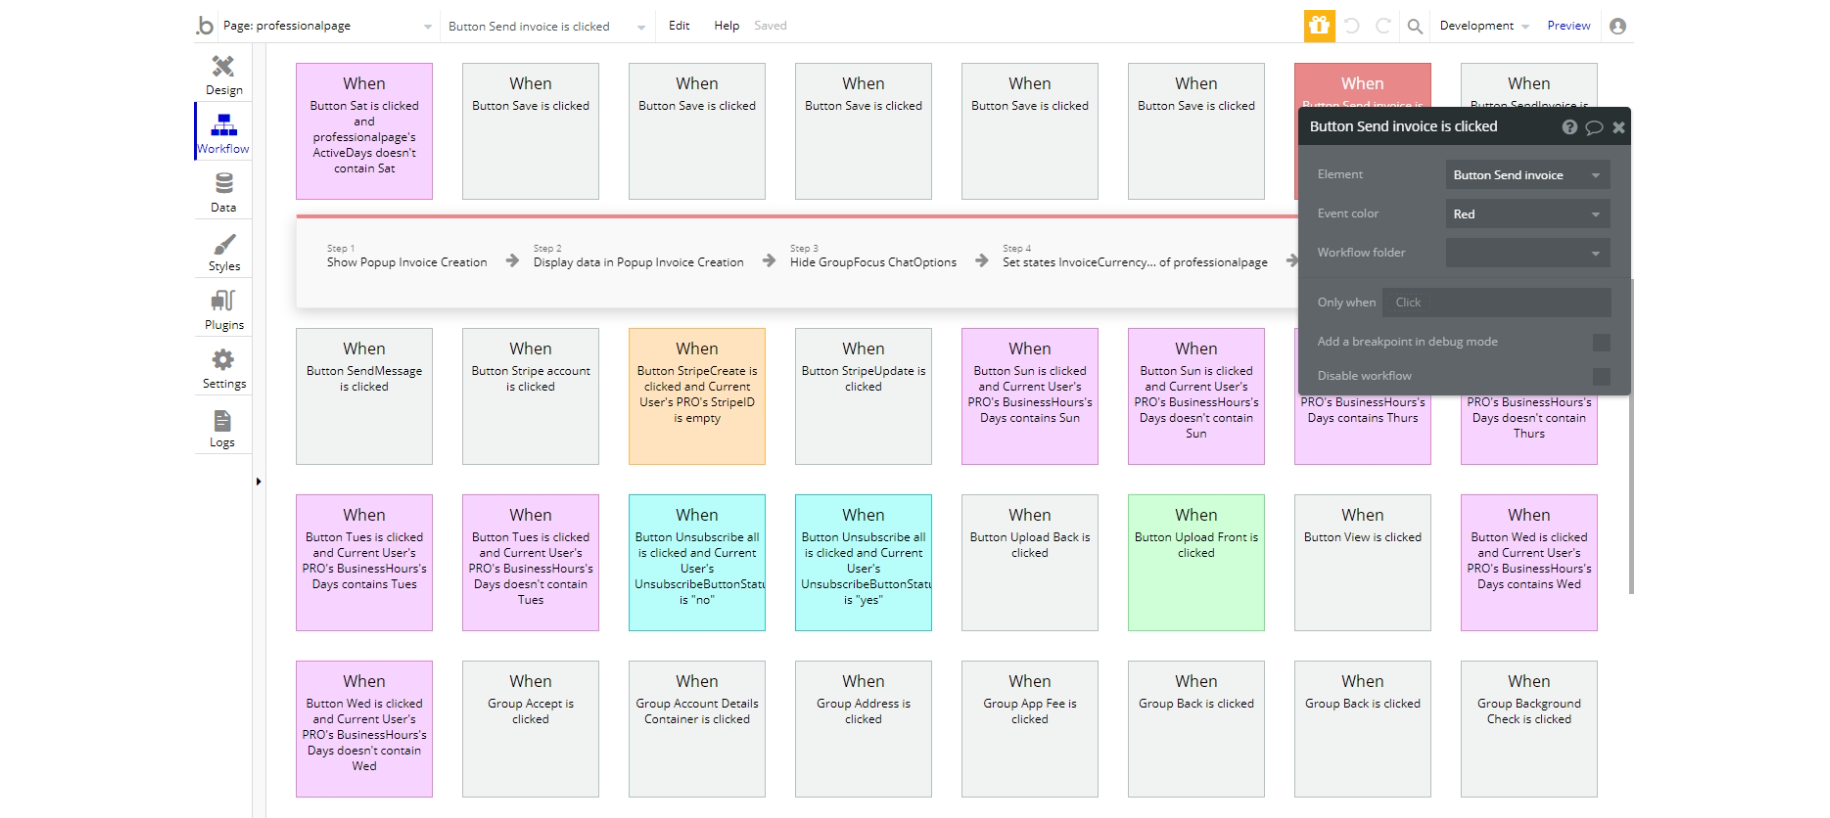
Also, there are some buttons that become visible only when certain conditions are true. For example, after a professional complete the job a "Send invoice" button will appear, and after the payment is done the button will become not clickable and its text will be changed to "Completed".
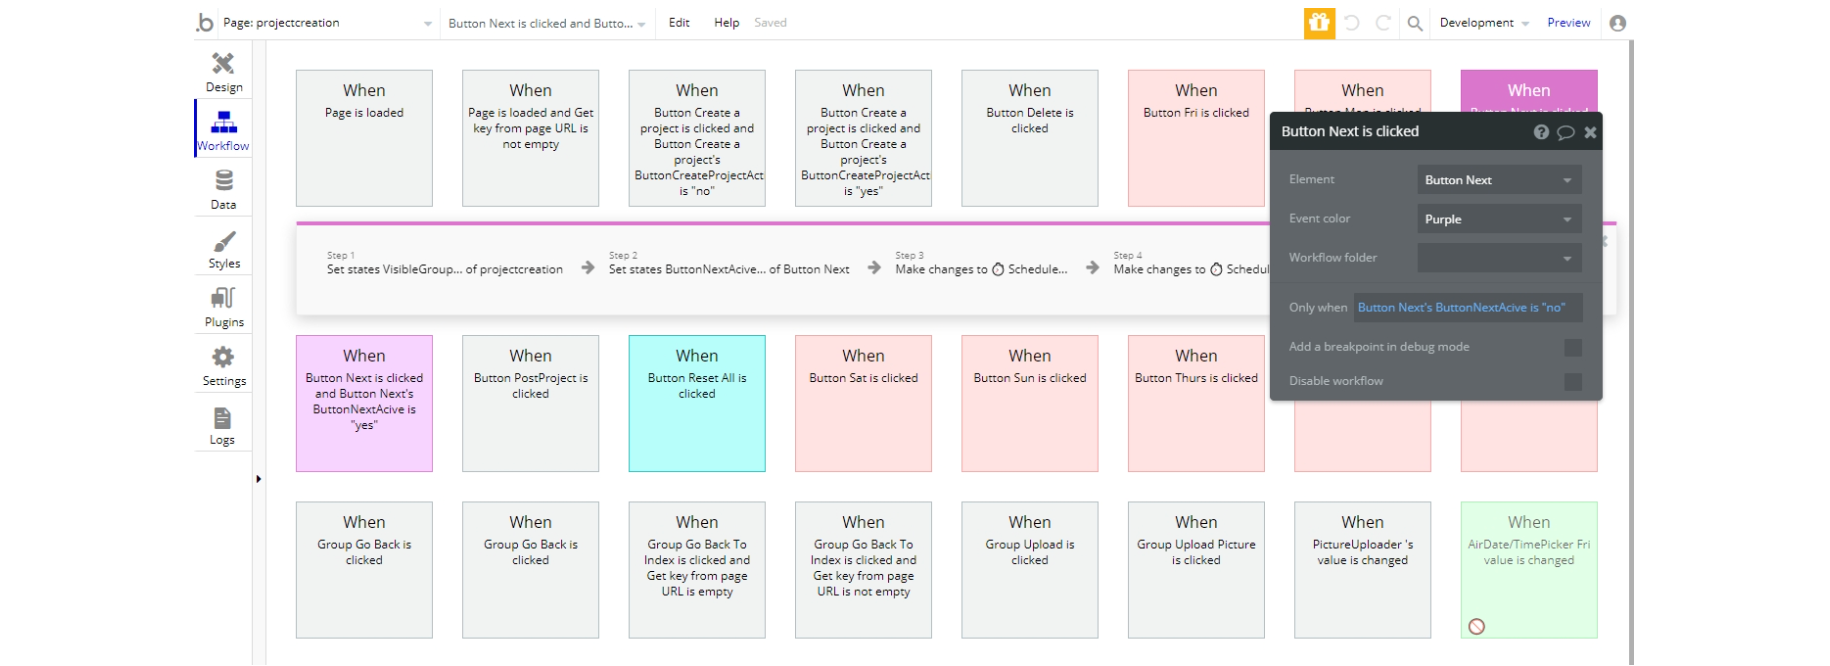
projectcreation
This page is structurally linked to the
customerpage. As the name suggests this page is used to create a project. Here the customer will submit all the details regarding the job he needs to be done. He also can edit an existing project there. It consists of 3 small blocks each representing a type of info about the job:
- Location - the place where the professional's service (project, in other words, job) is awaited.
- Time - the date and time when the job should be done.
- Details - detailed information about the project and pictures.
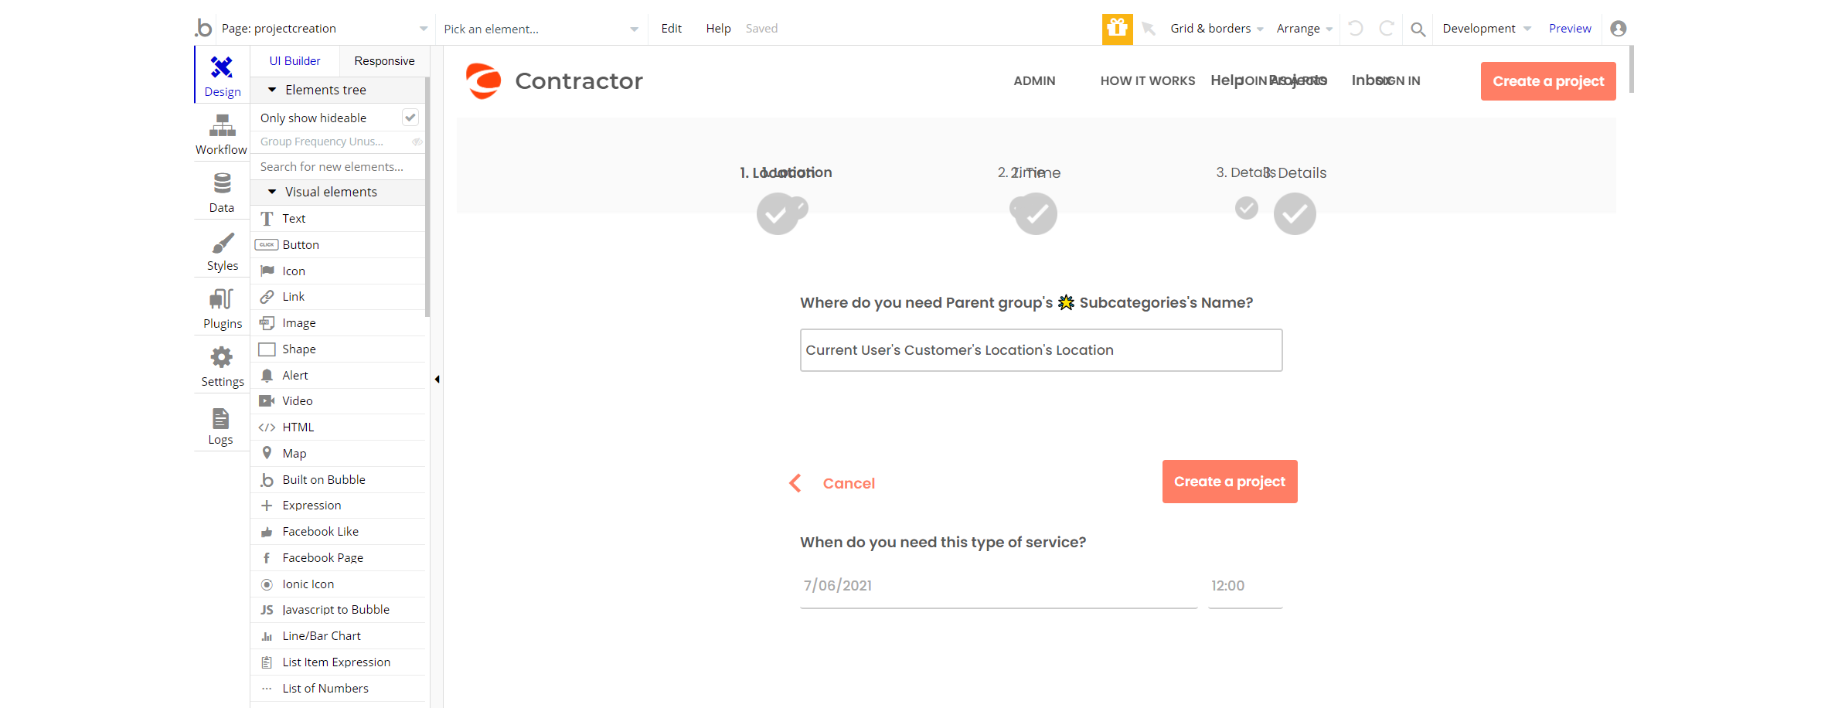
When editing a project, the customer can edit only time and details about the project, but if needed this limitation can easily be removed.
signin
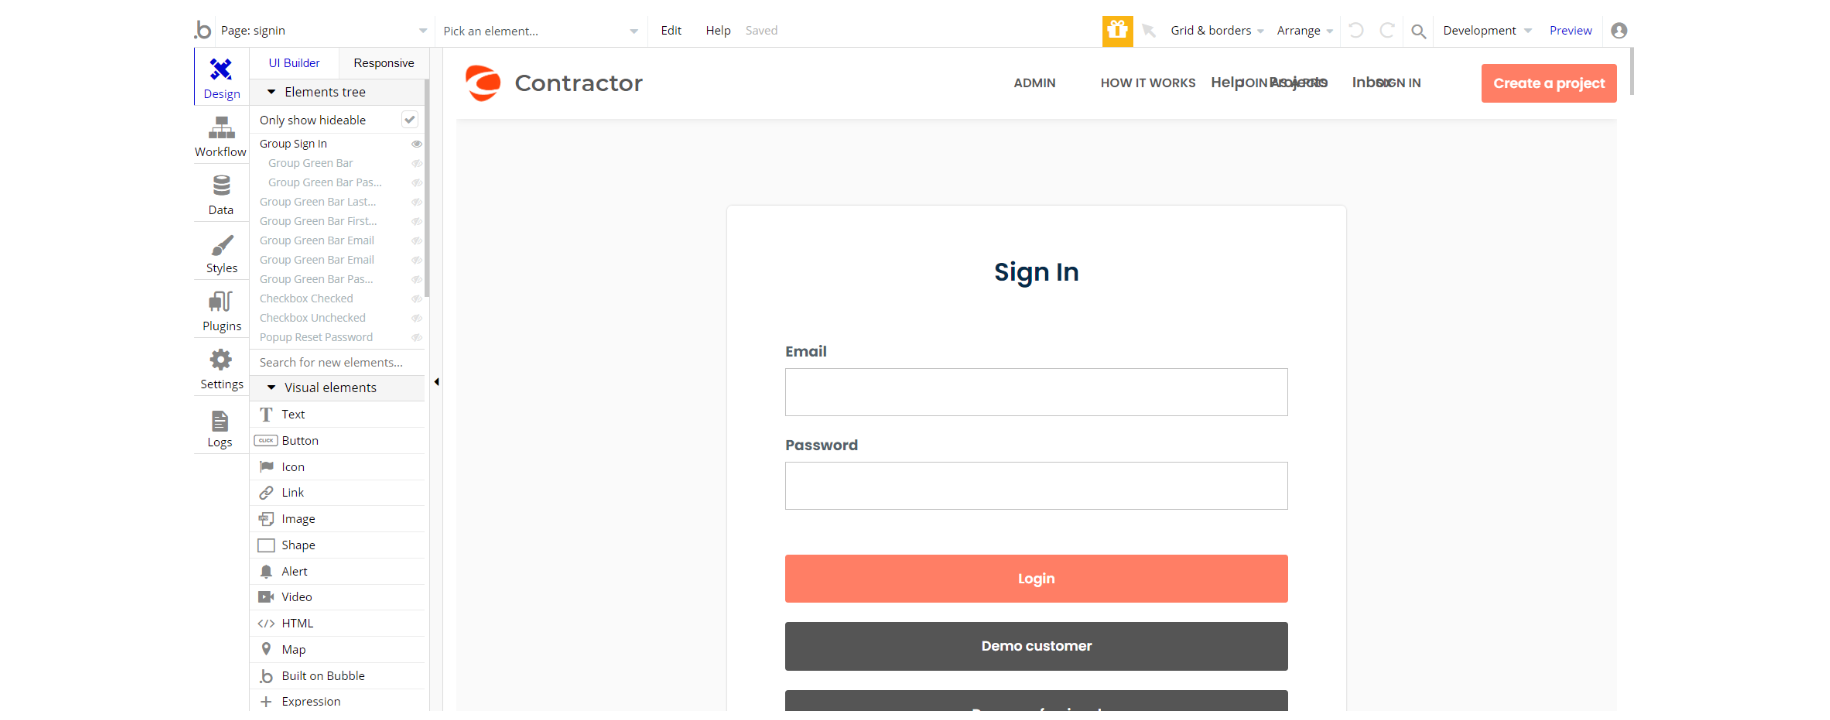
This page is used for creating an account or logging in to an existing one. To access it, users will click on “Signin” button in the header.
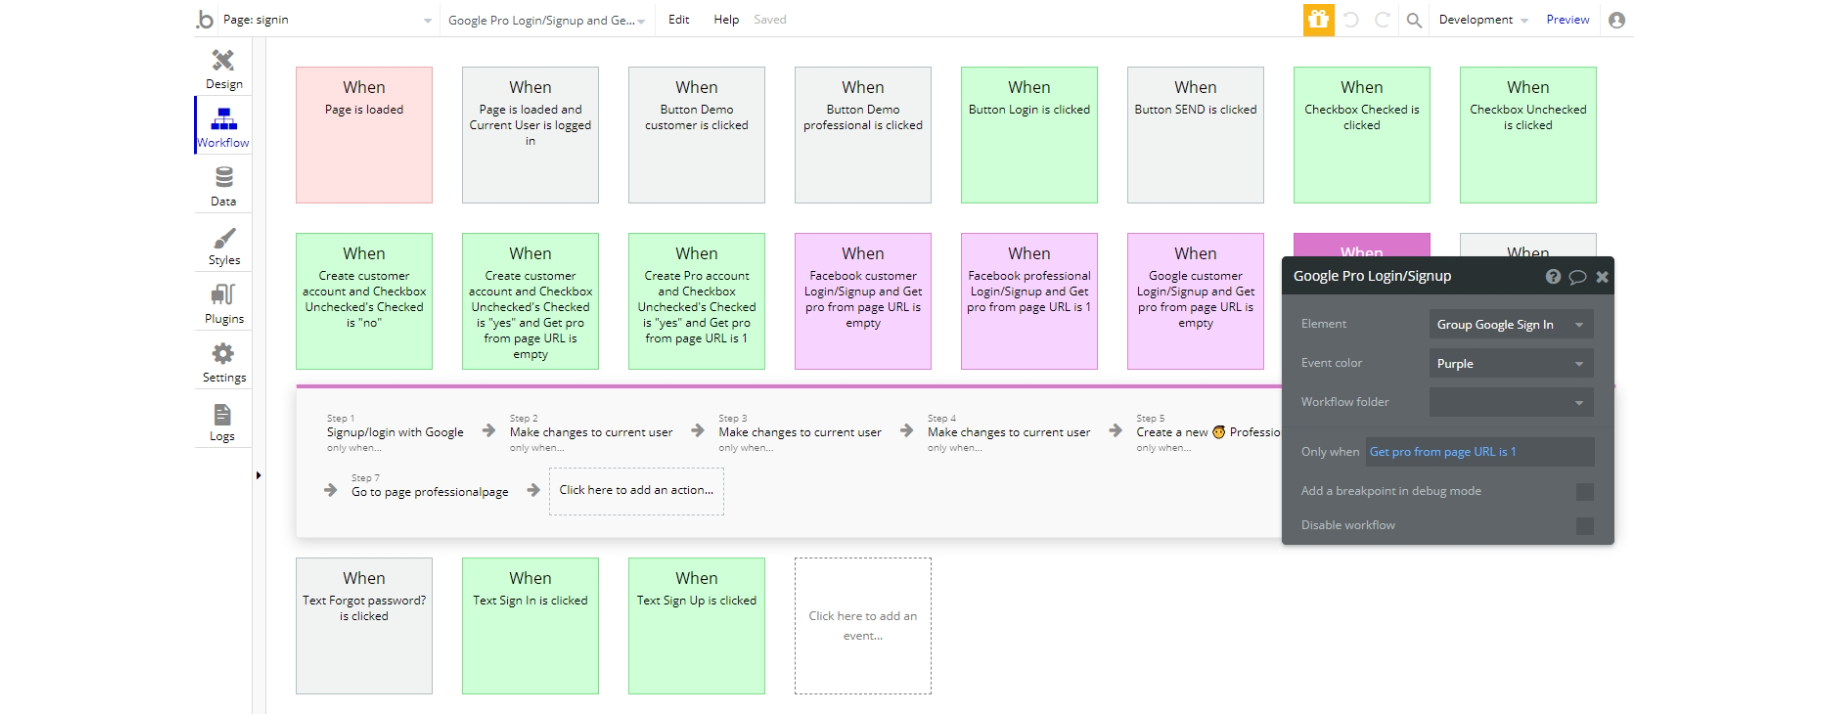
Besides standard registration, users can also use their social media accounts (e.g. Google or Facebook) to register or log in.
On this page, users are offered a demo user to log in and test all the template features. For detailed information on how to remove this button, see the Remove Demo Login section.
To create a professional account, please choose "Join as A Pro" in header instead. You can also get here from footer.
Here users can use their social accounts (google and facebook) to sign up or to log in.
reset_pw
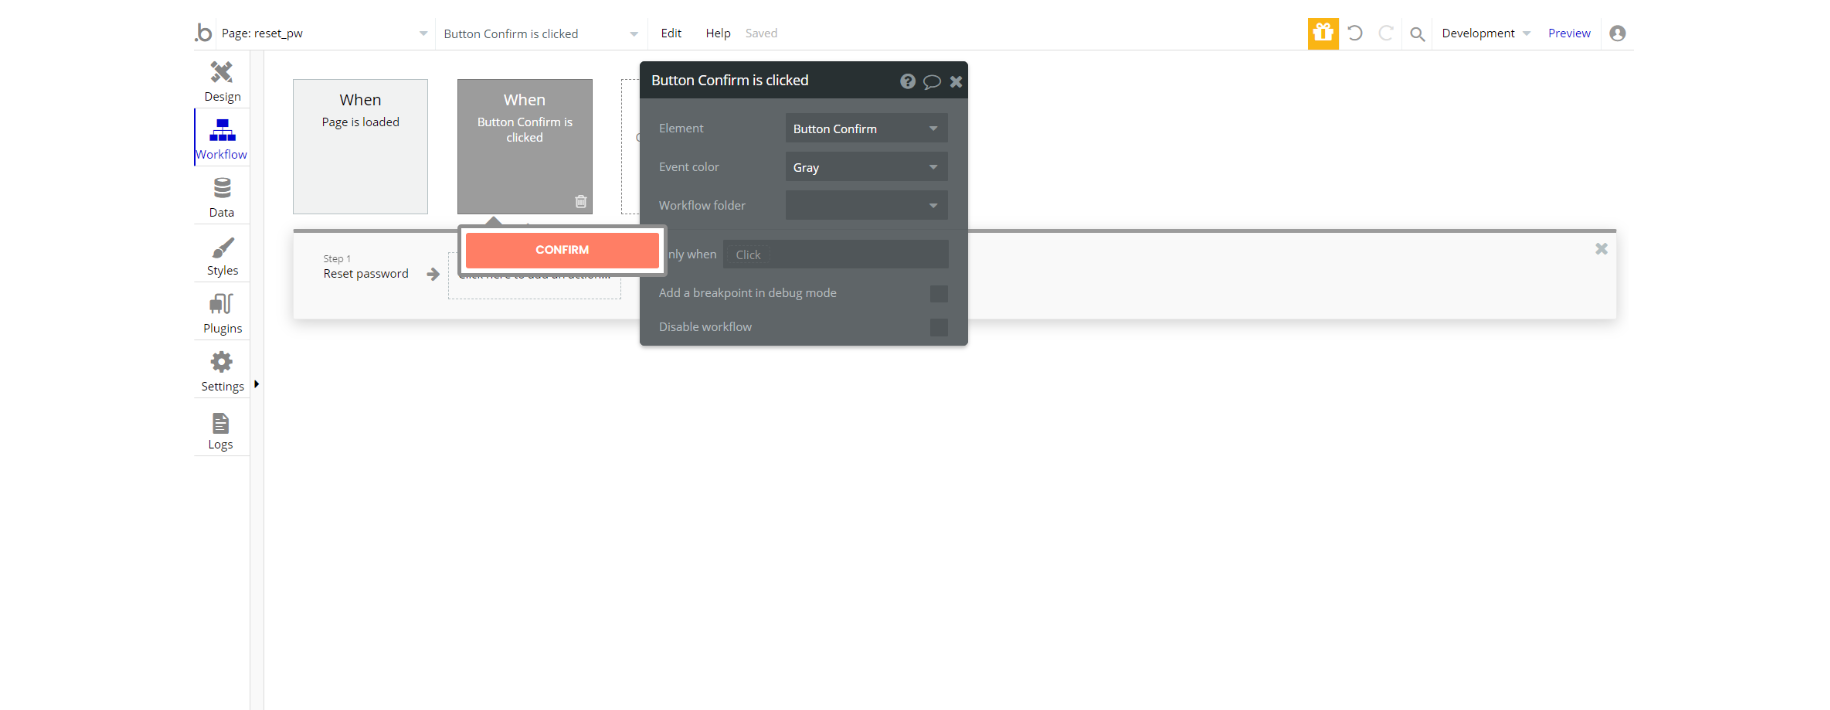
This page is used for resetting the password.
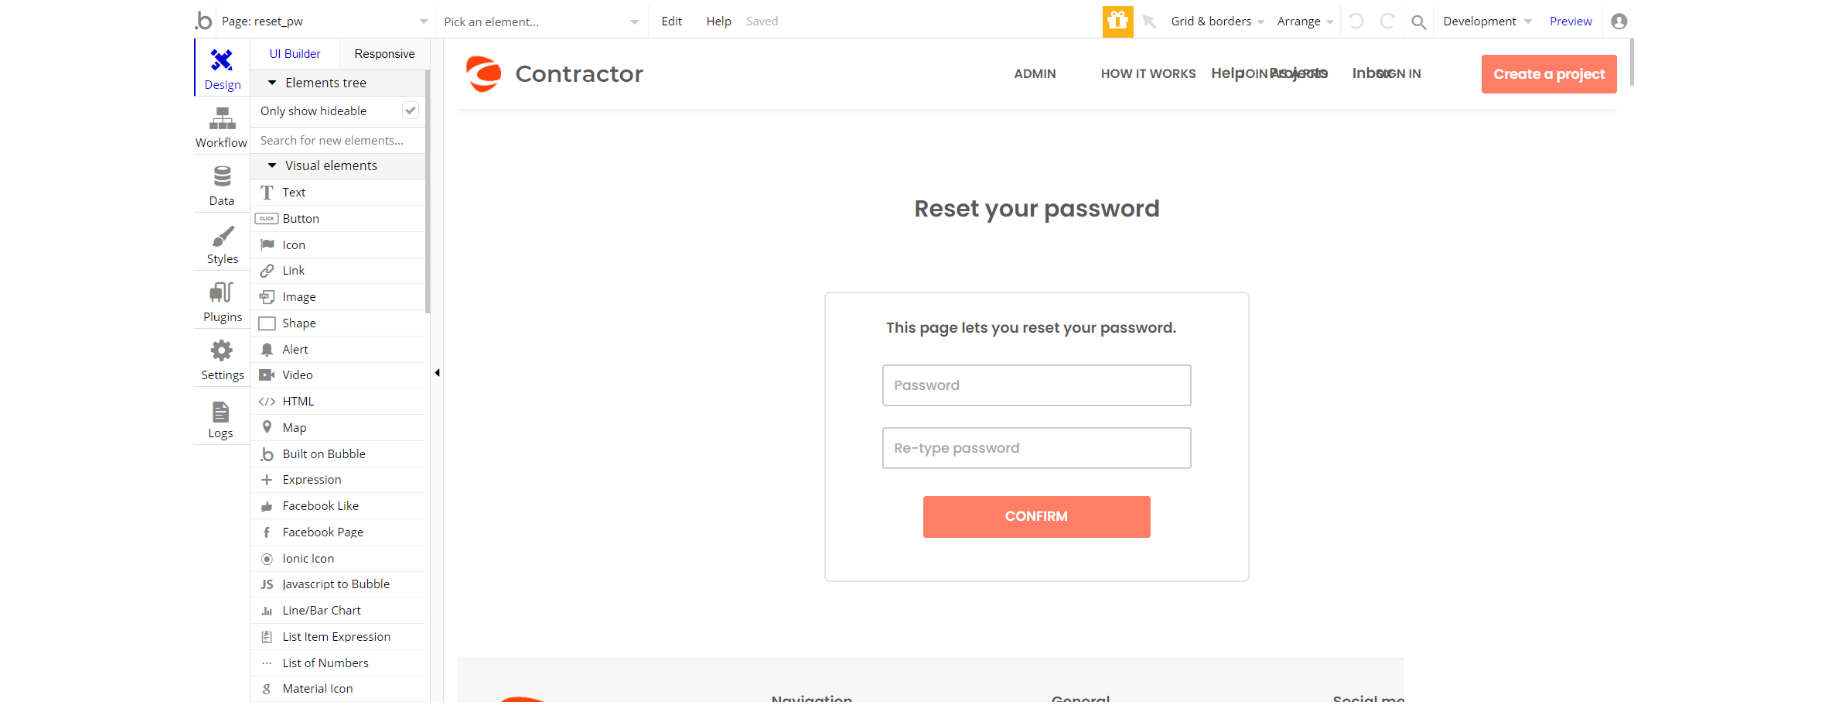
When user confirms new password, the old one is being reset based on the input values.
404
This is a custom-designed page for 404 redirect errors, informing a user that the requested web page cannot be found, or it doesn't exist.
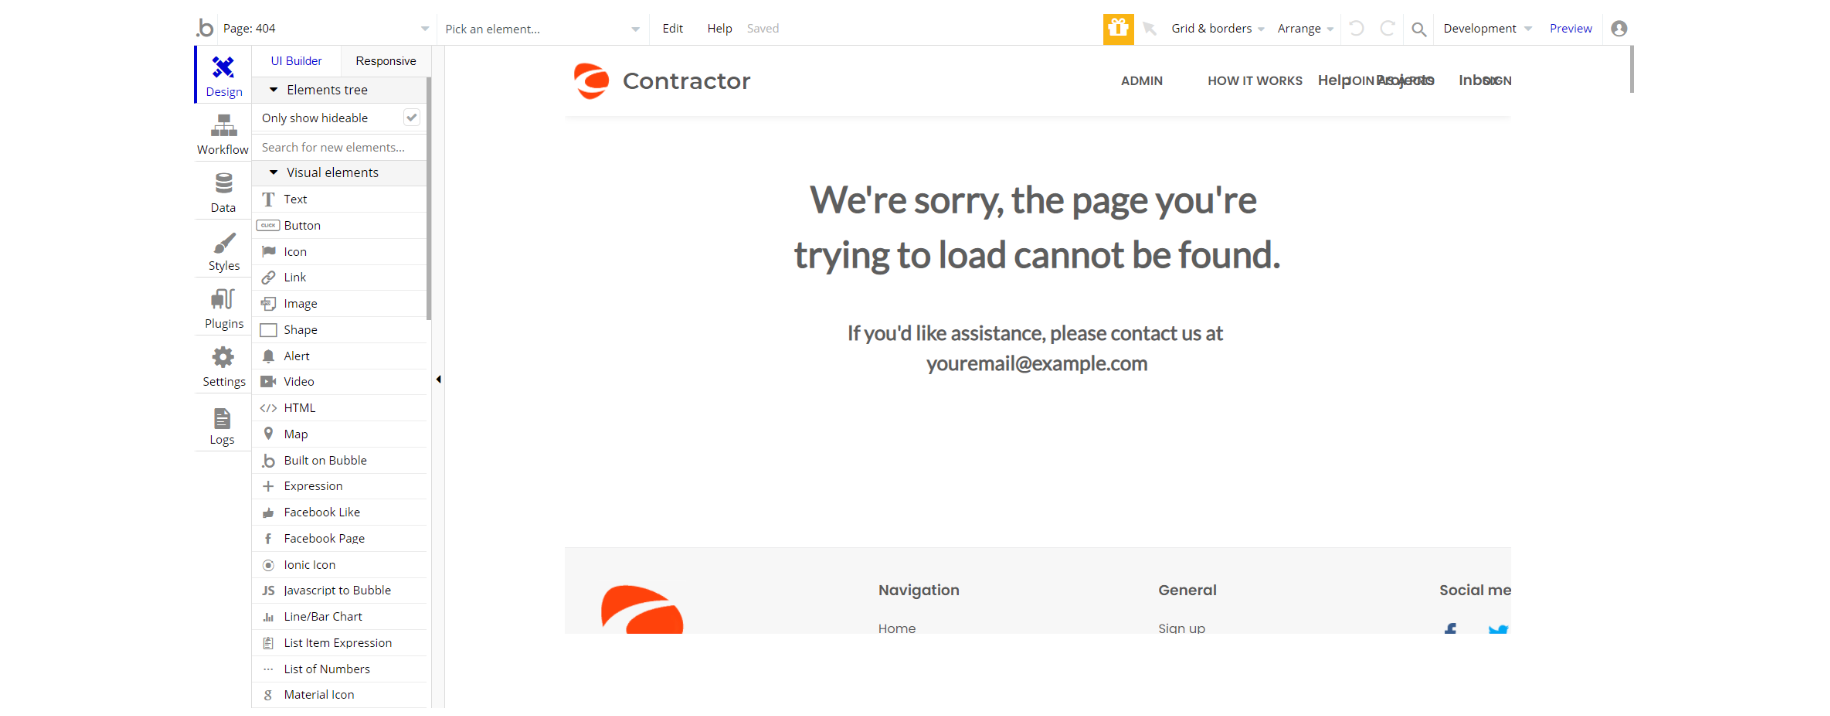
The design of this page consists of only two text fields. Therefore, there are no workflows in the "Workflows" tab.