The guide states the things to note, like Admin Access, Custom Code, Notes, APIs, etc.
Admin Rights
For security purposes, this template has limited rights for potential customers. This means that you will not be able to use the admin features to their fullest until you purchase the template and enable admin rights.
Note: Users will not be able to access the admin page unless granted admin rights.
Tip: It is possible to access the admin panel via Demo Admin user. But, for security purposes, the features are not enabled unless purchasing the template and turn this feature on. In order to grant the admin rights, please follow the instruction below.
- Go to admin page -> Data -> App data -> All Users tab. Select any user record and edit it. Set the
IsAdminfield to yes:

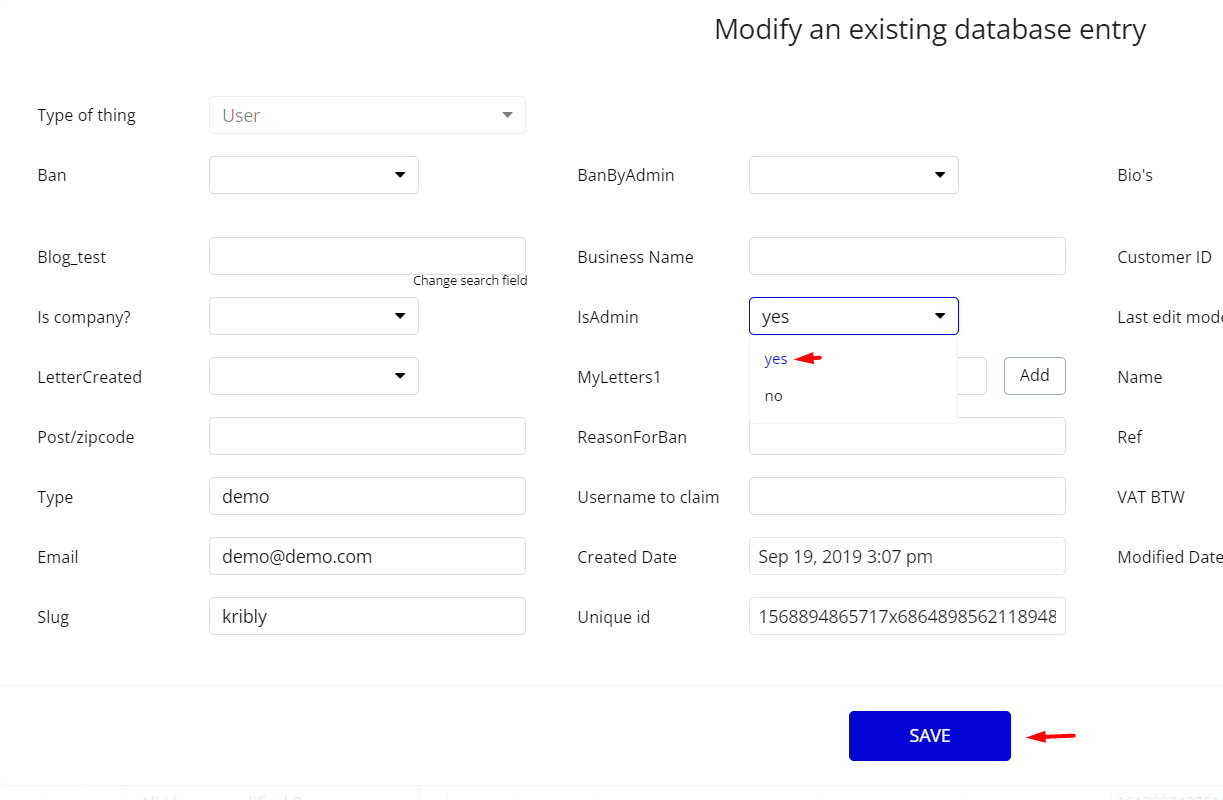
Note: Remember to hit the SAVE button.
This way, admin users will be able to track&ban users and reply on support request.
Congrats: You have successfully granted admin rights. Now you can use all the admin page and its features as an admin user.
Custom Code
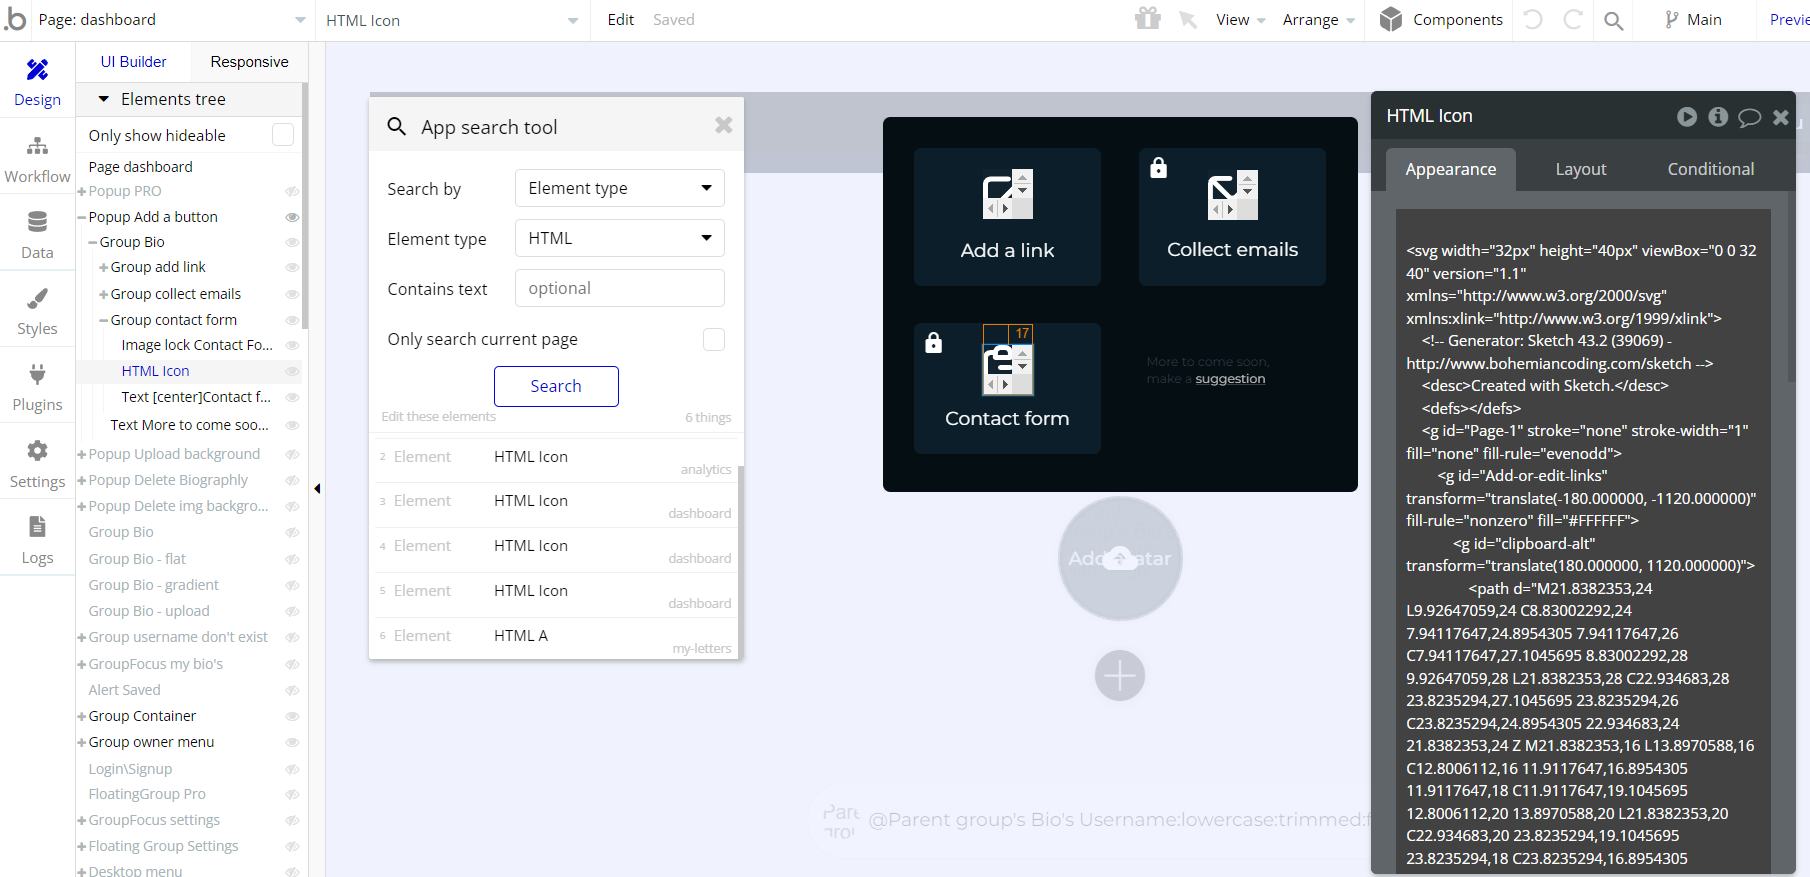
On certain pages, there are some HTML elements used for some solutions that are not available by default. You can find these codes on the following pages:
dashboardpage - HTML Iconx3 - these elements are used for customization of the Contact form Icon.
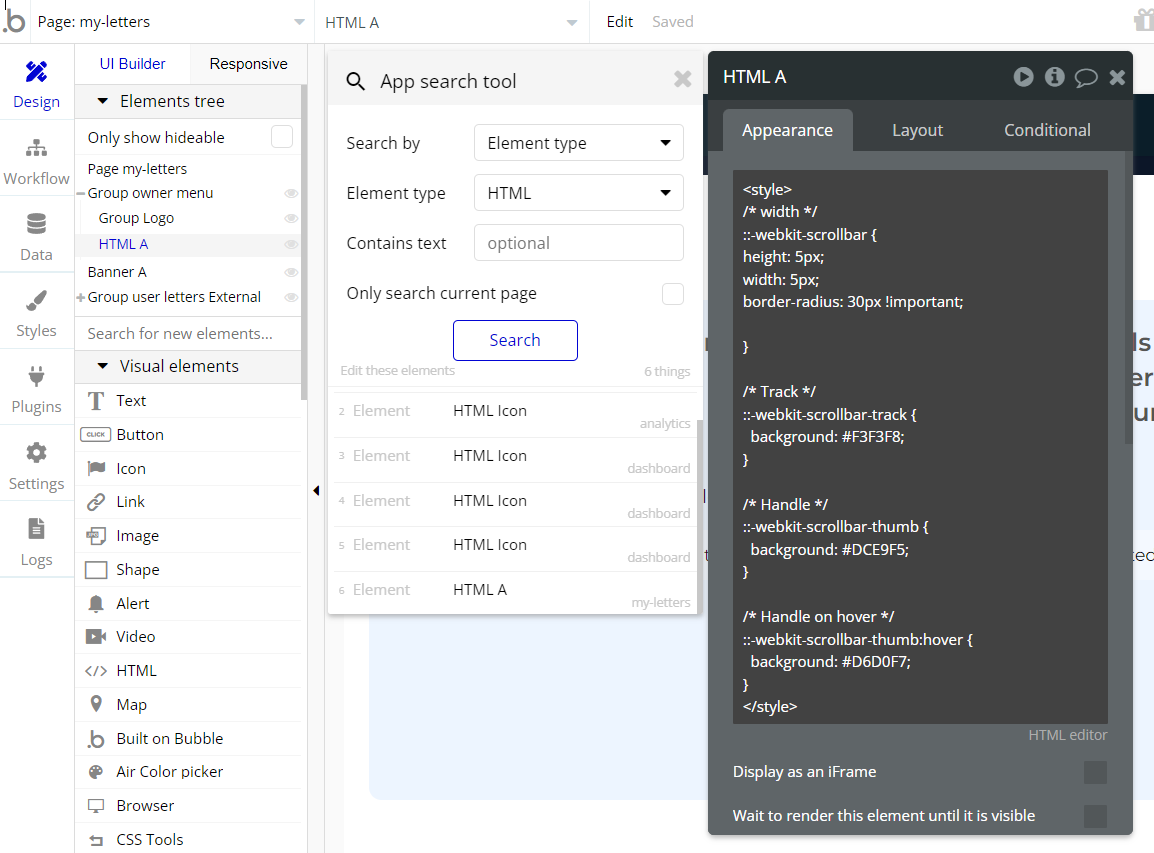
my-letterspage - HTML A - this element is used for scroll bar customization.
Important: Feel free to customize the styles, but please note that changing the code may break the described functionality. Strong CSS/Javascript and Bubble skills recommended.
❕For all things Bubble check: https://manual.bubble.io/.
❕For CSS/Javascript check: https://www.w3schools.com/.
API Webhooks
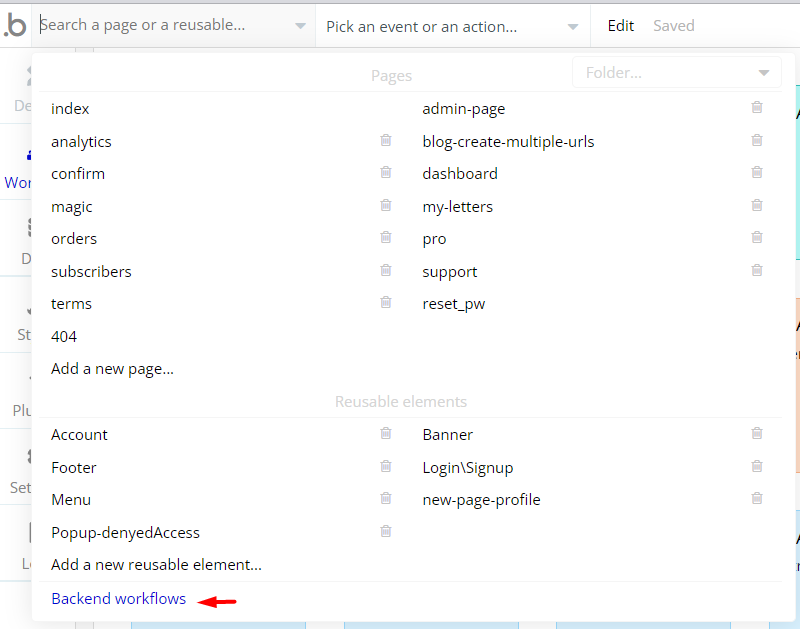
Biographly is using Backend workflows for ensuring important features: collect statistics, keep subscriptions and send emails.
They can be located in the Backend workflows tab in your editor:
The responsible endpoints are the following ones:
- accentcolor - this flow sets the button color.
- backgroundcolor - this flow sets the background color.
- count-bios - count created biographies
- count_clicks - count click on biography link
- count_views - count biography page views.
- delete_bio - deletes the
biodata type thing
- first-email - send a welcome email to newly registered user.
- maincolor - sets the bio page’s main color.
- pro-end_copy - change the pro subscription status to no
- send-a-stats-monthly - count bios and send stats monthly
- send-a-stats-weekly - count bios and send stats weekly
- send-analytics-monthly-free - sends user’s monthly statistics
- send-analytics-monthly-pro_copy - sends user’s monthly statistics
- send-analytics-weekly-pro - sends user’s weekly statistics
- stripe-first-pro-email - send a mail notification when user get pro status
- trying-pro-end - sets the default colors when user loose the trial pro status
Hidden Design Elements
Tip: Initially, on some pages, design elements in Bubble Editor might be hidden.
Here is an example of how to unhide 👀 them:
Embedded Notes in Bubble Editor
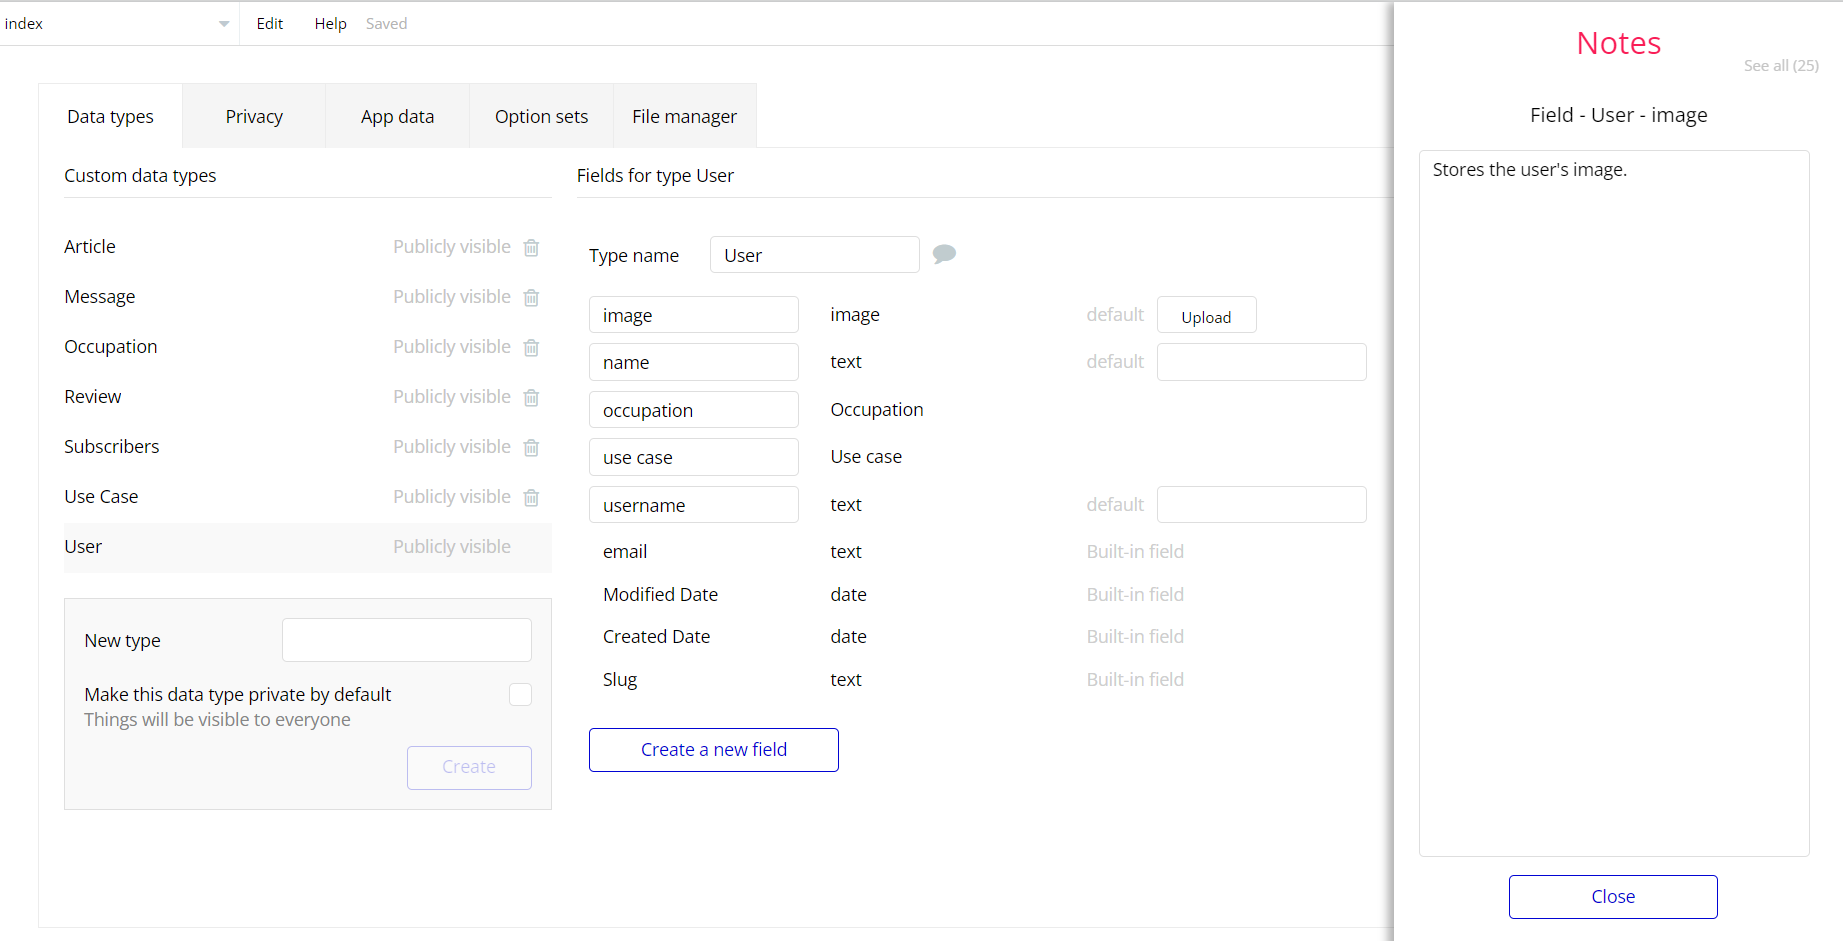
This template comes with explicit Notes for Database fields, Option sets and their fields, and Privacy rules, which will guide you with the modification process.
In order to preview a Note of any data type or field, click on the 💬 icon.