About this Template
Link to the template page: https://bubble.io/template/easy-video-creator-1600533351889x151800325609357300
Introduction
EasyV is integration for wave.video. It allows users to easily create videos for all platforms (Your users must be a wave.video subscriber.)!
It has a great video editor and dashboard!
Features
- Fully responsive design
- Stripe Ready
- Creating an annual or monthly subscription, canceling the subscription,
- Beautiful design
- Wave.video integration and callback settings ready
- Admin dashboard
Video Overview
Demo
Ready to move further?
Tip: Find out more on how to work with a template on Bubble here:
Setup Guide
Once you have bought or added a template to your account, you will see a dropdown in the New Application popup that lets you pick a template as the basis for the new application.
Note: This can only be done when you create a new app.
After you've selected a block you bought, complete the ”Name your app” field and press Create app.
Tip: A template isn't a theme for your app, but a pre-built set of elements and workflows. You can modify the template as you would modify another app.
Wait for Bubble to load the application with all the data.
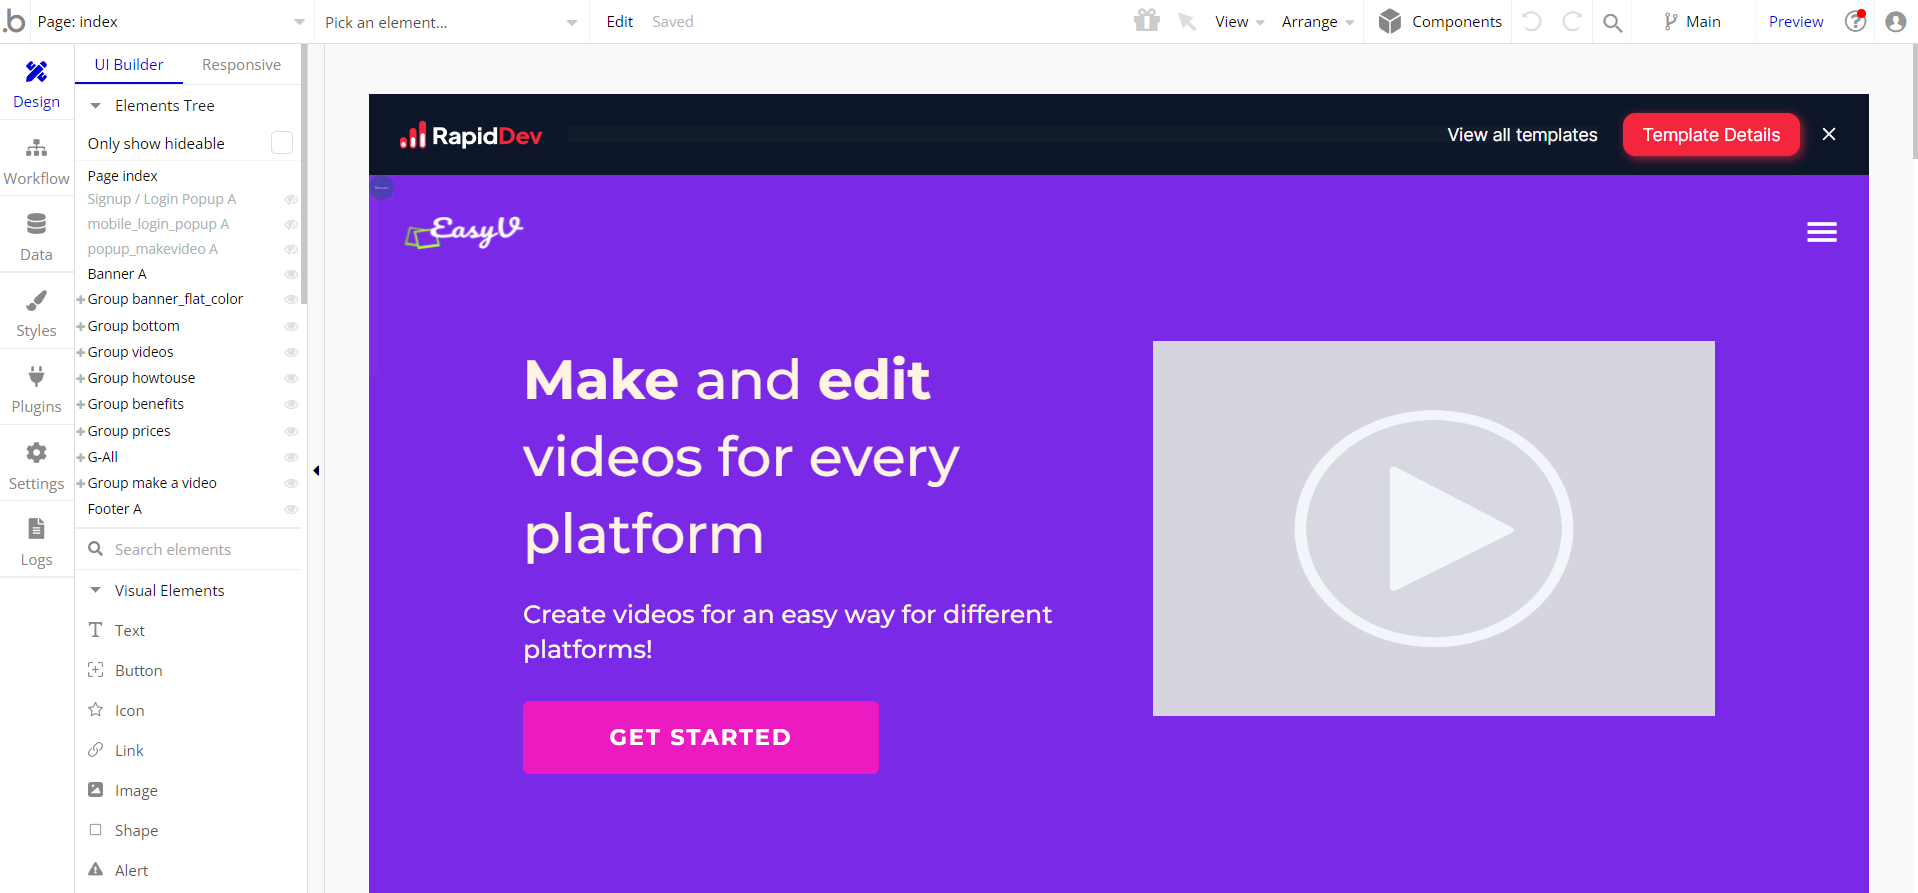
After the application has loaded, you'll see the Component library on the right side for New Application. You can close it or follow the assistant steps to adjust different settings.
Congrats: You have successfully created a Bubble app based on your template. Now you're ready to go and dive into Bubble no-code development toolset.
Payments
Card payments in this template are powered by Stripe, using the default card checkout providing a secure environment for users. To set up your Stripe account, go to https://stripe.com, and create an account.
Note: You will be allowed to access your dashboard once you have successfully verified your email address and activated your account.
This template is using Bubble's Stripe plugin for payments.
Now we'll configure the Stripe dashboard and the Stripe plugin within your editor. Please follow the Stripe payments instruction below to configure.
Tip: Genuine card information cannot be used in test mode. Instead, use test Stripe cards credentials.
Creating Subscription Plans
1. Go to the Stripe dashboard
2. Open the "Products" tab and click to "Add product" button
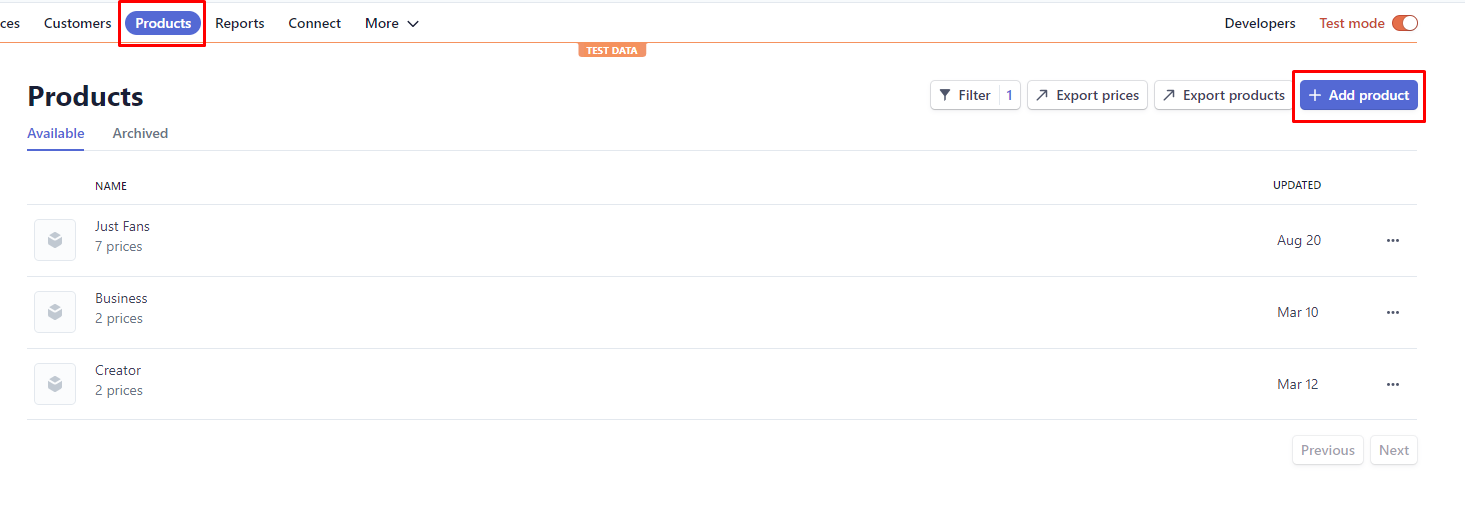
3. Create your product as you want
4. Add price as much as you want on the "Pricing" section.
5. You will see all prices' "API IDs"
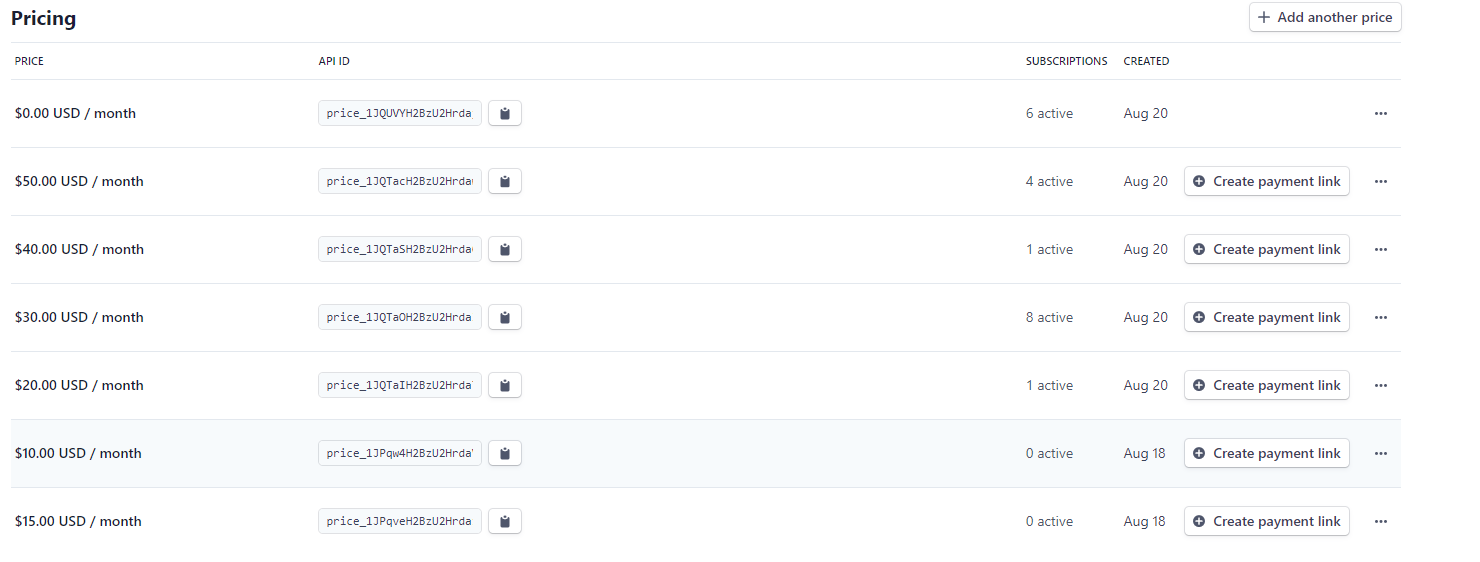
6. Open the Bubble editor and go to the Data tab, open the App Data tab, and choose "All Orders"
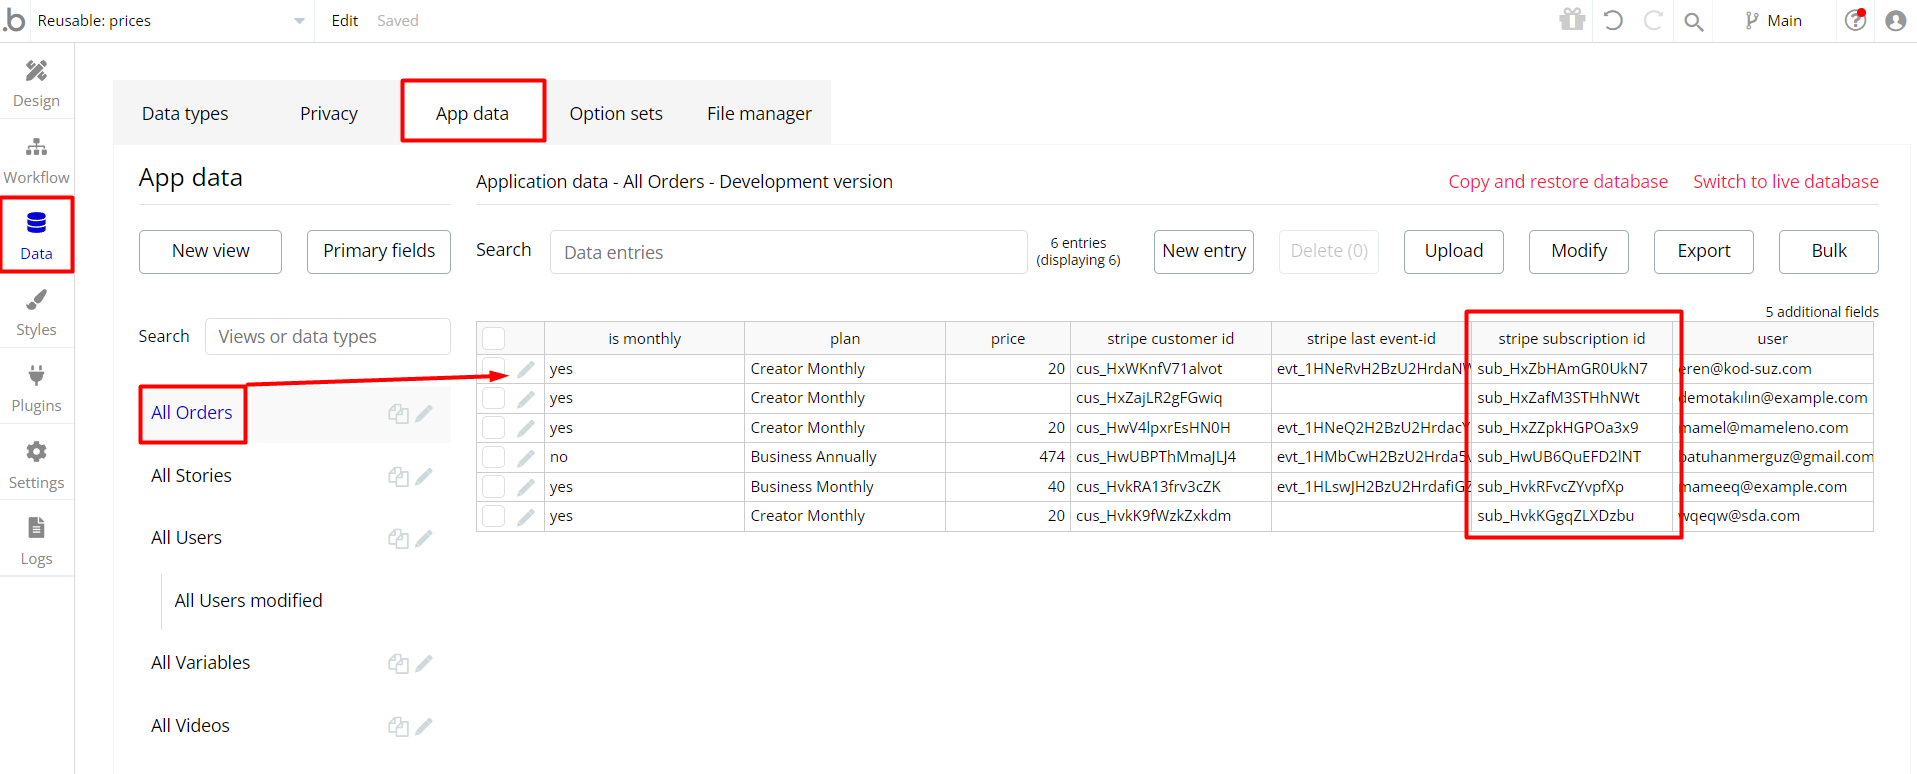
7. Modify the Plan's attributes. Paste a price's "API ID" into the "Stripe ID" field
Remove Banner
This template comes with a promotional banner above the Header element. Feel free to remove it from your app.
Things to Note
Admin Rights
For security purposes, this template has limited rights for potential customers. This means that you will not be able to use the admin features to their fullest until you purchase the template and enable admin rights.
Note: Users will not be able to access the admin page unless granted admin rights.
Tip: It is possible to access the admin panel via Demo Admin user. But, for security purposes, the features are not enabled unless purchasing the template and turn this feature on. In order to grant the admin rights, please follow the instruction below.
- Go to
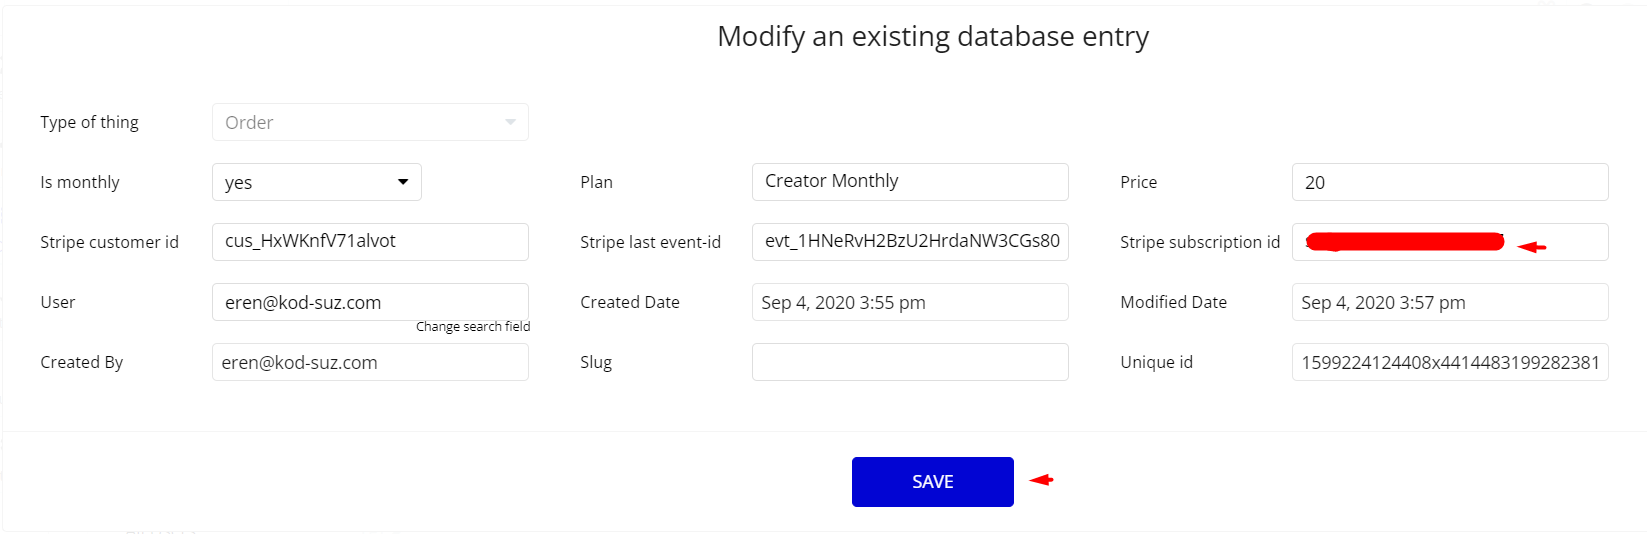
adminpage -> Data -> App data -> All Users tab. Select any user record and edit it. Set the Admin field to yes:
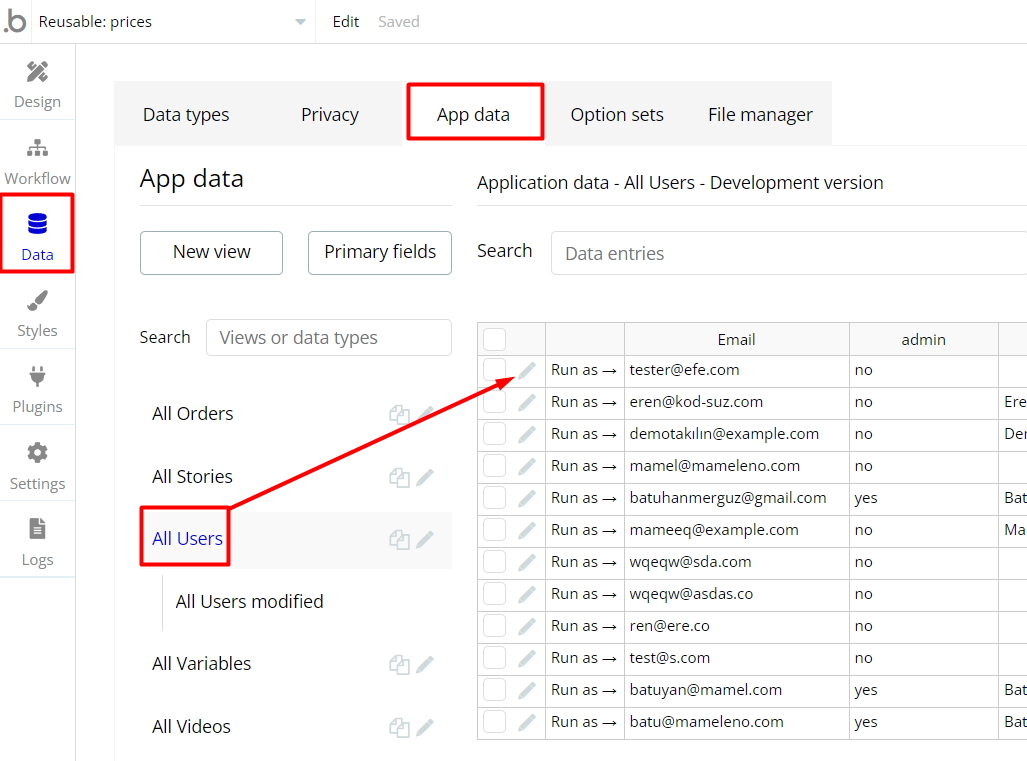
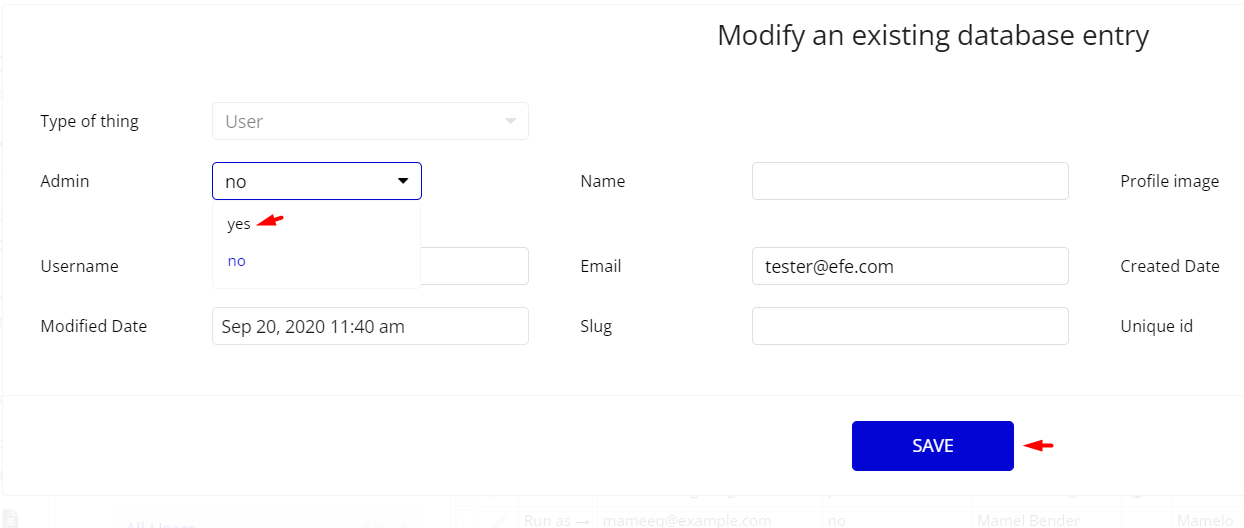
Note: Remember to hit the SAVE button.
An additional limitation is set on the
admin_page page via the Variablesdatatype, access rights field. If a demo user with admin rights gets to this page, he will not be able to access the page or do any manipulations because of the conditions on edit/delete actions.Under the Data tab click the icon in the Editor, go to the Data Type
Variables, and look for theaccess rights field with the Yes/No boolean type. 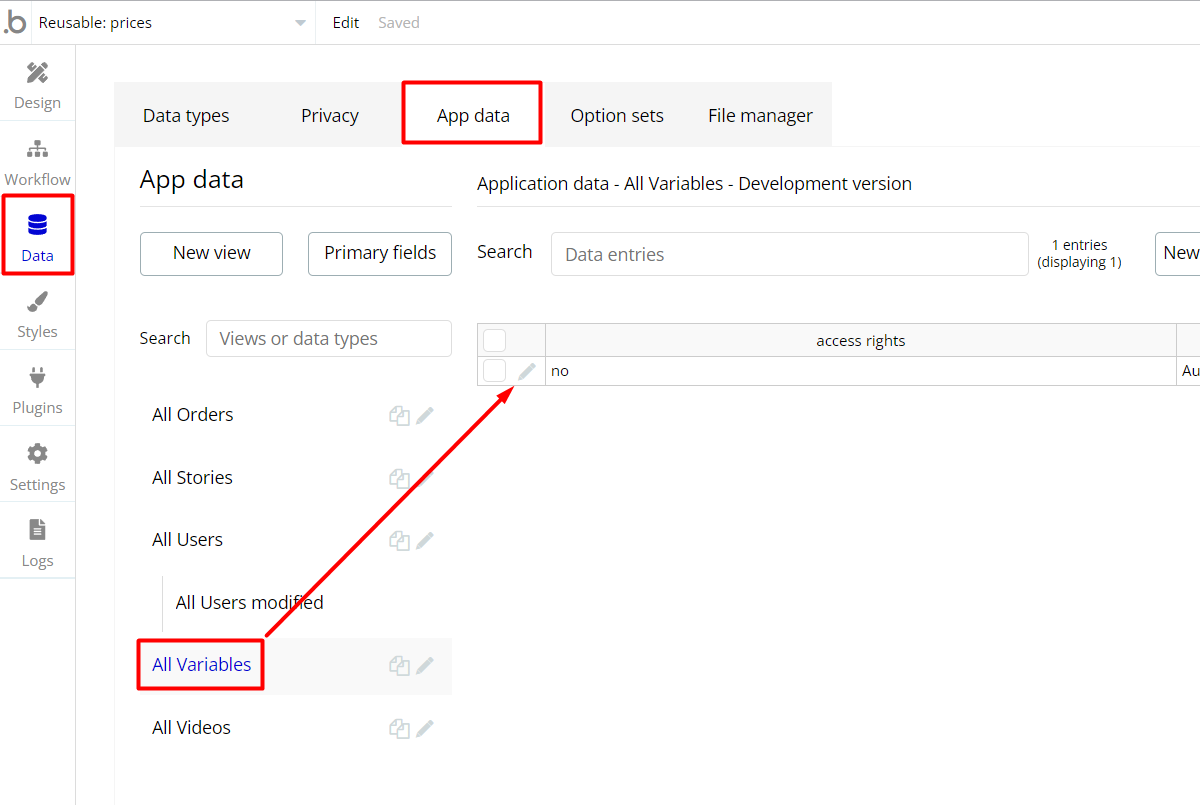
To enable the editing rights set the value to
yes, so the admin user will be able to manage the platform, deleting users, articles, and groups on the admin page.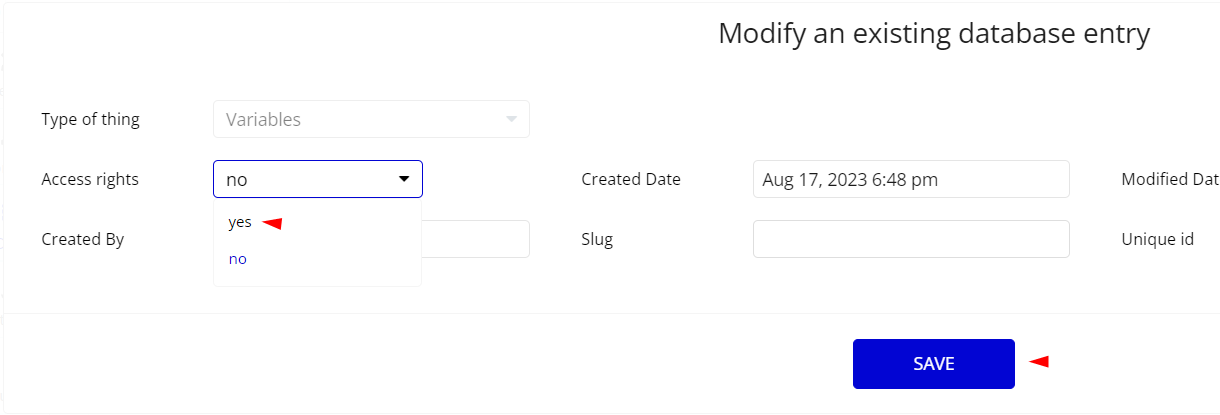
Note: Remember to hit the SAVE button.
Note: In case you would like to use it as part of a more complex app, for proper functioning, please be sure to create all relevant data types within your application database before copying the template, and adding the required plugins.
For reference, use the Data Types and Setup Guide sections as well as the Plugin tab of the template editor.
General FAQs
If you didn't find the answer yet, contact us by sending a mail to: support@rapidevelopers.com
Want to report a bug? Please follow this guideline!
How to change sent mail default text
Tip: To modify the text of the mail that is sent on triggered workflows, use the search tool to find the "Send email" action:
Hidden Design Elements
Tip: Initially, on some pages, design elements in Bubble Editor might be hidden.
Here is an example of how to unhide 👀 them:
VAPI AI Call Assistant Integration
Check out a new feature that is powered by the VAPI AI Platform.
It allows your application to have a completely customizable voice assistant that will answer any customer’s questions within the framework of the set prompt.
Please note that this is a paid plugin, so to use it, you need to subscribe or buy it.
As for the traffic, you only pay for the minutes you use. Check the pricing details here: https://docs.vapi.ai/pricing
Call Assistant Setup: See the documentation on how to set up the Enhanced VAPI AI Call Assistant in the Bubble App.
If you don't need this feature within your app, feel free to remove it.
In this case, remove the:
- reusable element “AI Assistant” from the index page and reusable elements
- remove the following step in the workflow:
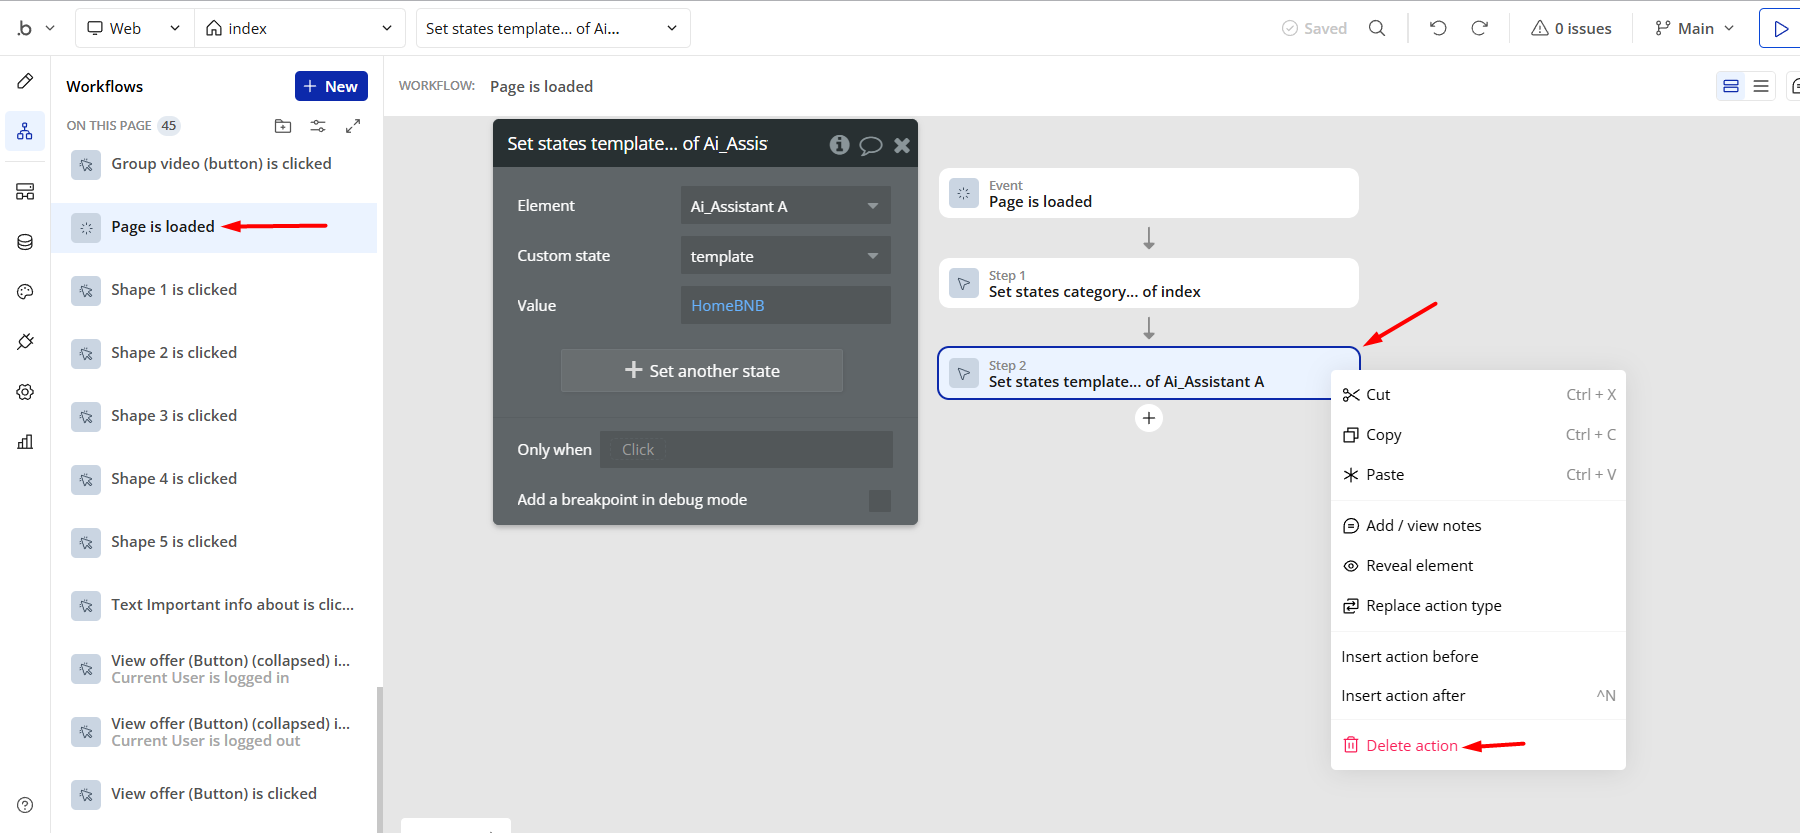
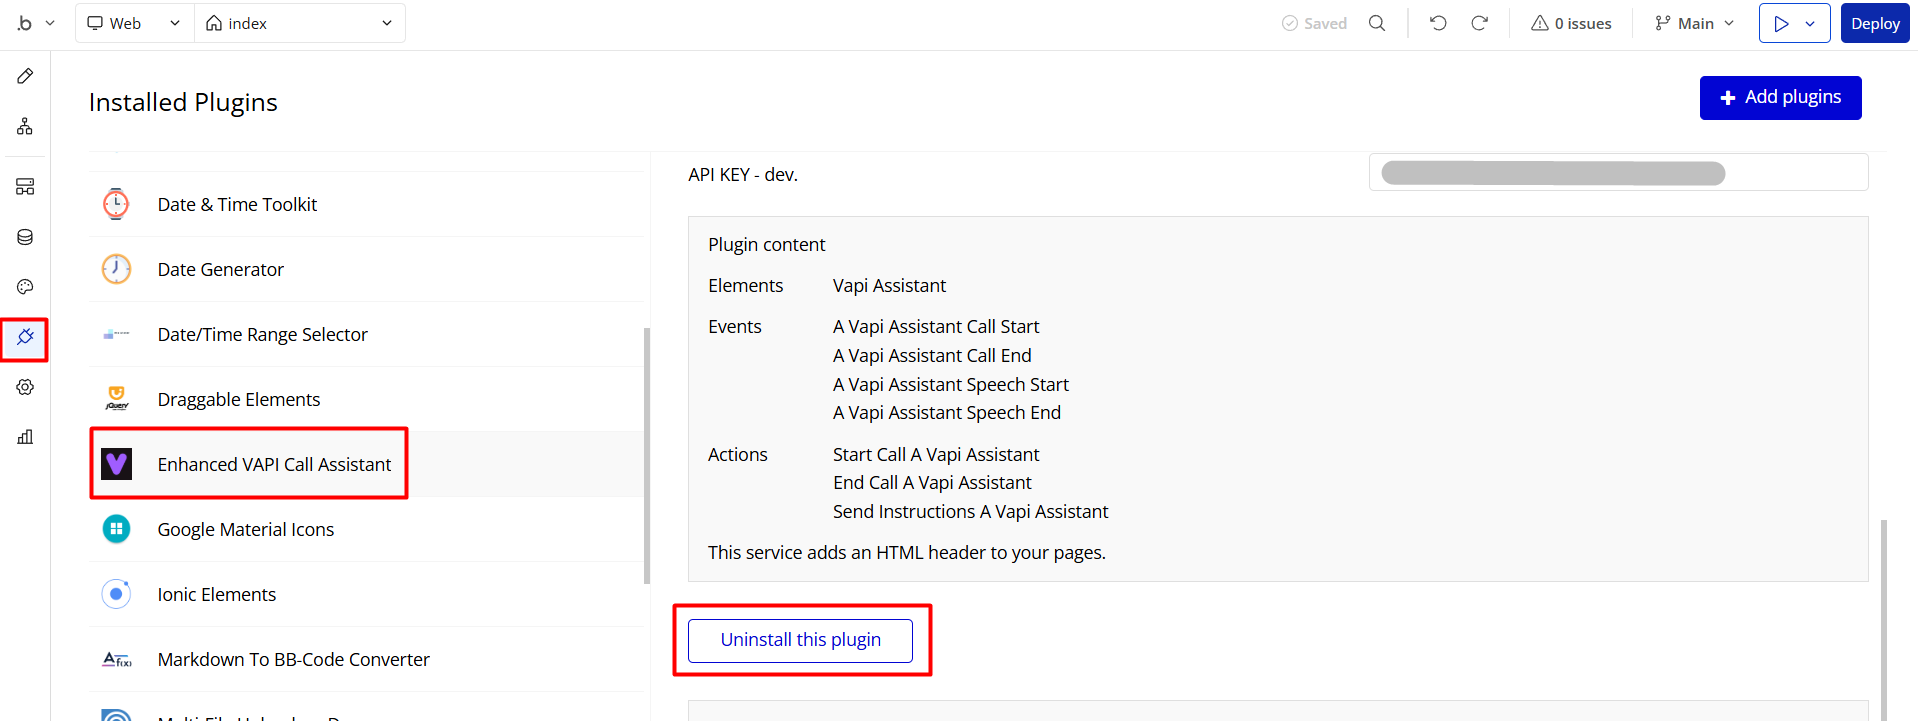
- Remove the Enhanced VAPI Call Assistant plugin from the plugin tab.
Pages Overview
index
This is the main page typically encountered first on the web app that usually contains links to the other pages of the site. A homepage includes a variety of menus that make it easy for users to find the information they need.
admin
This page is designed to manage platform data, e.g. Users, Payments… and others.
Only users with admin rights are able to access this page (in read-only mode), and those users who have access rights can edit or delete anything here.
Note: Switching between tabs works by changing elements’ custom states.
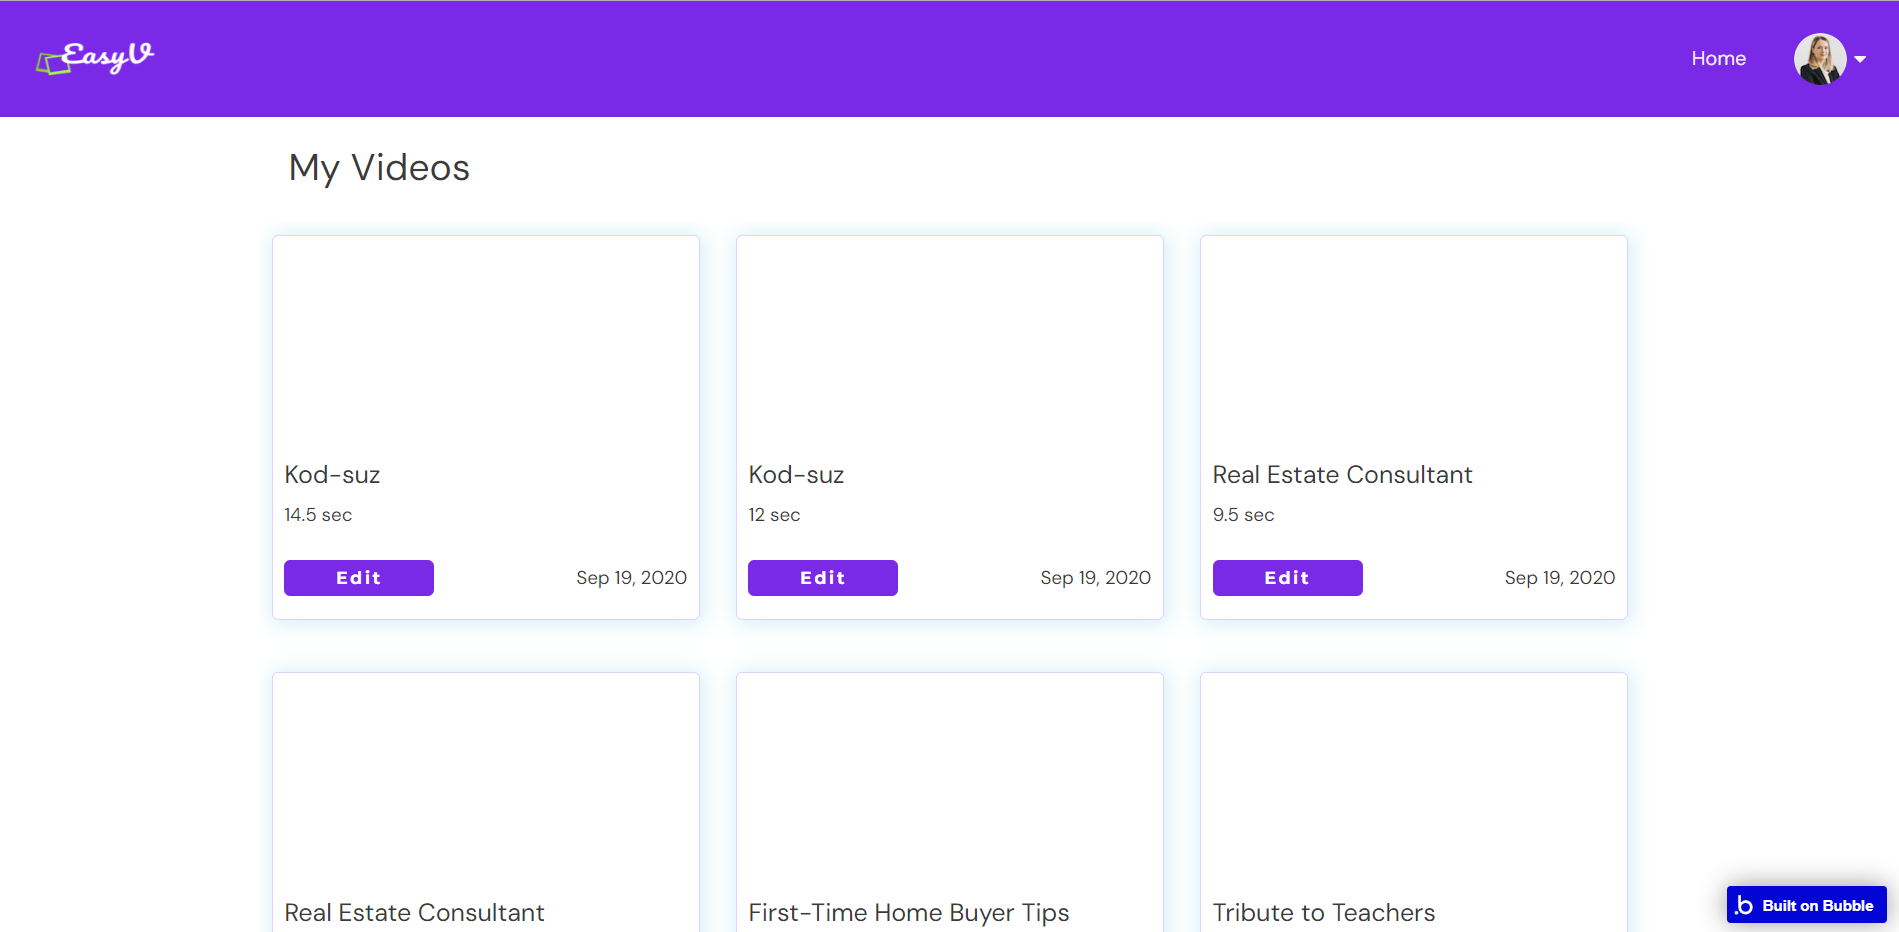
videos
This page displays the list of videos, which are edited by the user.
profile
Here users can edit their personal information and subscribe to a convenient plan.
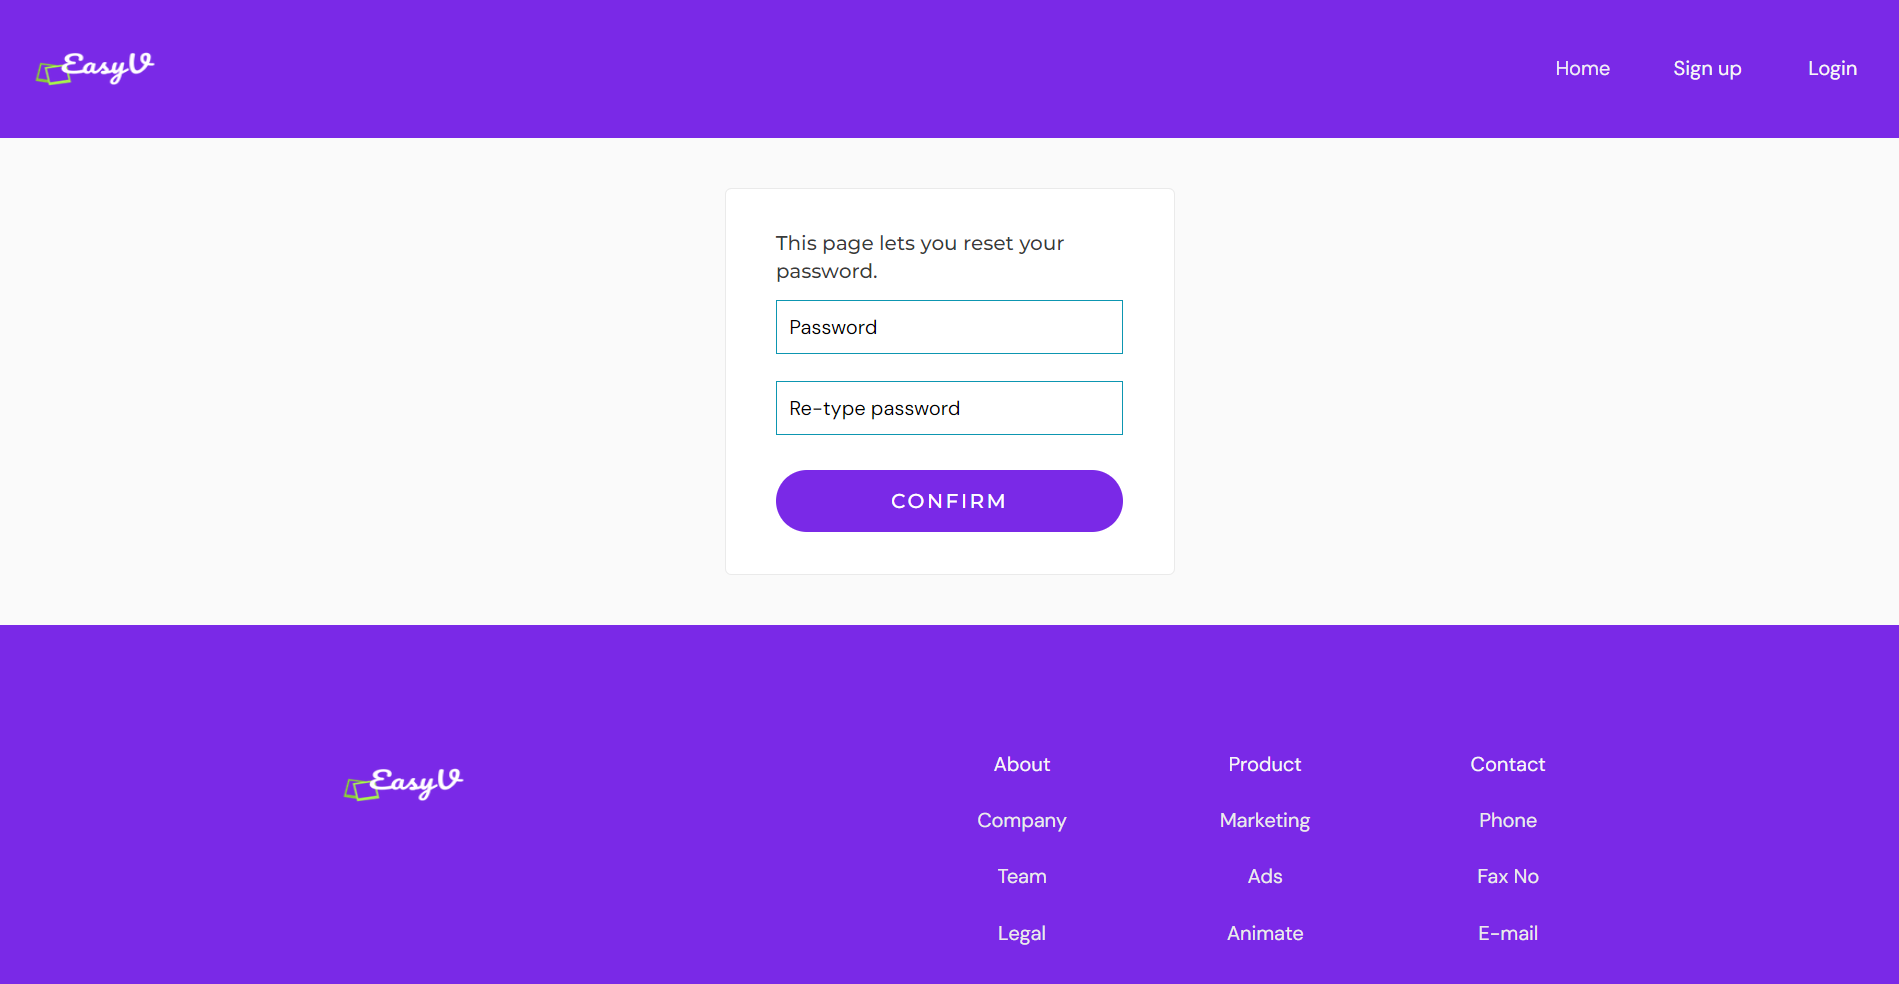
reset_pw
Here, users reset their password after accessing the link in the mail.
404
This is a page for 404 redirect errors, informing a user that the web page he or she is looking for cannot be found.
Reusable Elements Overview
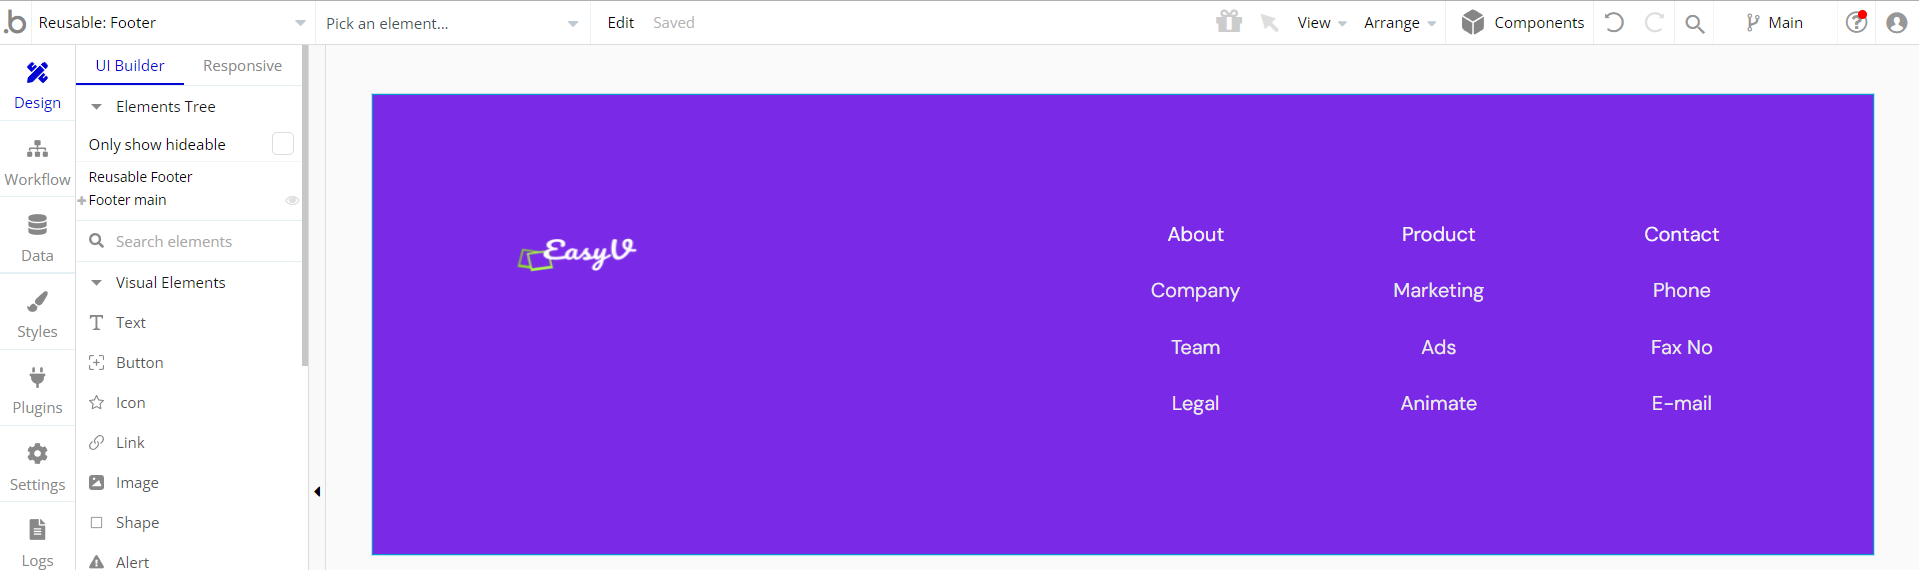
Footer
The footer reusable element is located at the bottom of a page. It provides an example of how it can include external links, such as the company's social media, navigation, and copyright notices.
A great website footer design keeps people engaged and moving through the website.
The workflows included with this element are pretty straightforward to follow.
This reusable element is customizable, so it is possible to change the styles and content of elements while keeping workflows or using it as inspiration for your own.
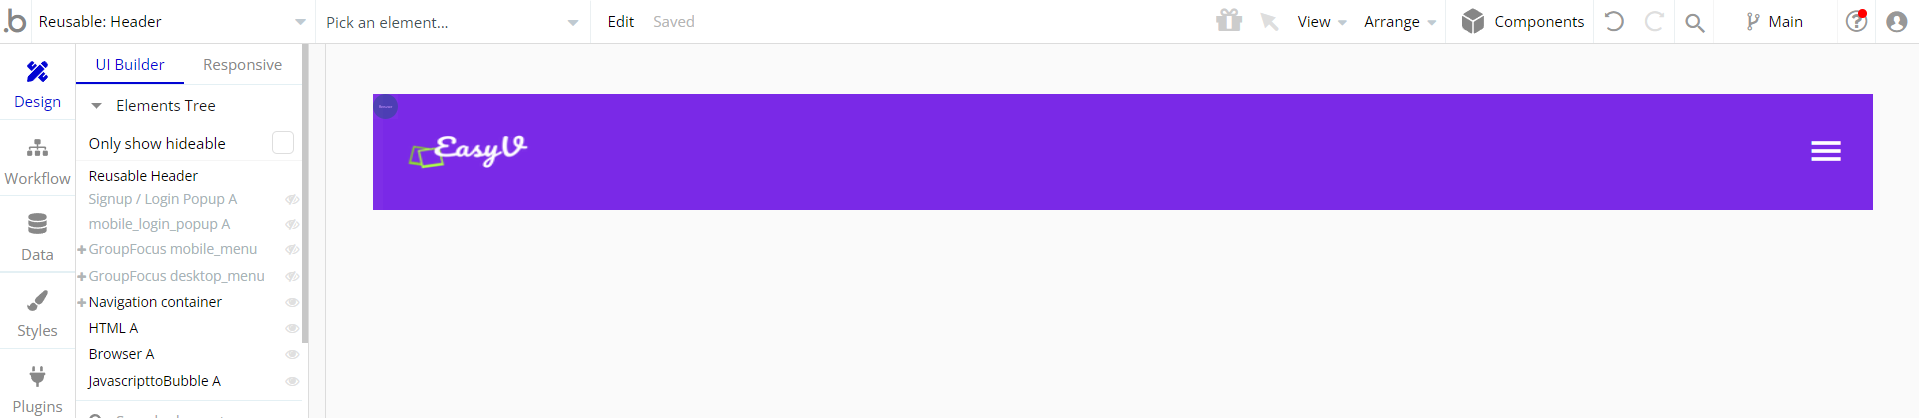
Header
The header reusable element sits at the top of each page and serves a few very important purposes. It does provide a place for the company's logo, navigation, and page title which are part of a consistent user experience that all good websites share.
Other common header features include search, shopping cart (for eCommerce), login/logout, user profile, and notifications (if applicable). The workflows included with this element are pretty straightforward to follow.
This reusable element is customizable, so it is possible to change the styles and content of the element while keeping workflows or using it as inspiration for your own.
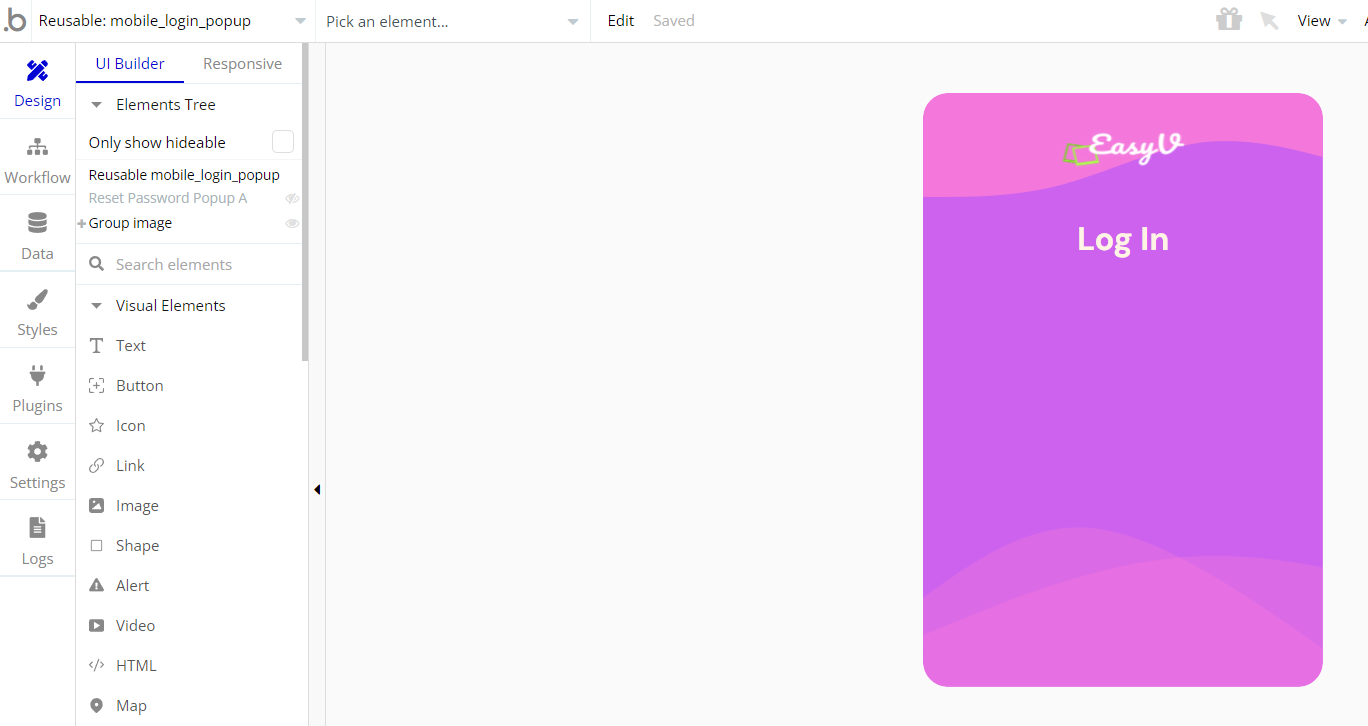
mobile_login_popup
This reusable element is used to display the header in mobile view.
popup_makevideo
This element is used on the
index page, to guide the user. 
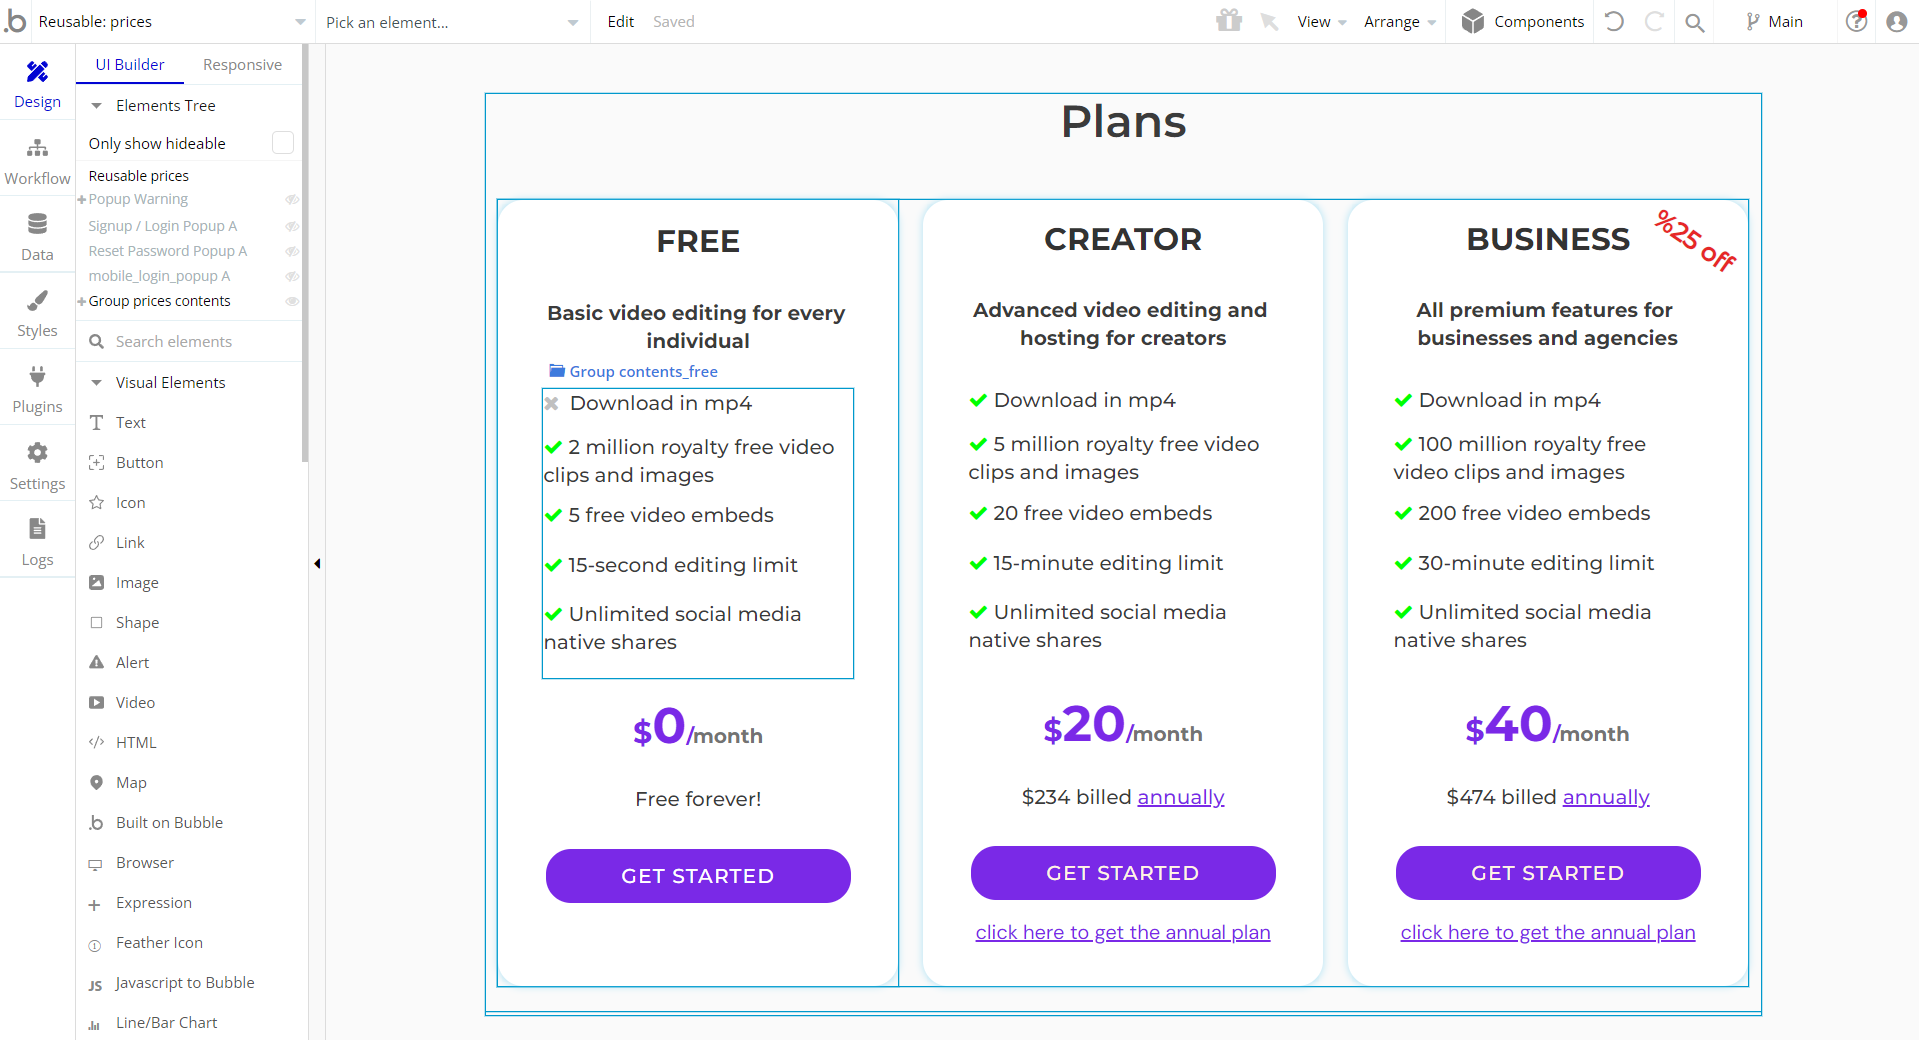
prices
This reusable element is used to display the available subscription plans.
Reset Password Popup
Log in/Sign up popup
This reusable element is a pop-up element used for simple sign-up and login processes.
Popup Alert-Info
Data Types
Order
This data type is used to store memberships/subscriptions in this type.
We're pulling private IDs here from Stripe. (Stripe Subscription ID and Stripe ID)
Field Name | Type | Notes |
is monthly | yes / no | We used this area to separate the monthly and annual plan. Use yes for monthly plans |
plan | text | Subscription plan type. |
price | number | The fee for the respective subscription. |
stripe customer id | text | Your customer's ID on the Stripe side |
stripe last event-id | text | An "event id" is given for each event done on the strip. This field is being updated in backend workflows. |
stripe subscription id | text | Your user's Stripe subscription ID |
user | User | Stores the subscribed user. |
User
This data type stores user-related information.
Field Name | Type | Notes |
admin | yes / no | Stores the admin status. |
name | text | Stores the user name. |
profile image | image | Stores the profile image. |
username | text | Stores the username. |
Tip: The User data type have the following fields: email, Modified Date, Created Date and Slug.
These fields' values can be used in workflows, conditional formatting, etc. To learn more, see the Bubble manual
Variable
This data type is used to (not) allow users to use the admin features within the app.
Field Name | Type | Notes |
access rights | yes / no | This field determines demo admin user permissions. |
Video
This data type is used to store information when you create a video in wave.video it sends the base information back to Bubble. All data of this data type is provided by wave.video.
Data may not be updated when a video is re-edited!
Field Name | Type | Notes |
duration (sec) | text | When a video is created, the video's duration is saved here.
This information is provided by wave.video. This duration may not change in re-edited videos. |
format | text | When a video is created, the video's format is saved here.
This information is provided by wave.video. This format may not change in re-edited videos. |
fps | text | When a video is created, the video's fps is saved here.
This information is provided by wave.video. This fps may not change in re-edited videos. |
height | text | When a video is created, the video's height is saved here.
This information is provided by wave.video. This height may not change in re-edited videos. |
id | text | When you want to edit a video use this ID to navigate to the correct url |
name | text | Stores the video's name |
size (kb) | text | When a video is created, the video's size is saved here.
This information is provided by wave.video. This duration may not change in re-edited videos. |
src | text | When a video is created, the video's size is saved here.
This information is provided by wave.video. This duration may not change in re-edited videos. |
thumbnail | text | A thumbnail for your video |
user | User | Subscribed user |
width | text | When a video is created, the video's weight is saved here.
This information is provided by wave.video. This height may not change in re-edited videos. |
Release Notes
18 August 2023
- 🎉 New template documentation
- 🔧 Added "Setup Guide" section
- ❔ Added "FAQs" section
- ✅ Added "Release Notes" section
- 🎬 Added "Video Overview" section
18 August 2022
- 🔄 Template's design updated to the new Bubble Responsive Engine
Note: Template updates don’t apply to the apps which were built on the template prior to updates becoming available.
Tip: To check changes in workflows and design after the release update, you can create a new block copy and compare the settings (design/workflow) of the new copy and the app you have.
So you don't have to "move" your customizations from your already edited template to the new block copy.
Ready to move further?
Enhance your app with powerful plugins
🔌 Rapid Dev Plugins: add Superpowers to your App
Boost your Bubble skills within our Lab
🎓 Rapid Dev Labs: no-code Courses and Tutorials
Note: The data type has a privacy rule applied. See the 💬 in the database under the privacy section for details.