Introduction
NFT Collection Landing Template provides a well-designed landing page for NFT collection artists to showcase their collections.
This template is production ready. It is easy to manage and fully responsive.
Sections
- Header section
- Hero section
- Info section
- Gallery section
- Roadmap section
- Community section
- FAQ section
- Team section
- CTA section
- Footer section
Features
- Fully responsive, well-designed landing page
- Easily manageable 10 sections in a page
- Slidable gallery feature
- Manage your images with option sets
- Direct your users to your social media accounts
- Invite your users to your Discord server
Tip: Find out more on how to work with a template on Bubble here:
Get Started
In this section, you will learn how to manage and configure your template.
Manage sections
You can change the order of the sections or delete them if you don't want.
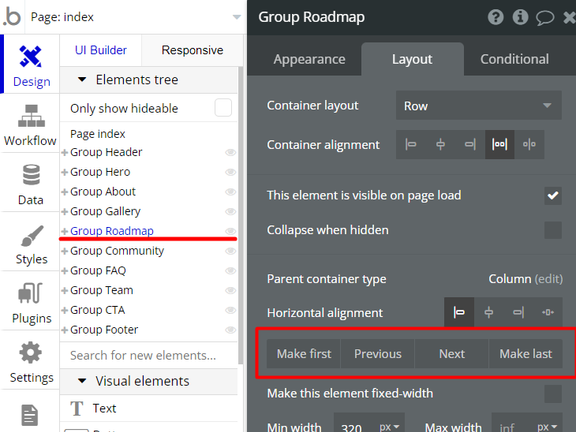
Change the order of sections
- From the element tree, click the section whose order you want to change.
- Go to the "Layout" tab from the property editor that opens and change the order using the "Previous", and "Next" buttons.
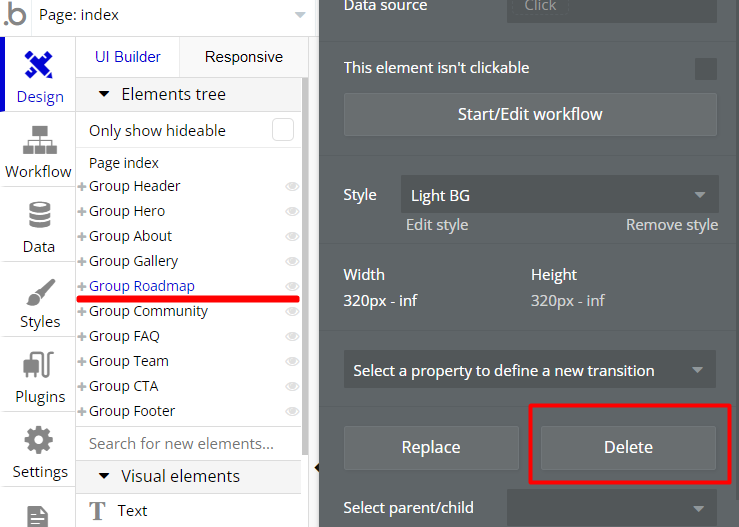
Delete a section
- From the element tree, click the section whose order you want to delete.
- Go to the “Appearance” tab from the property editor that opens and click on the “Delete” button.
Change Option Sets
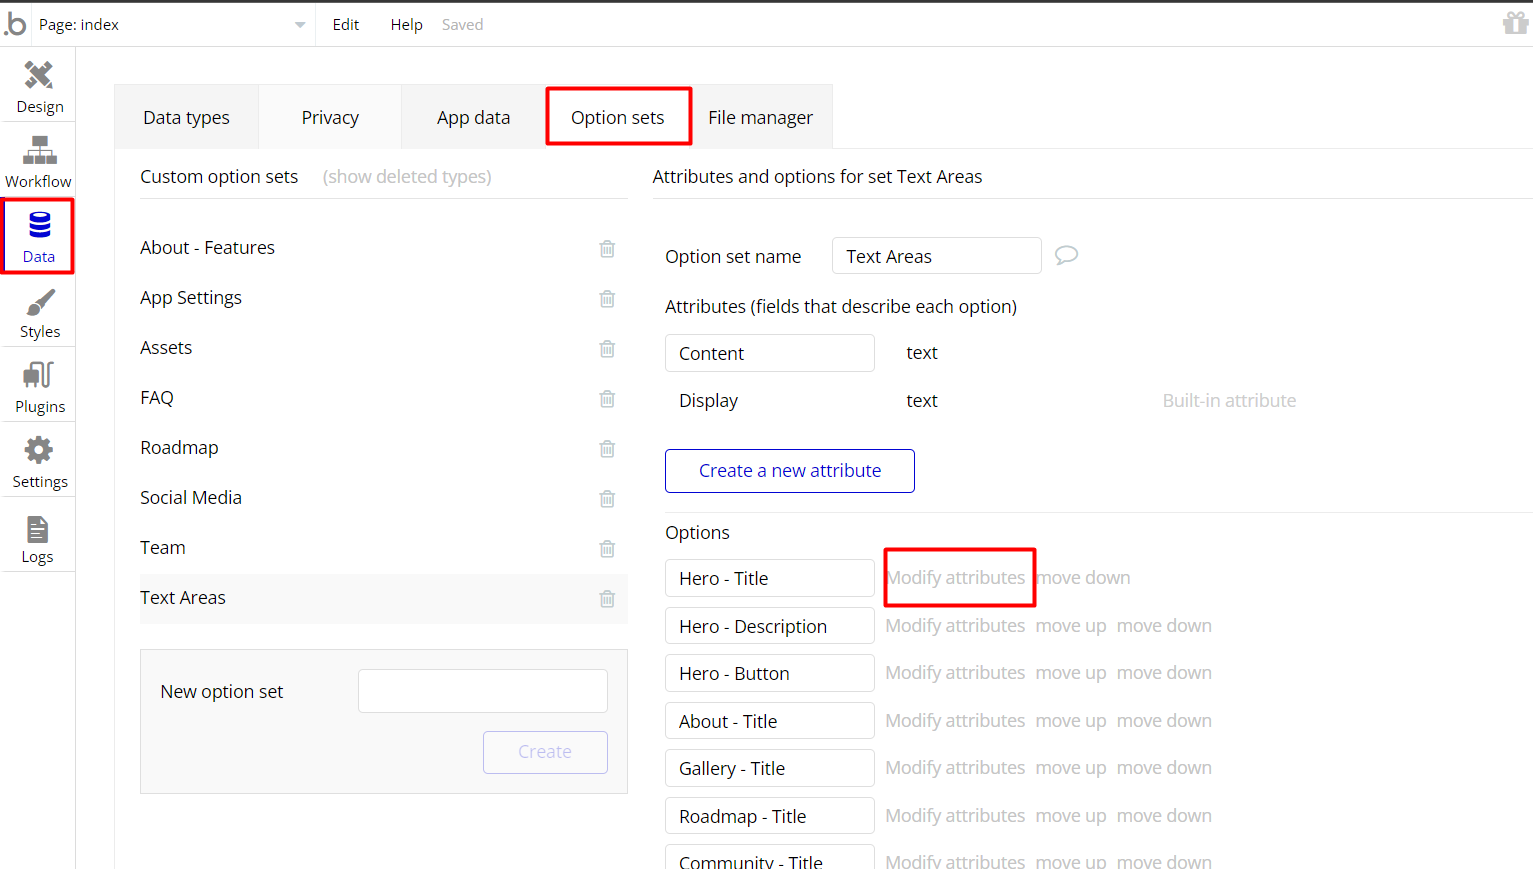
Data such as the contents of text elements, application name, logo, social media links, FAQ section questions and answers are stored as "Option Sets". Thus, they load quickly when the page is first loaded and can be easily managed. You can modify these images by following the steps below.
- From the "Data" tab, enter the "Option Set" section.
- Display the option set you want to make changes.
- Click on "Modify attributes" for the section you want to change and update it.
Set your gallery images
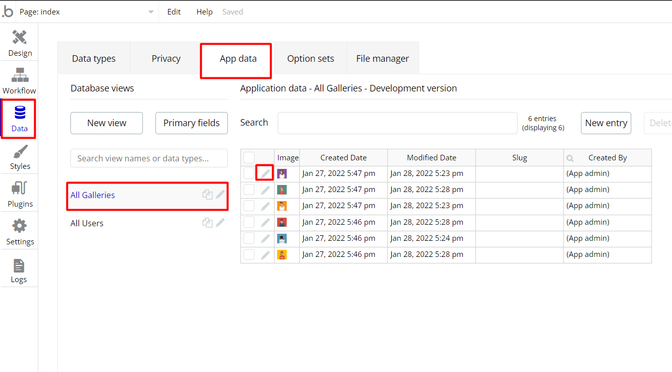
Gallery images are displayed with a slidable element. These images are stored in the database under the "Gallery" data type. You can modify these images by following the steps below.
- From the "Data" tab, enter the "App Data" section.
- Display the gallery entries by clicking on the “All Galleries”
- Click on the edit icon for the image you want to change and update it.
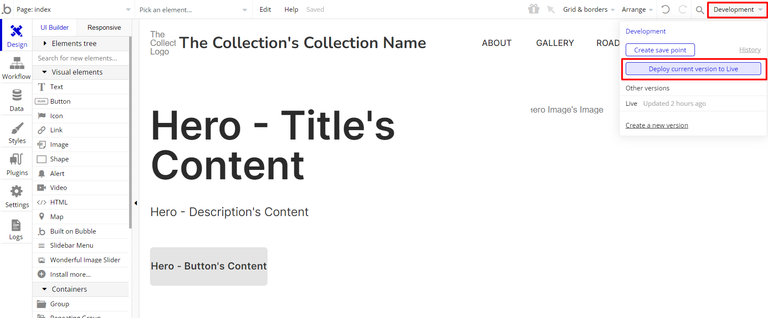
Deploy your app to live
After making changes to your application, you should deploy your application so that your users can see the current version of the application in the live version. For this, follow the steps below.
- Click on the “Development” from header section in Bubble editor.
- Click on the “Deploy current version to Live” button.
- Take down your description and click on the “DEPLOY” button.
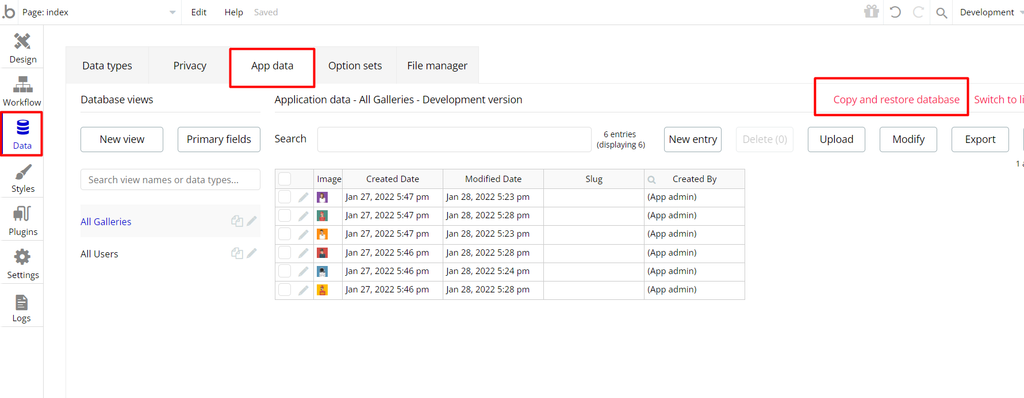
Deploy your database to live
In Bubble applications, the databases of the "development" and "live" versions are different. In order for the database updates you made in the "development" version to be valid in the "live" version, you must deploy the database. For this, follow the steps below.
📌 Note: Option sets are common to both versions. You don't need to do this for option set updates.
- From the "Data" tab, enter the "App Data" section.
- Click on the “Copy and restore database”.
- Follow the instructions
VAPI AI Call Assistant Integration
Check out a new feature that is powered by the VAPI AI Platform.
It allows your application to have a completely customizable voice assistant that will answer any customer’s questions within the framework of the set prompt.
Please note that this is a paid plugin, so to use it, you need to subscribe or buy it.
As for the traffic, you only pay for the minutes you use. Check the pricing details here: https://docs.vapi.ai/pricing
Call Assistant Setup: See the documentation on how to set up the Enhanced VAPI AI Call Assistant in the Bubble App.
If you don't need this feature within your app, feel free to remove it.
In this case, remove the:
- reusable element “AI Assistant” from the index page and reusable elements
- remove the following step in the workflow:
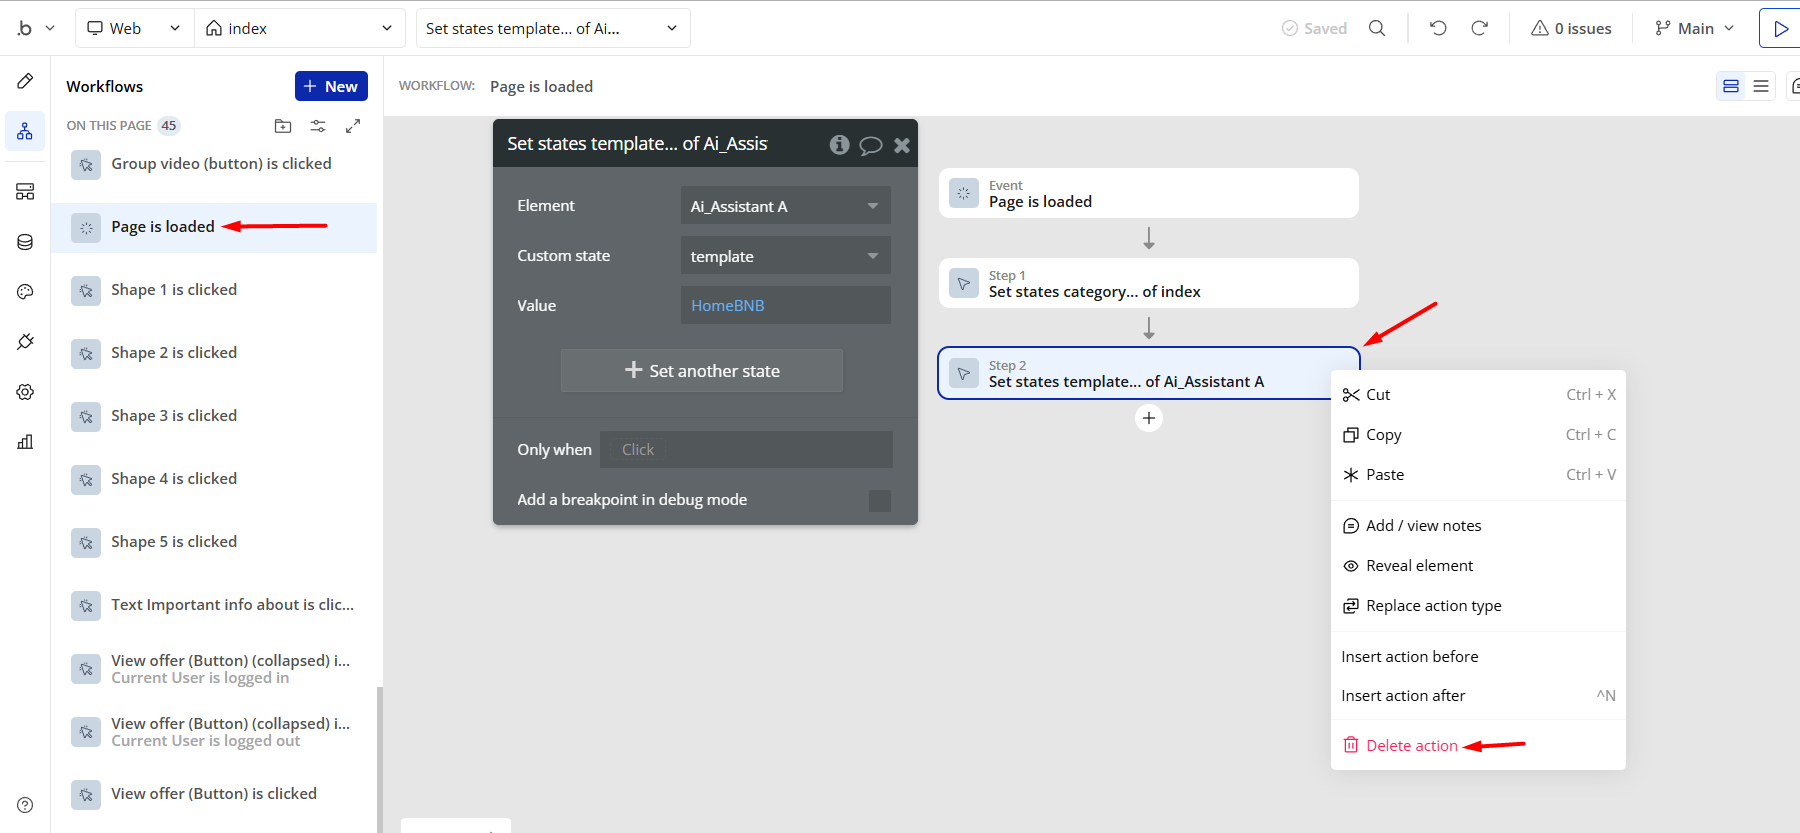
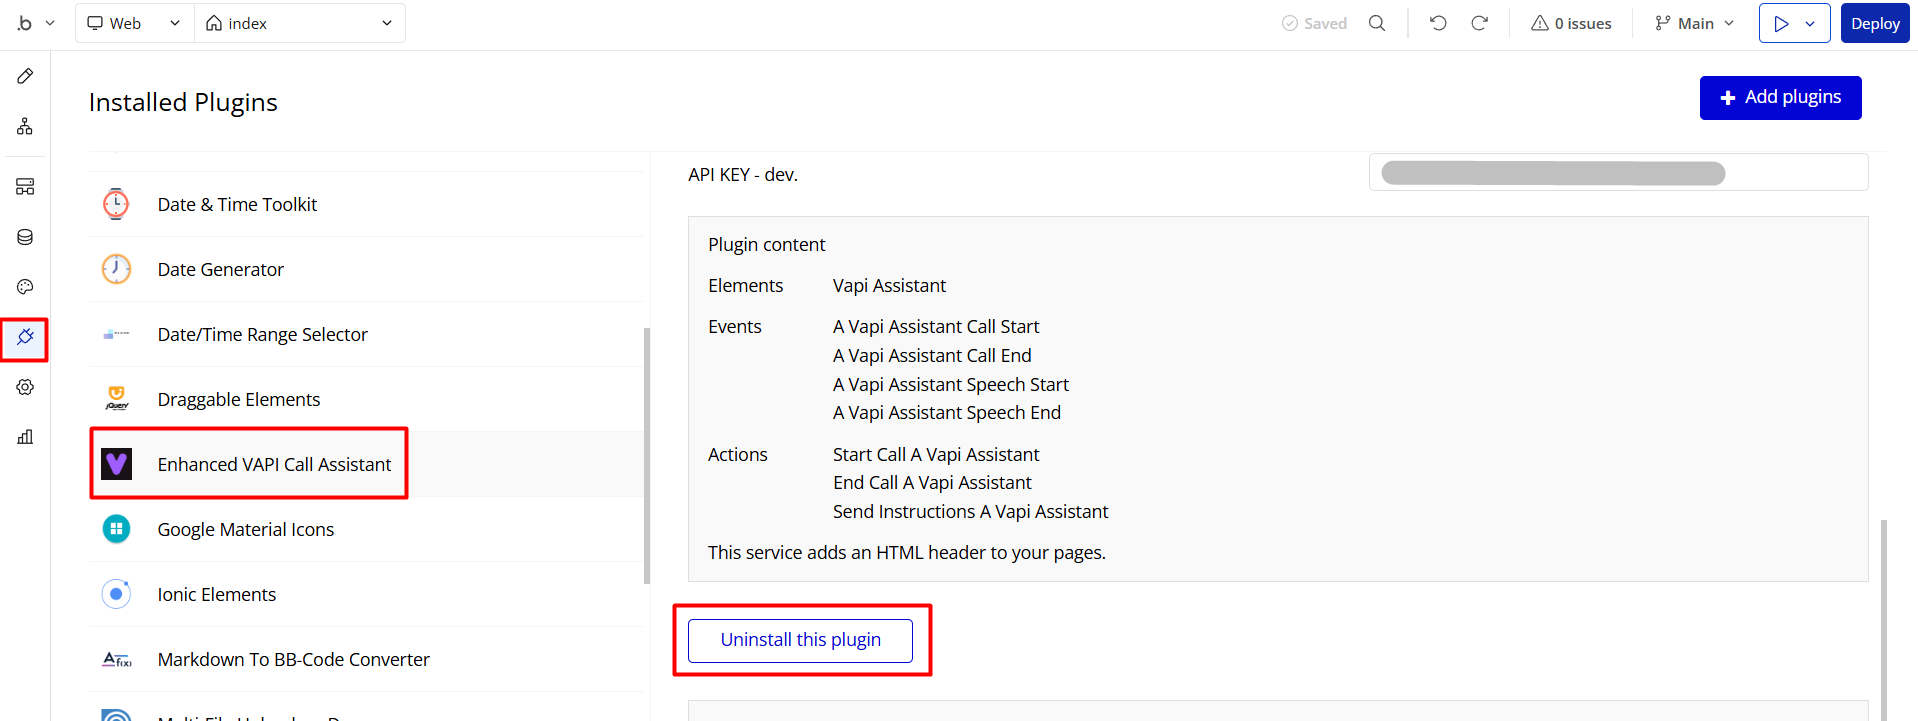
- Remove the Enhanced VAPI Call Assistant plugin from the plugin tab.
Support & Feedback
Please contact us if you need help with the template. We would also be pleased if you would send your feedback and comments.
To reach us:
- Email: support@rapidevelopers.com
- Twitter: @Rapidevelopers
- LinkedIn: @RapidDev — Rapid Dev.