This guide states the things to note like Admin Access, Custom Code, Notes, Paid API and others.
Admin Rights
Most of the template content is directly pulled from the database. Please do not delete an entire Data Thing unless you are sure of what you are doing. However, feel free to delete any template content you prefer.
For security purposes, this template has limited rights for potential customers. This means, that you will not be able to use the admin features at their fullest until you purchase the template and enable admin rights.
The restricted elements for clicking are:
- MaterialIcon edit course card
- Icon deleteClassofClasses card
- IonicIcon ion-reply comment & review
- MaterialIcon mode_edit comment & review
- MaterialIcon delete comment & review
- Icon editFAQ
- Icon deleteFAQ
- Button Delete User
- Button Cancel Plan
- Icon fa-fa close
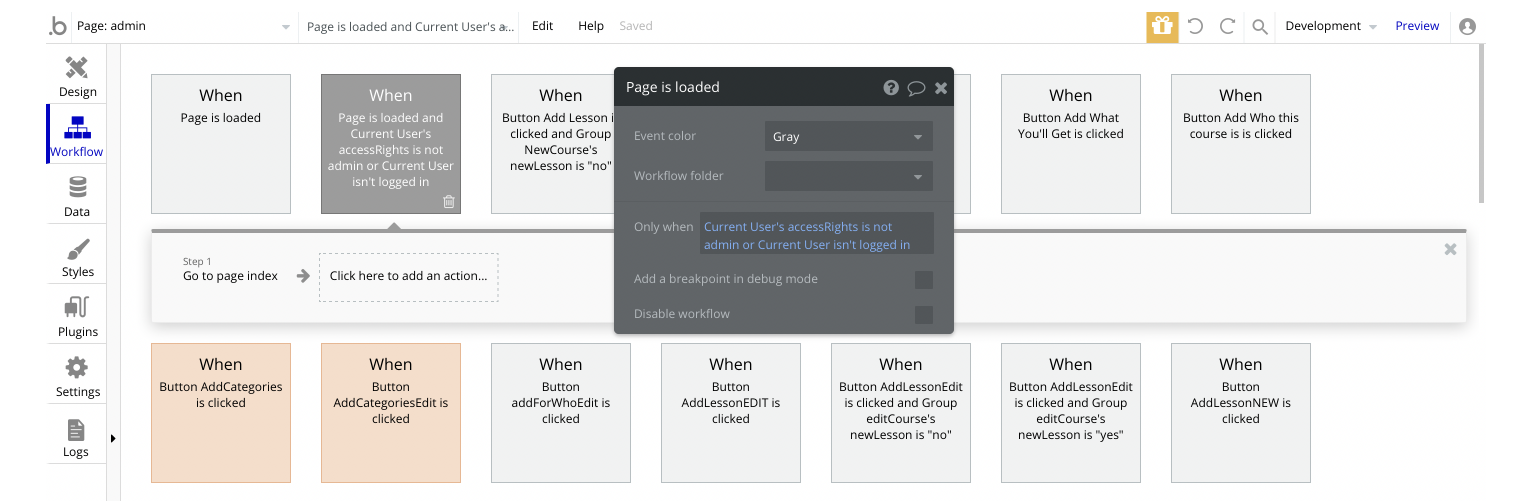
All the non-clickable elements have a Conditional for the demo admin account, for example:

So, when the Current User isn't logged in or the Current User's email is the demo admin account, these buttons will not be clickable for security reasons.
Note: If you want to navigate to the
admin page, please log in as Demo Admin. But, if you have already purchased the template, any user with admin rights will be able to access this page and use its features to the fullest. Just follow the guide below.1. Go to Data -> App data -> All Users tab. Select any user you want to grant the admin rights to, and edit the database entry. Type in the admin word for the
AccessRights field: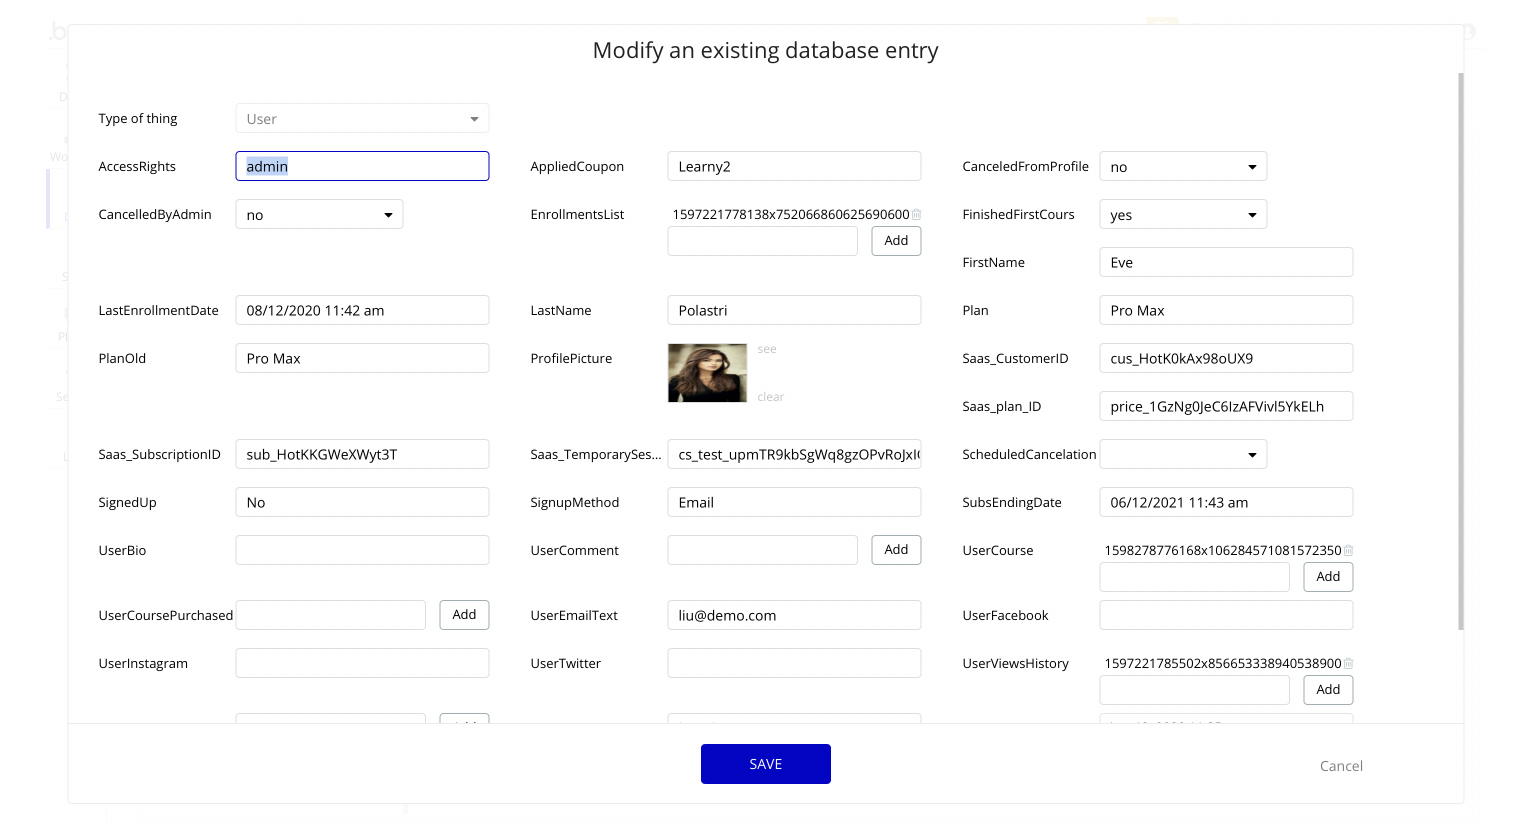
Note: Remember to hit the SAVE button.
Great. This will give you the right to access the admin page. Now, in order to become super admin and use all the panel features, follow the step below.
2. Go to Data -> App data -> All Variables tab. Edit the single available entry, and set the
Admin field to yes: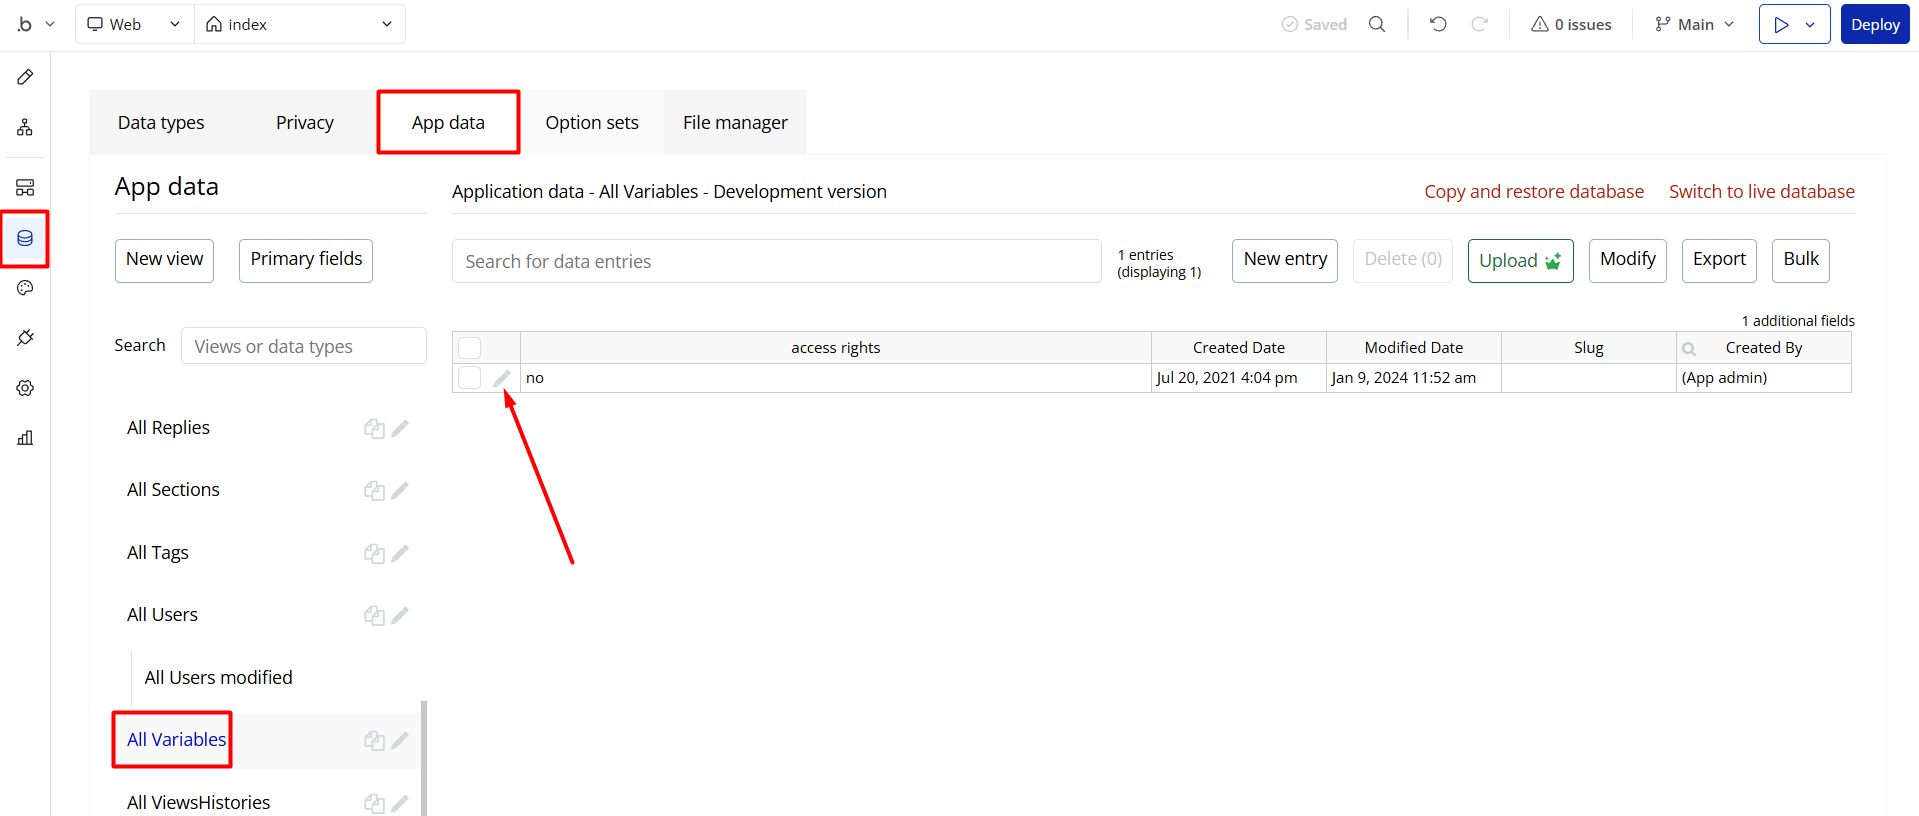
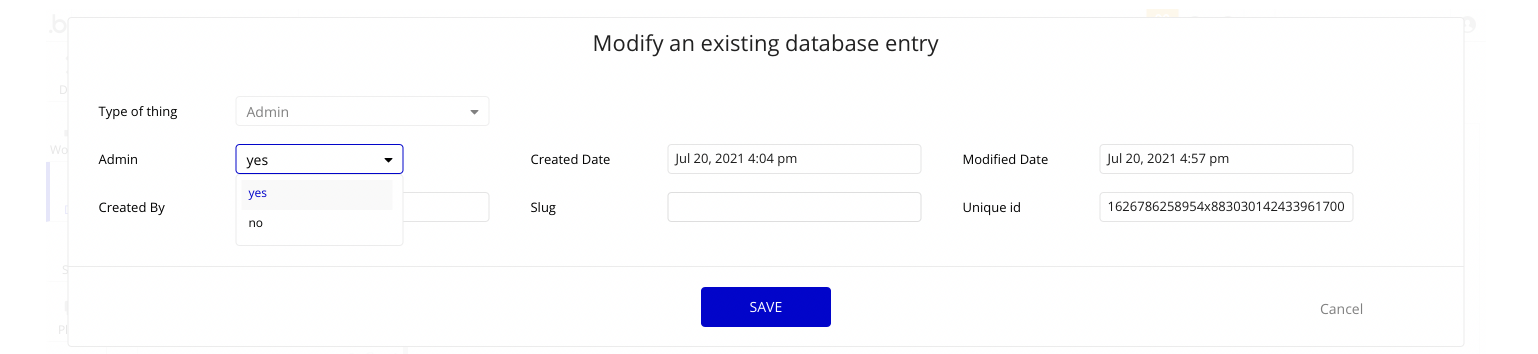
Note: Remember to hit the SAVE button.
Congrats! You have successfully enabled the admin rights. Now, you are able to test the dashboard page and use its features to the fullest.
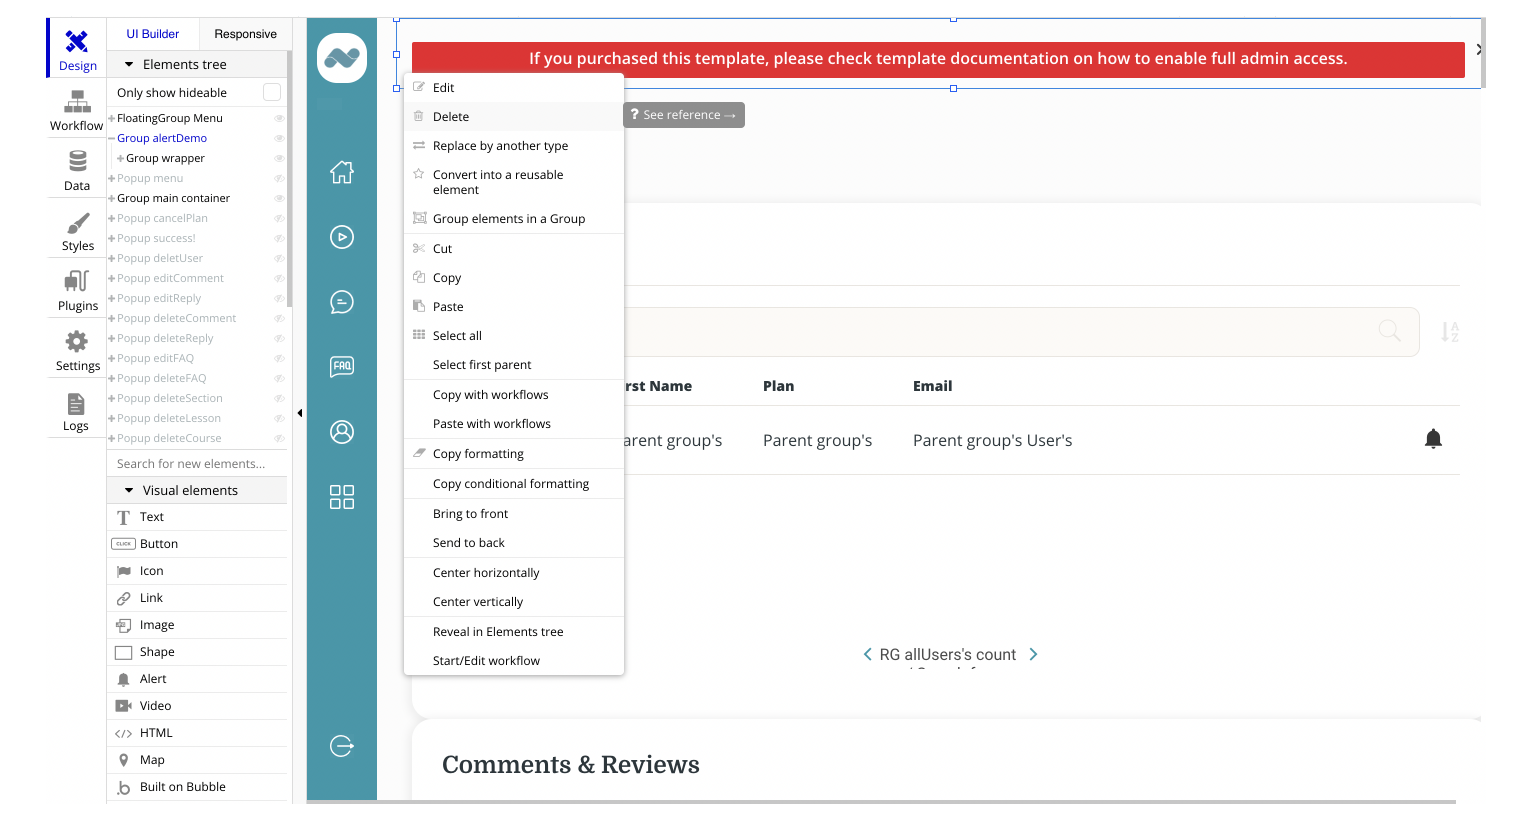
Also, go to the Design tab, locate the Group "alertDemo" element, and simply delete it:
Custom Code
On certain pages, there are some HTML elements used for some solutions that are not available by default.
You can find these codes on the following pages:
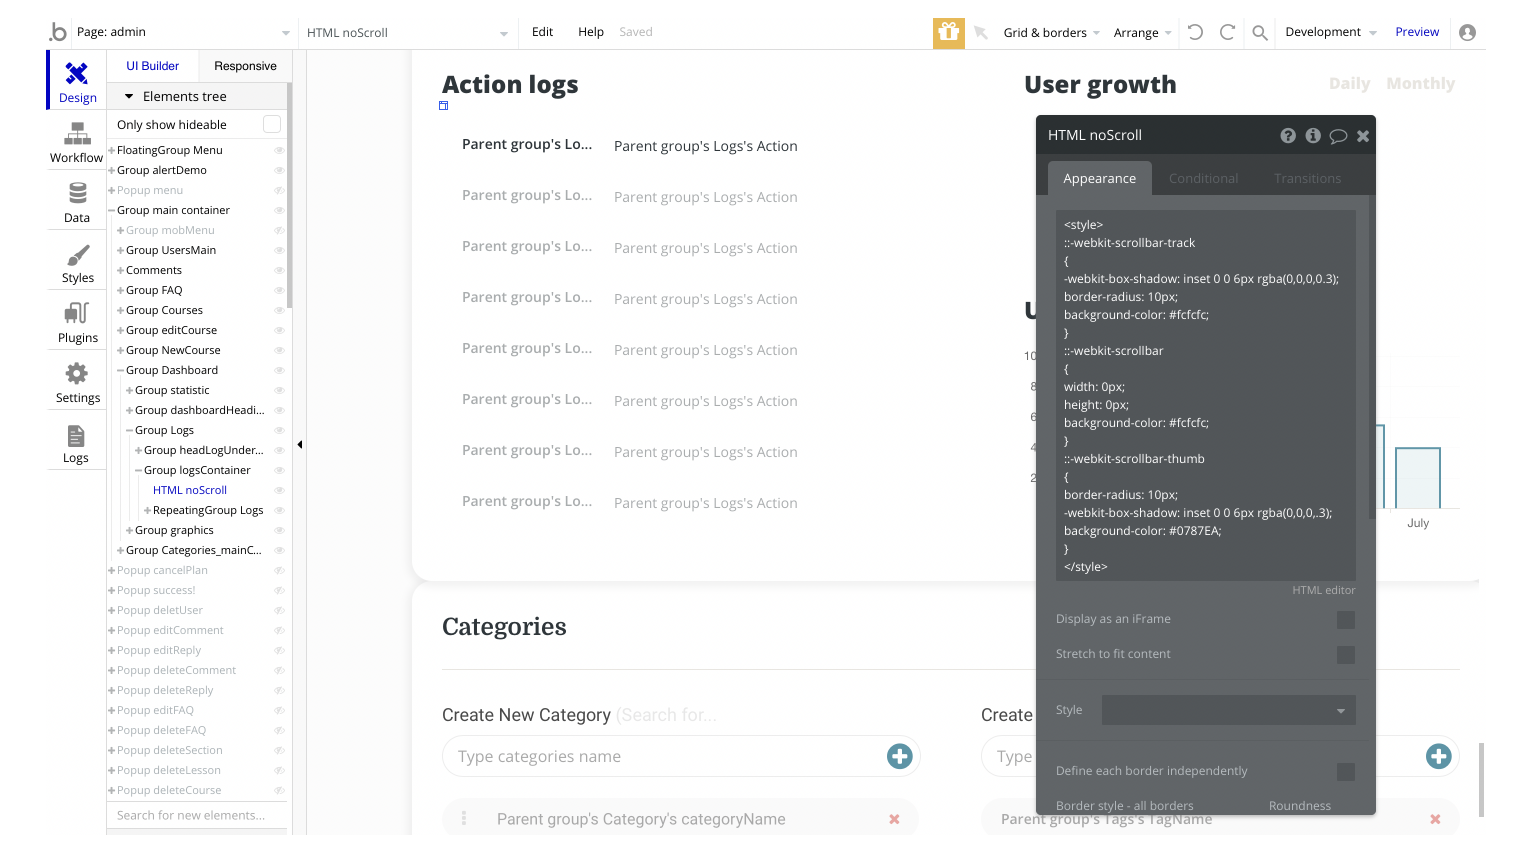
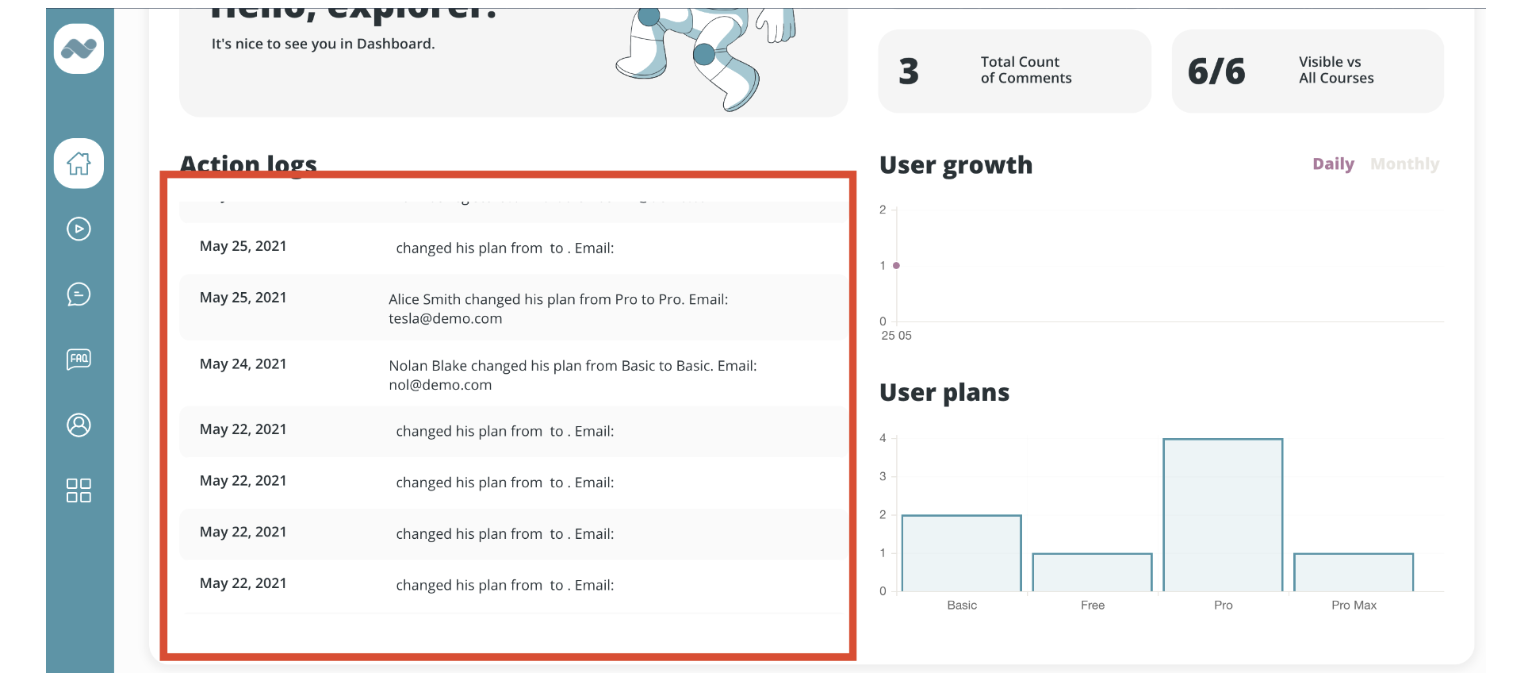
admin page:- HTML noScroll - used to remove the scrolling bar from the Action logs section.
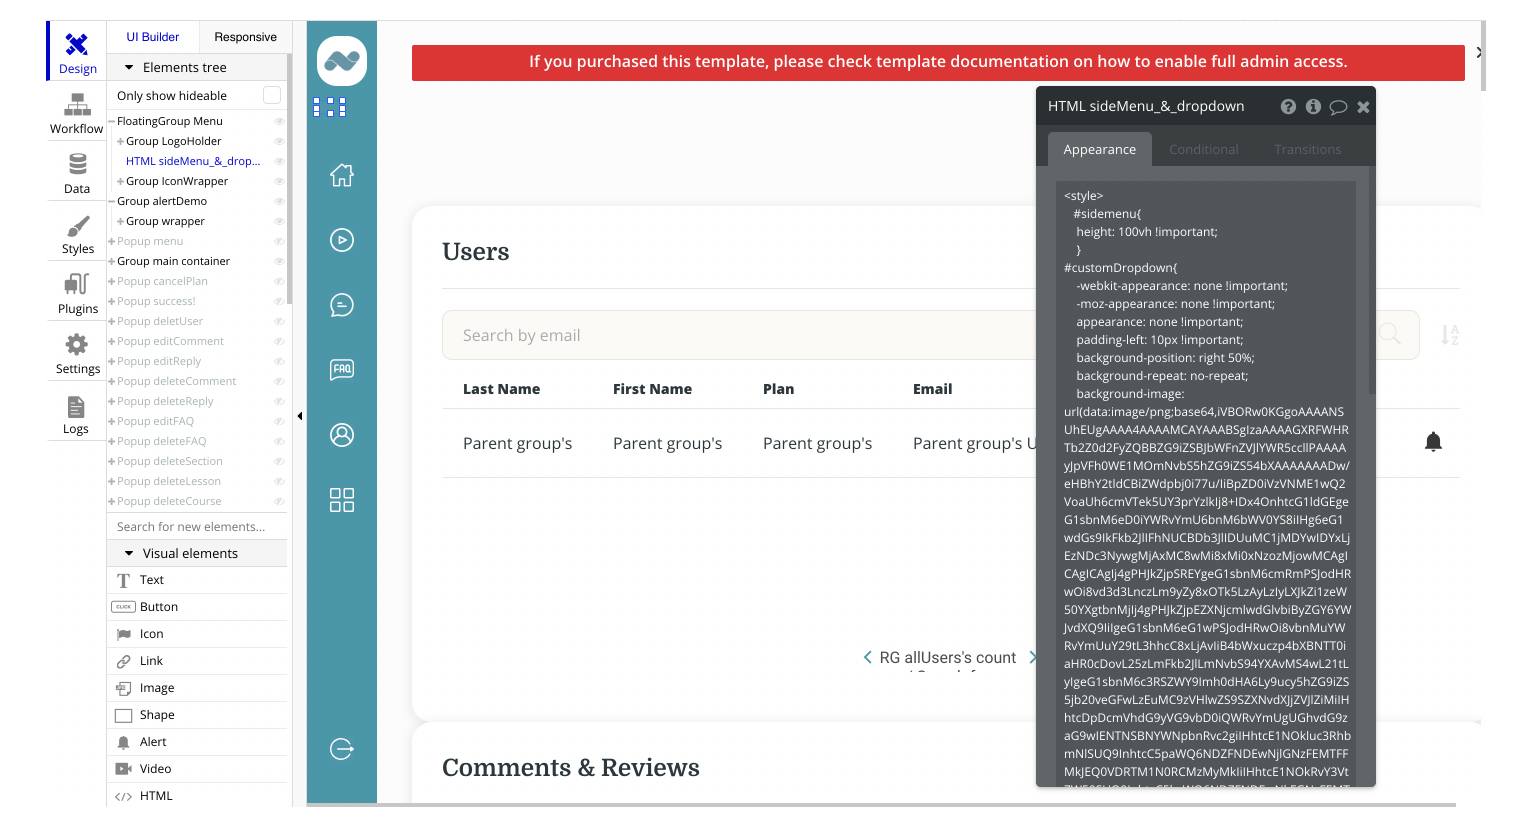
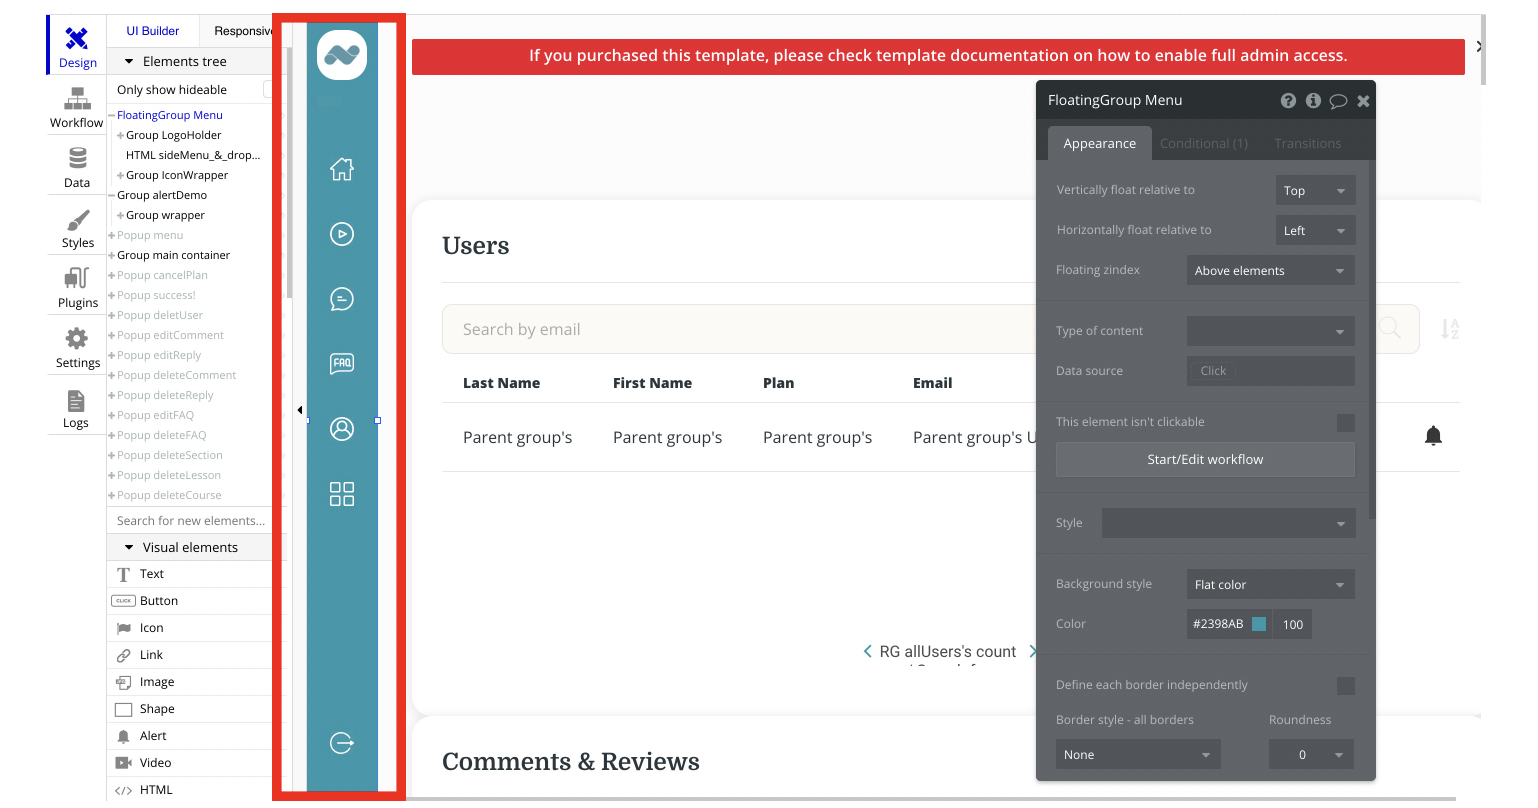
- HTML sideMenu_&_dropdown - used to keep the left-side menu bar with a full height; to customize the dropdown and override the standard dropdown design in Safari browser.
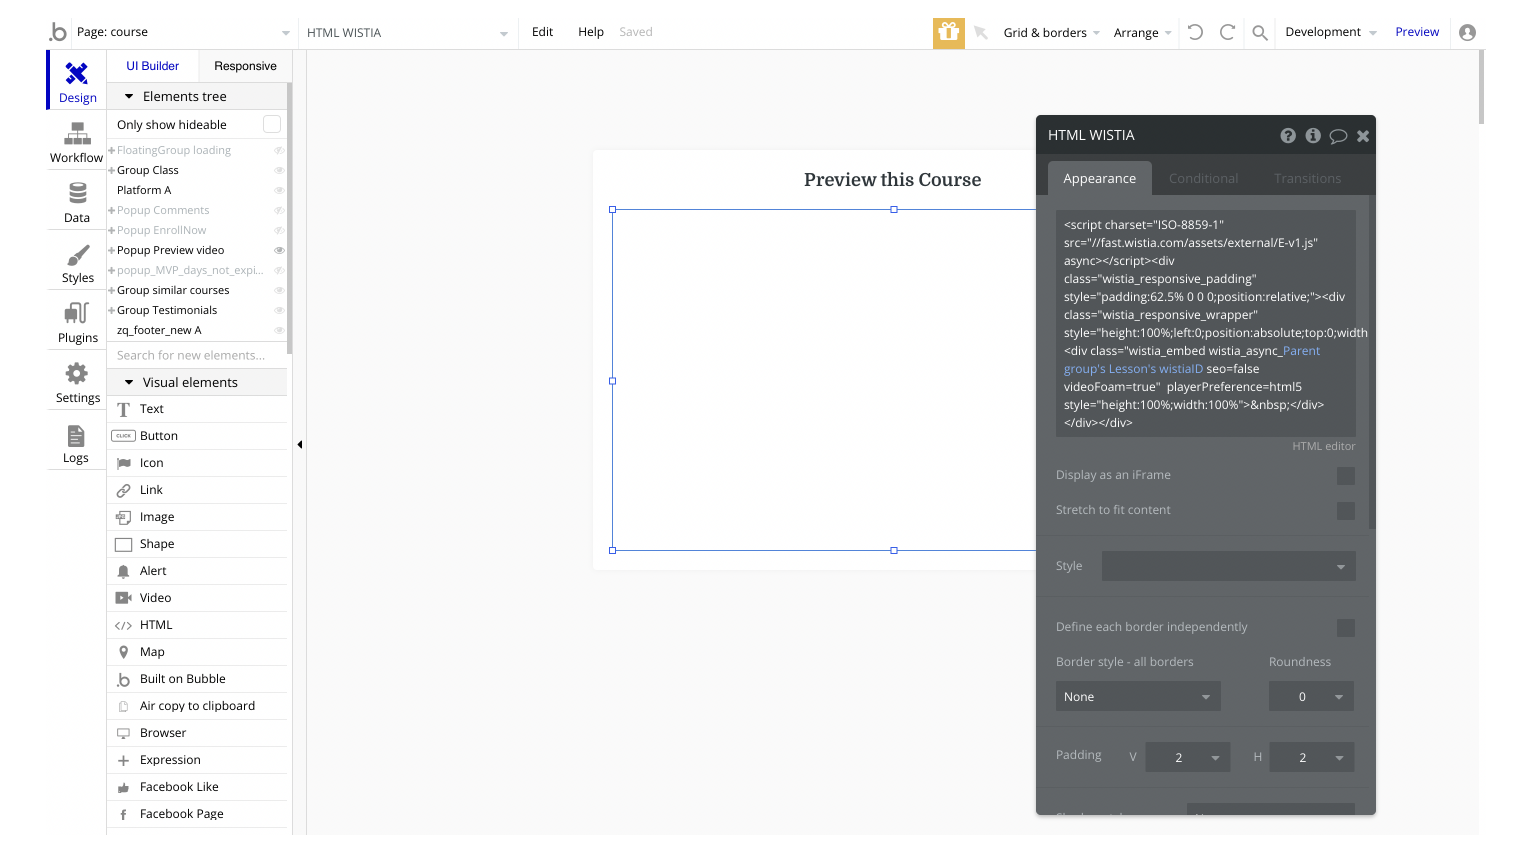
course page:- HTML WISTIA - an iframe used to display the video pulled from WISTIA hosting.
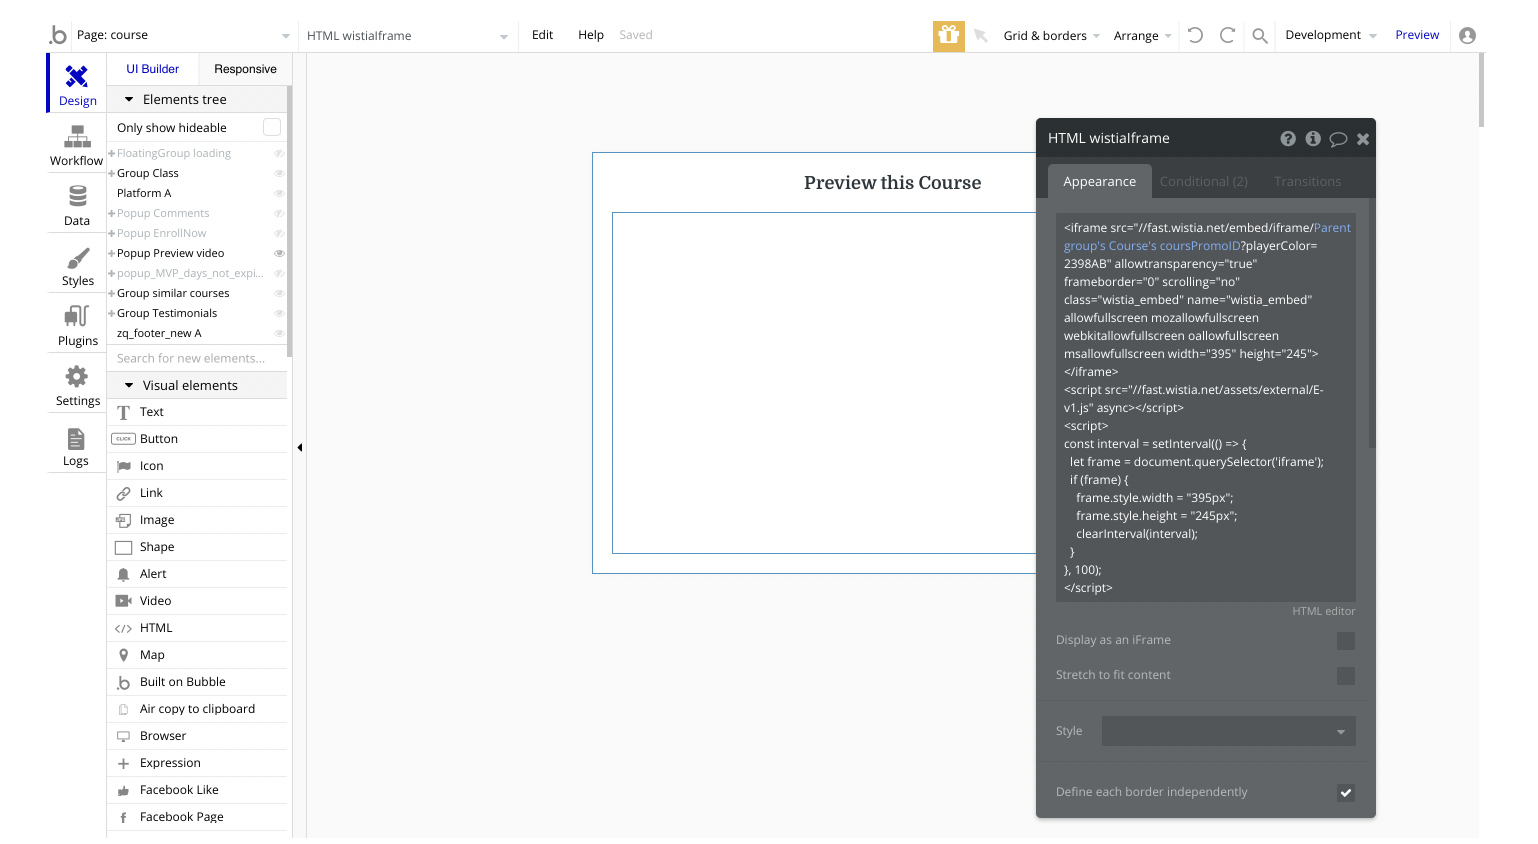
- HTML wistiaiframe - an iframe used to display the video pulled from WISTIA hosting.
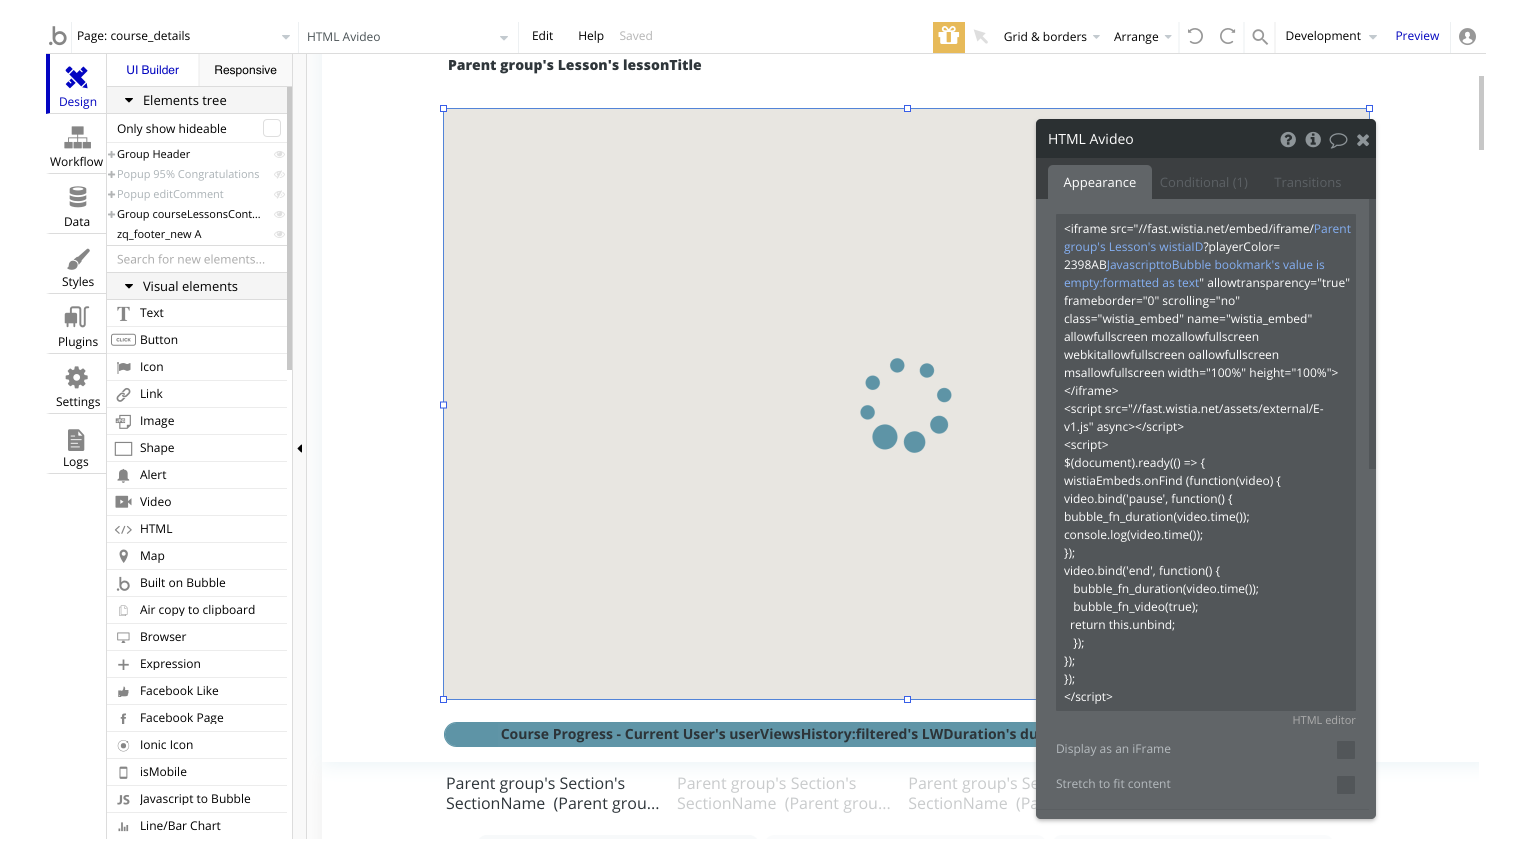
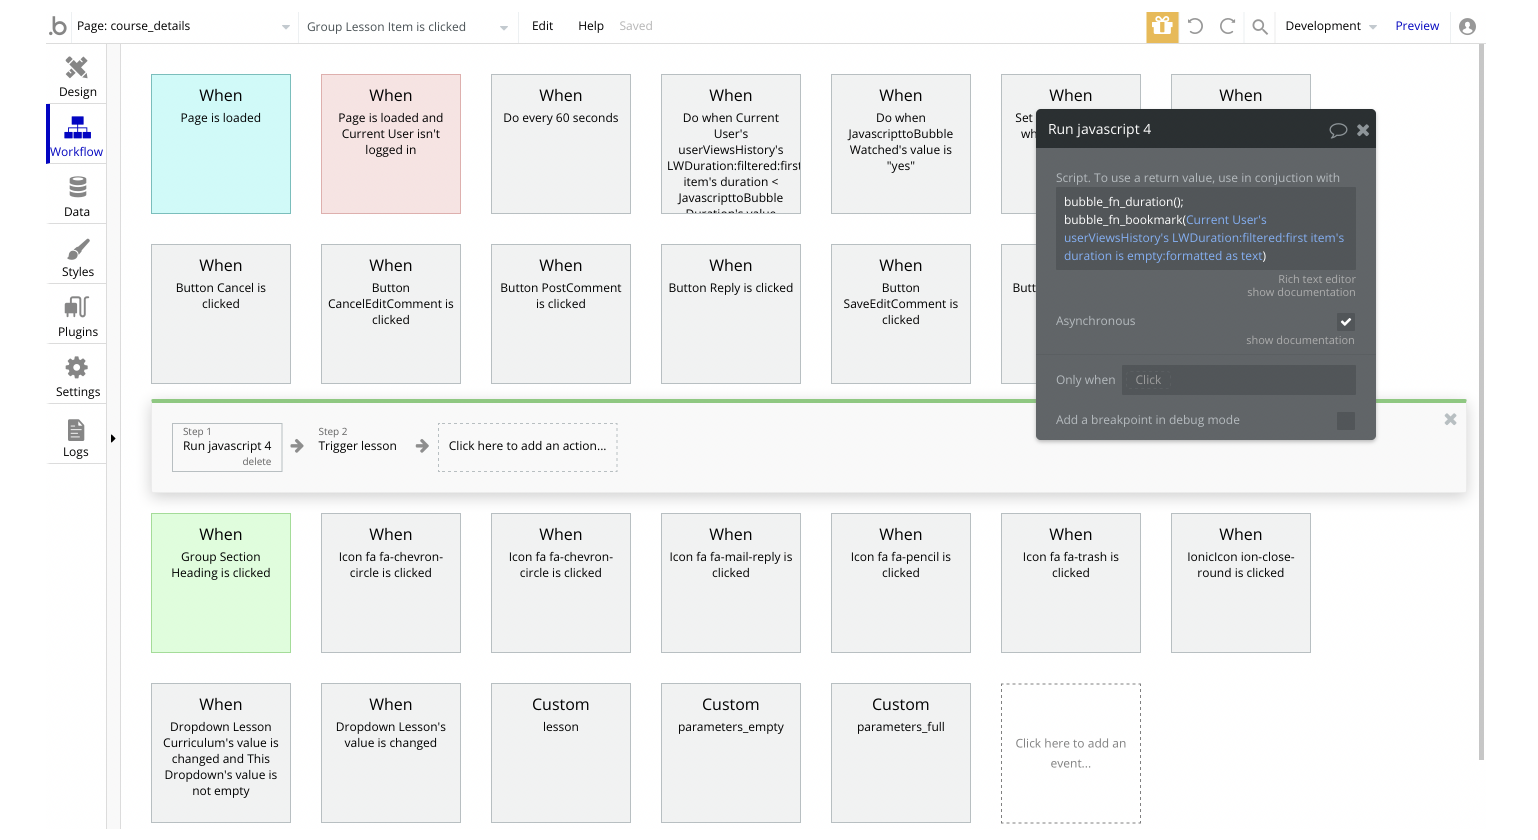
course_details page:- HTML Avideo - an iframe used to display the video pulled from WISTIA hosting
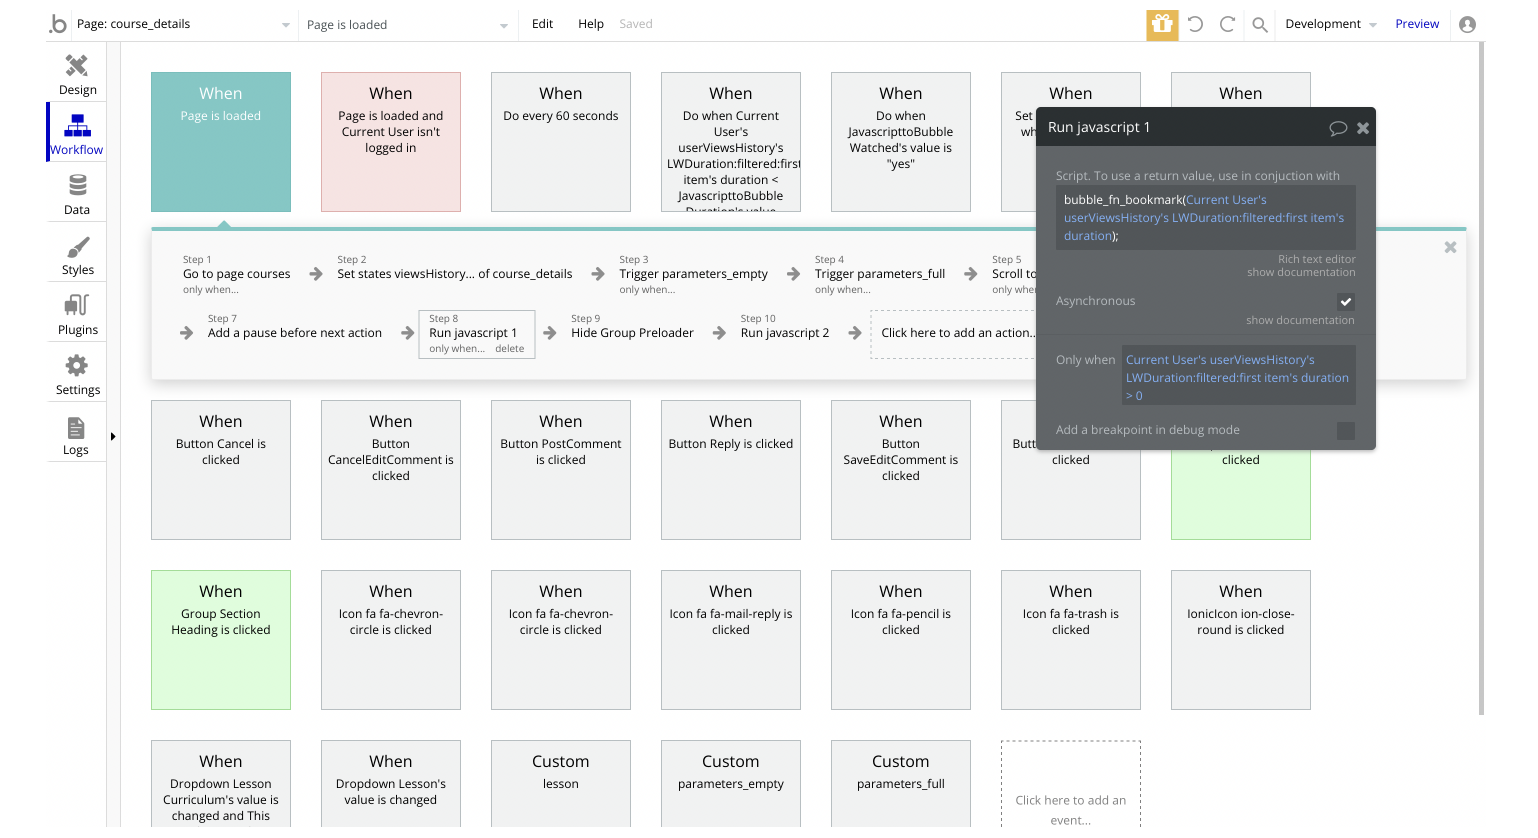
- Run javascript 1 - used to find out which point the video course was left at
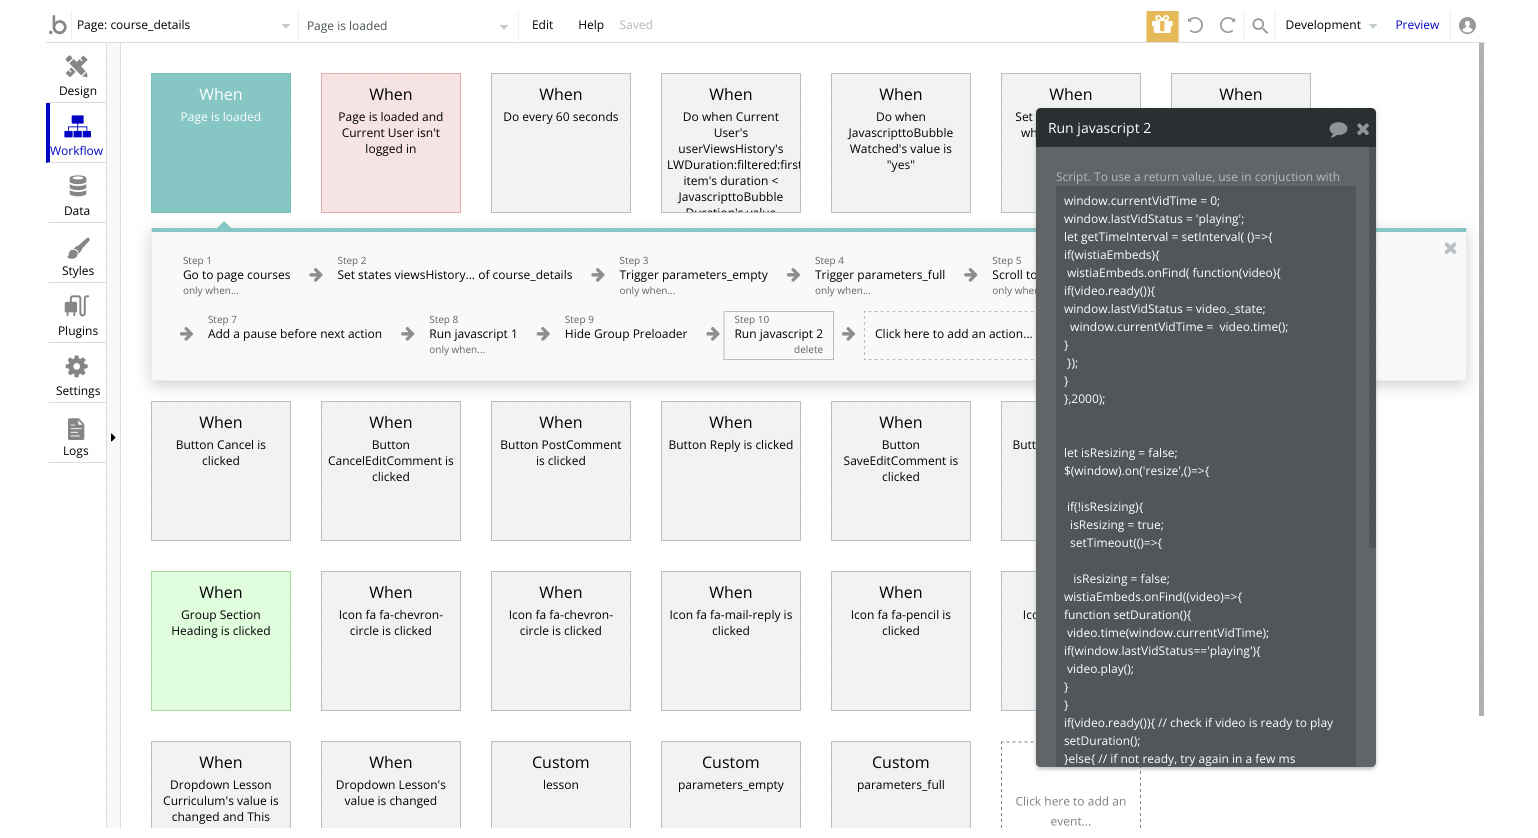
- Run javascript 2 - used to autoplay on page load
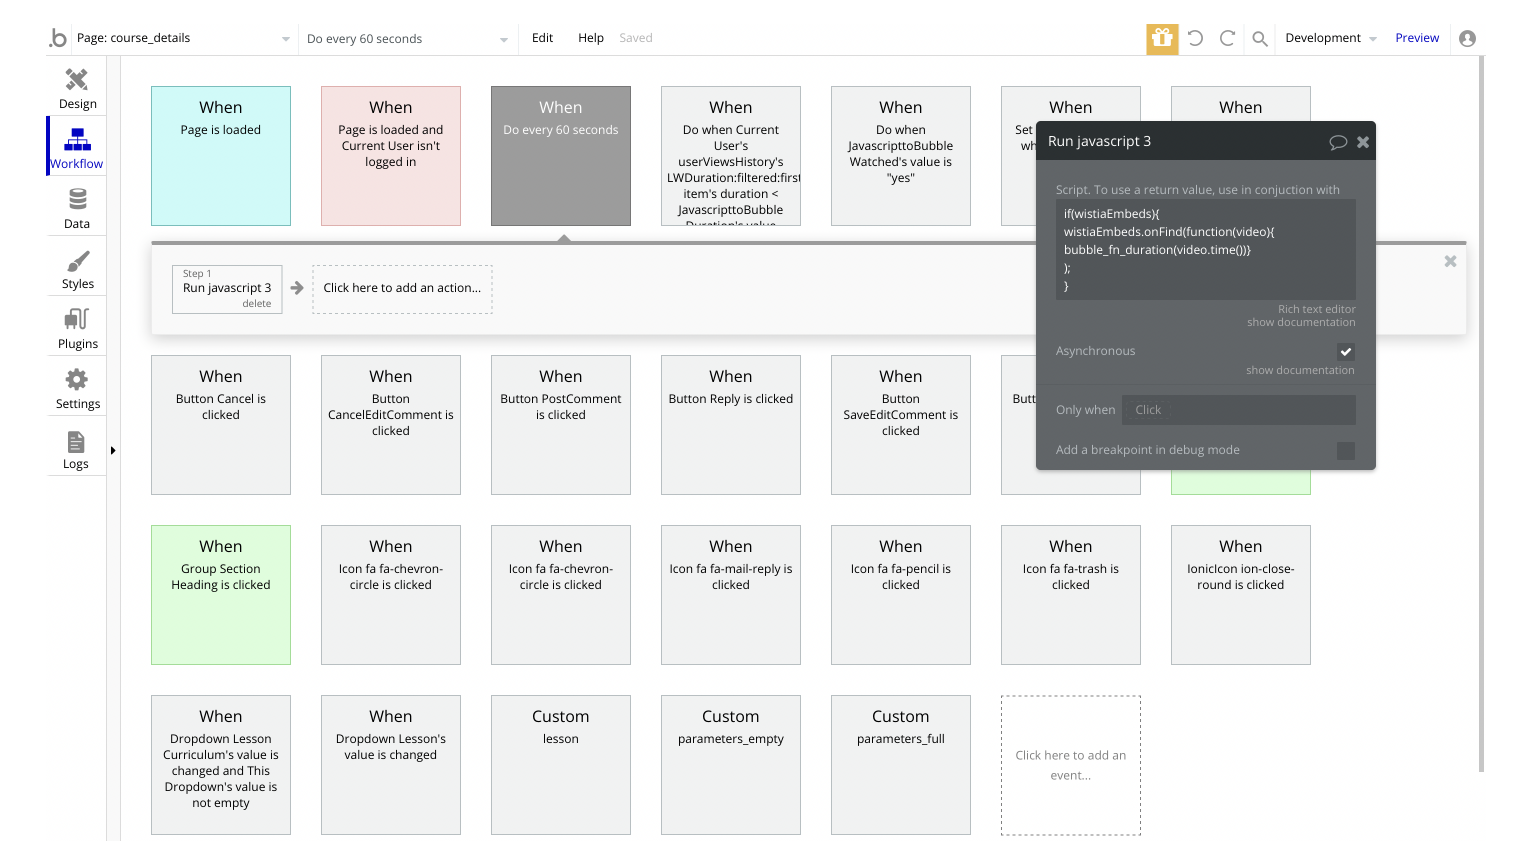
- Run javascript 3 - used to check every 60 seconds which point of the video course a user is at
- Run javascript 4 - used to set the second the video course should start at
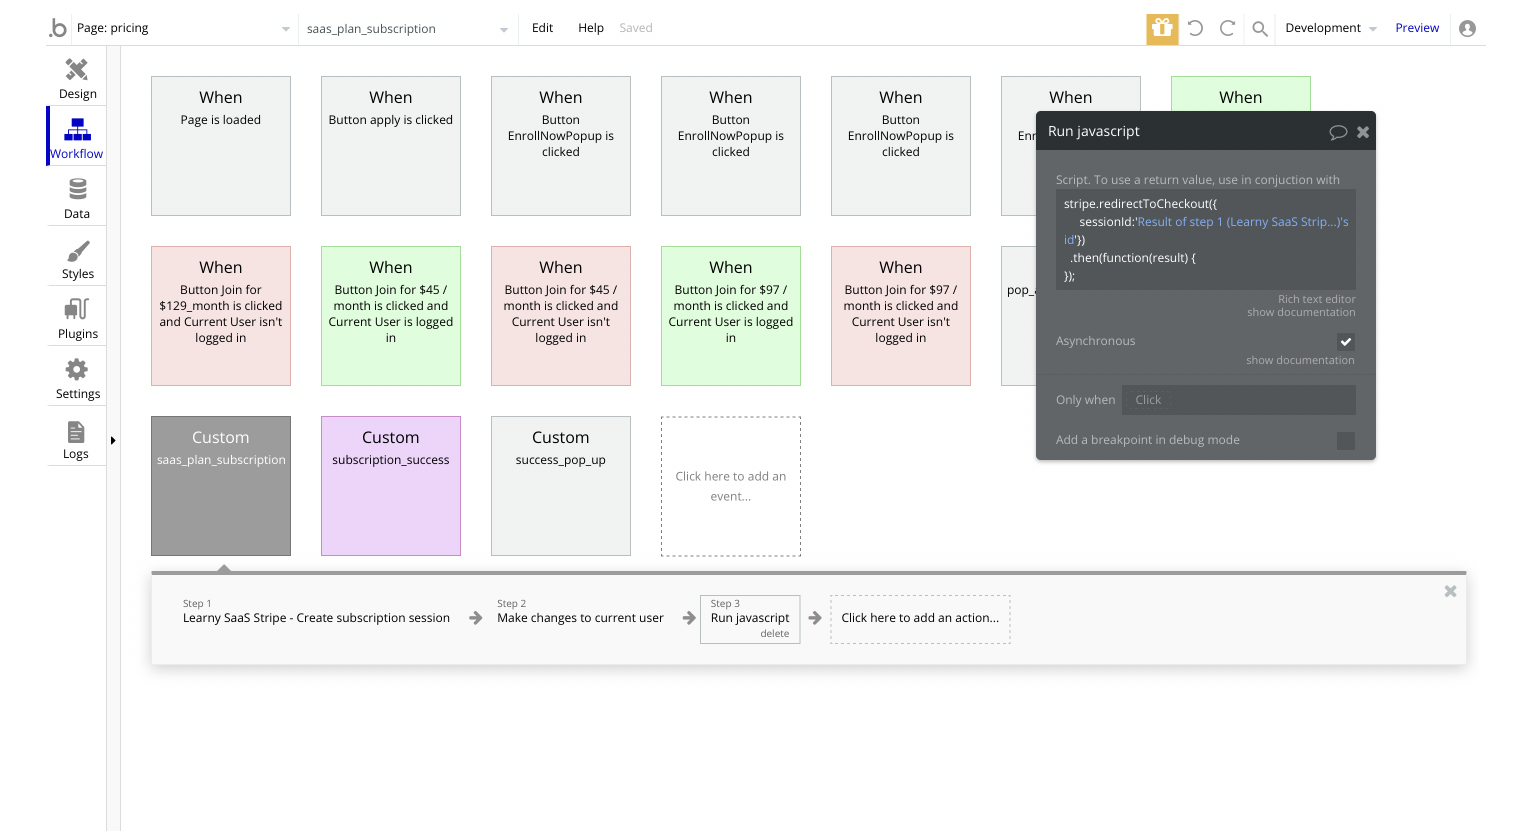
pricing page:
- Run javascript - used to redirect to the Stripe Checkout based on the selected subscription plan
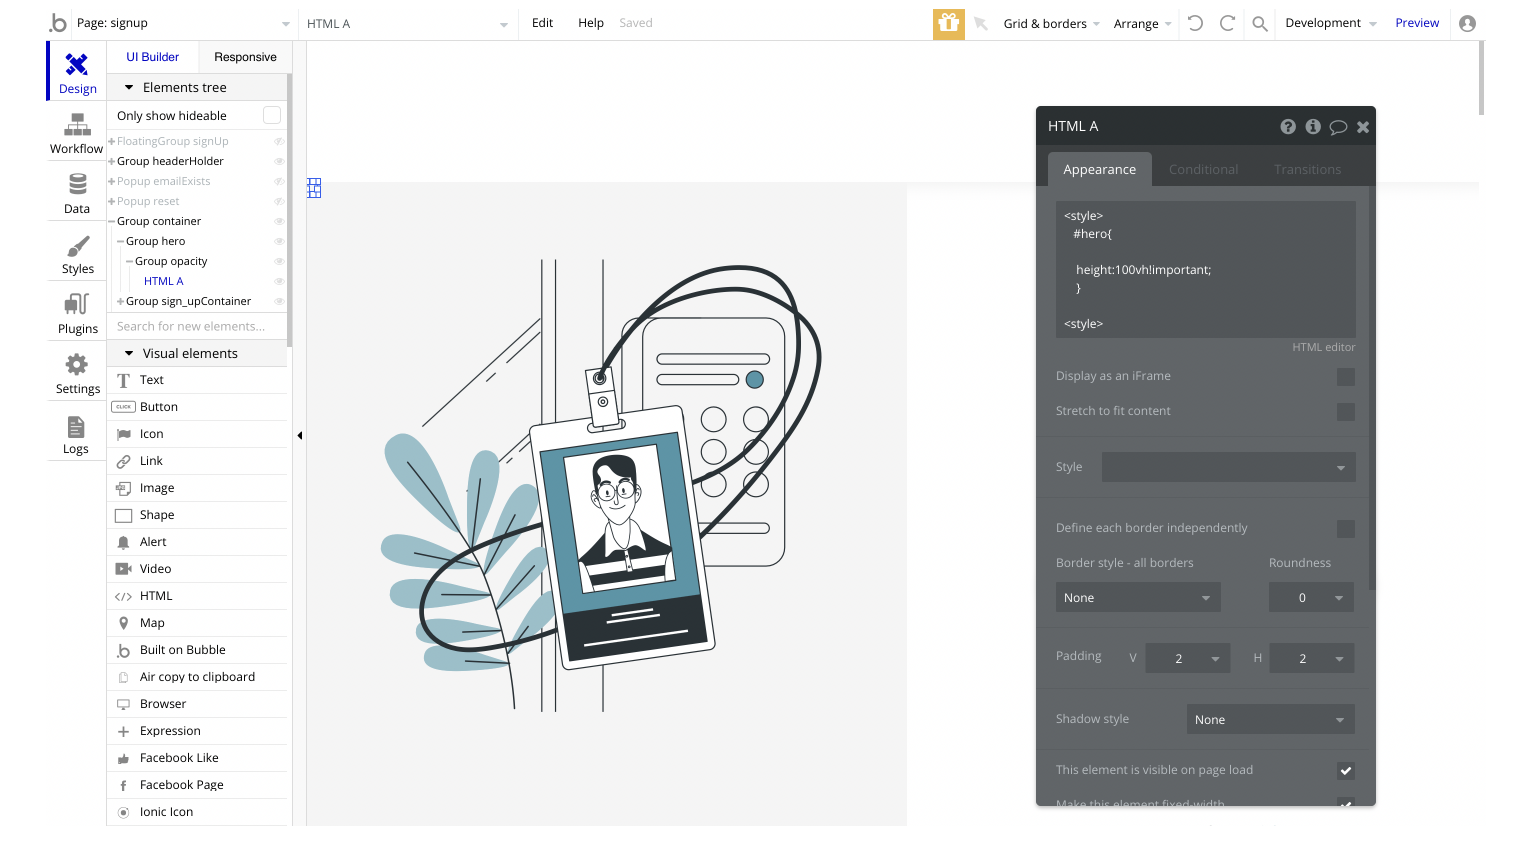
signup page:
- HTML A - used to stretch the group to the full height on all screen sizes
Feel free to customise the styles, but please note that changing the code may break the described functionality. Strong CSS/Javascript and Bubble skills recommended.
For all things Bubble check: https://manual.bubble.io.
For CSS/Javascript check: https://www.w3schools.com.
API Webhooks
Learny is using Backend workflows for some important features: update and cancel subscriptions.
The Stripe webhooks that are in this template are:
- customer.subscription.updated - this webhook updates the subscription plan.
- customer.subscription.deleted - this webhook cancels the subscription plan.
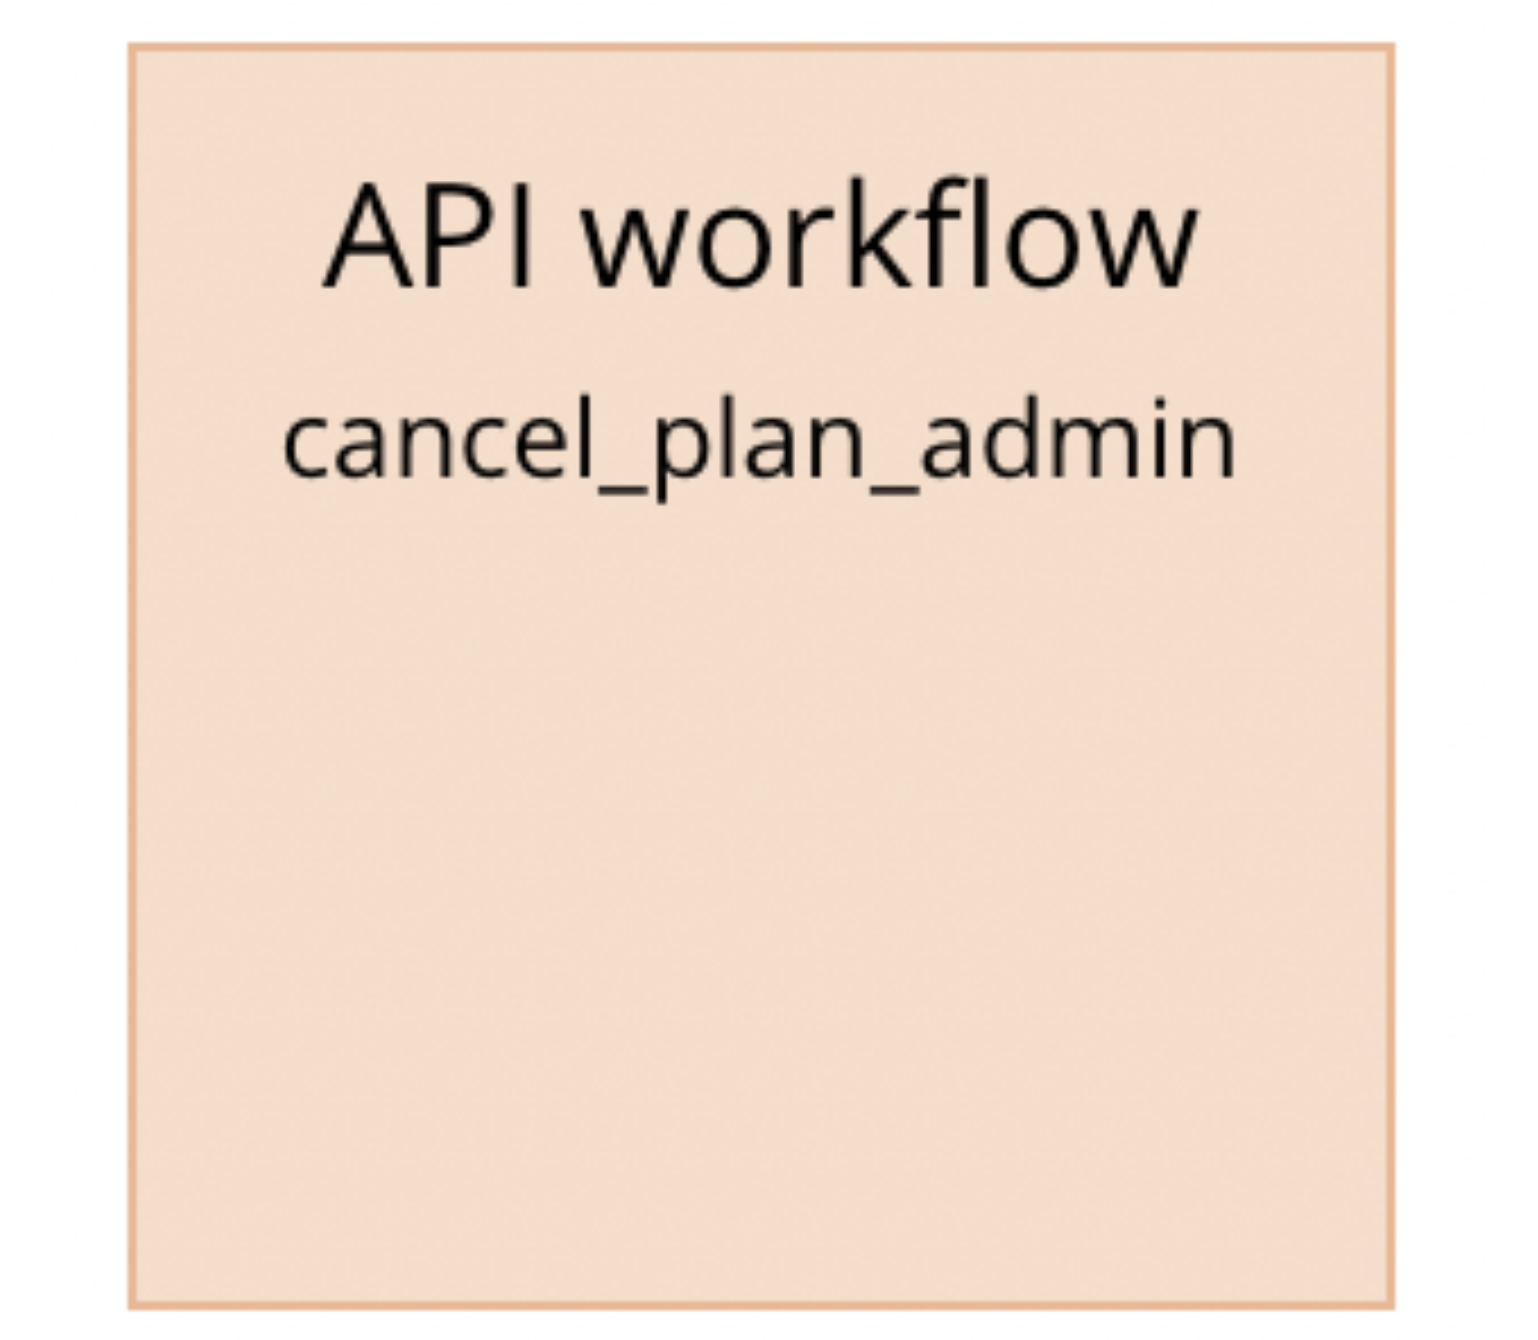
They can be located in the Backend workflows tab in your editor:

The responsible endpoints for updating and canceling a subscription are the following ones:

Embedded Notes in Bubble Editor
This template comes with explicit notes for Data types and their fields, Option sets and their fields, and Privacy rules, which will guide you through the modification process.
In order to preview a Note of any data type or field, click on the 💬 icon.
