This section states the purpose of each page.
Introduction
In this summary, we will describe each page and its content. The Page Element is the fundamental one that contains all the other elements.
Tip: See Bubble Reference for more information about Pages element https://bubble.io/reference#Elements.Page 🙂
Pages
index
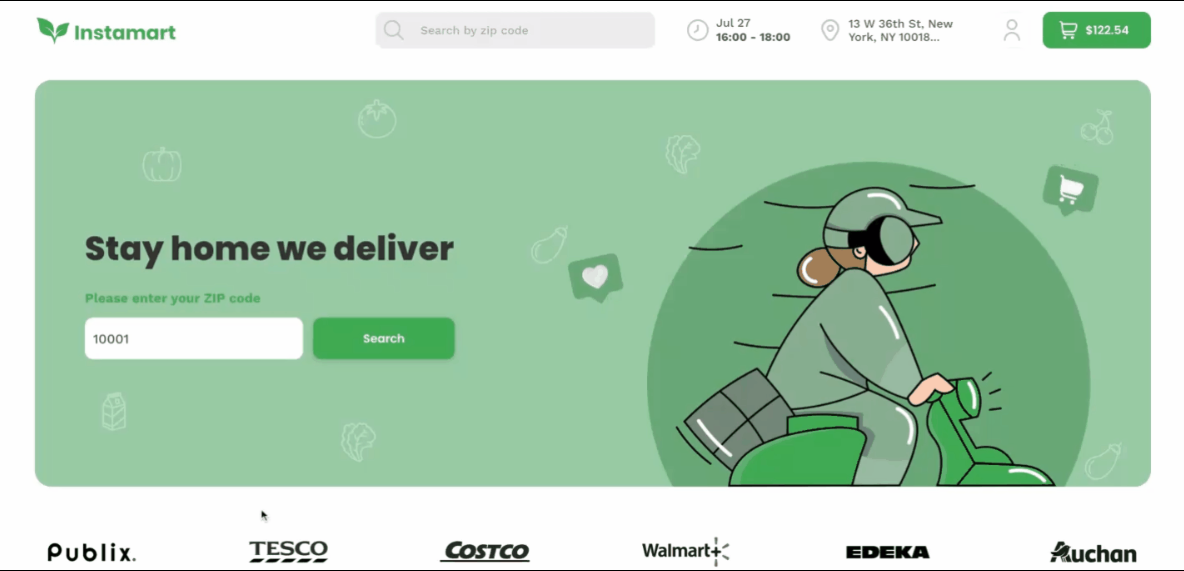
This is the main page typically encountered first on the web app that usually contains links to the other pages of the site. A homepage includes a variety of menus that make it easy for users to find the information they need.
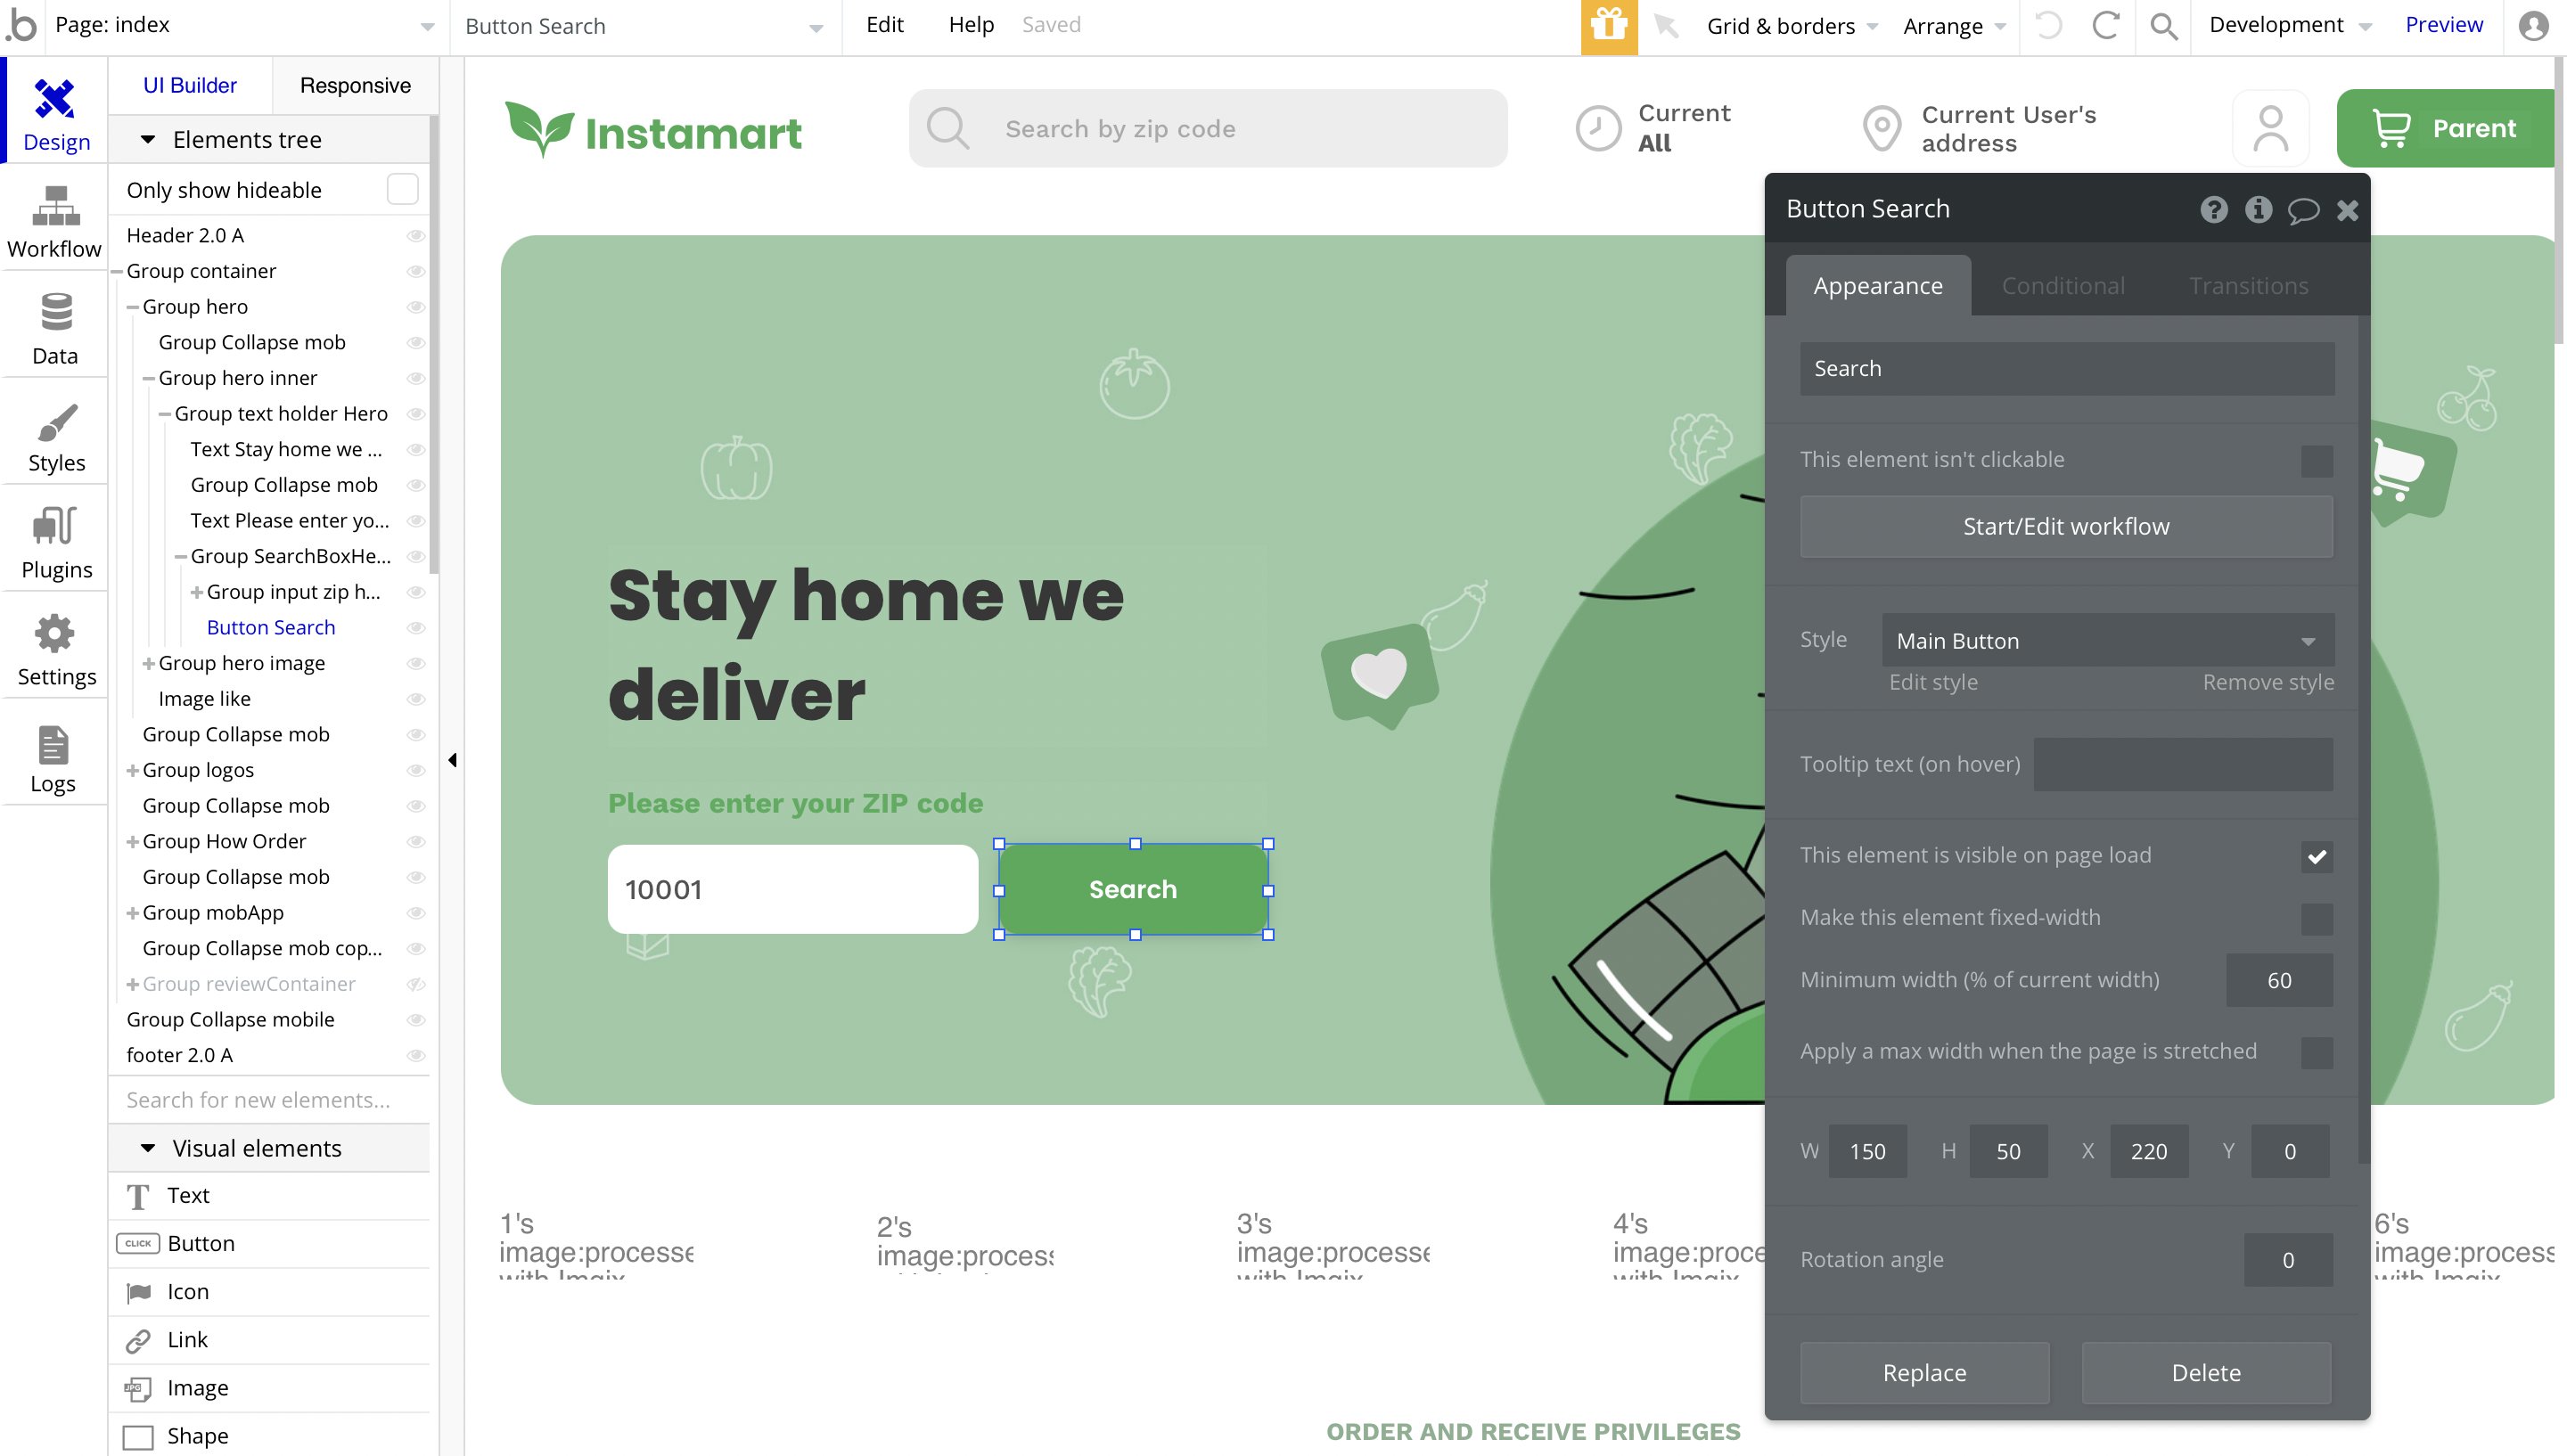
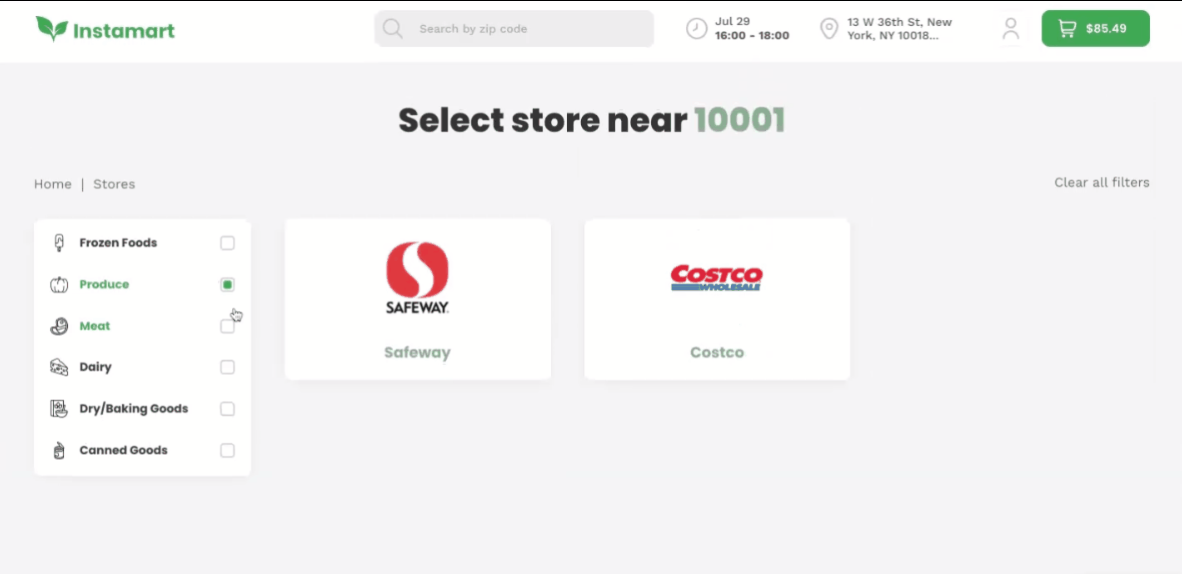
Instamart comes with a landing-like page, where users can see platform benefits and reviews, as well as instantly type in their ZIP code and check the local stores:
When users click the Search 🔍 button to find local stores, it redirects to the stores page, also sending the zip parameter with the entered ZIP code:
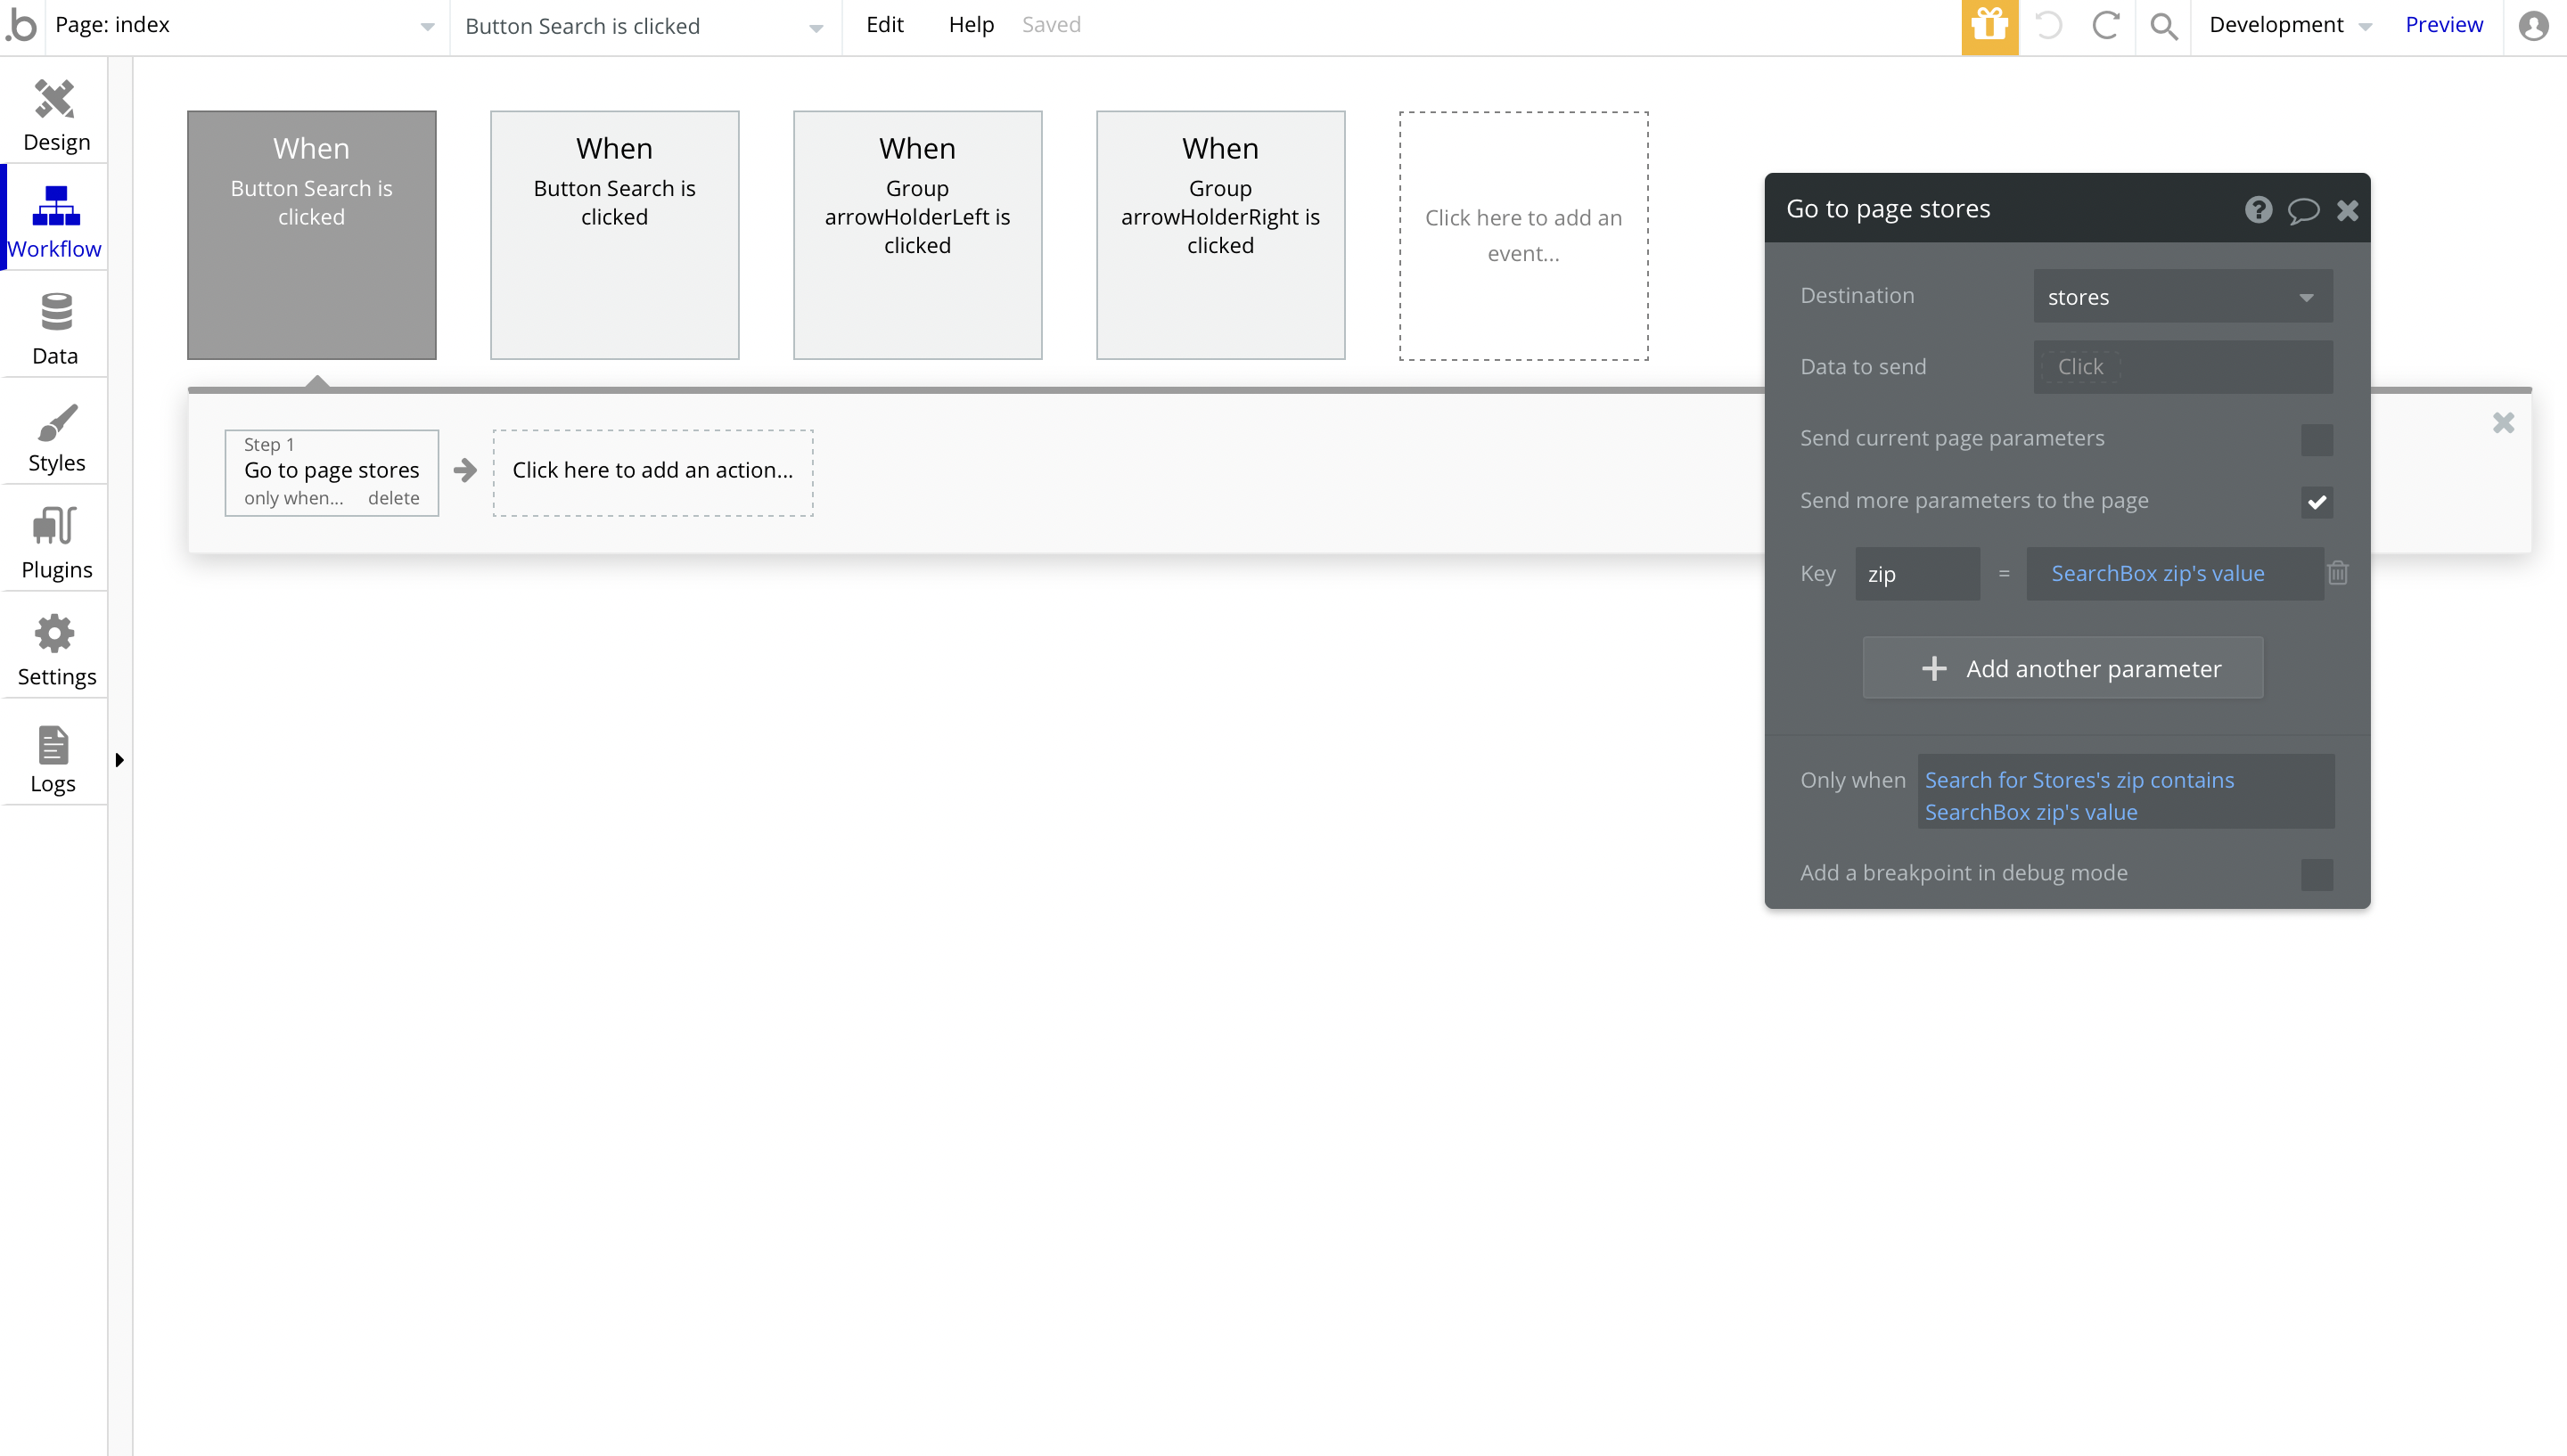
Tip: Check stores page description to see how the zip parameter is processed.
The reviews section is pulling data from the
Index_review option set: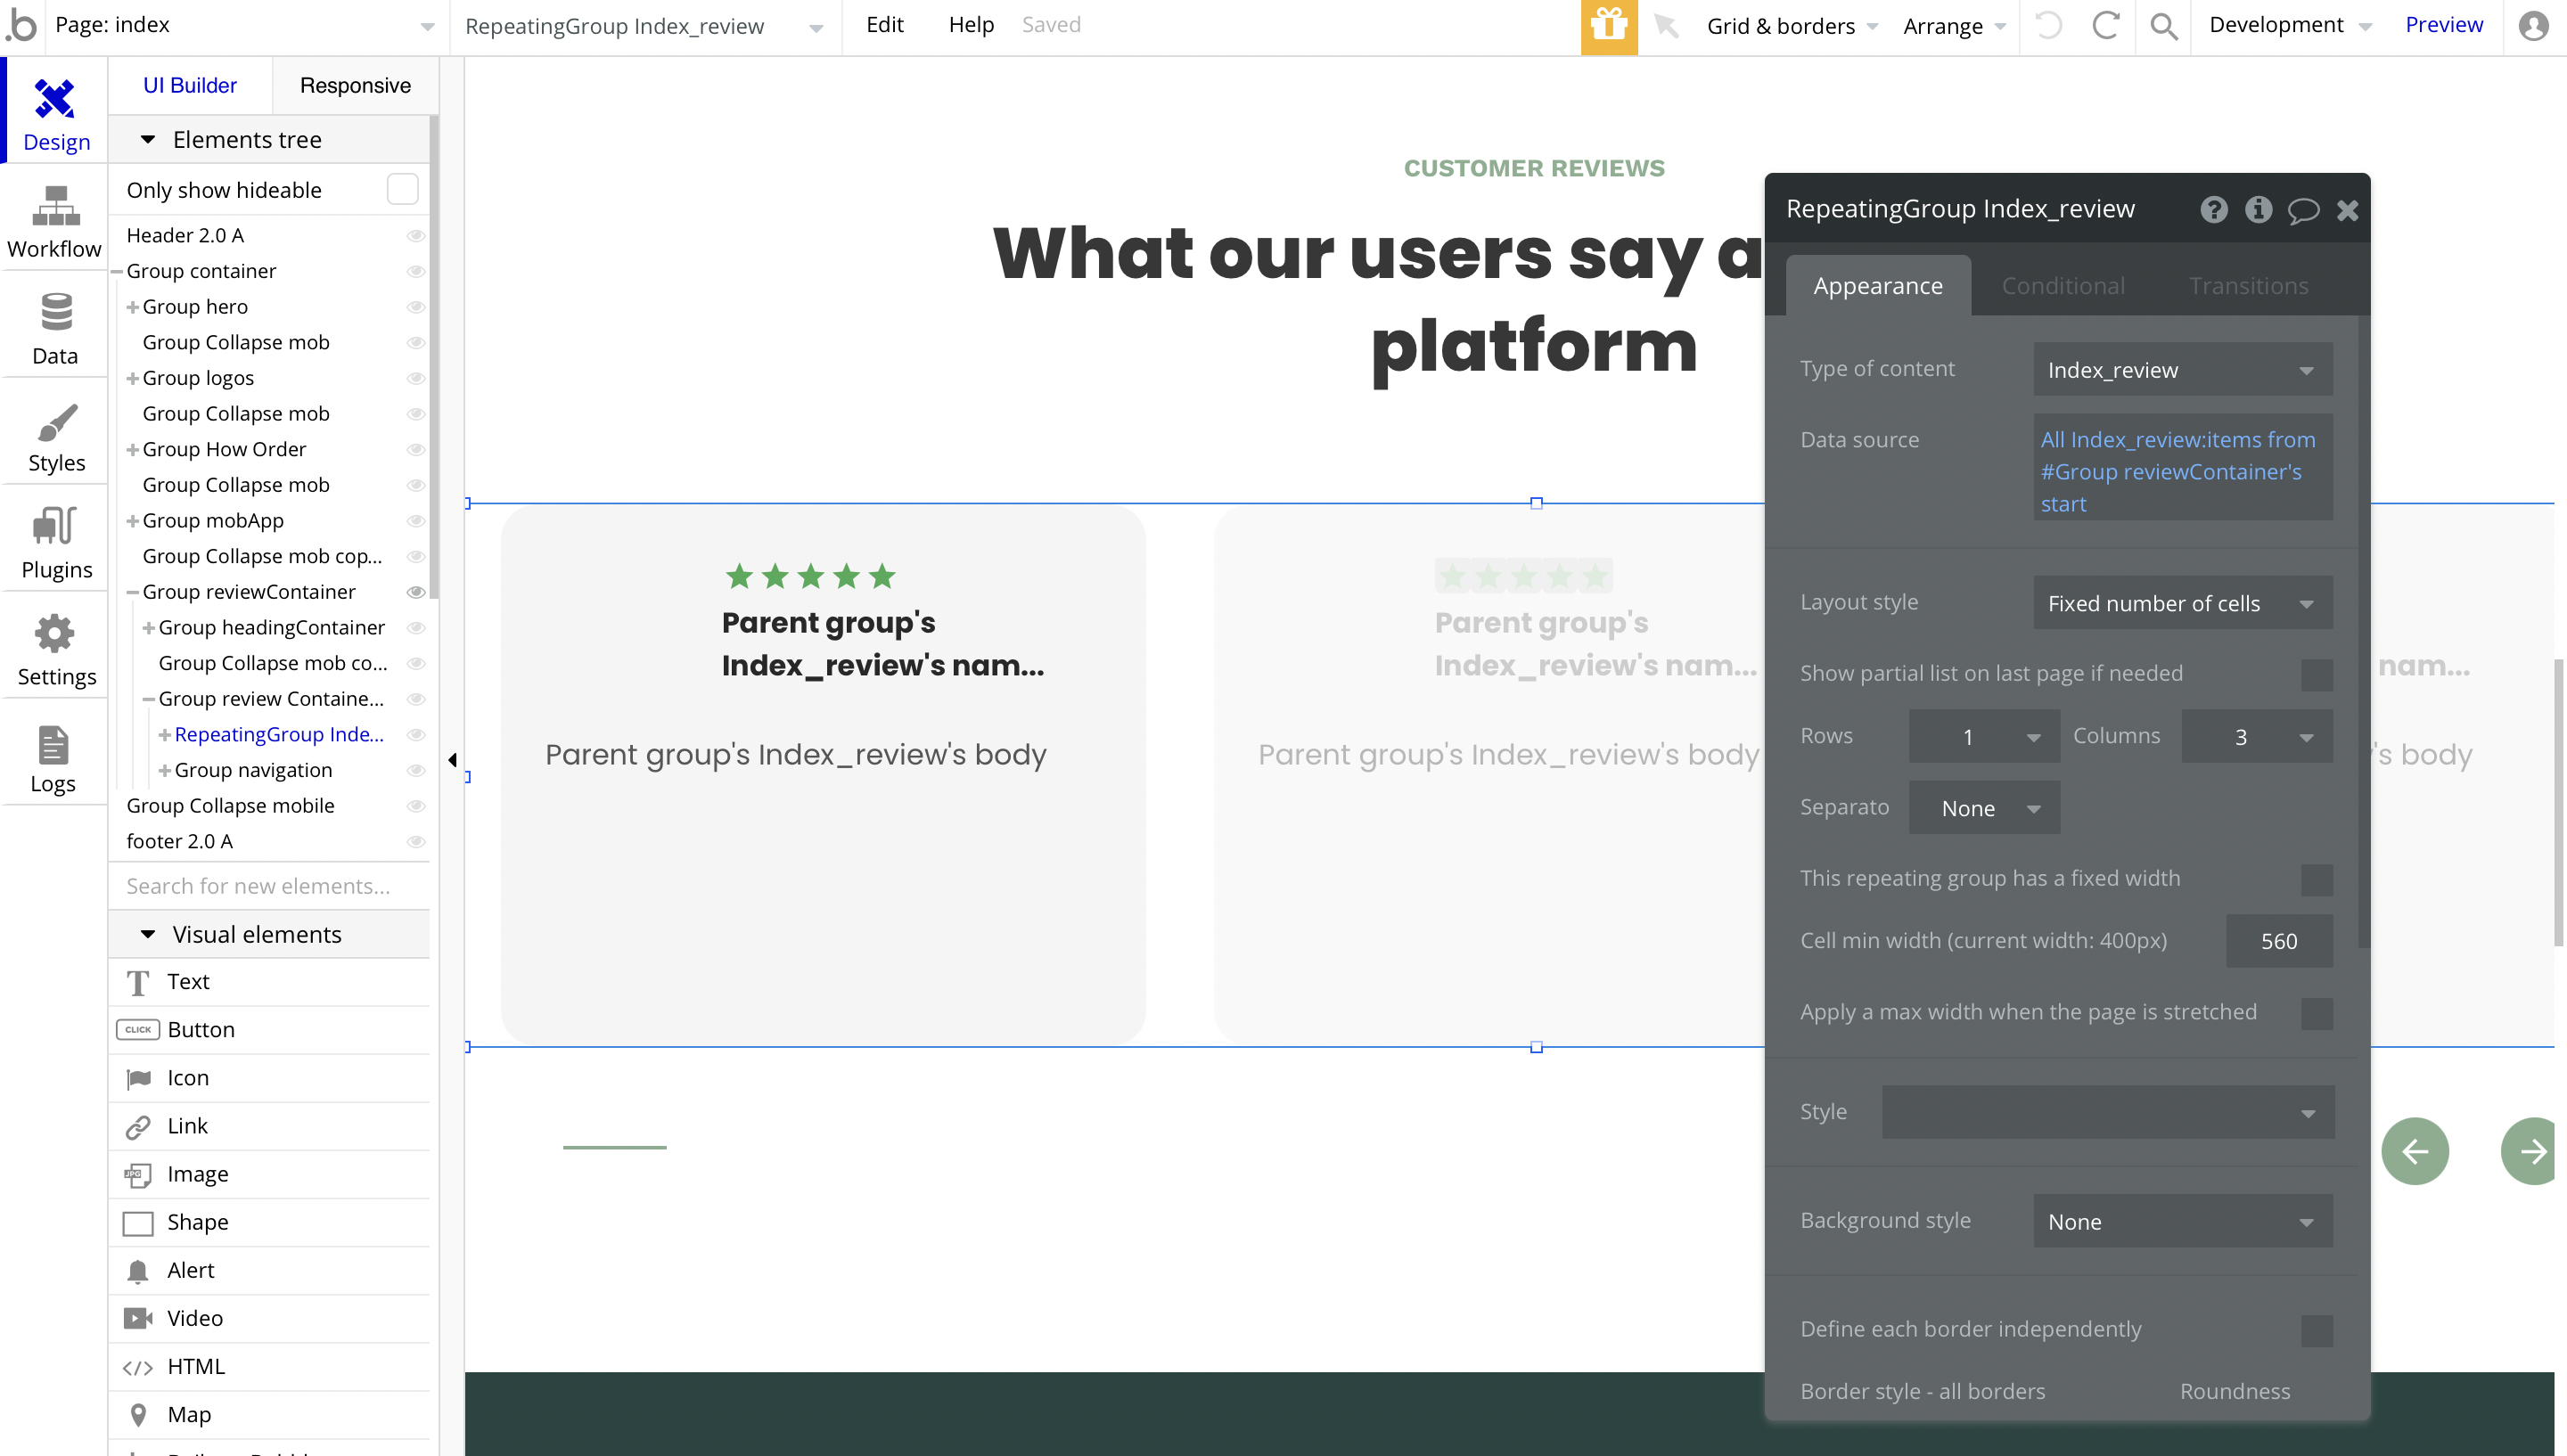

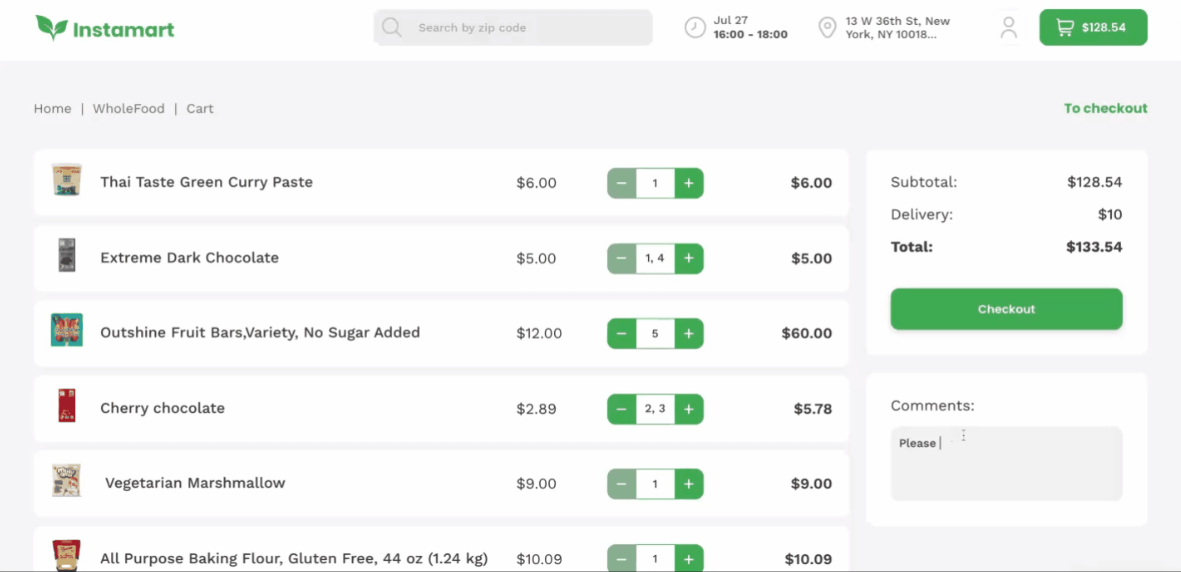
cart
This page displays all the items that have been added to the 🛒 shopping cart, awaiting checkout. Users are able to change the quantity of the added products and write some additional 💬 comments for delivery, for example:
Tip: The Delivery fee (flat) can be changed on dashboard page.
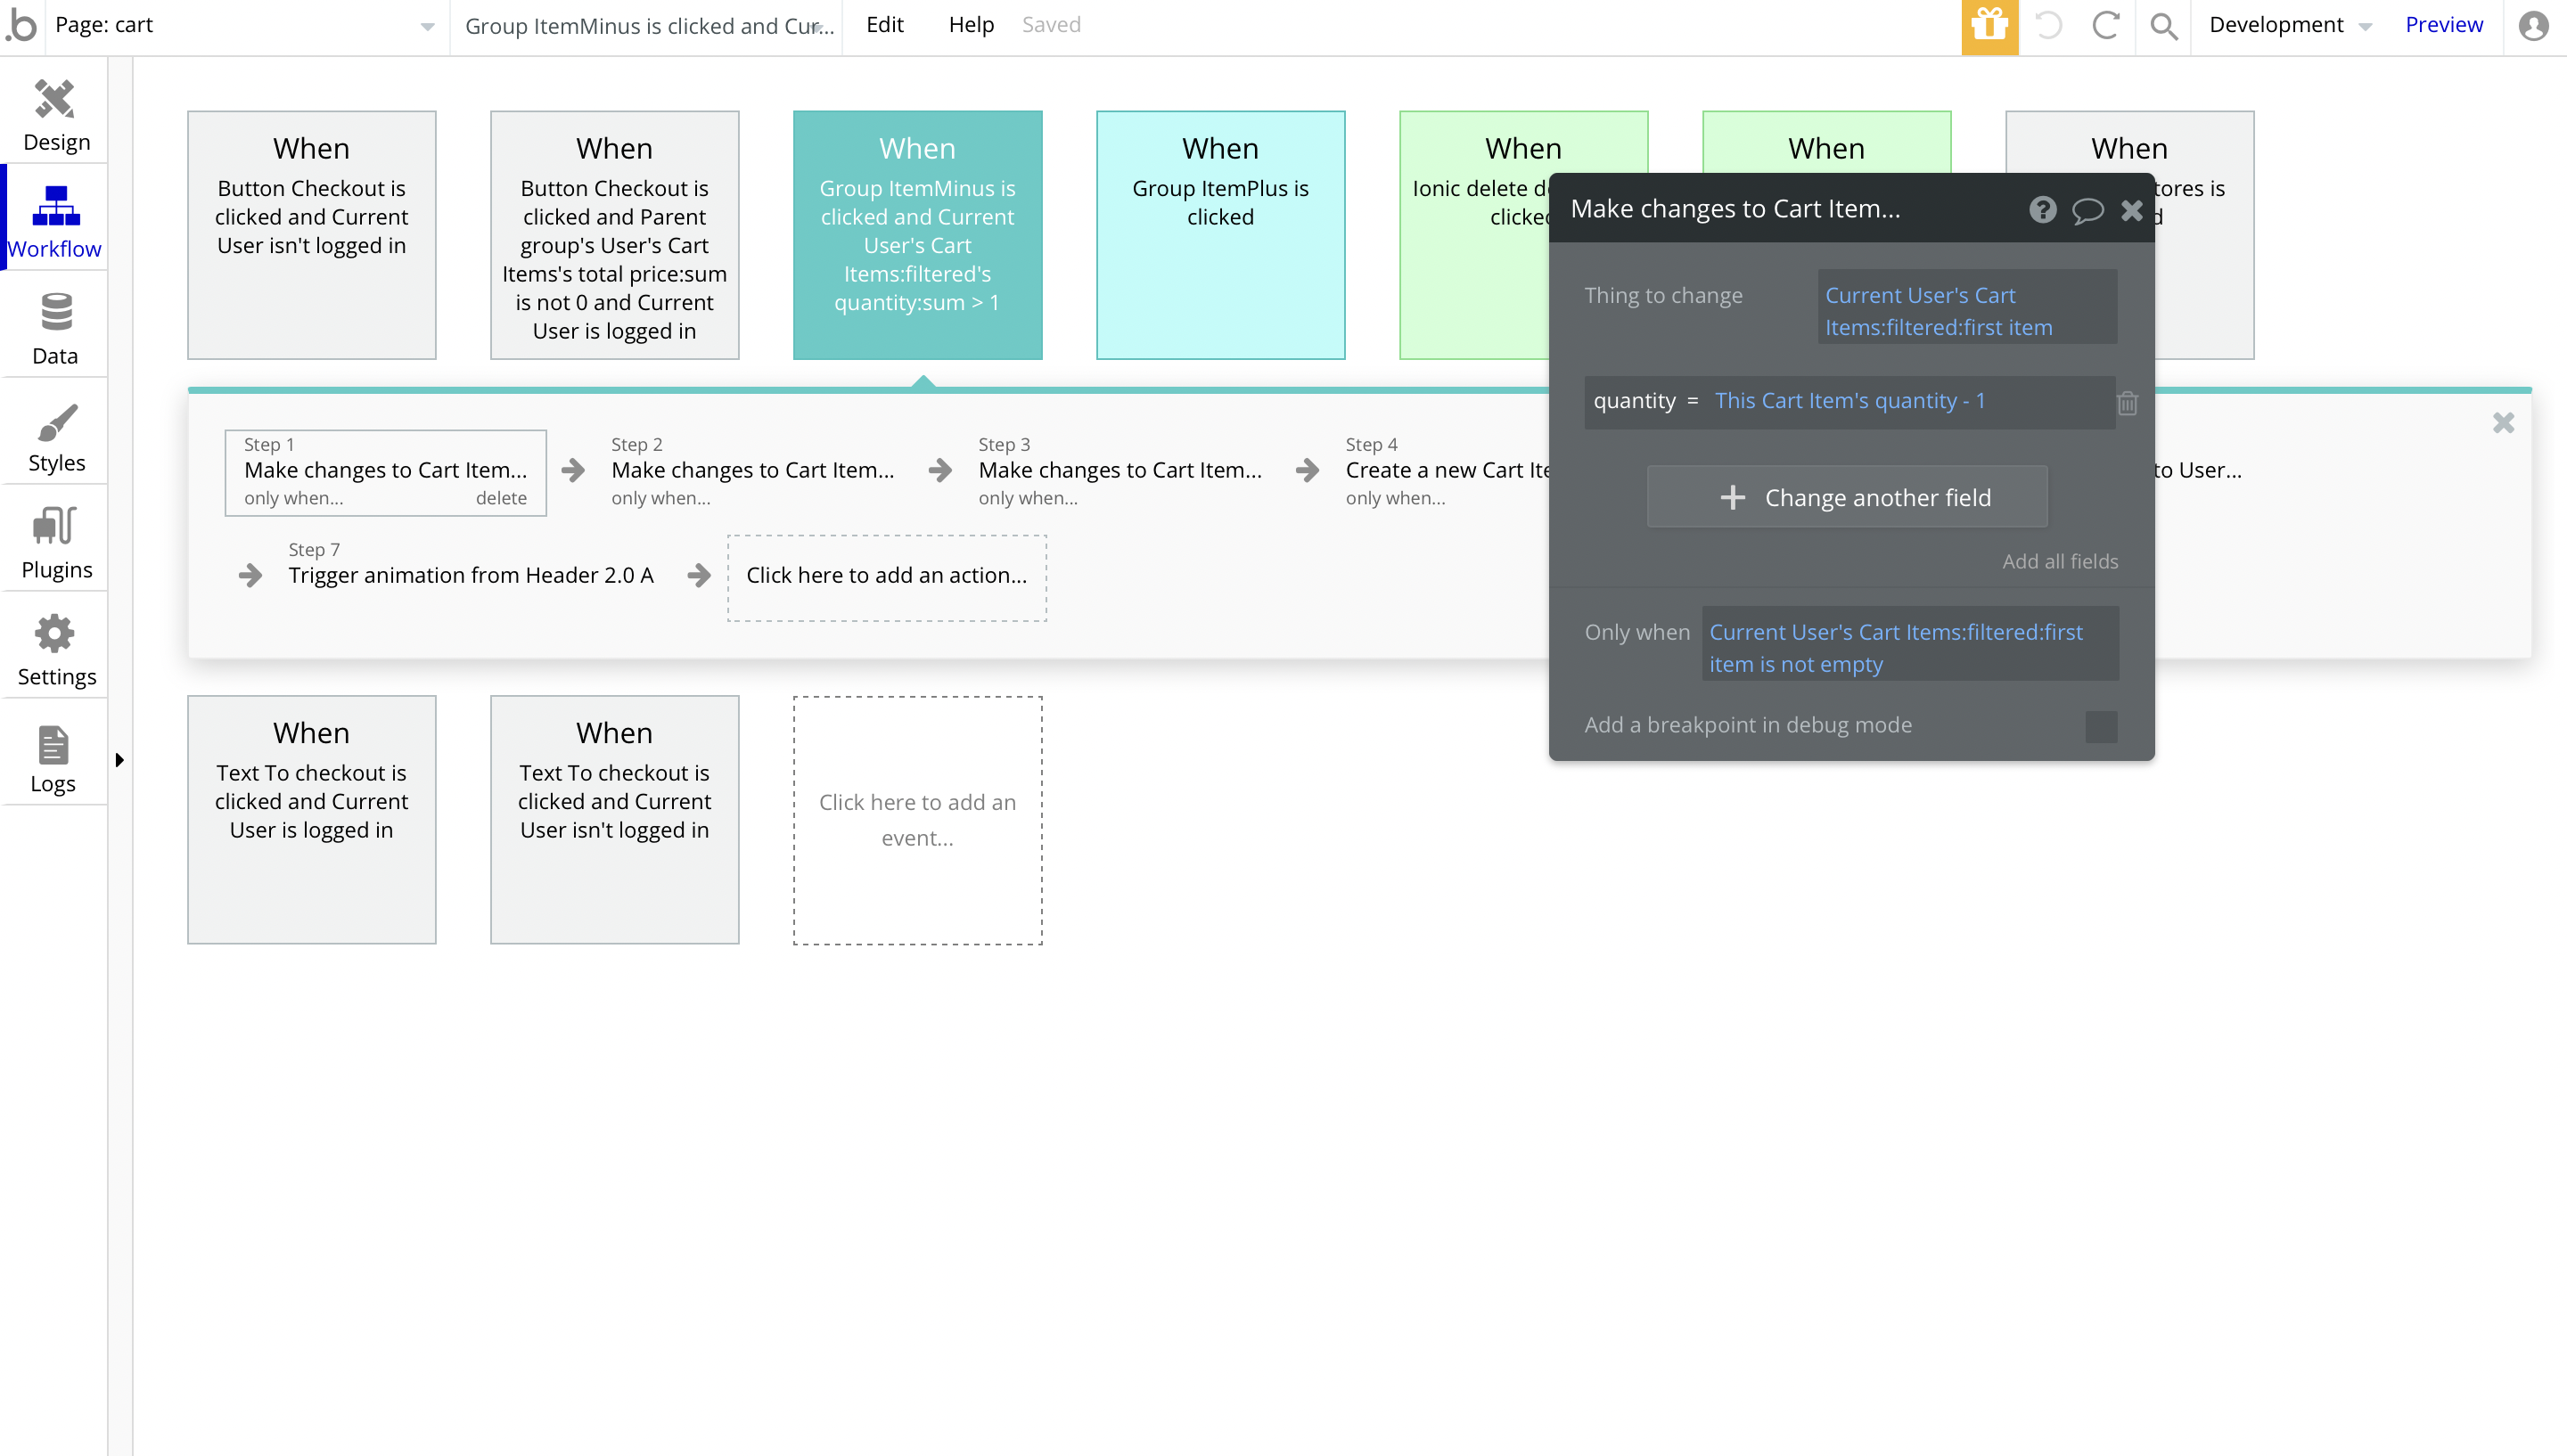
The quantity change is functioning the following way: when clicking the Group "ItemMinus", it is subtracting -1, from the Cart Item's quantity field, and when clicking the Group "ItemPlus", it is adding +1 to the field:

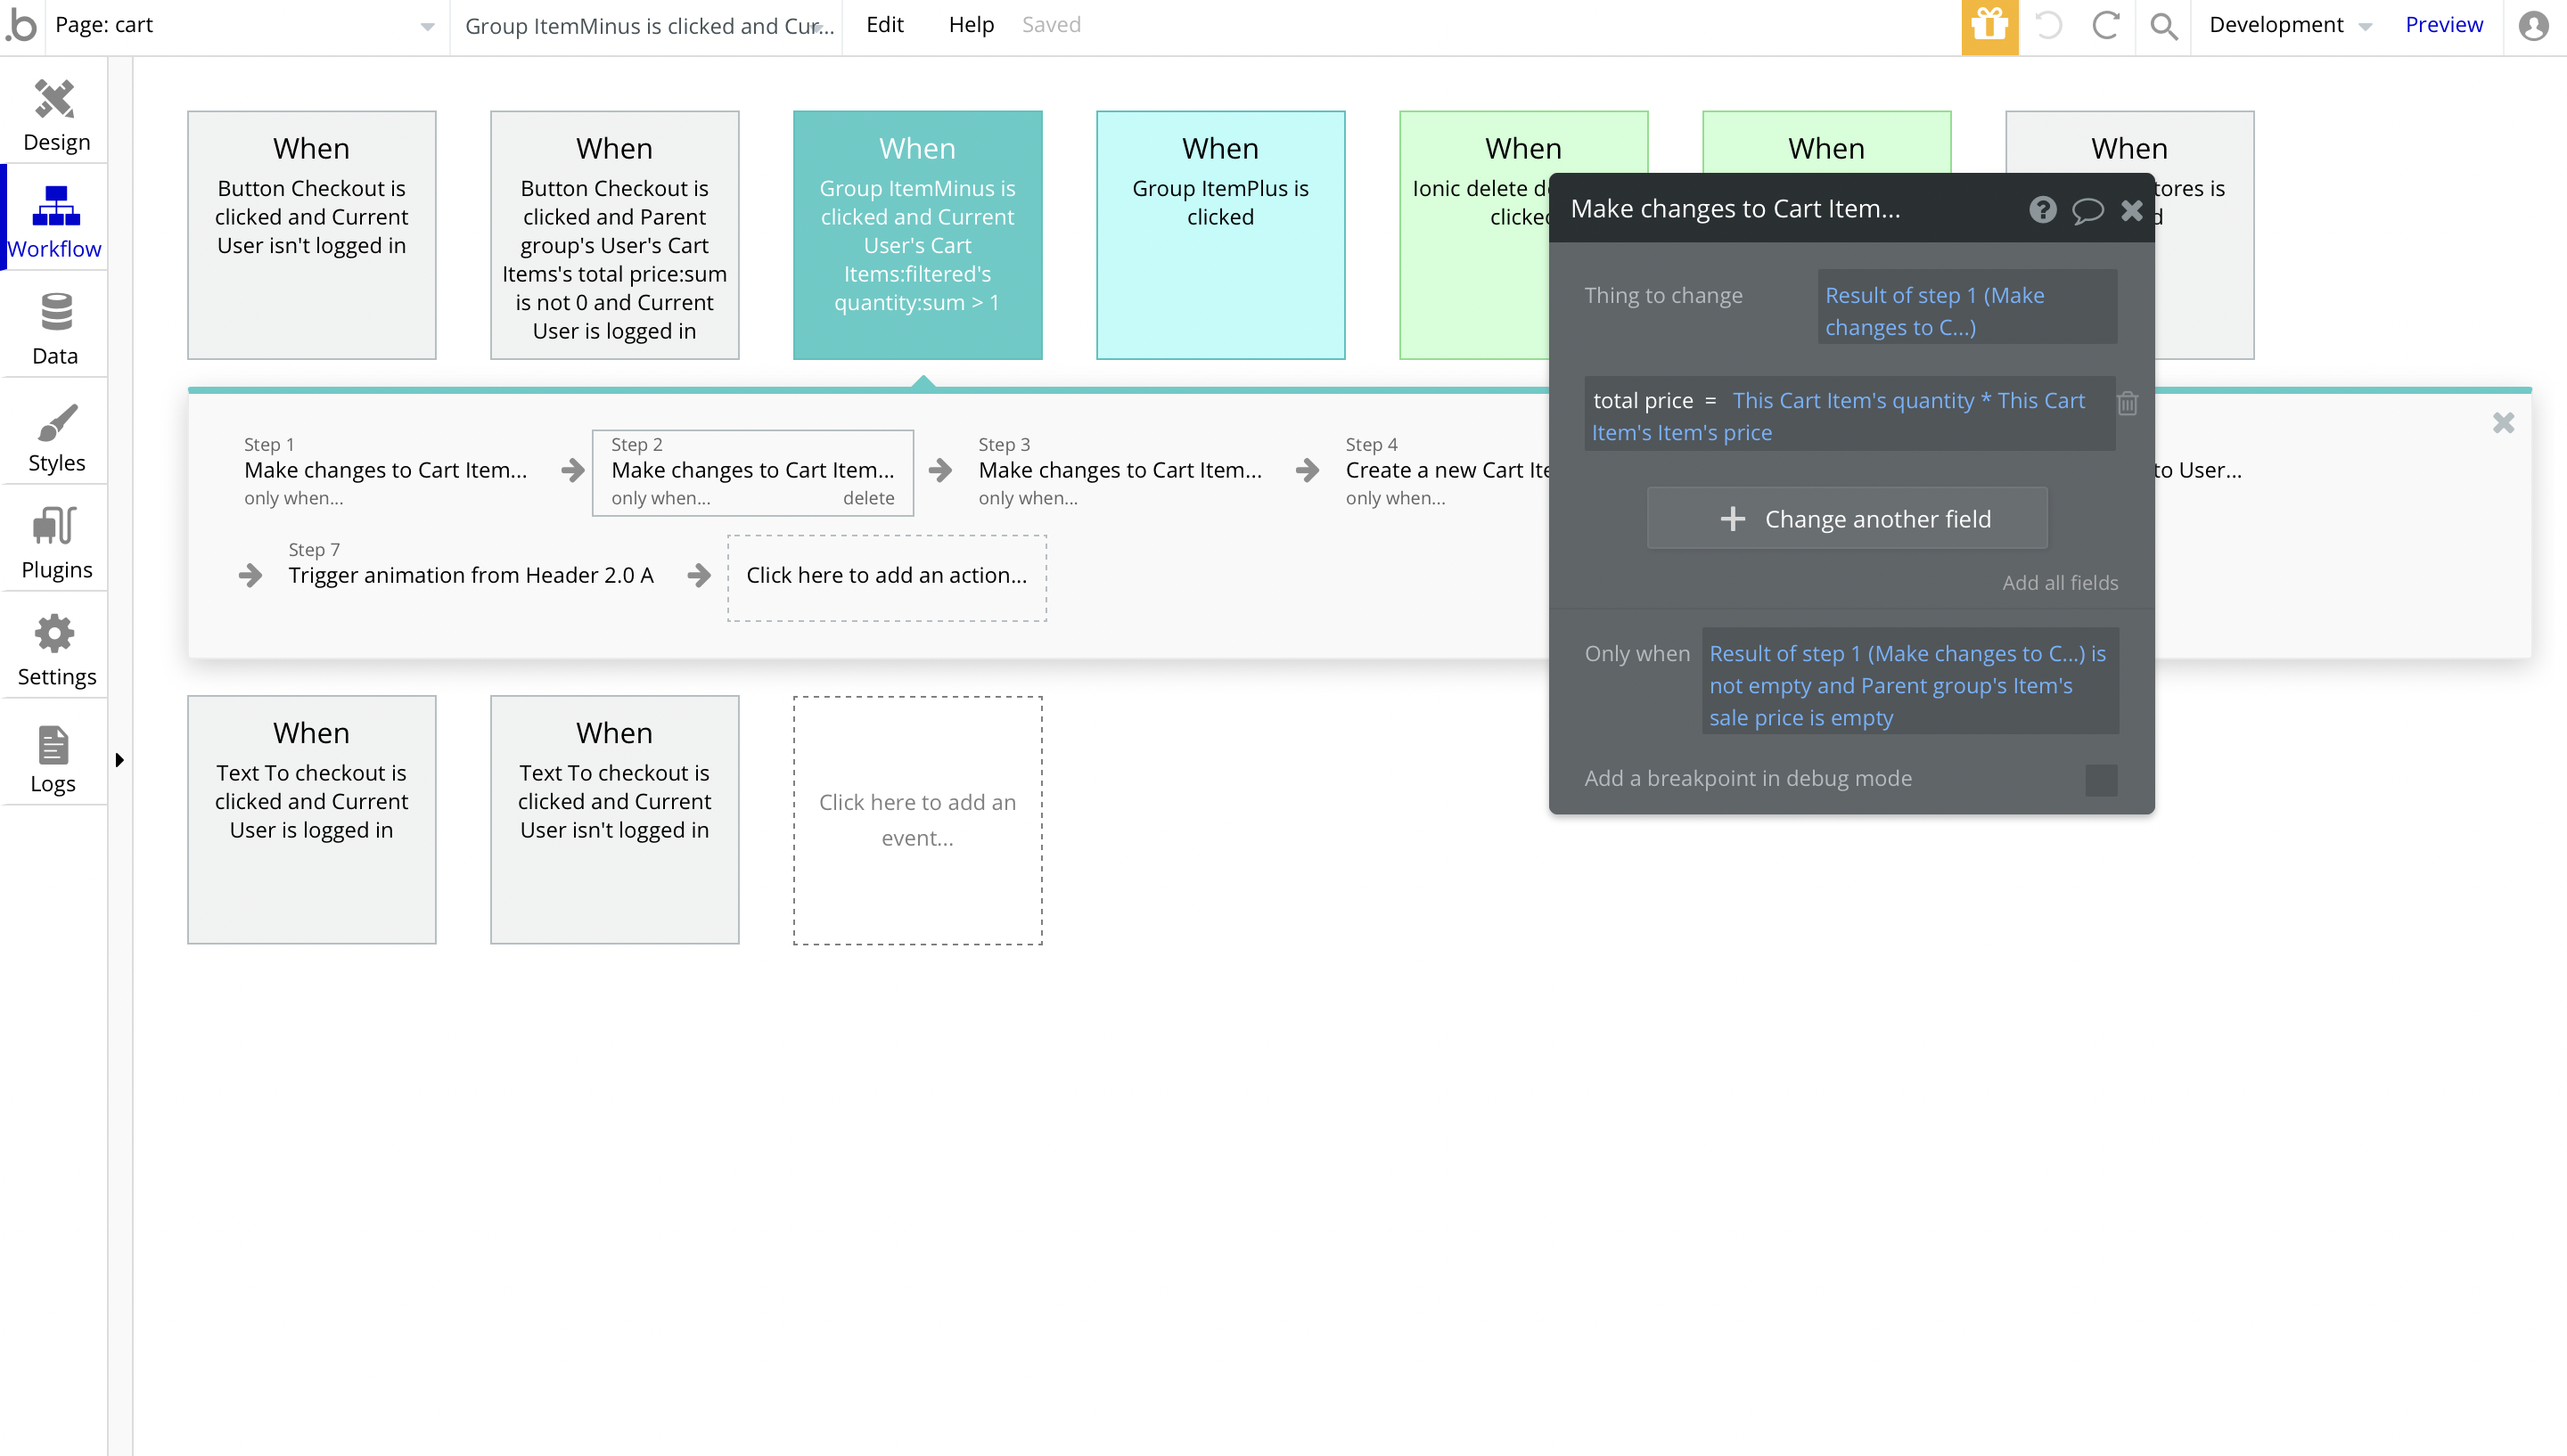
It also updates the total price field afterwards:
checkout
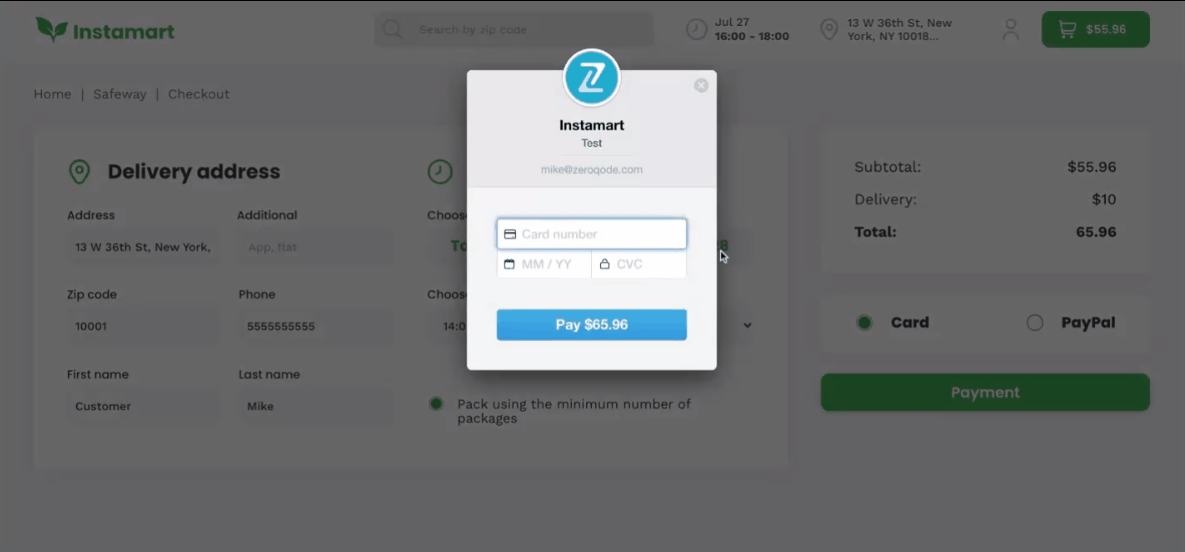
This is the page where users complete their delivery address information, select a delivery time and payment method.
Tip: The Delivery fee (flat) can be changed on dashboard page.
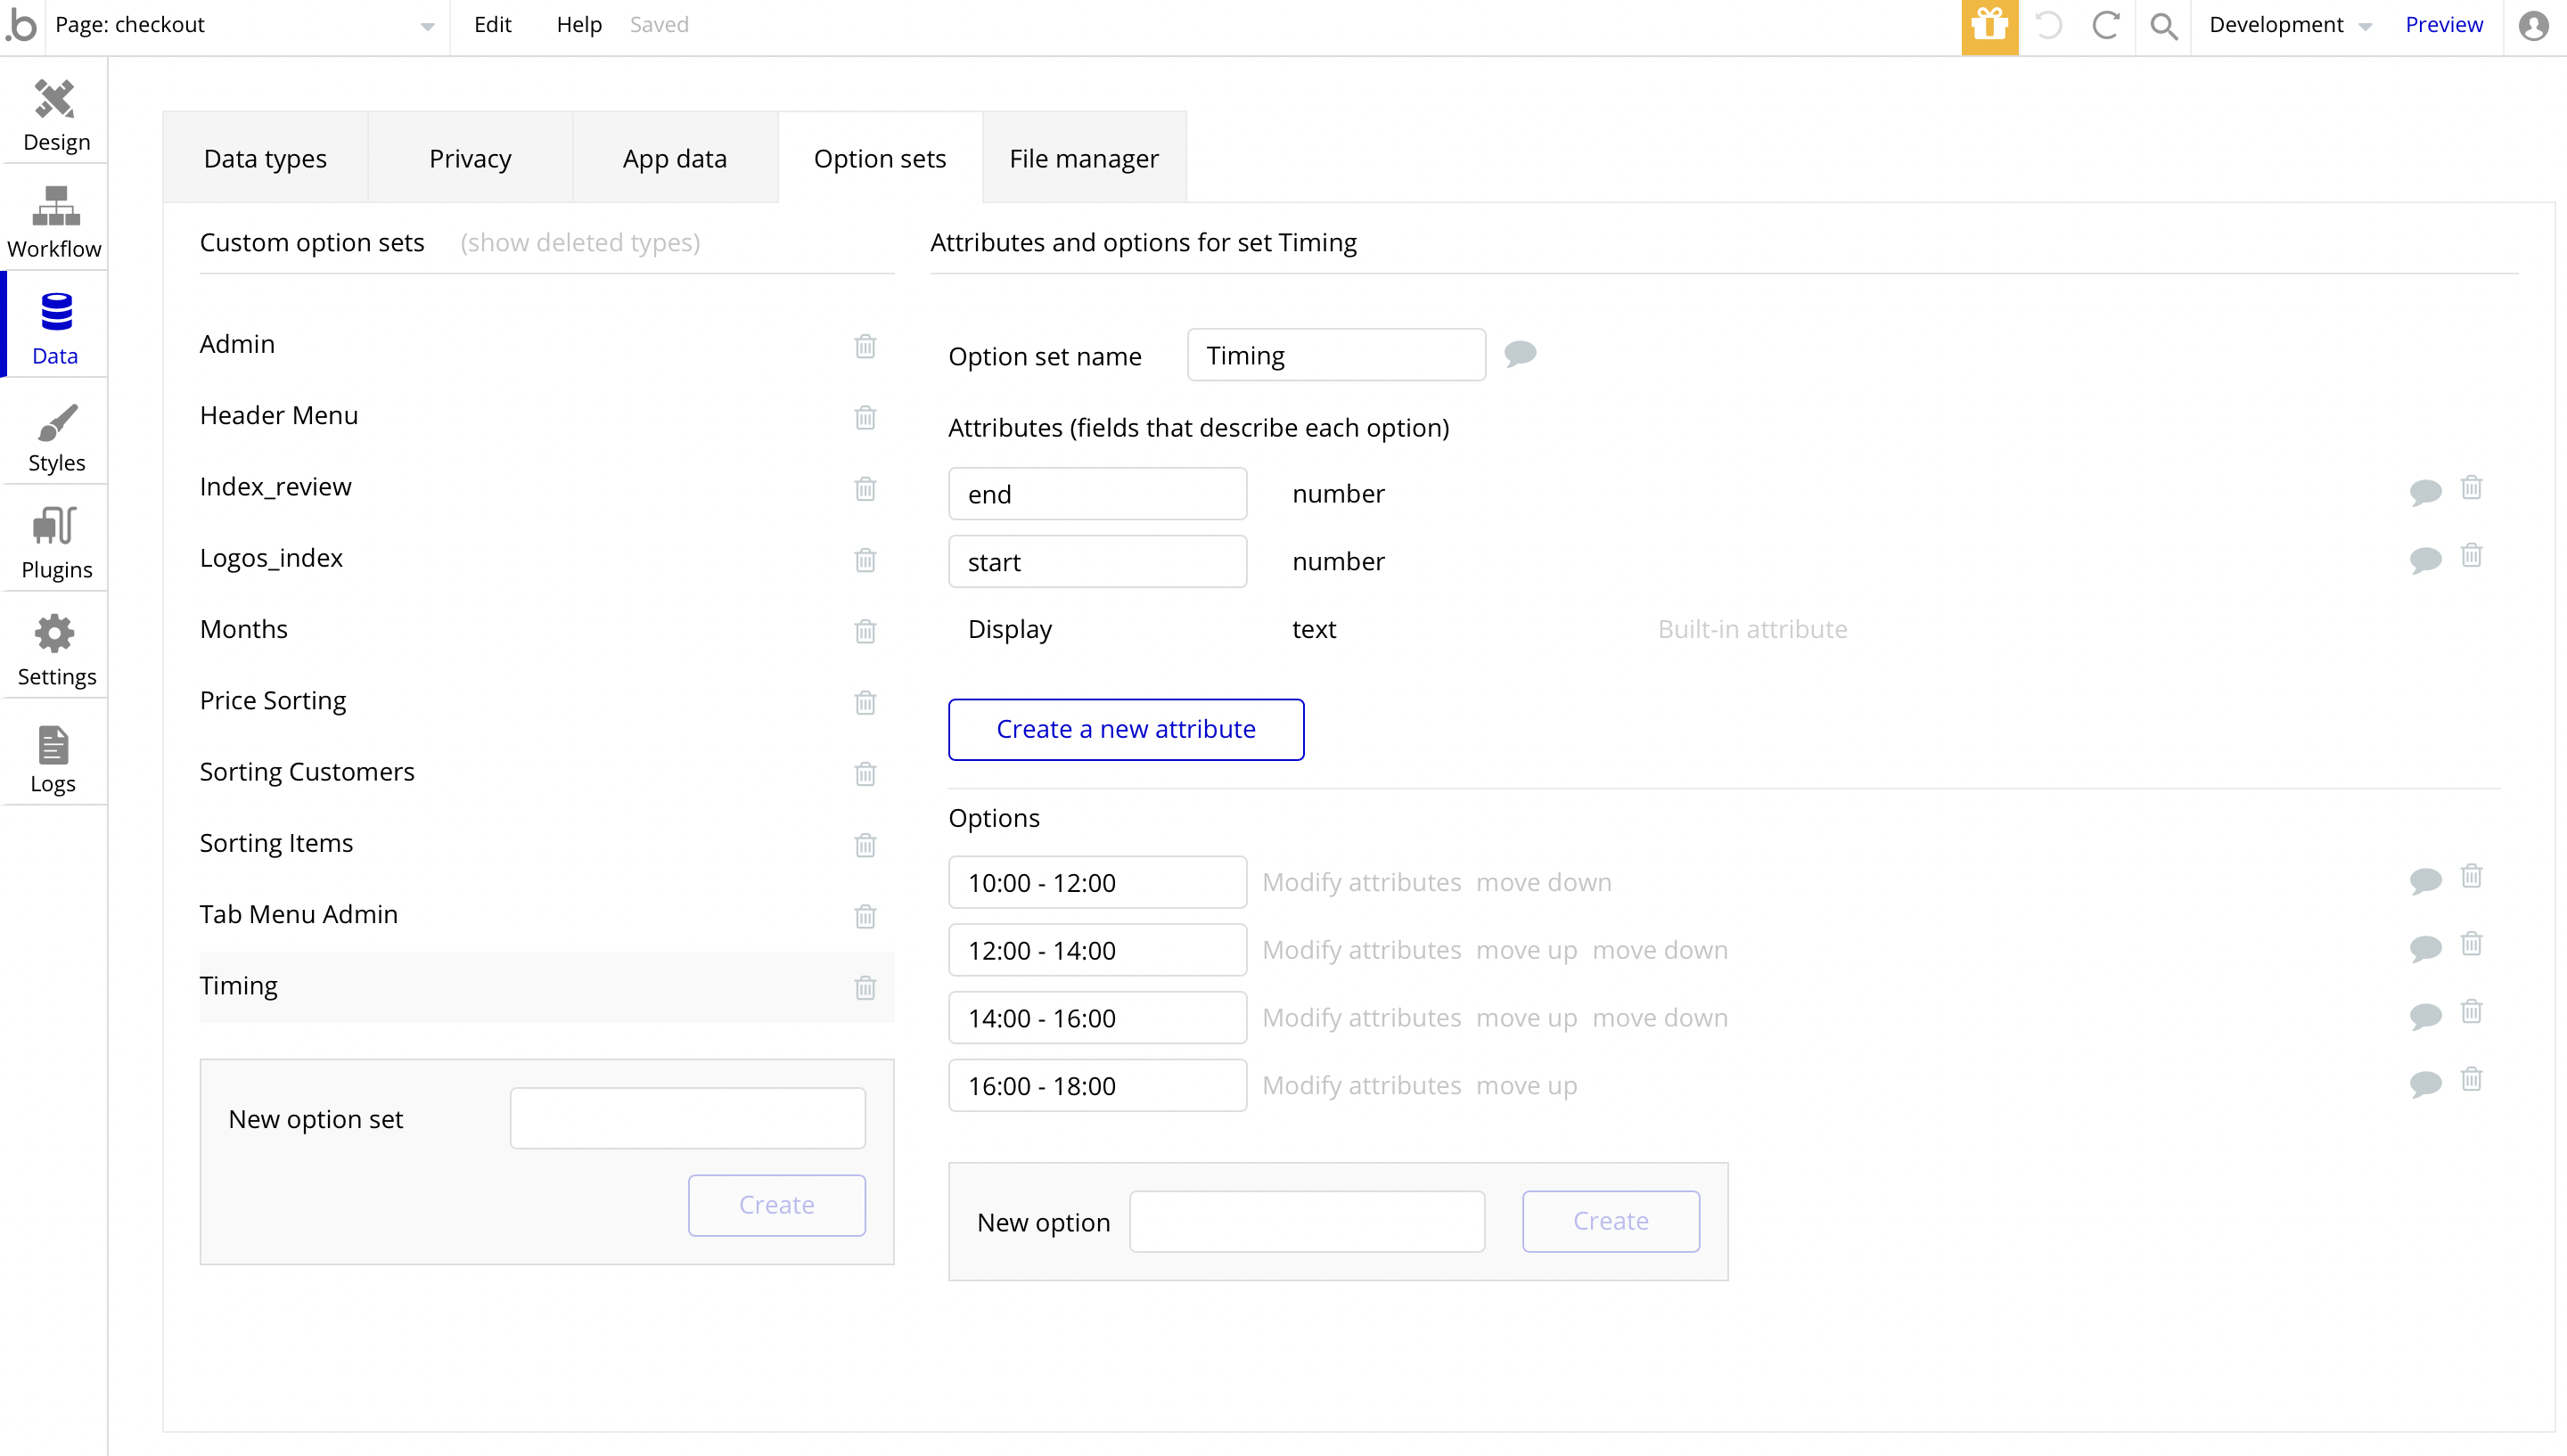
The delivery time dropdown 🕓 is pulling data from
Timing option set: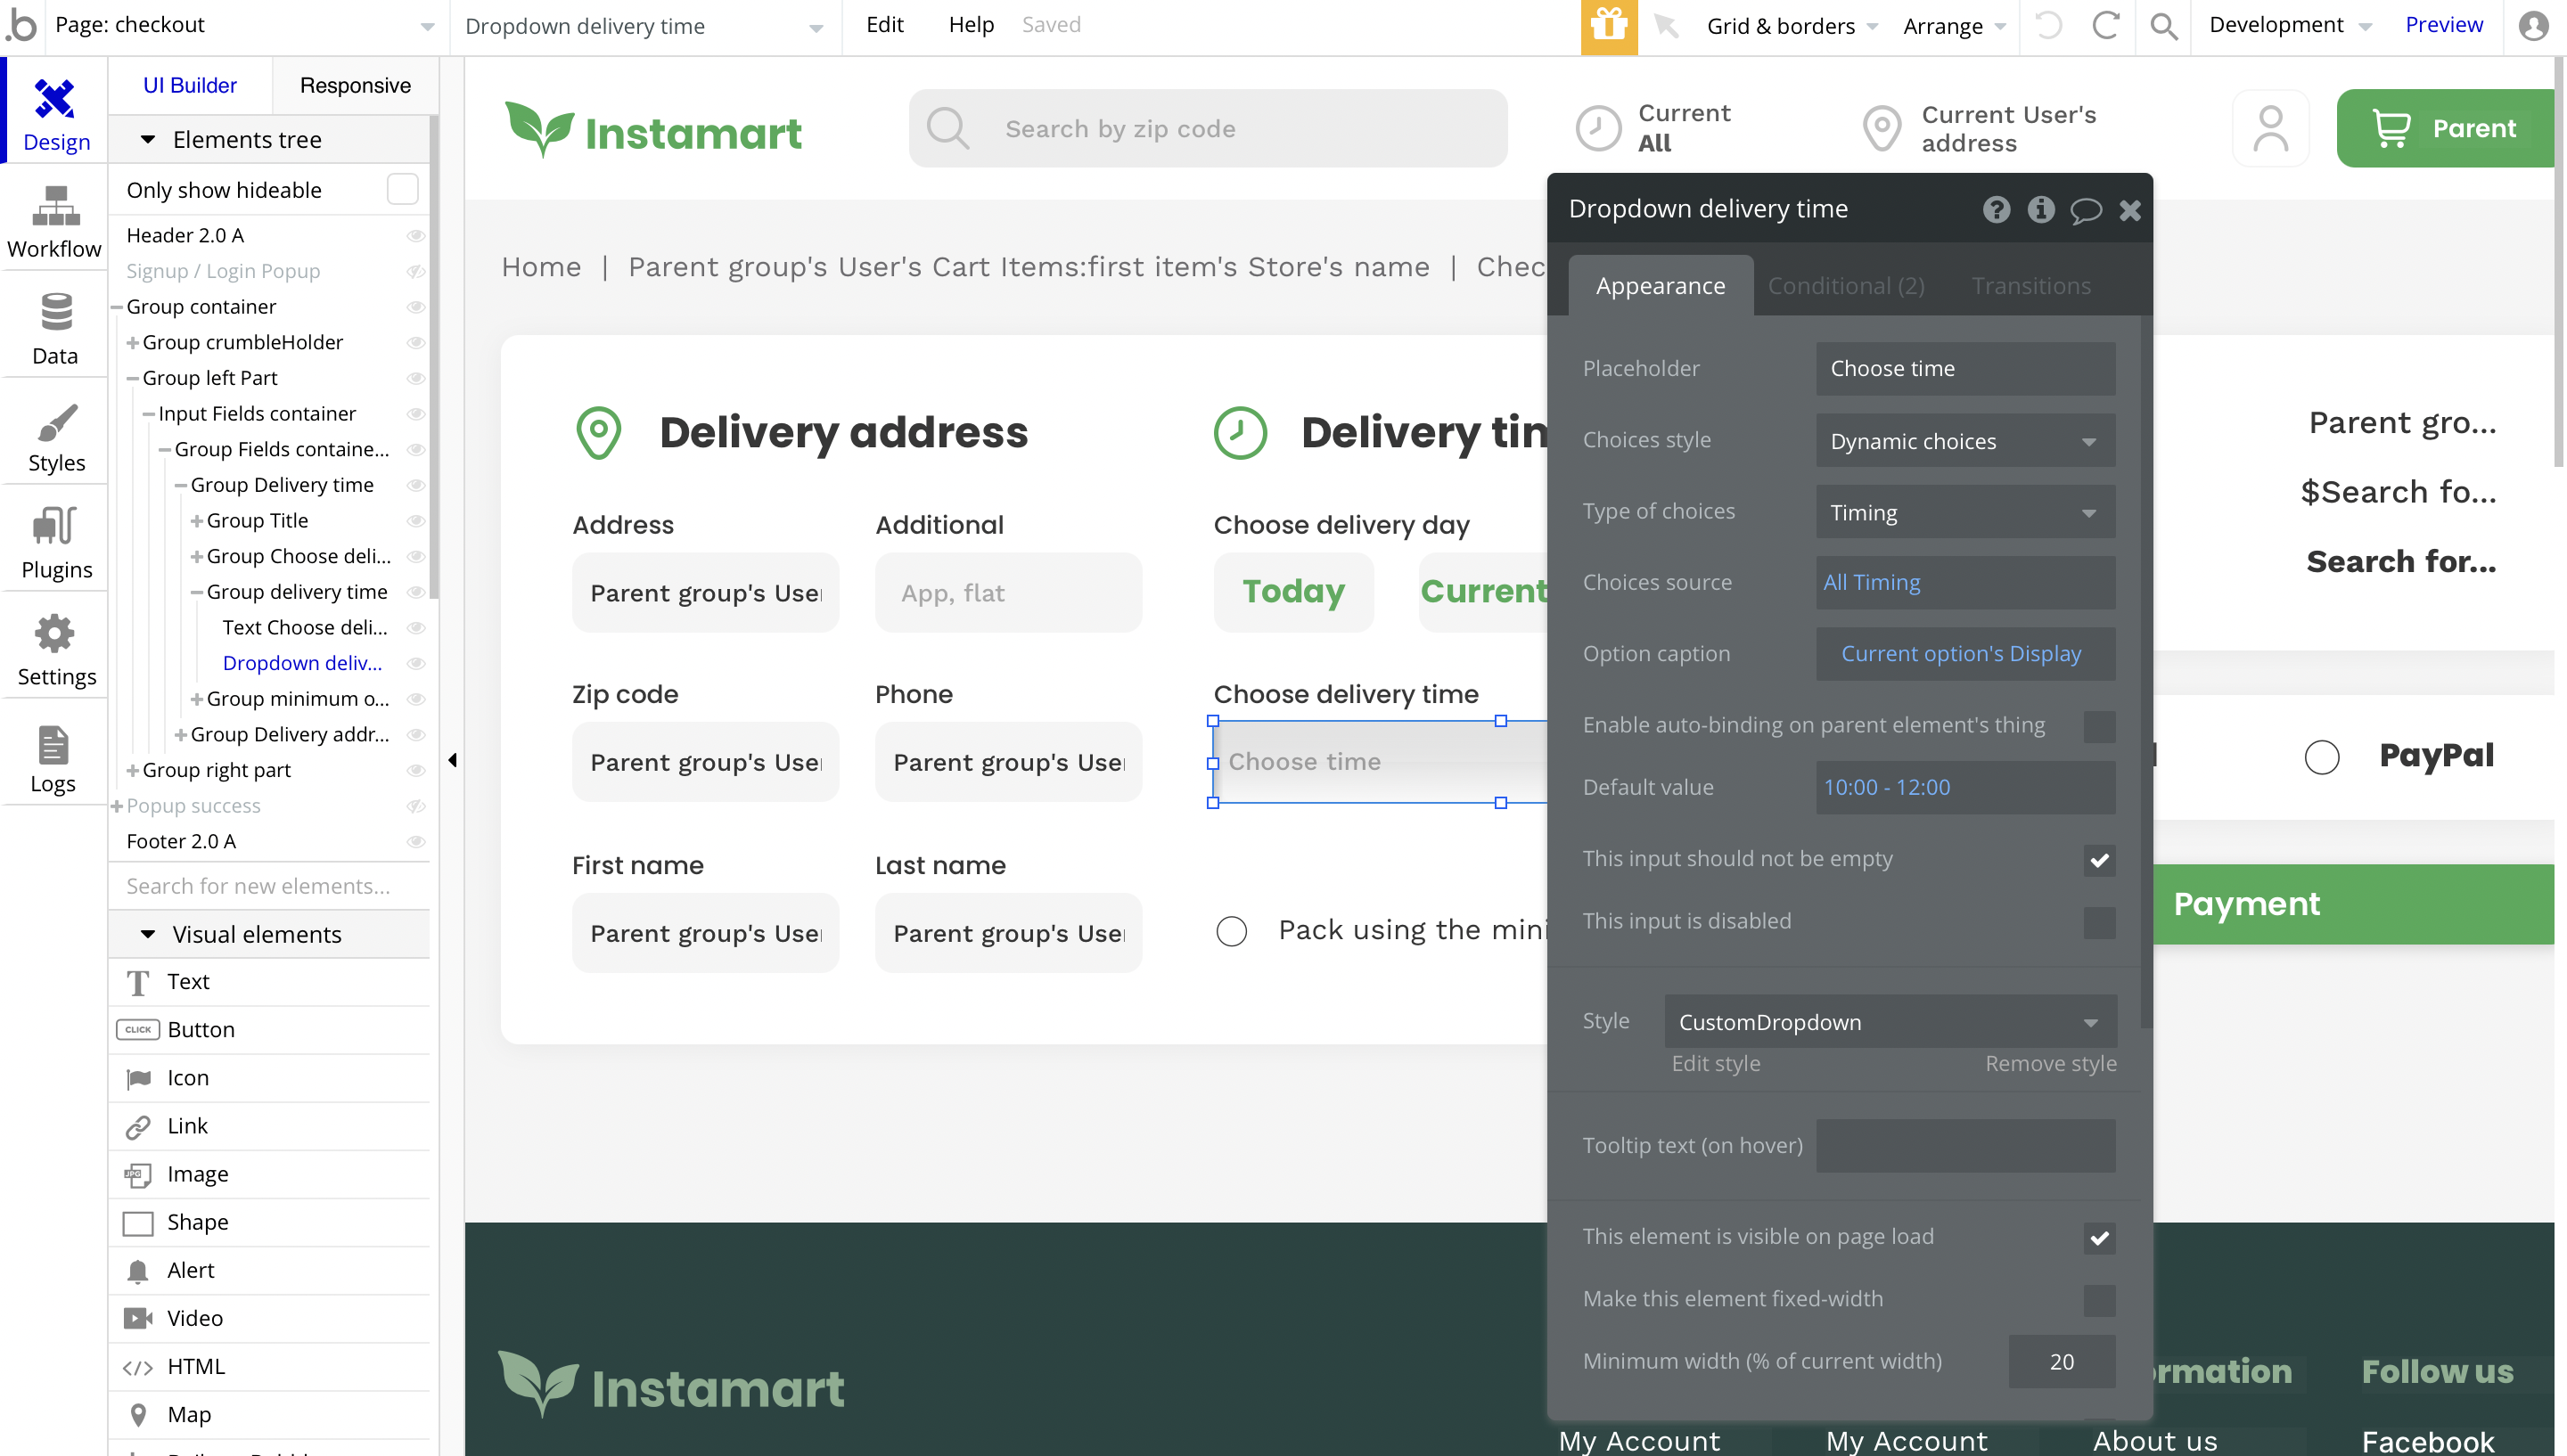
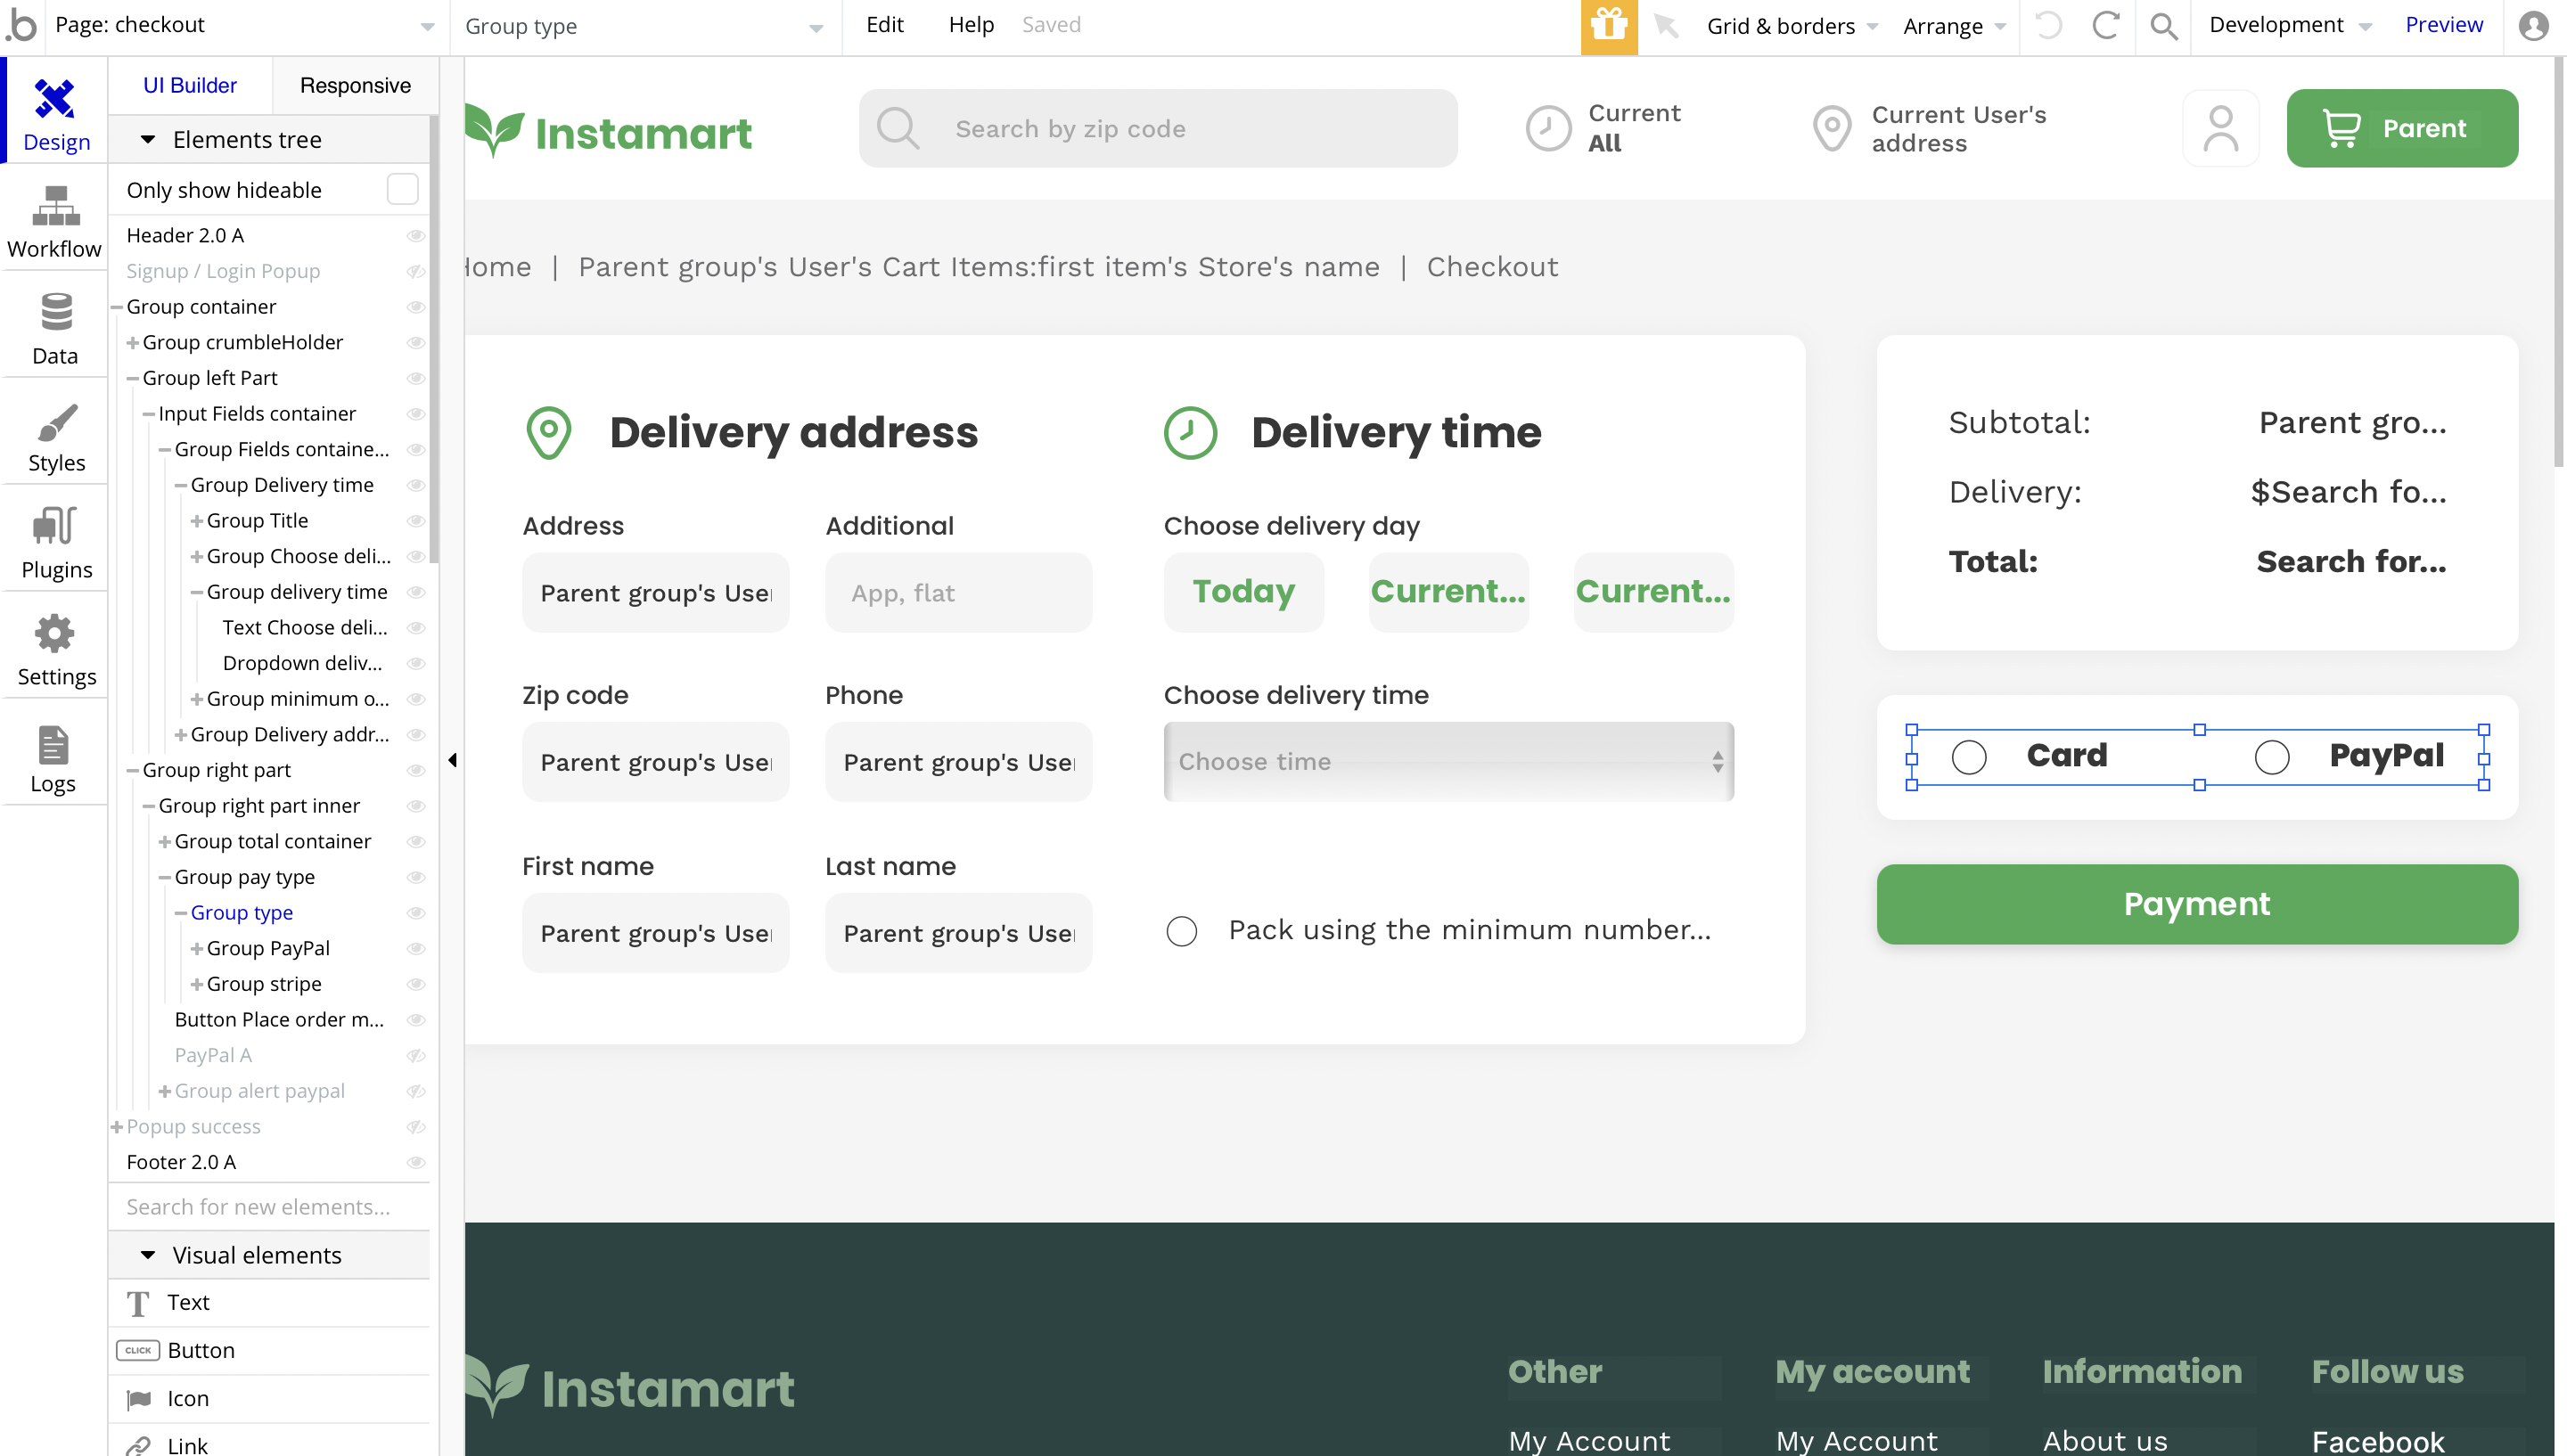
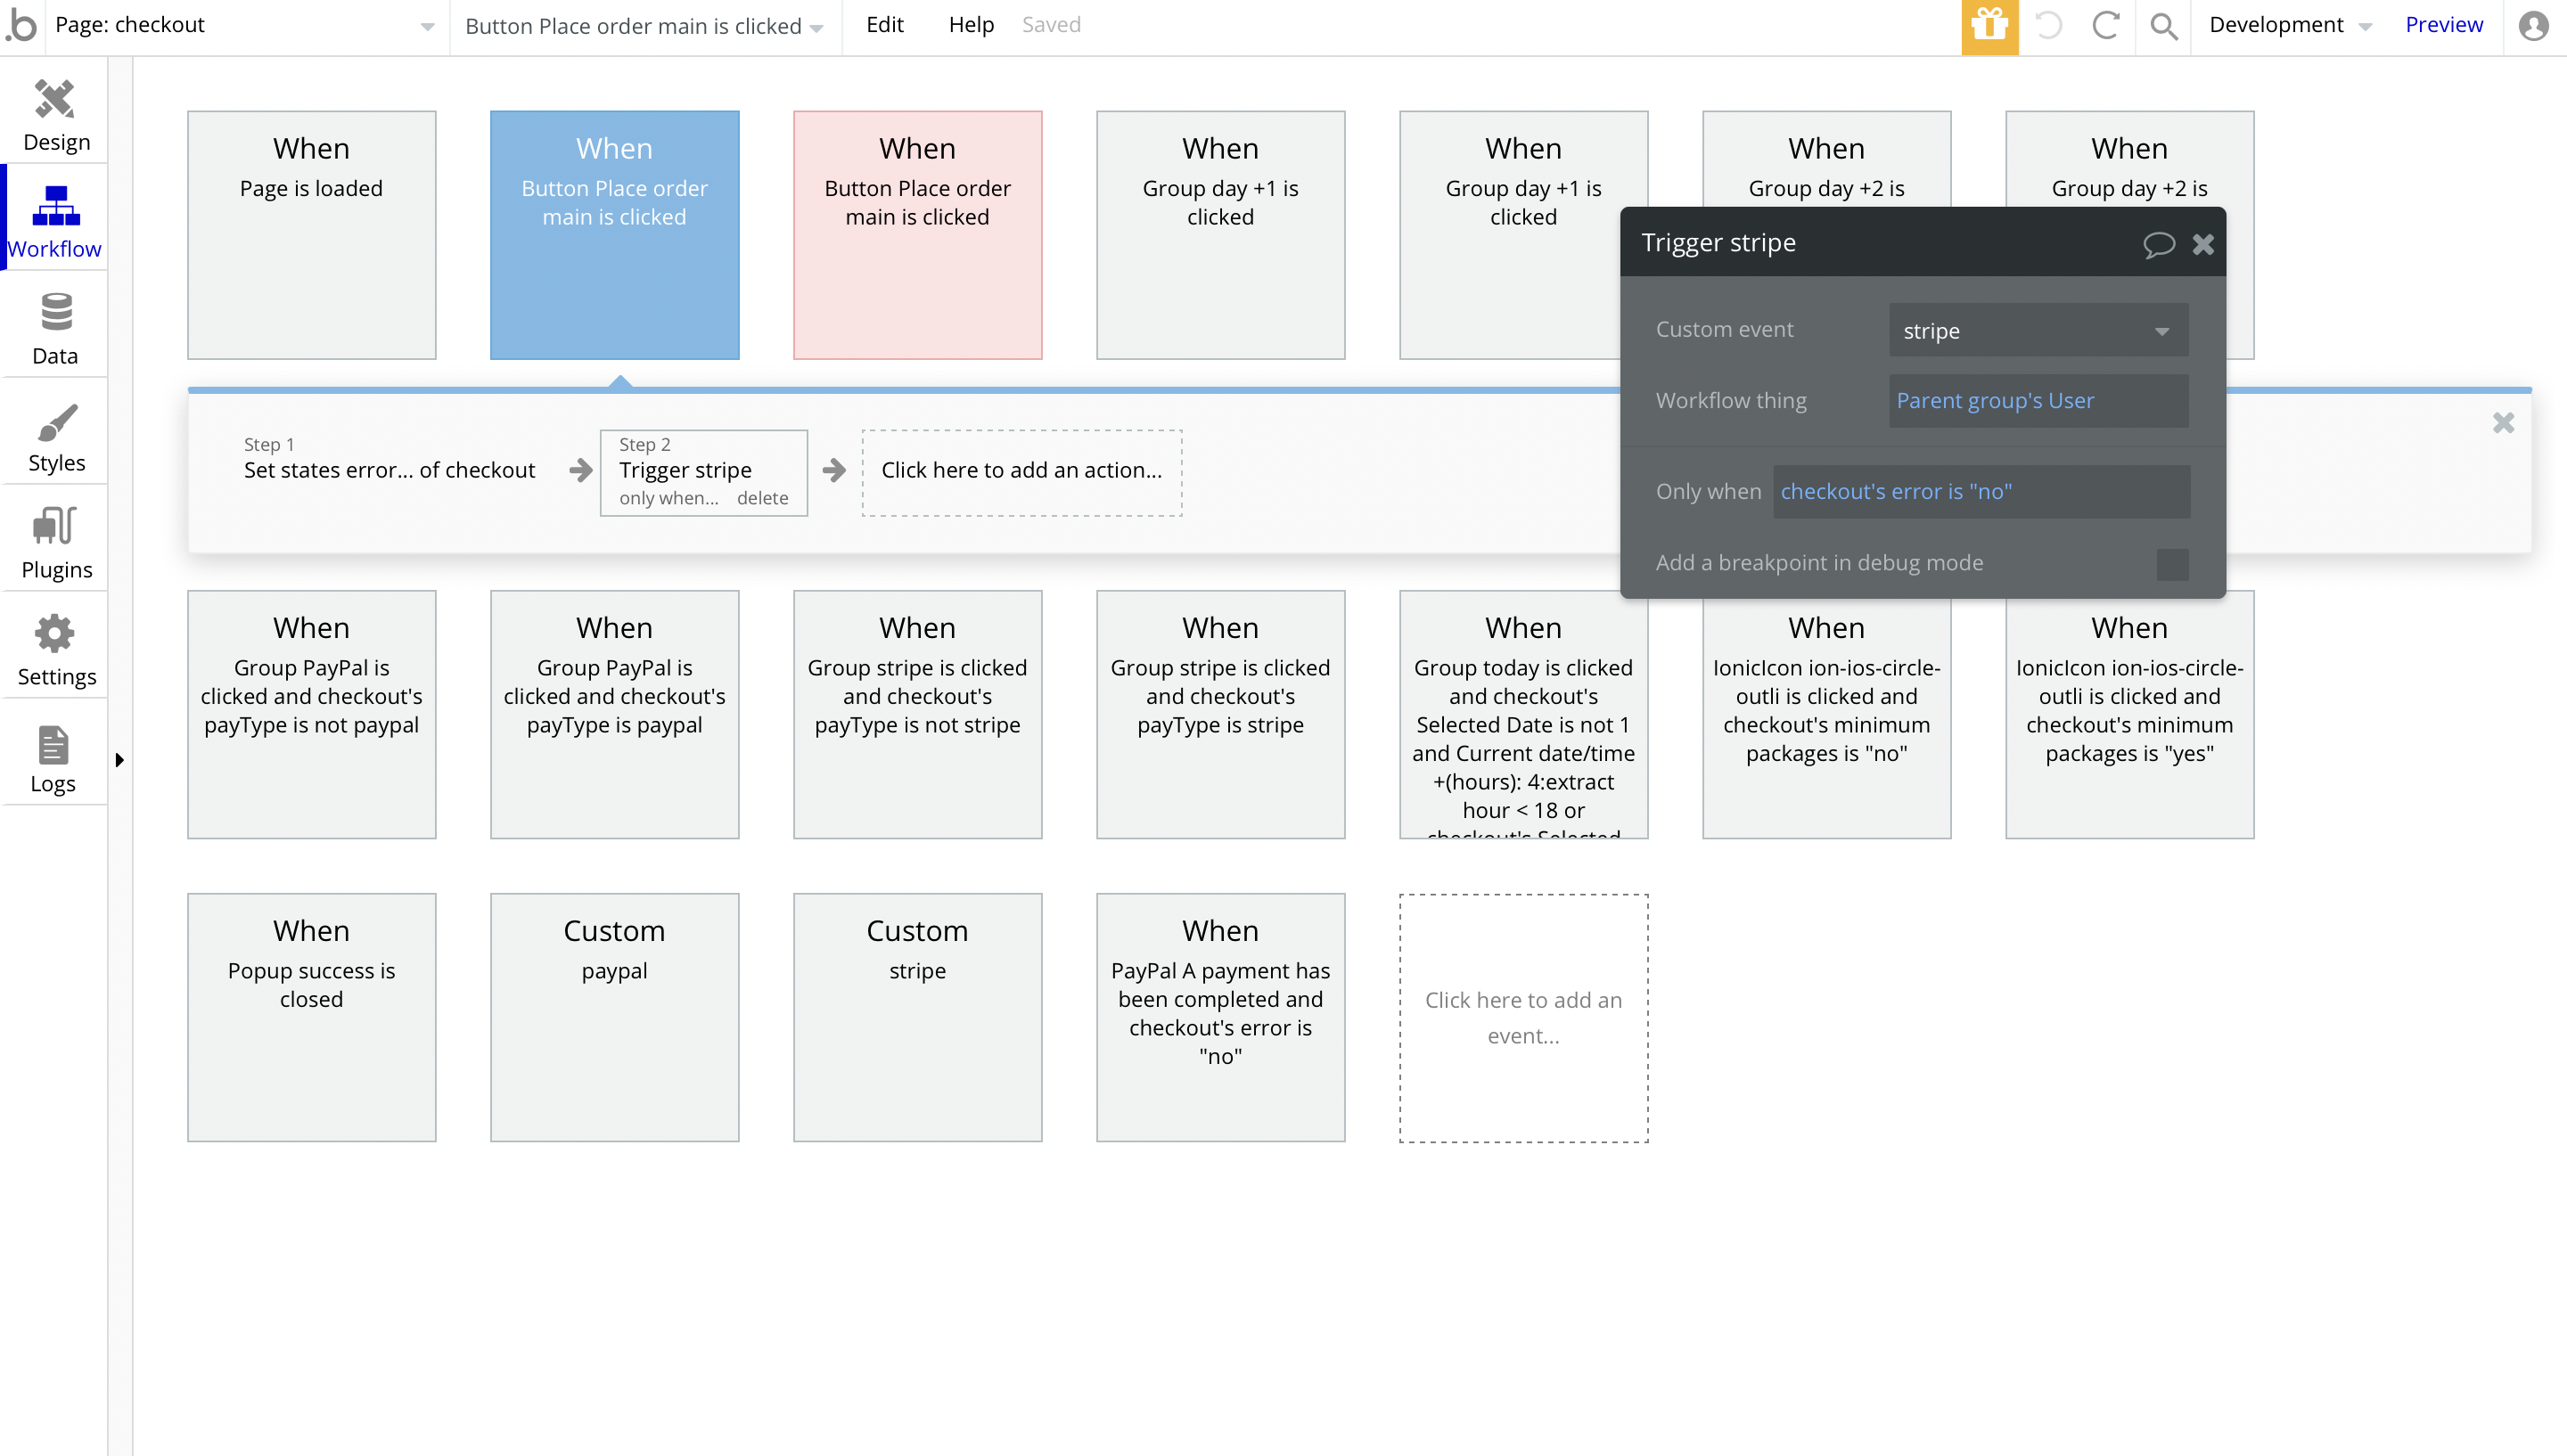
For the payment itself, the button click may trigger 2 custom events, depending on the selected checkbox: Card (Stripe) or PayPal:
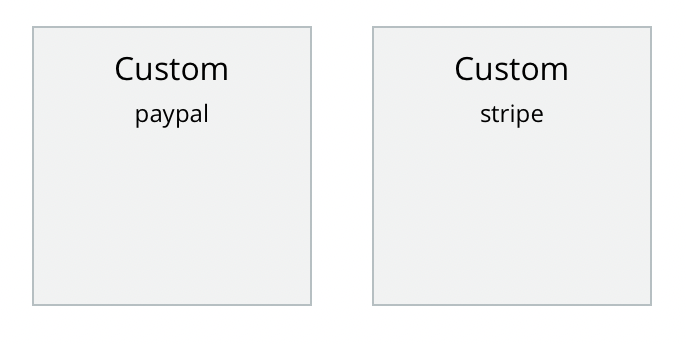
For example, when the Button "Payment" is clicked and no error occurred, the workflow triggers the stripe custom event:
dashboard
This page is designed to manage platform data, e.g. Users, Items, Payments… and others. Only users with admin rights are able to access this page (in read-only mode), and those users who have access rights can edit or delete anything here.
To access this page and use its features at fullest, it is required to have admin and writing rights.
Instamart dashboard comes with 4 tabs: Dashboard, Stores, Orders and Customers.
🖥 Dashboard
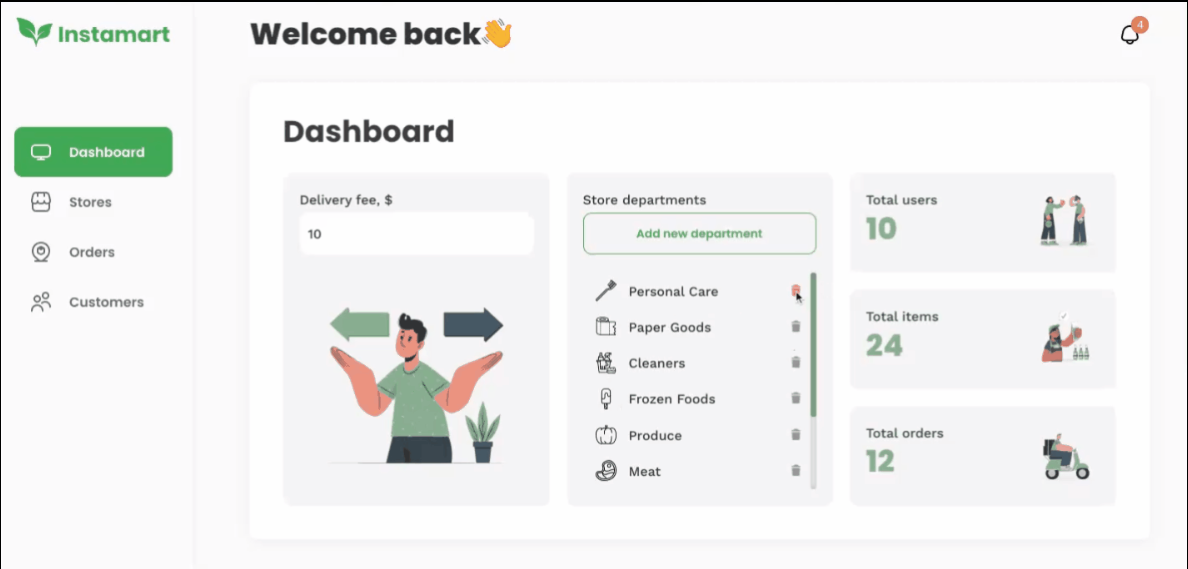
Tip: The Delivery fee (flat) can be changed in the Dashboard tab here.
The Store departments list is pulled from the
Department Types data type, here: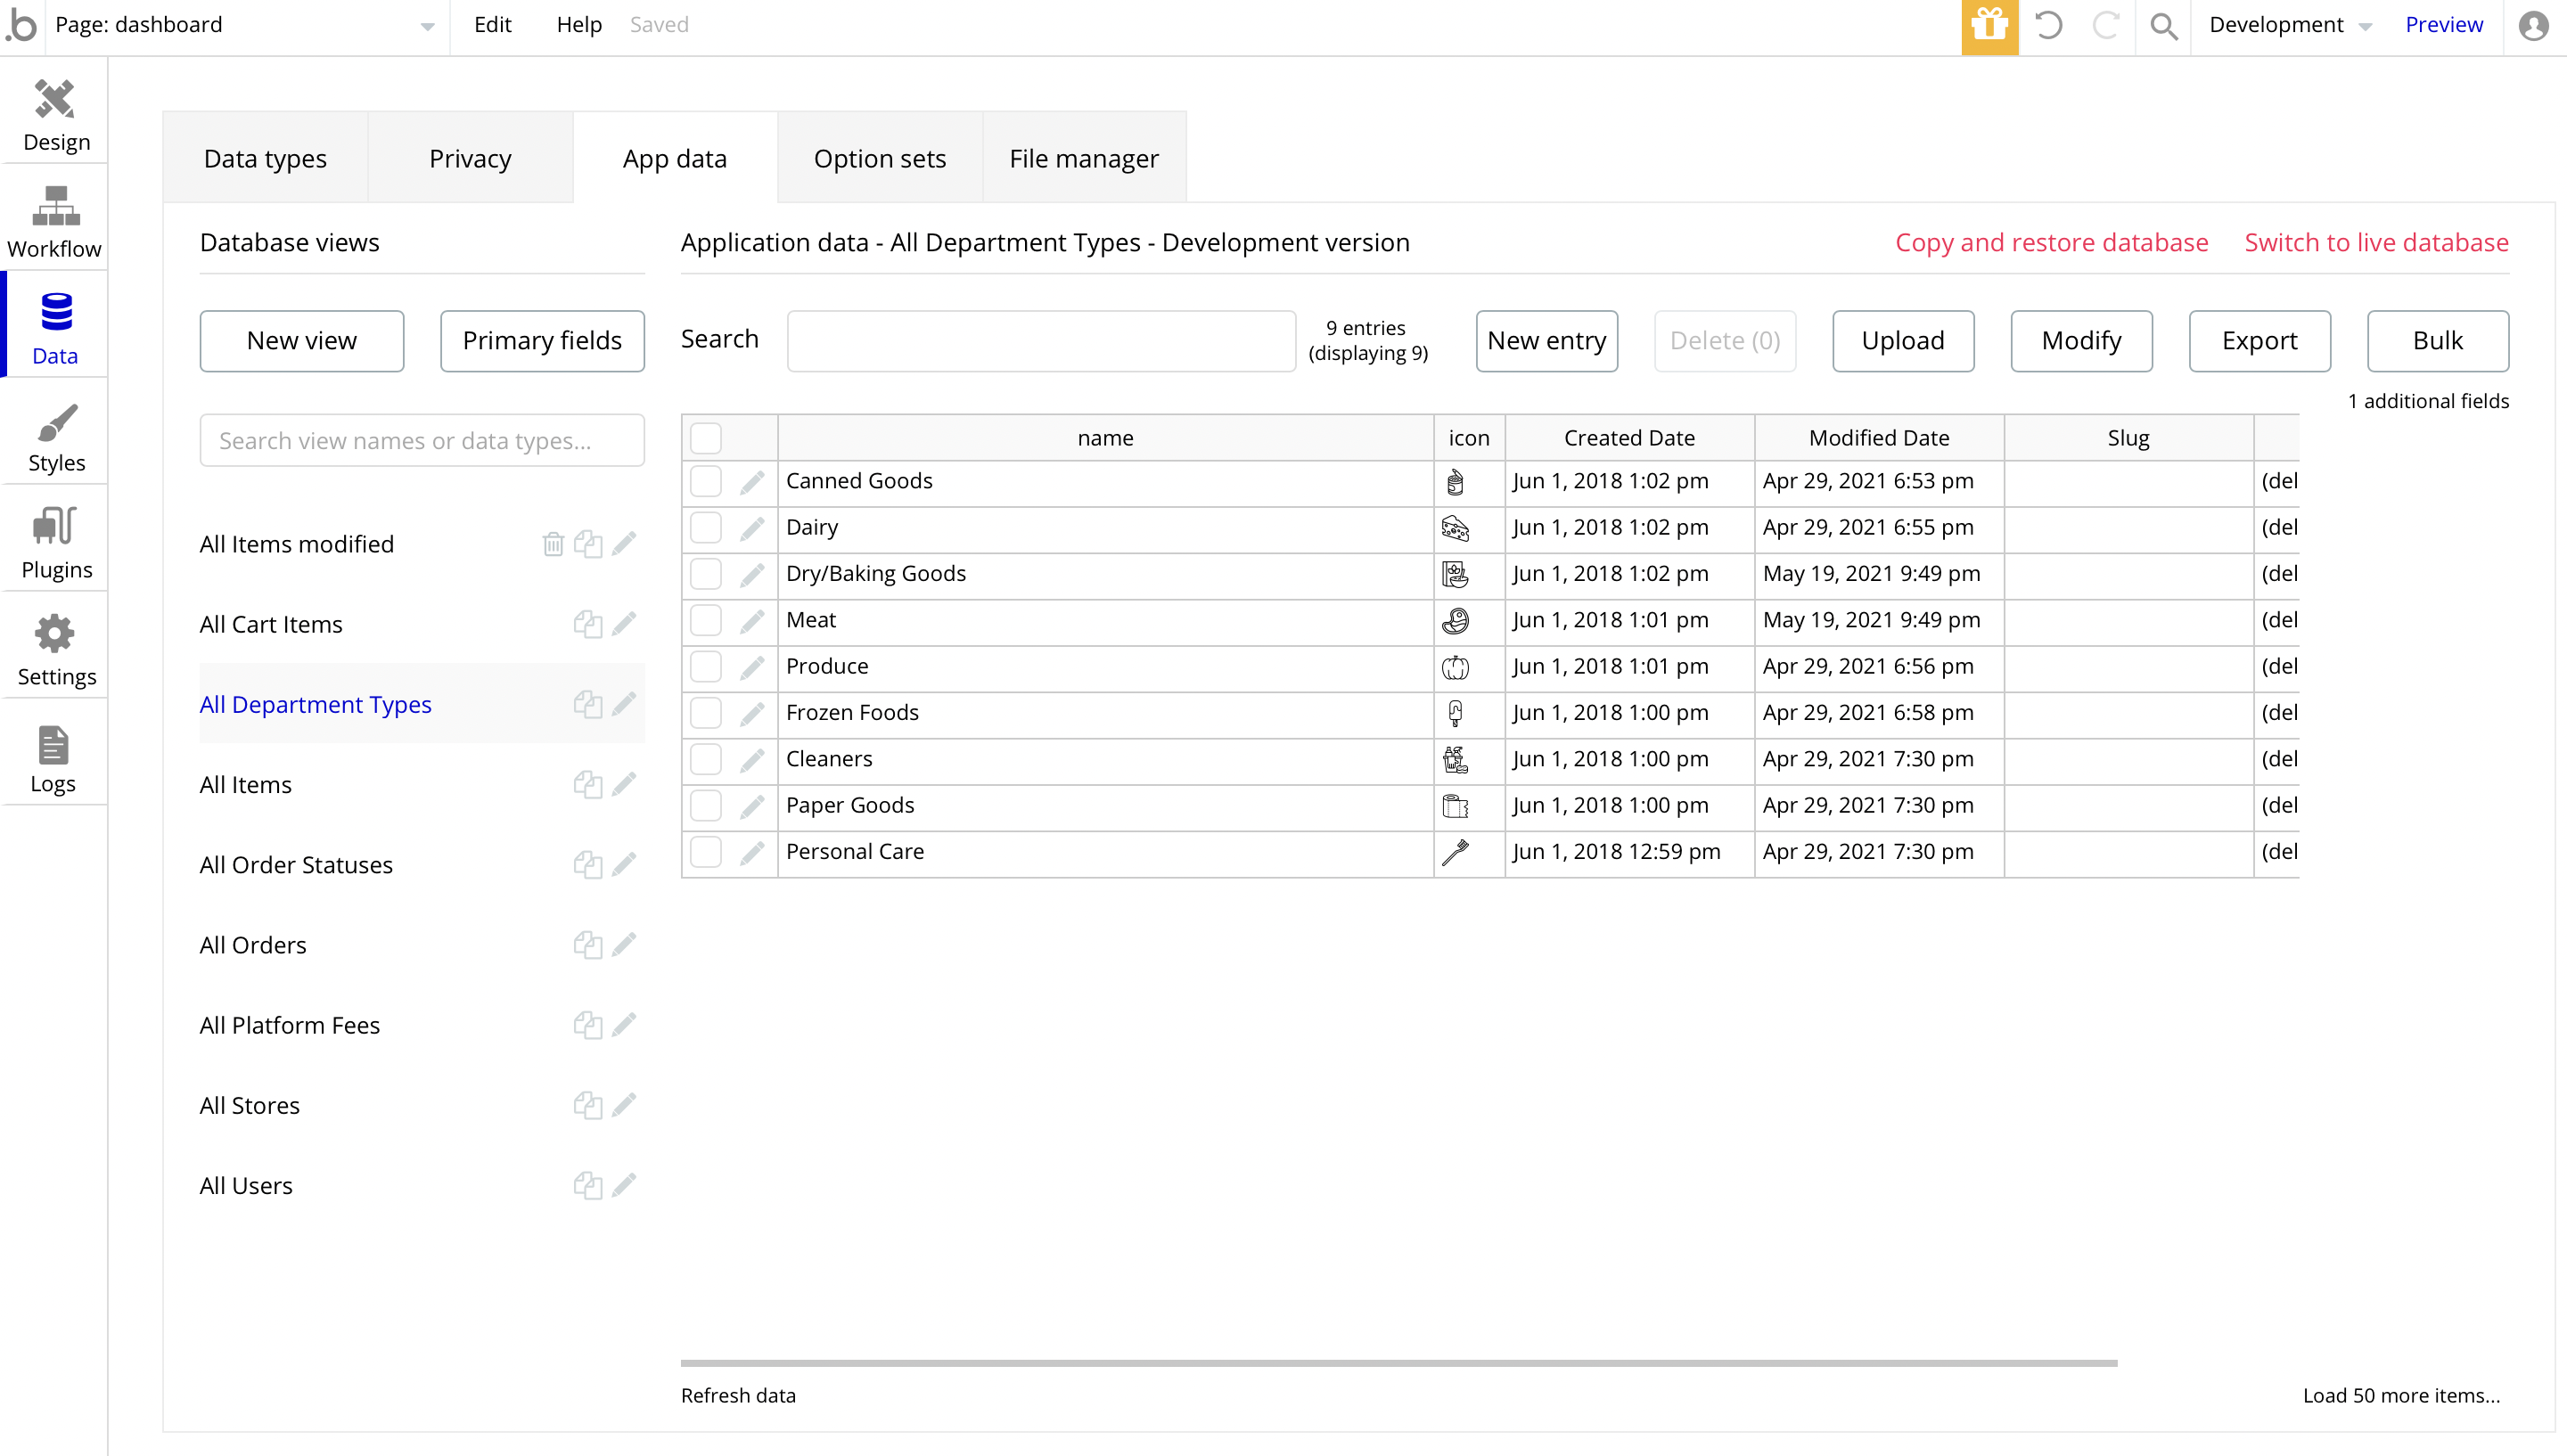
To locate this element within design elements, it is required to unhide it.
Tip: Initially, the design elements might be hidden in the editor.
Here is how to unhide 👀 them:
Stores
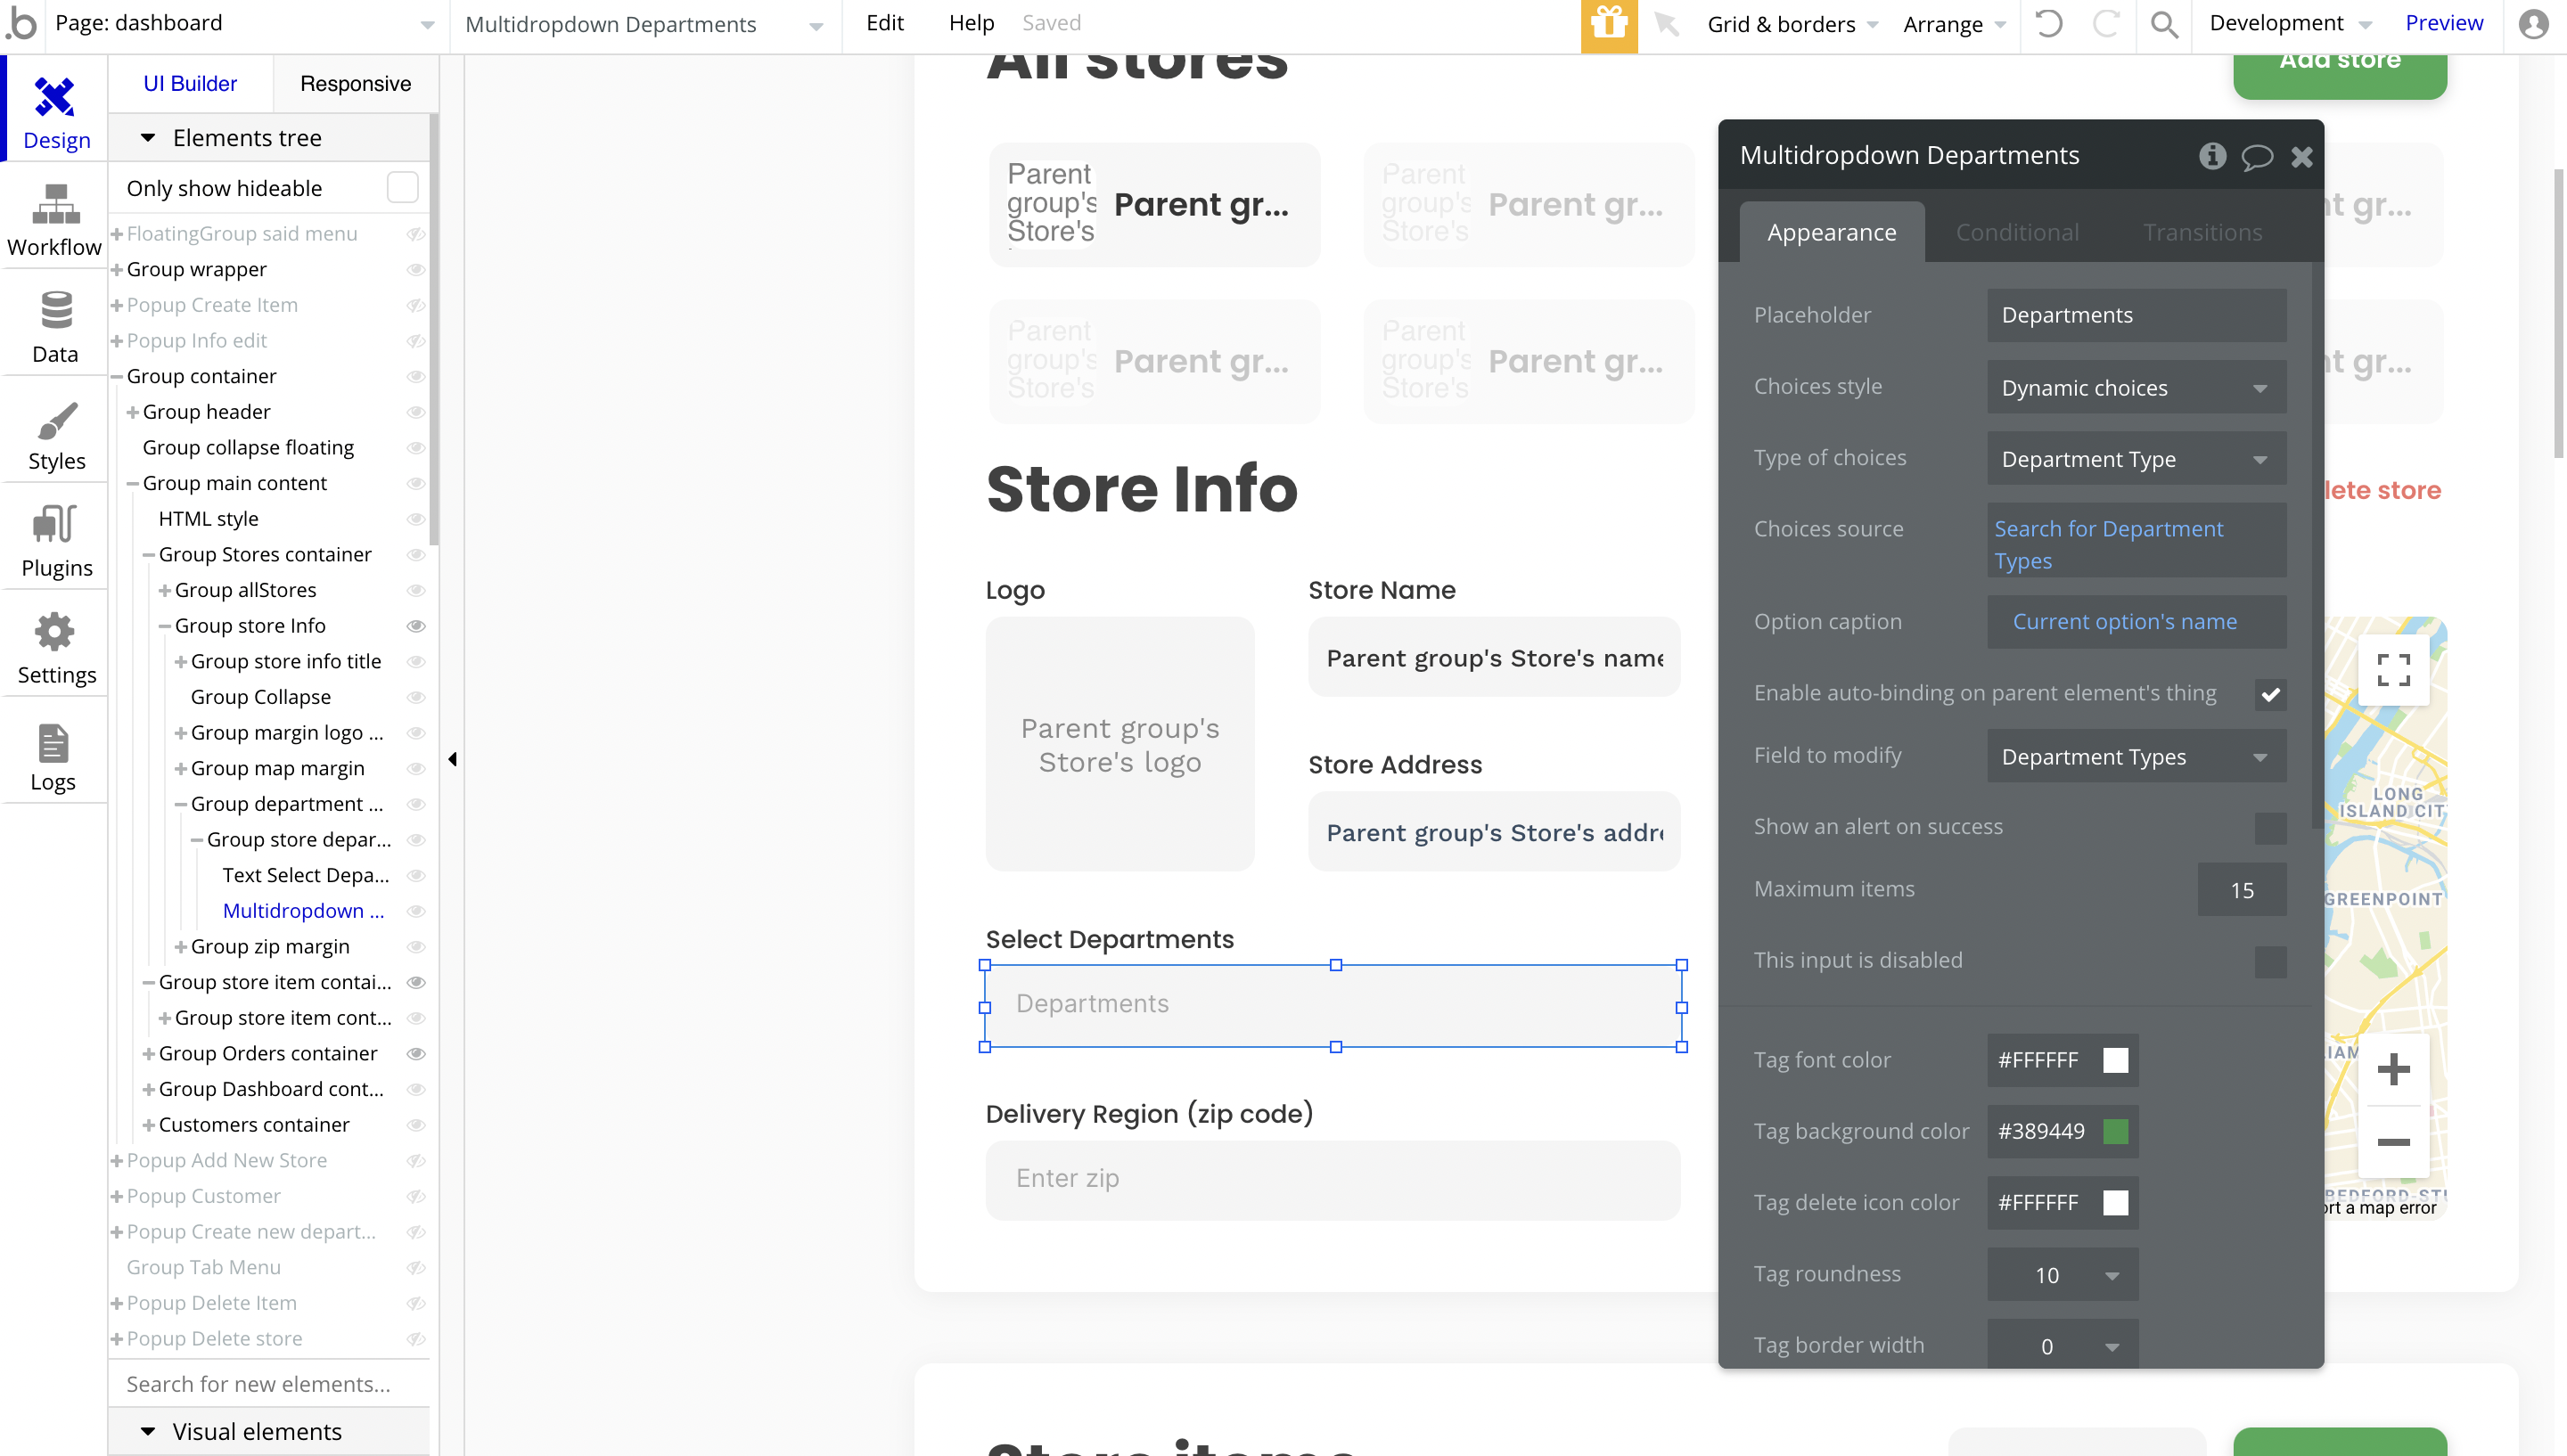
In this tab, admin users are able to manage the stores data.
The list of all stores is displayed, where it is possible to click on any store to see the detailed information, like: logo, name, address, region, point on the map, available departments, as well as the list of available Store Items that are also manageable in this tab.
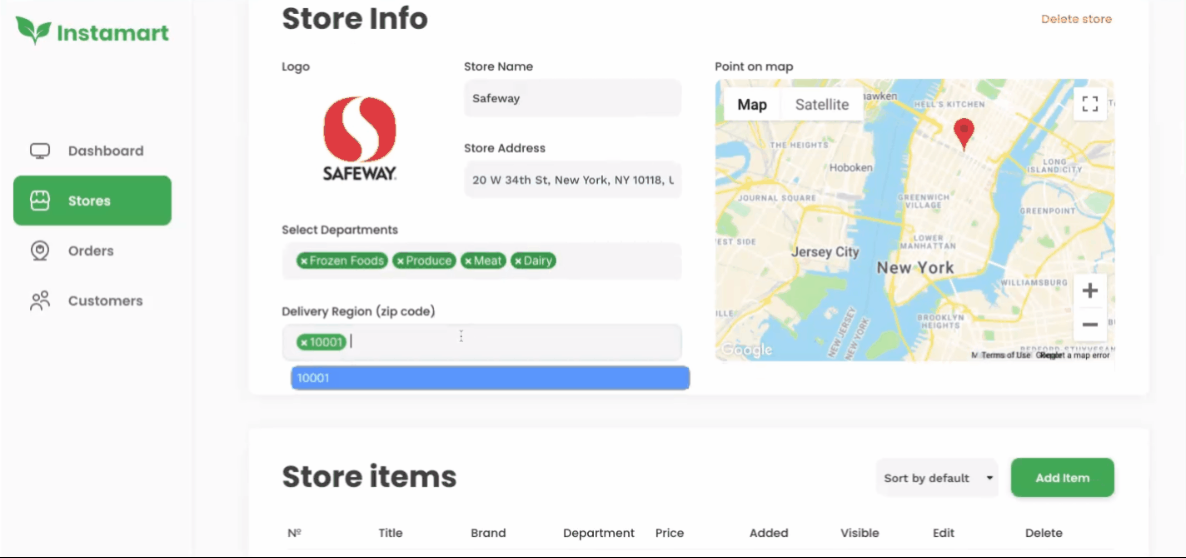
The departments tags are being pulled from the Department Type data type, in this multidropdown element:
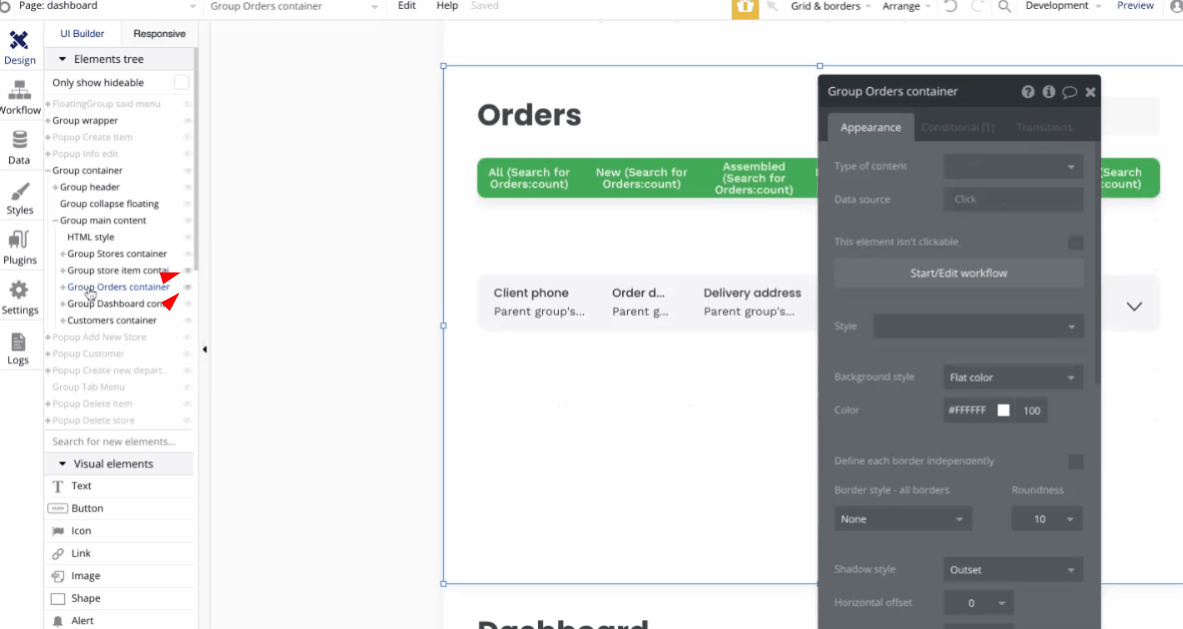
Orders
Here, it is possible to see the order information and items included in that purchase. Admins can see the information like client's phone, order date, delivery address, order ID and status.
The item information contains the product name, quantity, product price and the total price.
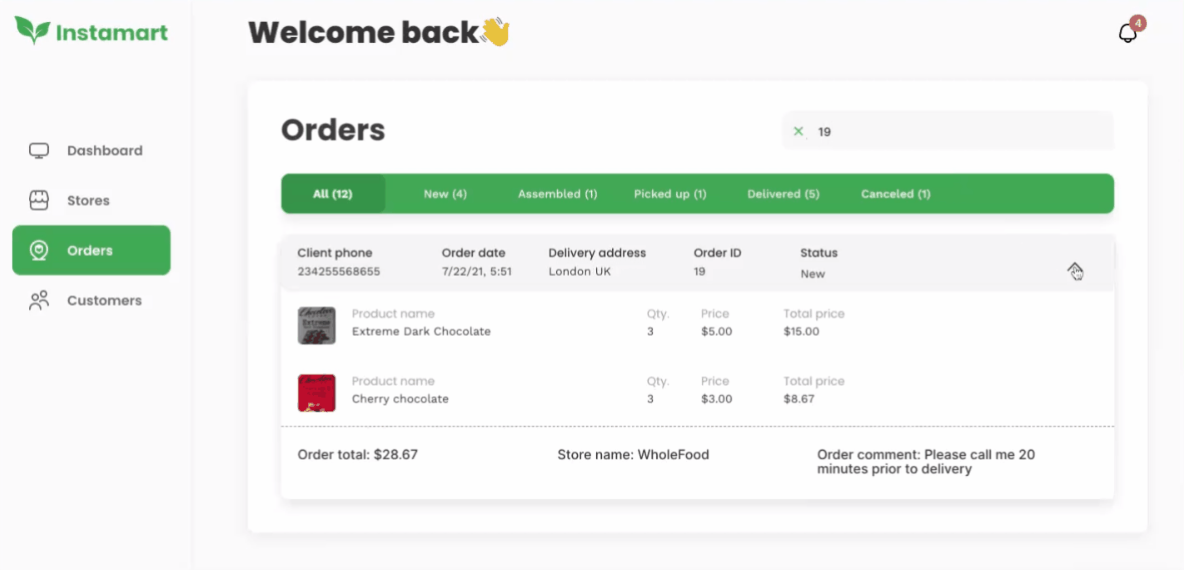
Tip: The order status can be New, Assembled, Picked up, Delivered or Canceled. From this tab, it is possible to change the order status.
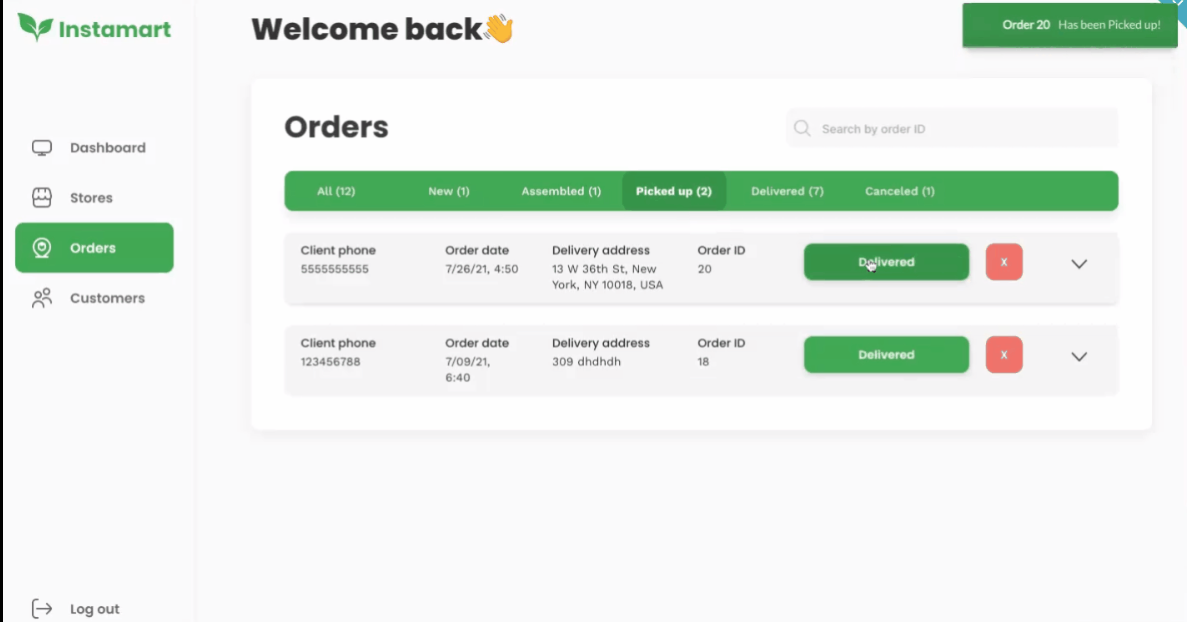
Depending on the Order's
status field, the status text for the button is changed in the Conditionals tab, here:
When the admin clicks on the status button, the Order's Status object is changed:\

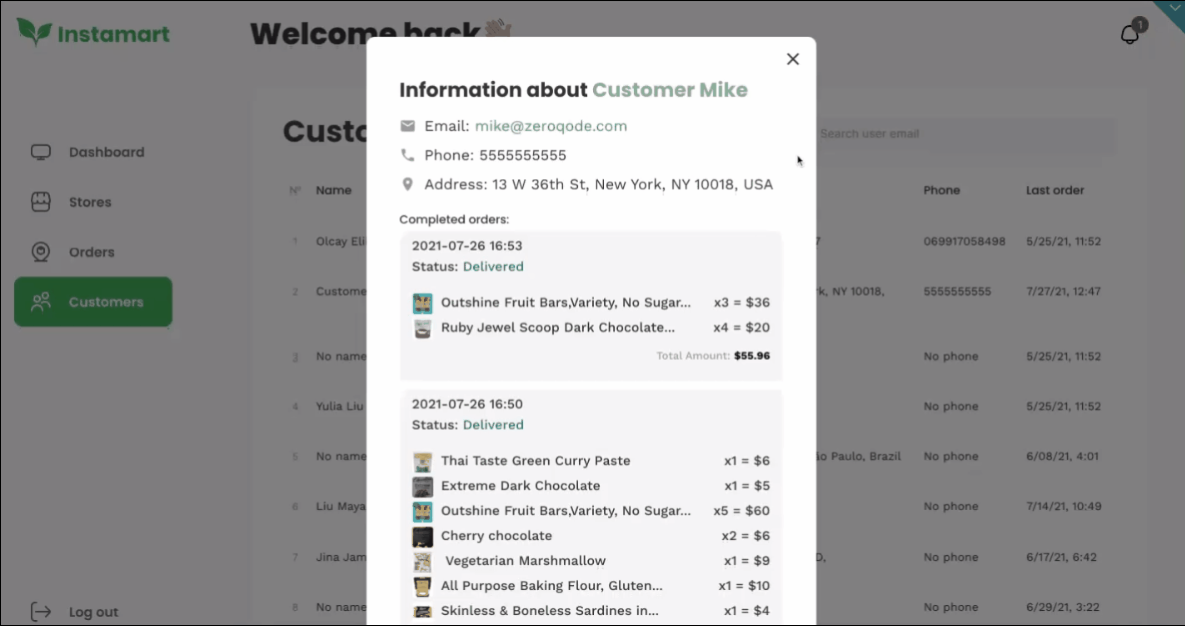
Customers
The Customers tab lists all platform users with the following information: name, email, address, phone number and the last order date. It is also displaying the list of all orders.
In case there are not orders yet, a simple text is displayed instead.
item
This page displays the product information. Users can add the product to their shopping cart and select the quantity. The order price in the cart will be updated.
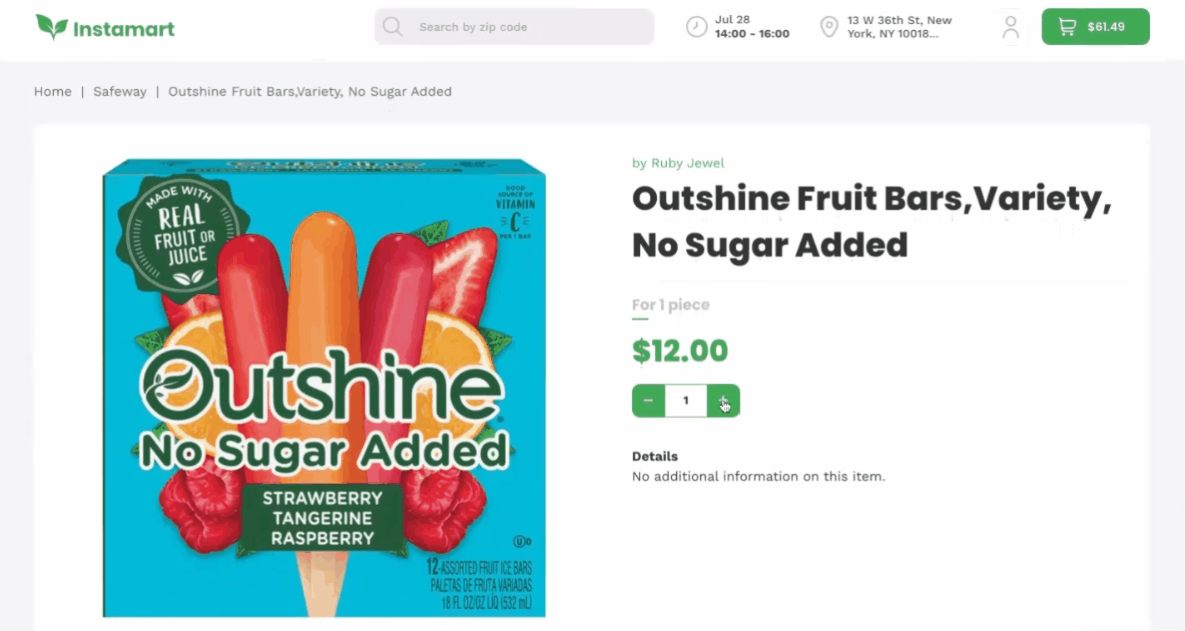
The ➖ and ➕ buttons can be found here:

myaccount
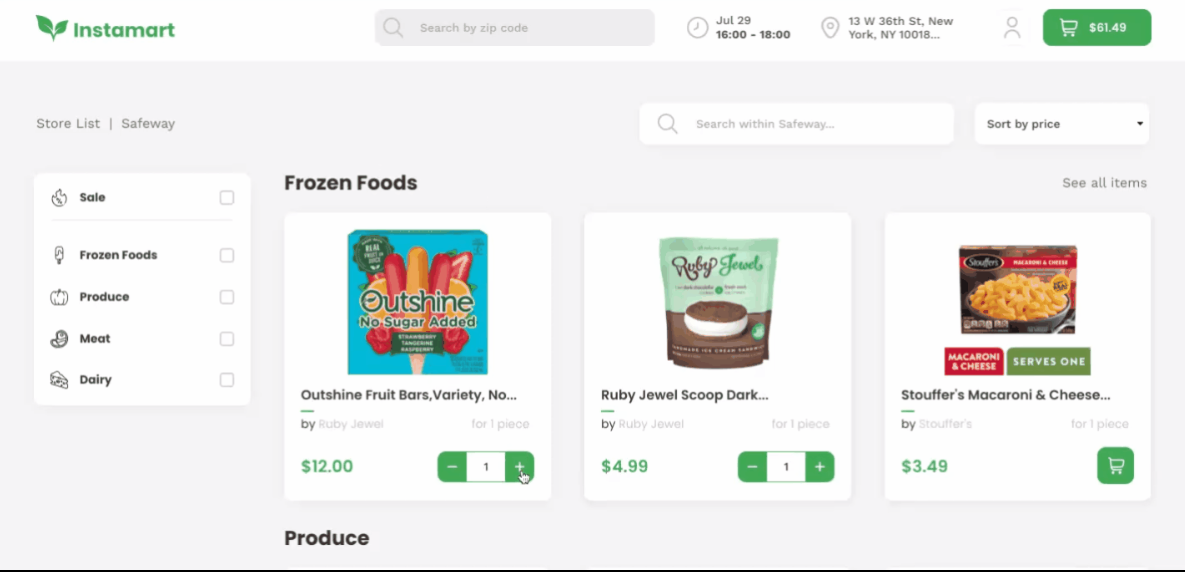
This page is the user profile. Here, it is possible to edit the information like name, gender, address, and password. Also, users can see the list of their purchases in My Orders tab.
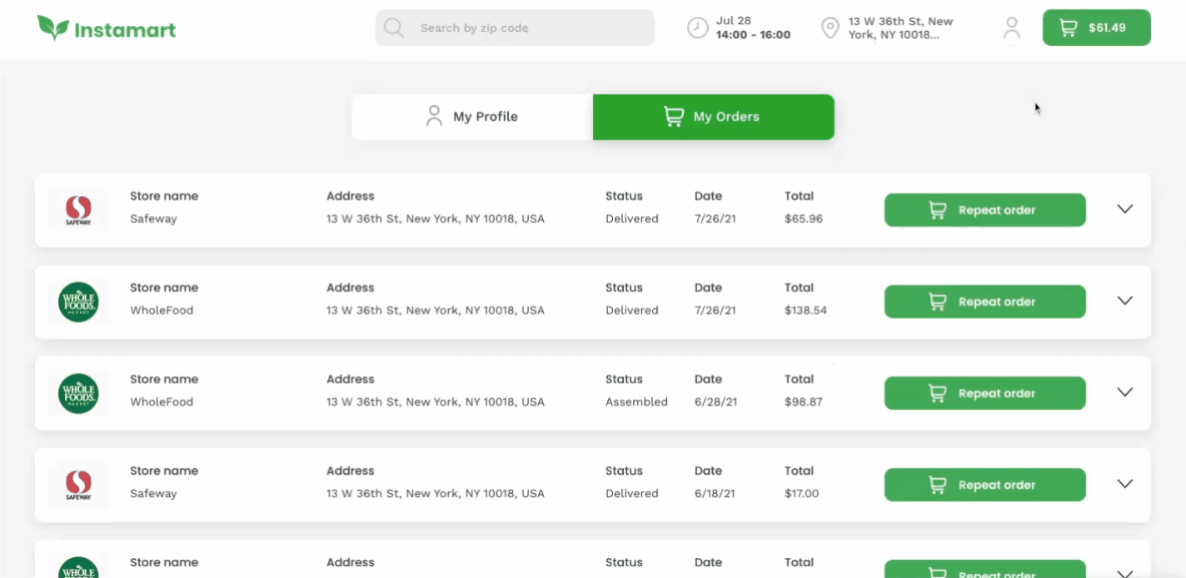
Tip: All purchases are saved in the My Orders tab, and users can repeat the order if needed
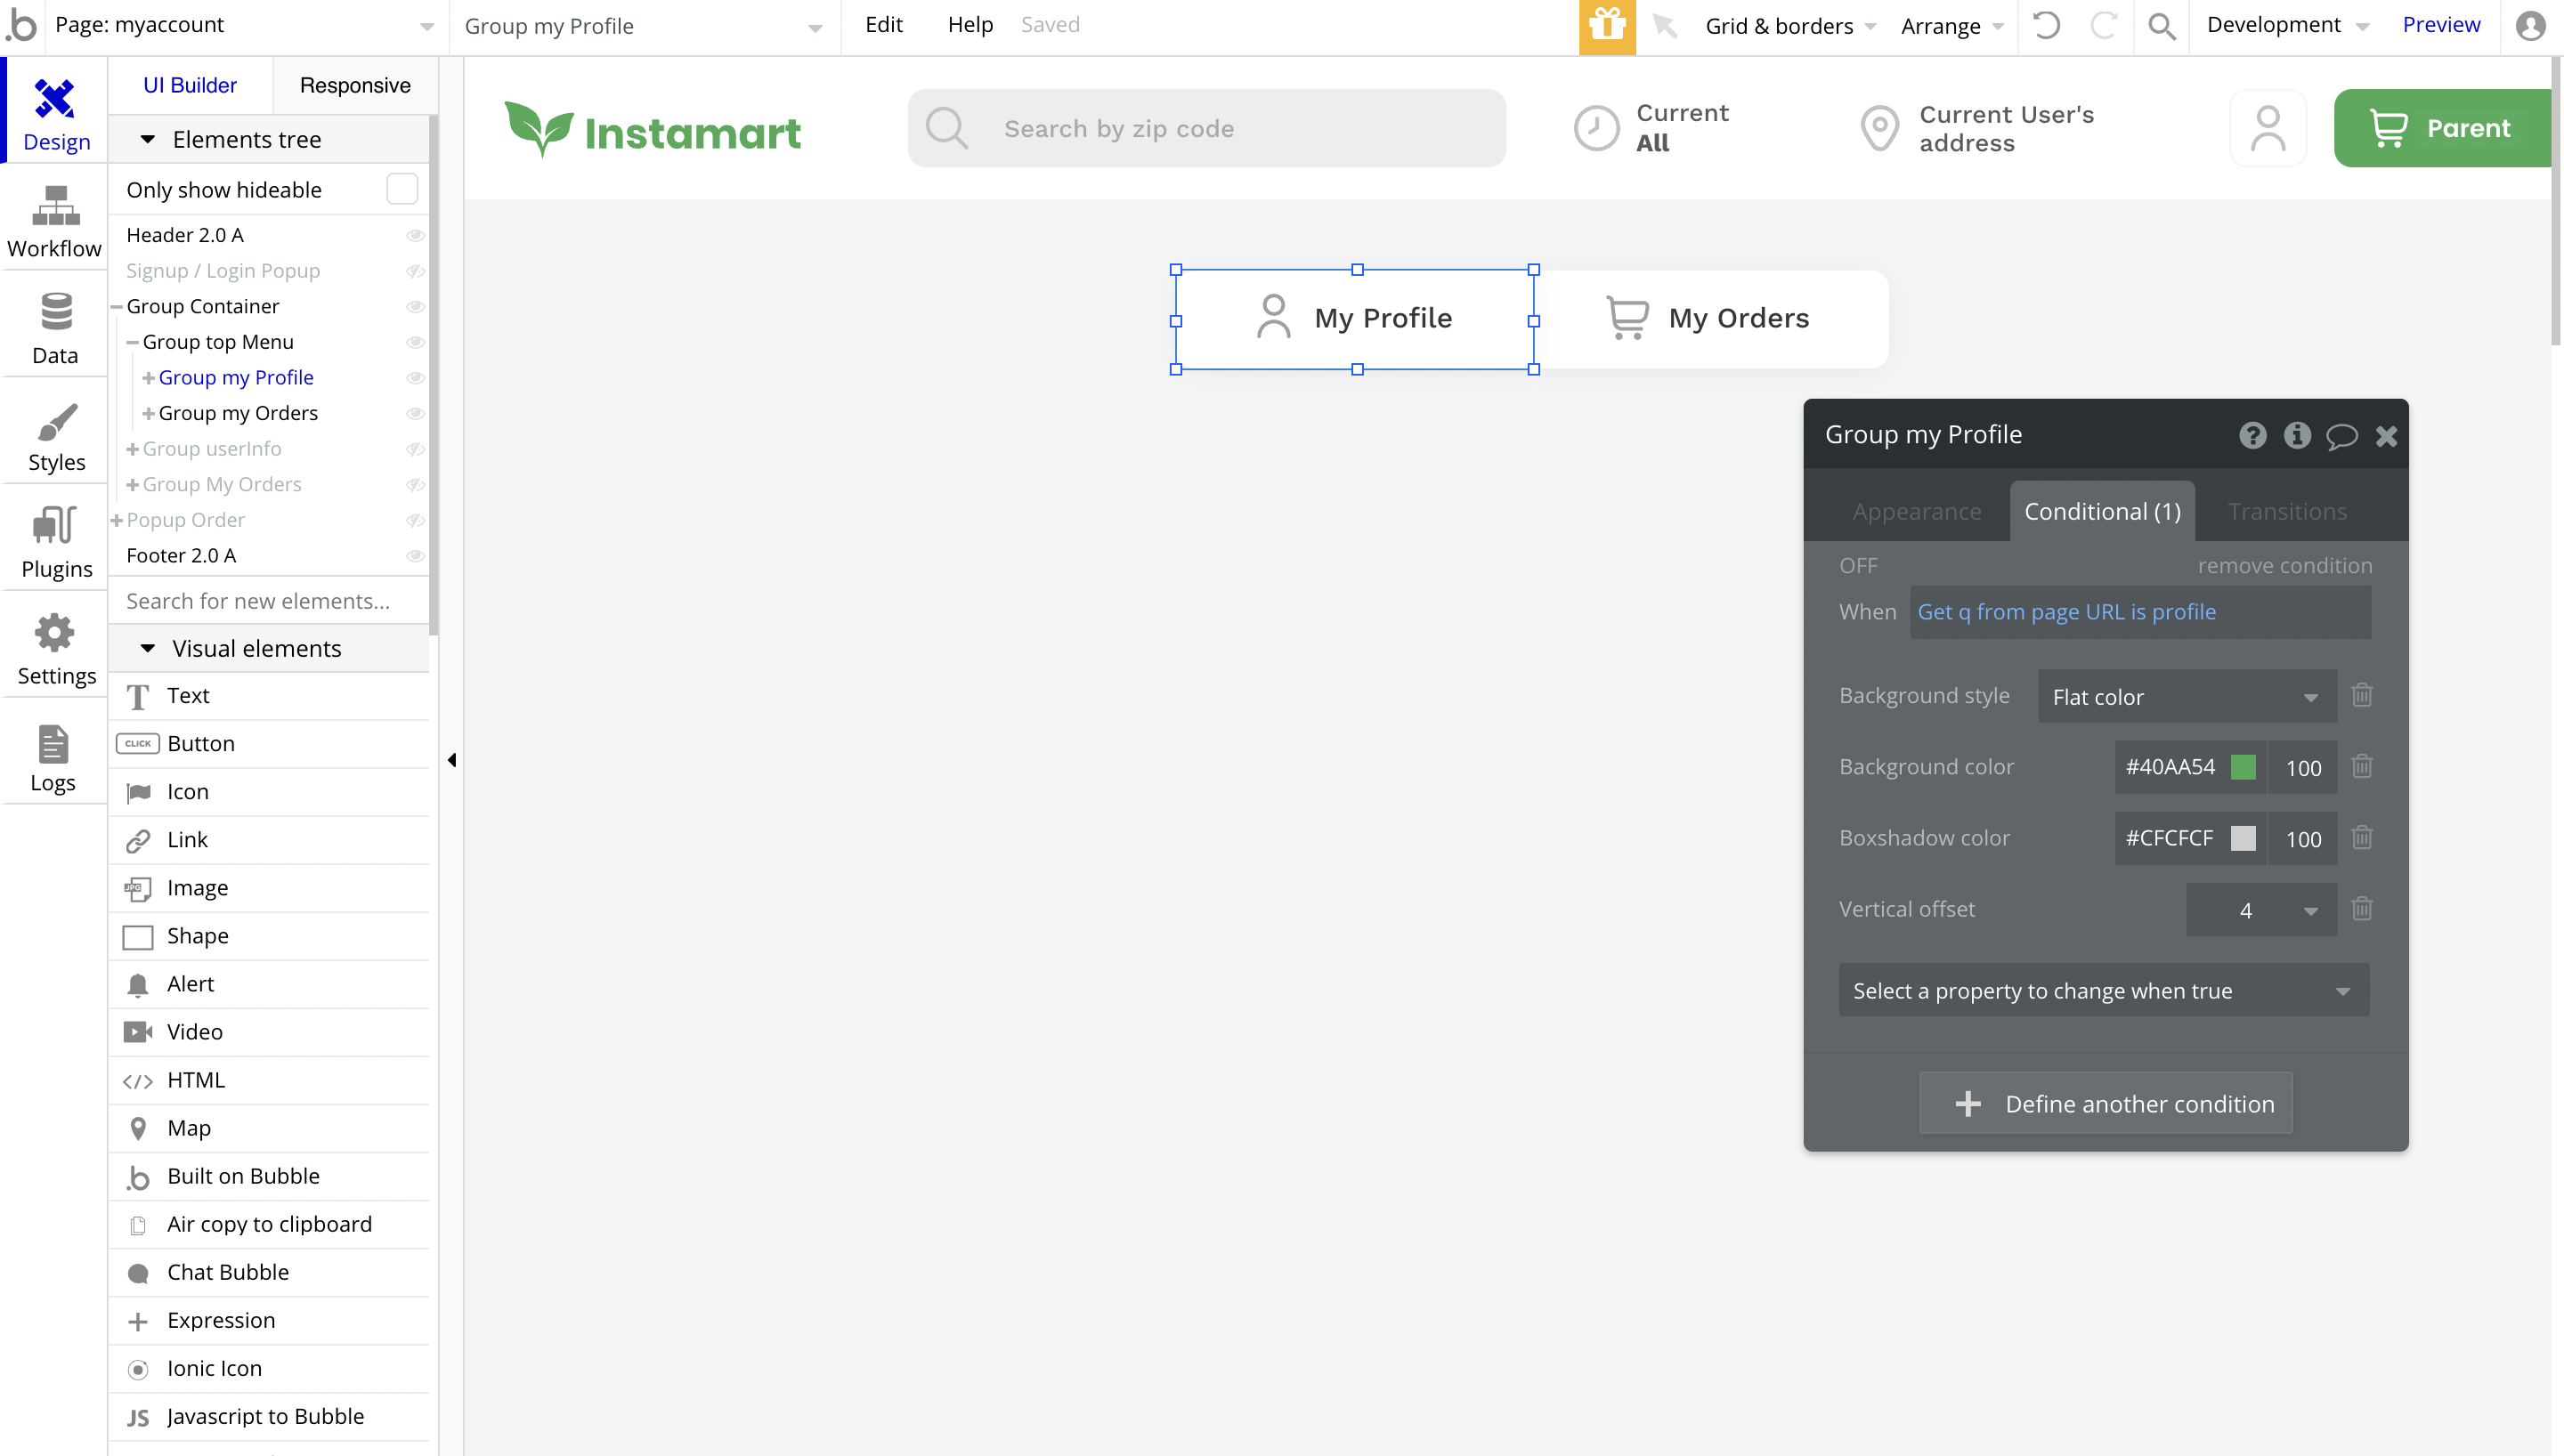
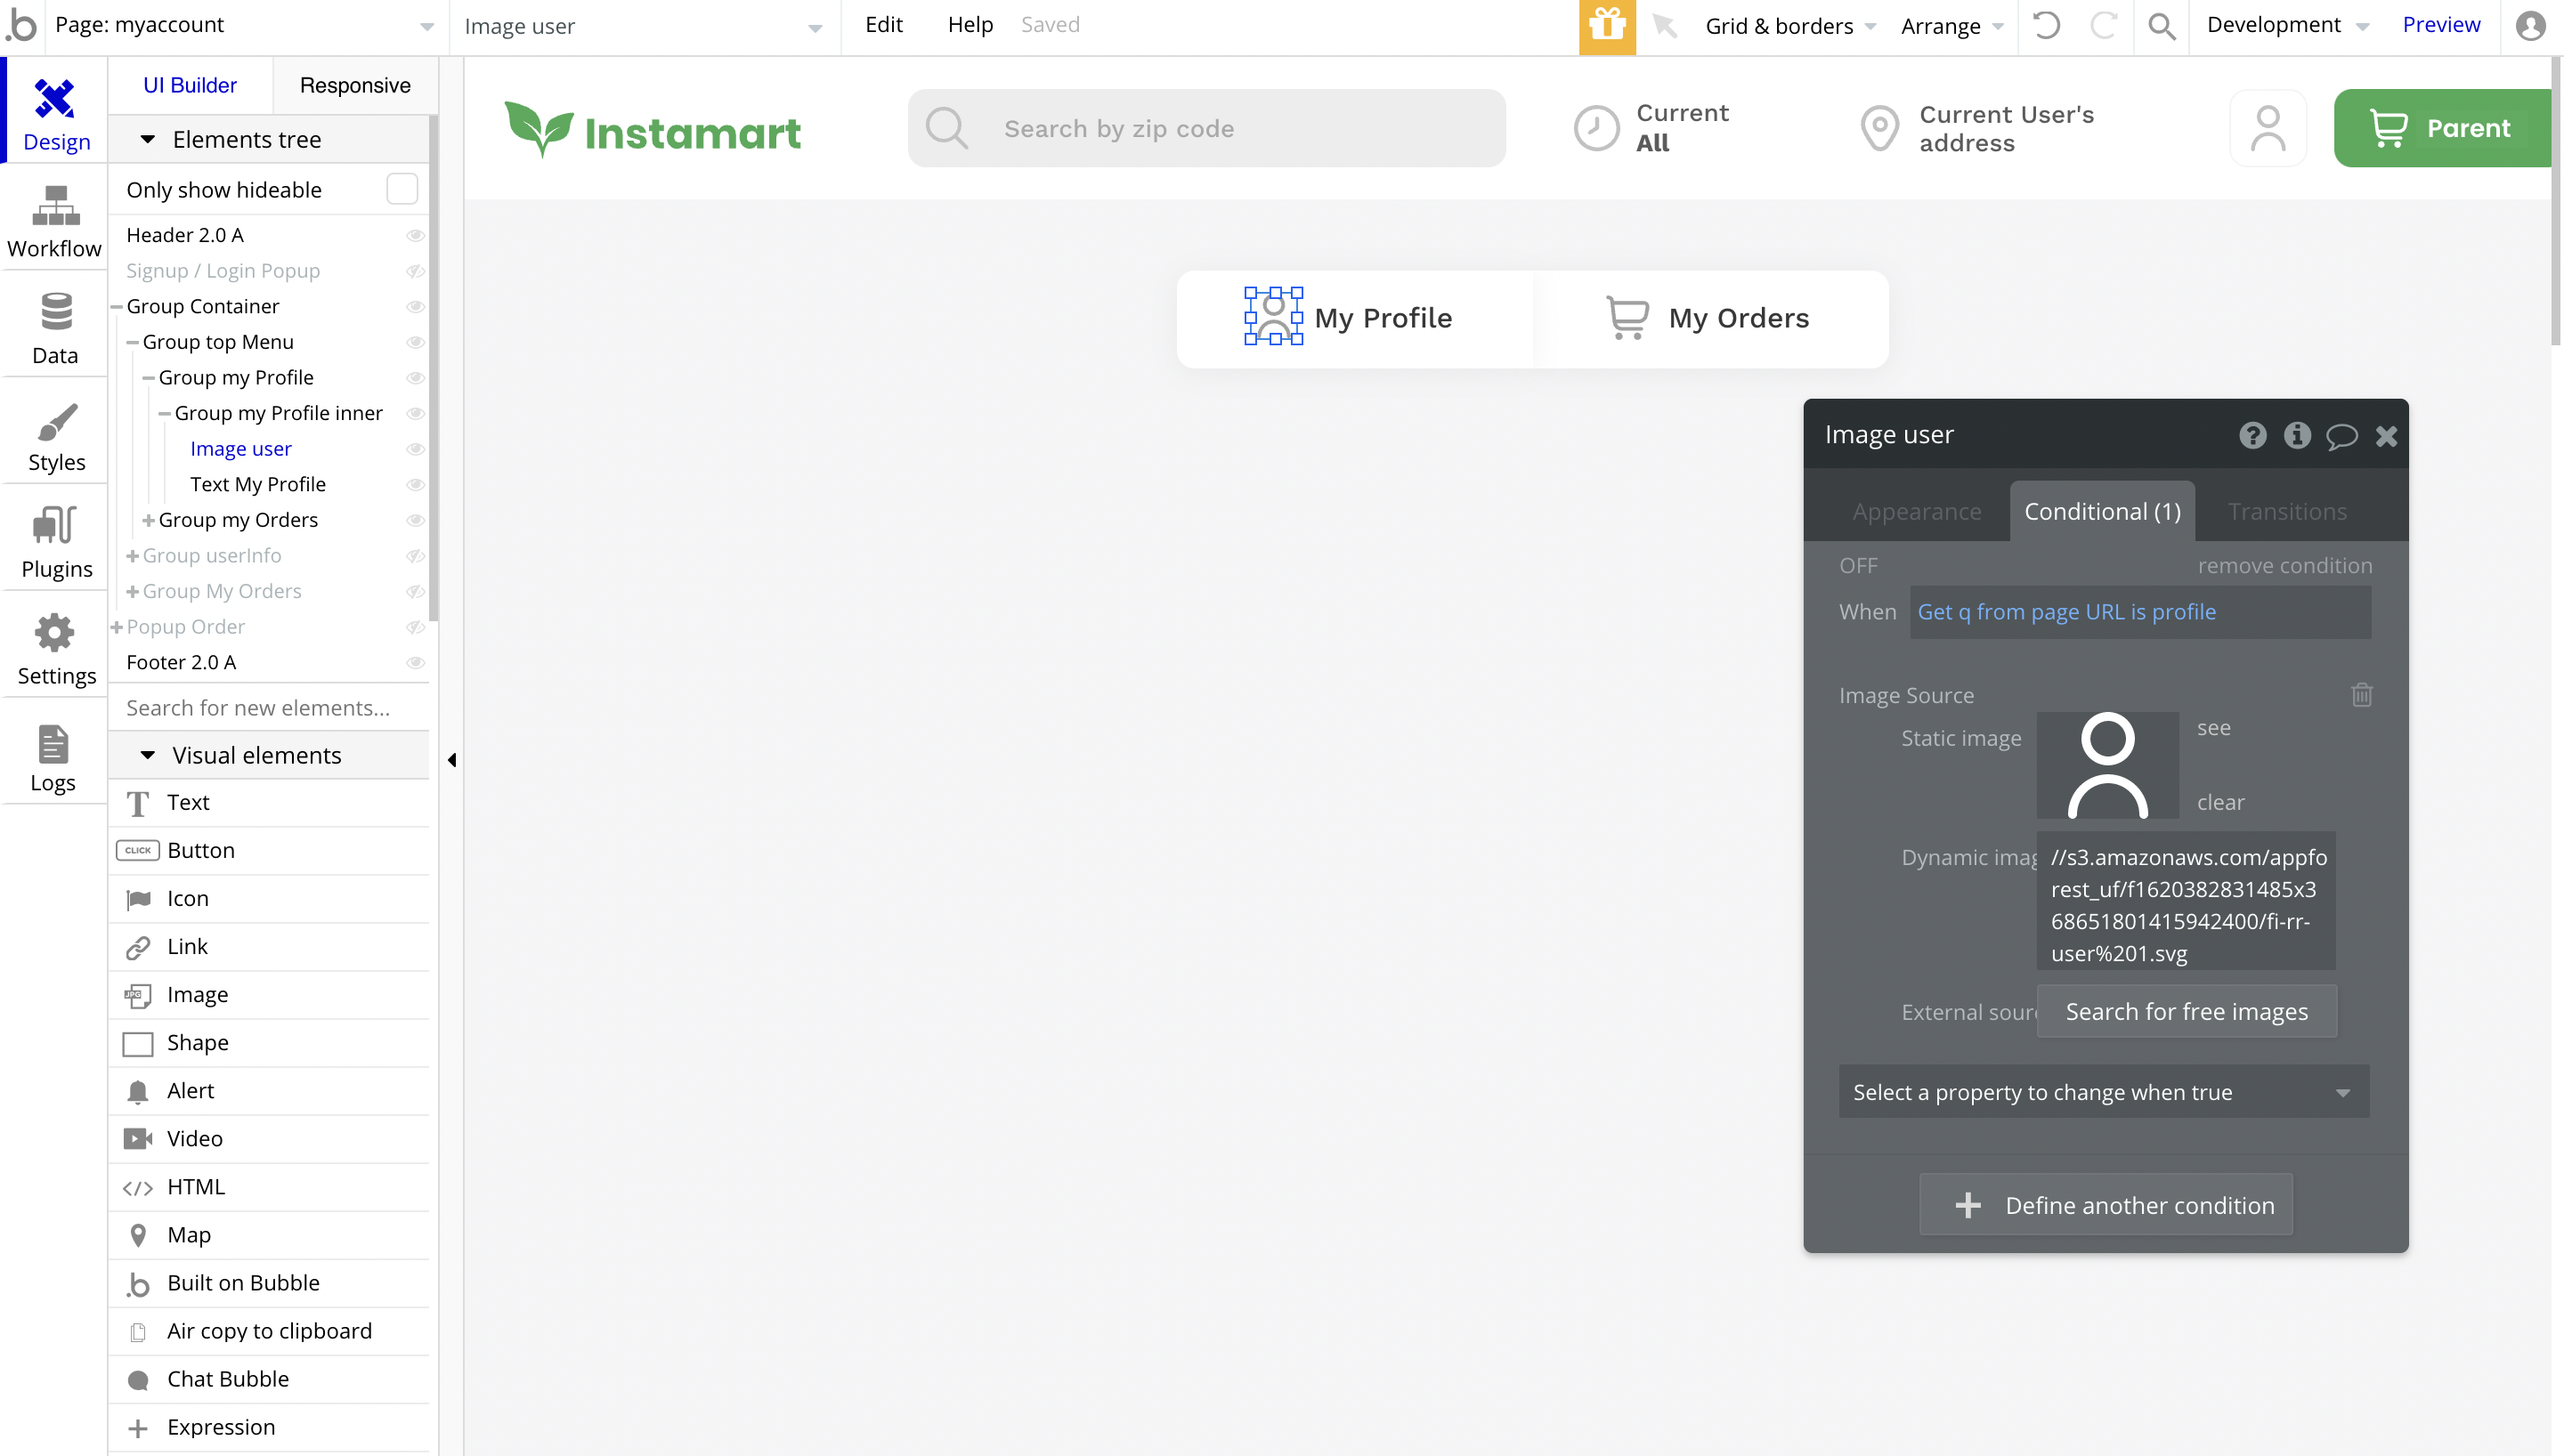
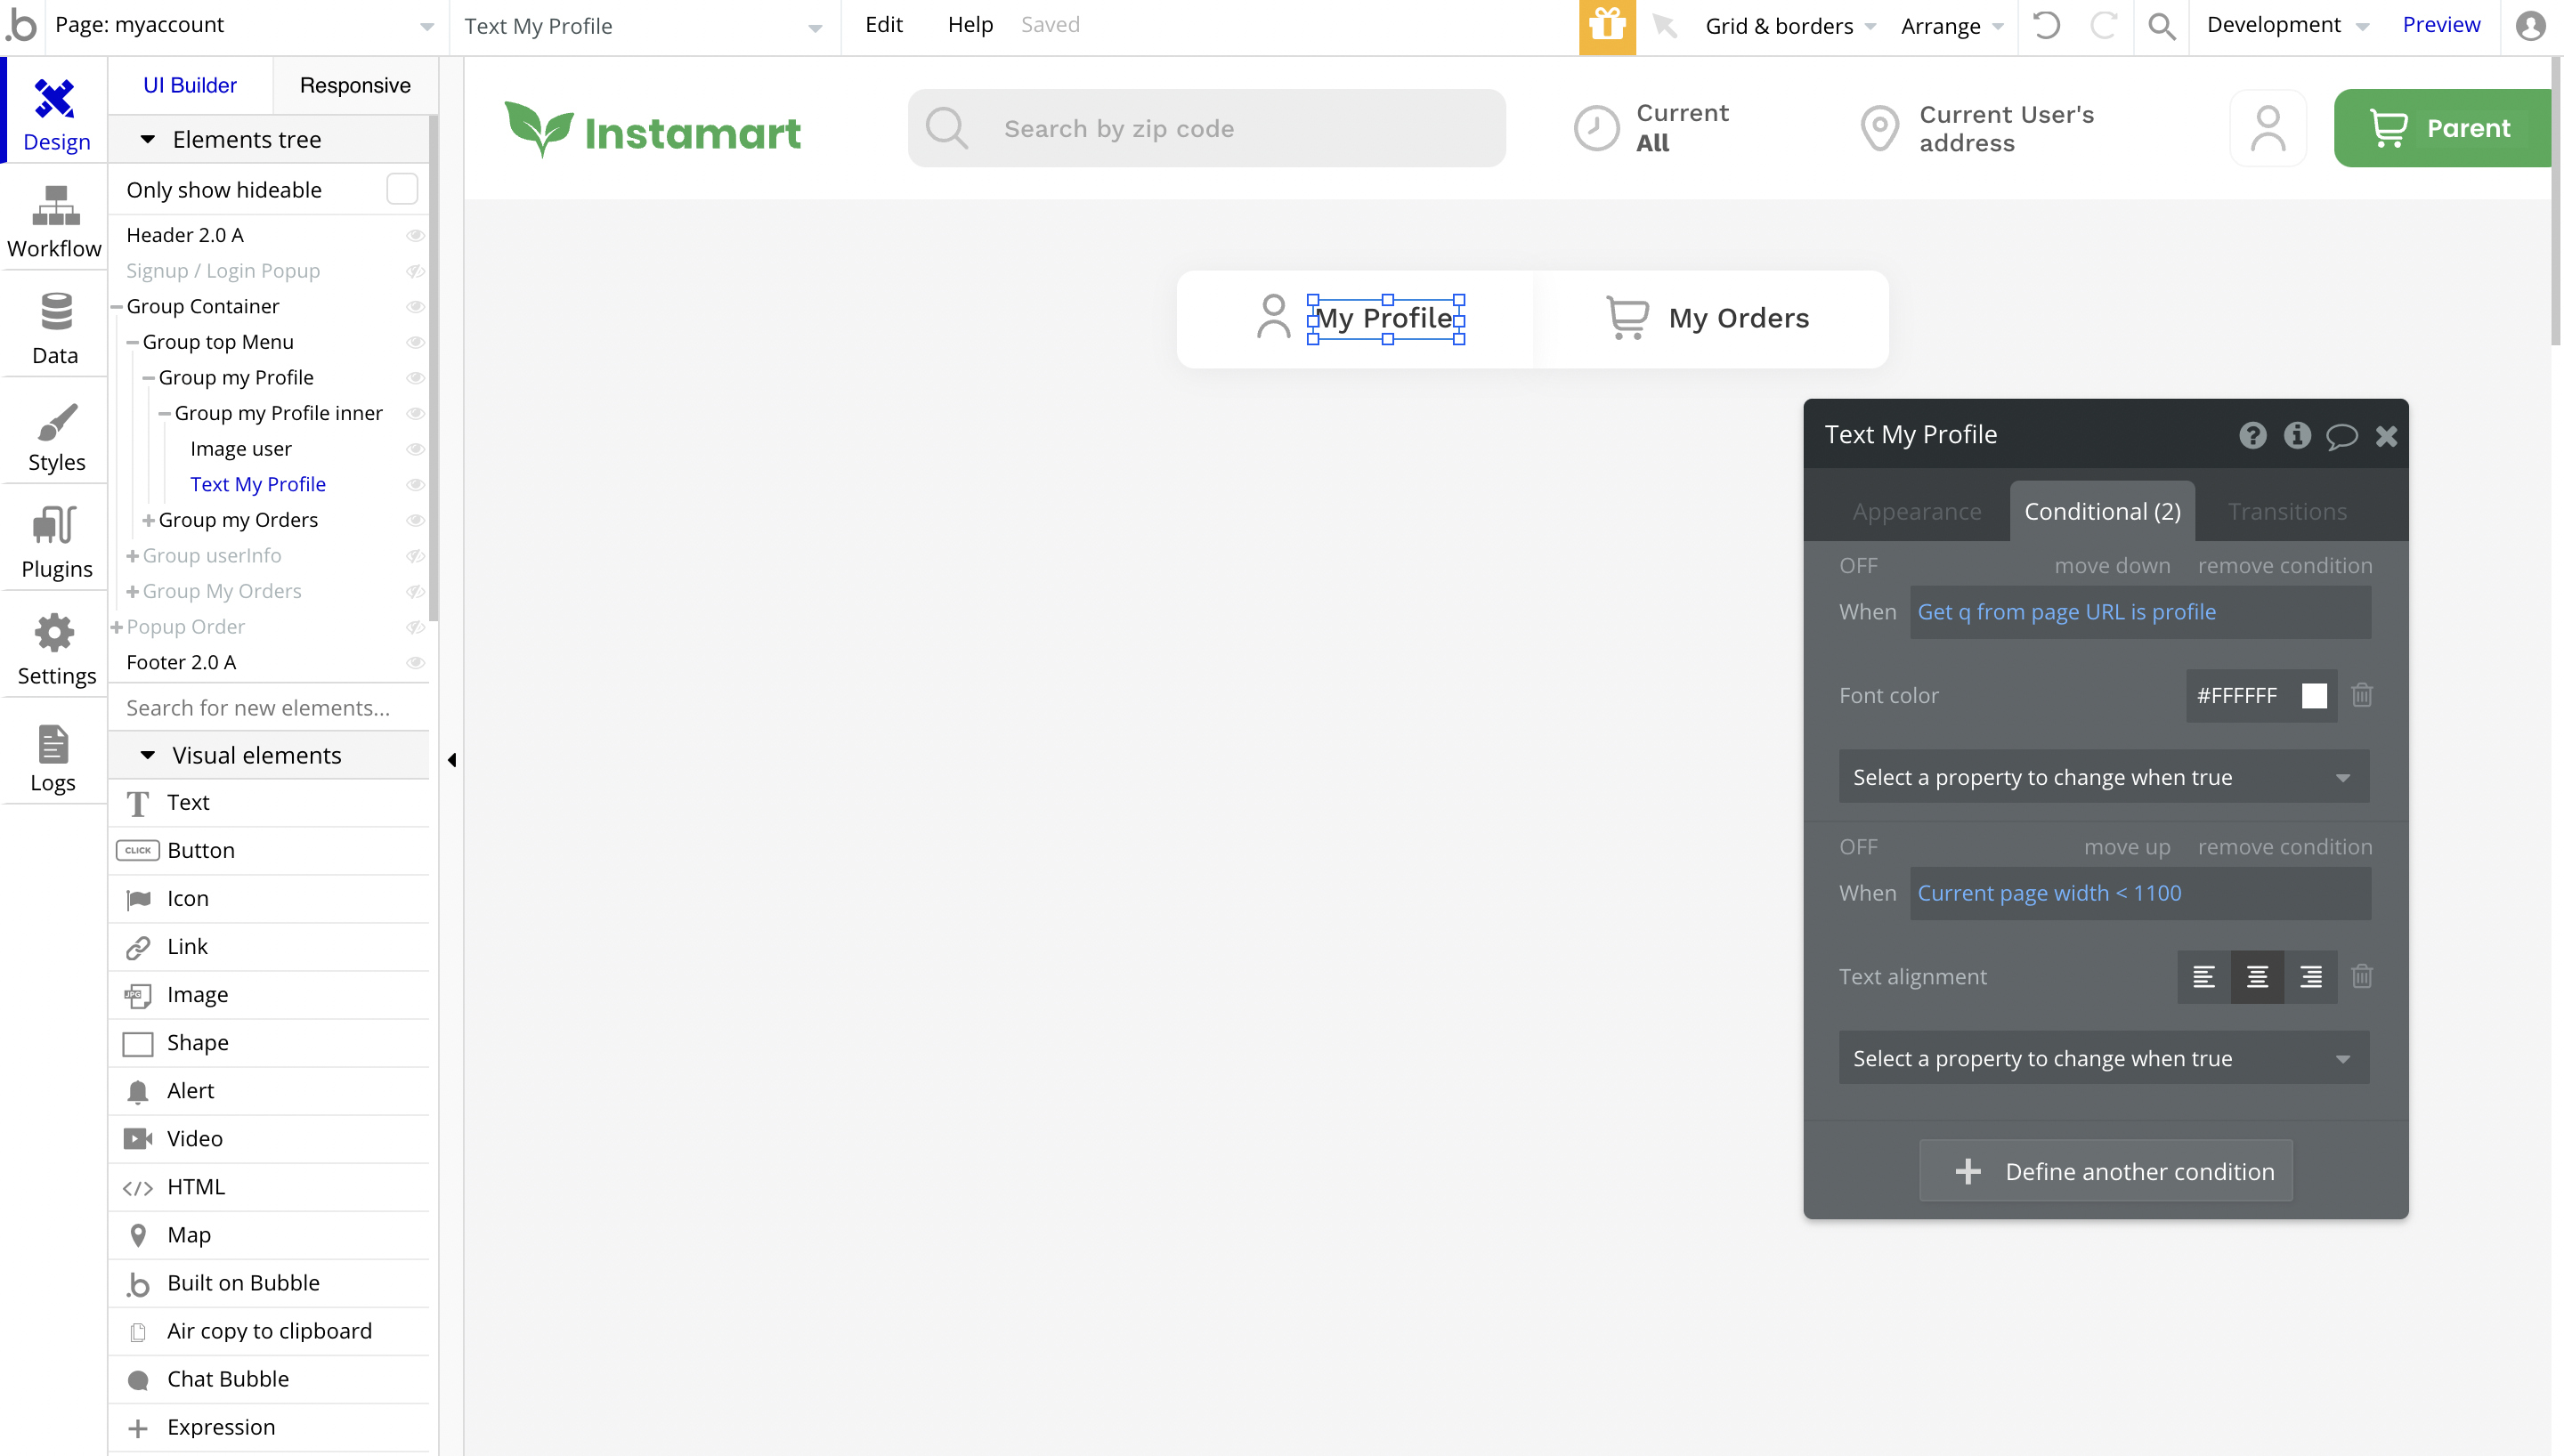
When clicking on the My Profile or My Orders tabs, different content is being displayed on the page. This happens due to different codes from the page URL.
In case the q parameter's value from page URL is profile, the style is changed (meaning the button was clicked), as well as the icon and the text itself, for example:
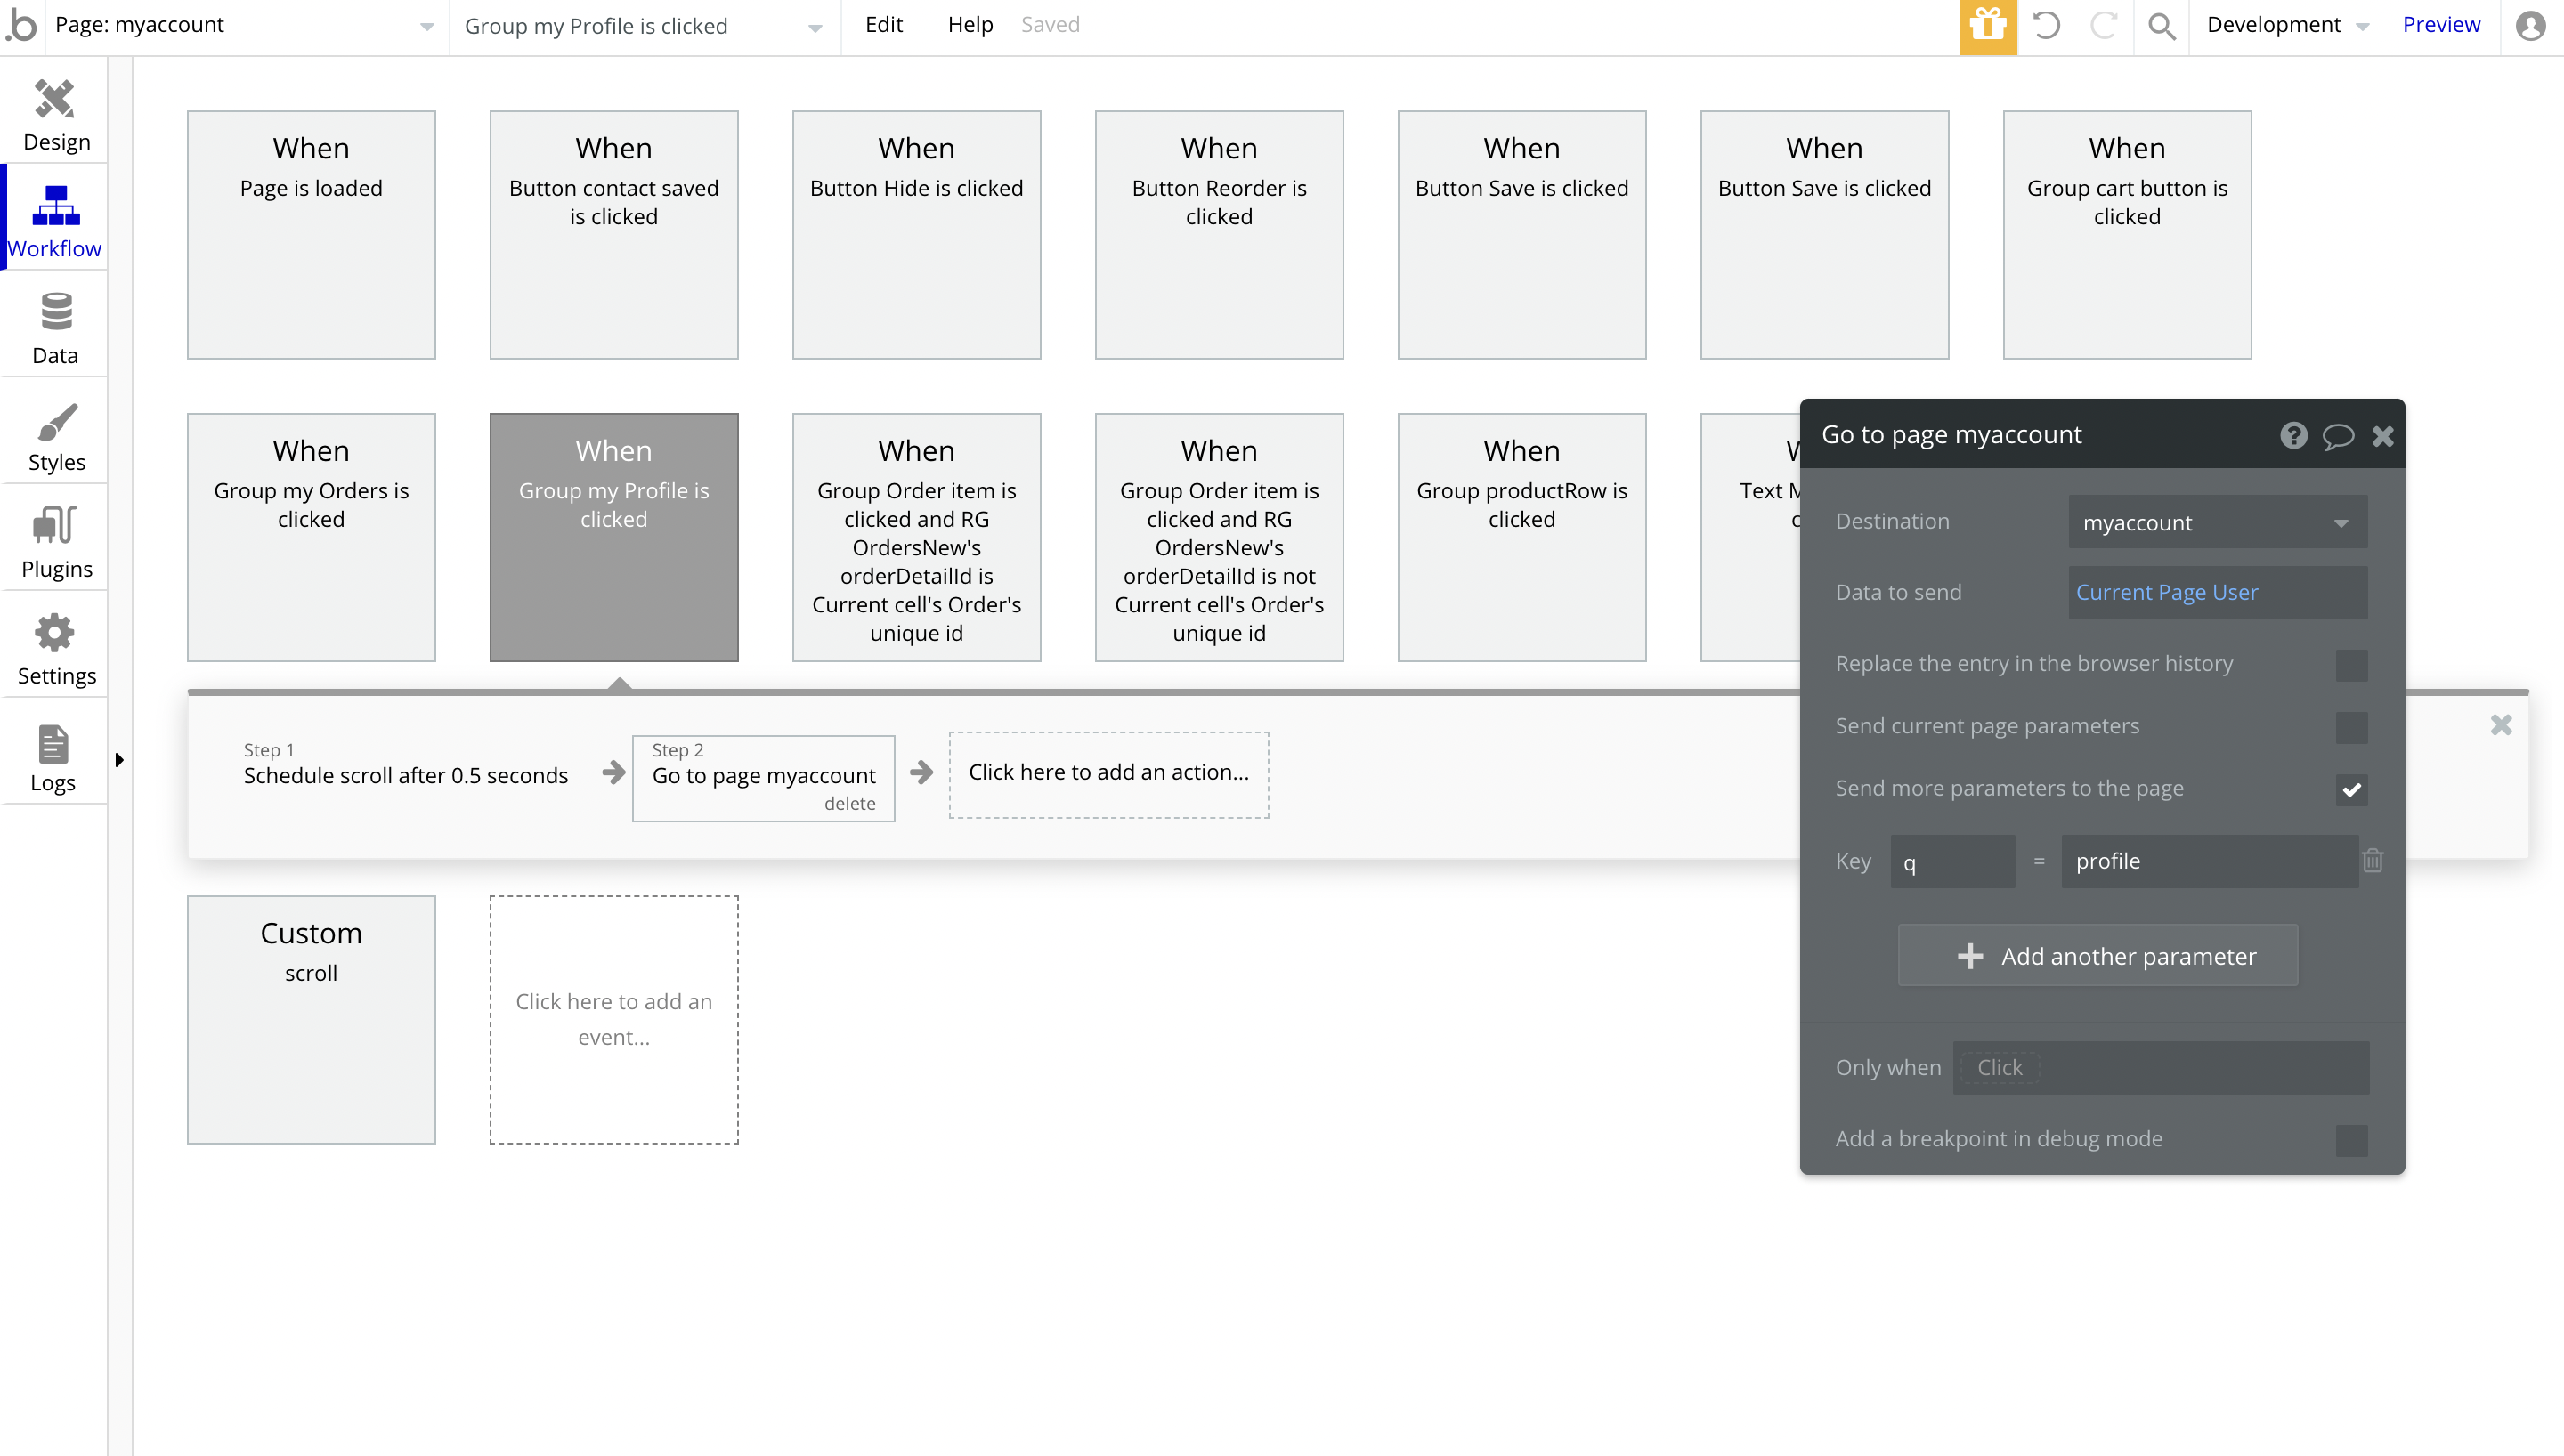
The page content also depends on the q parameter from the page URL. When q value is profile, the profile group is visible:

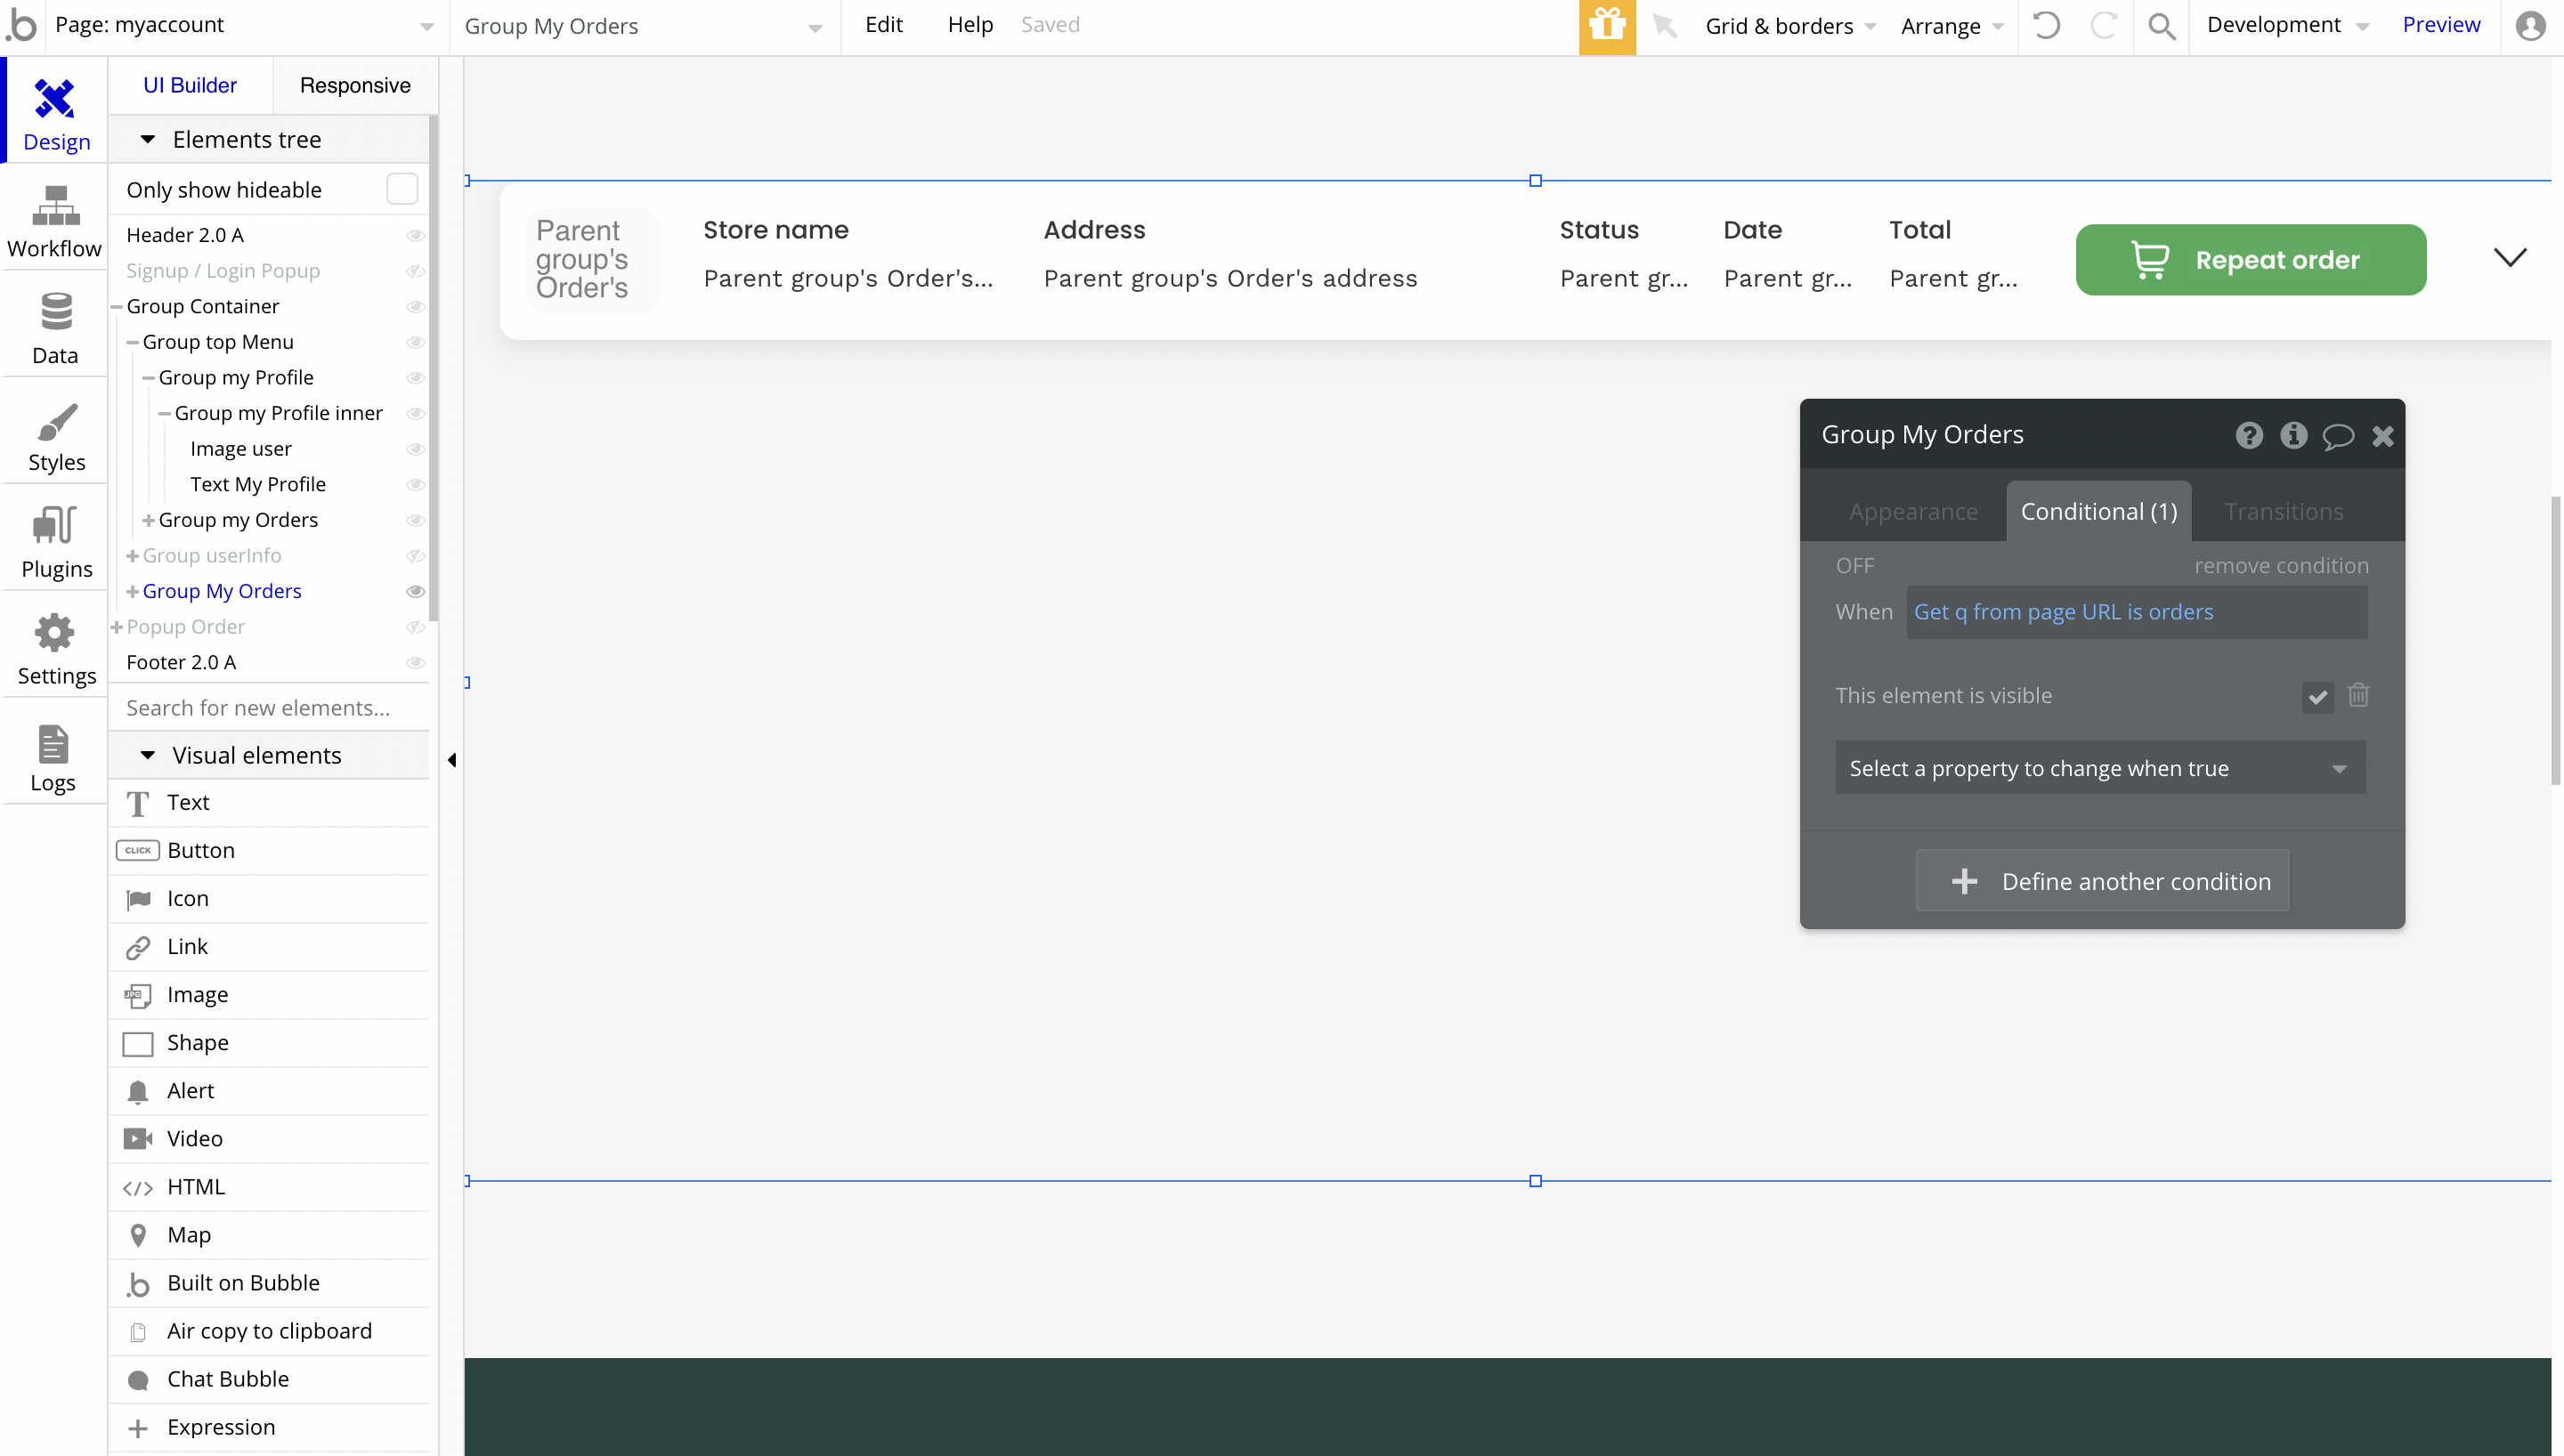
When q value is orders, the orders group is visible:
store
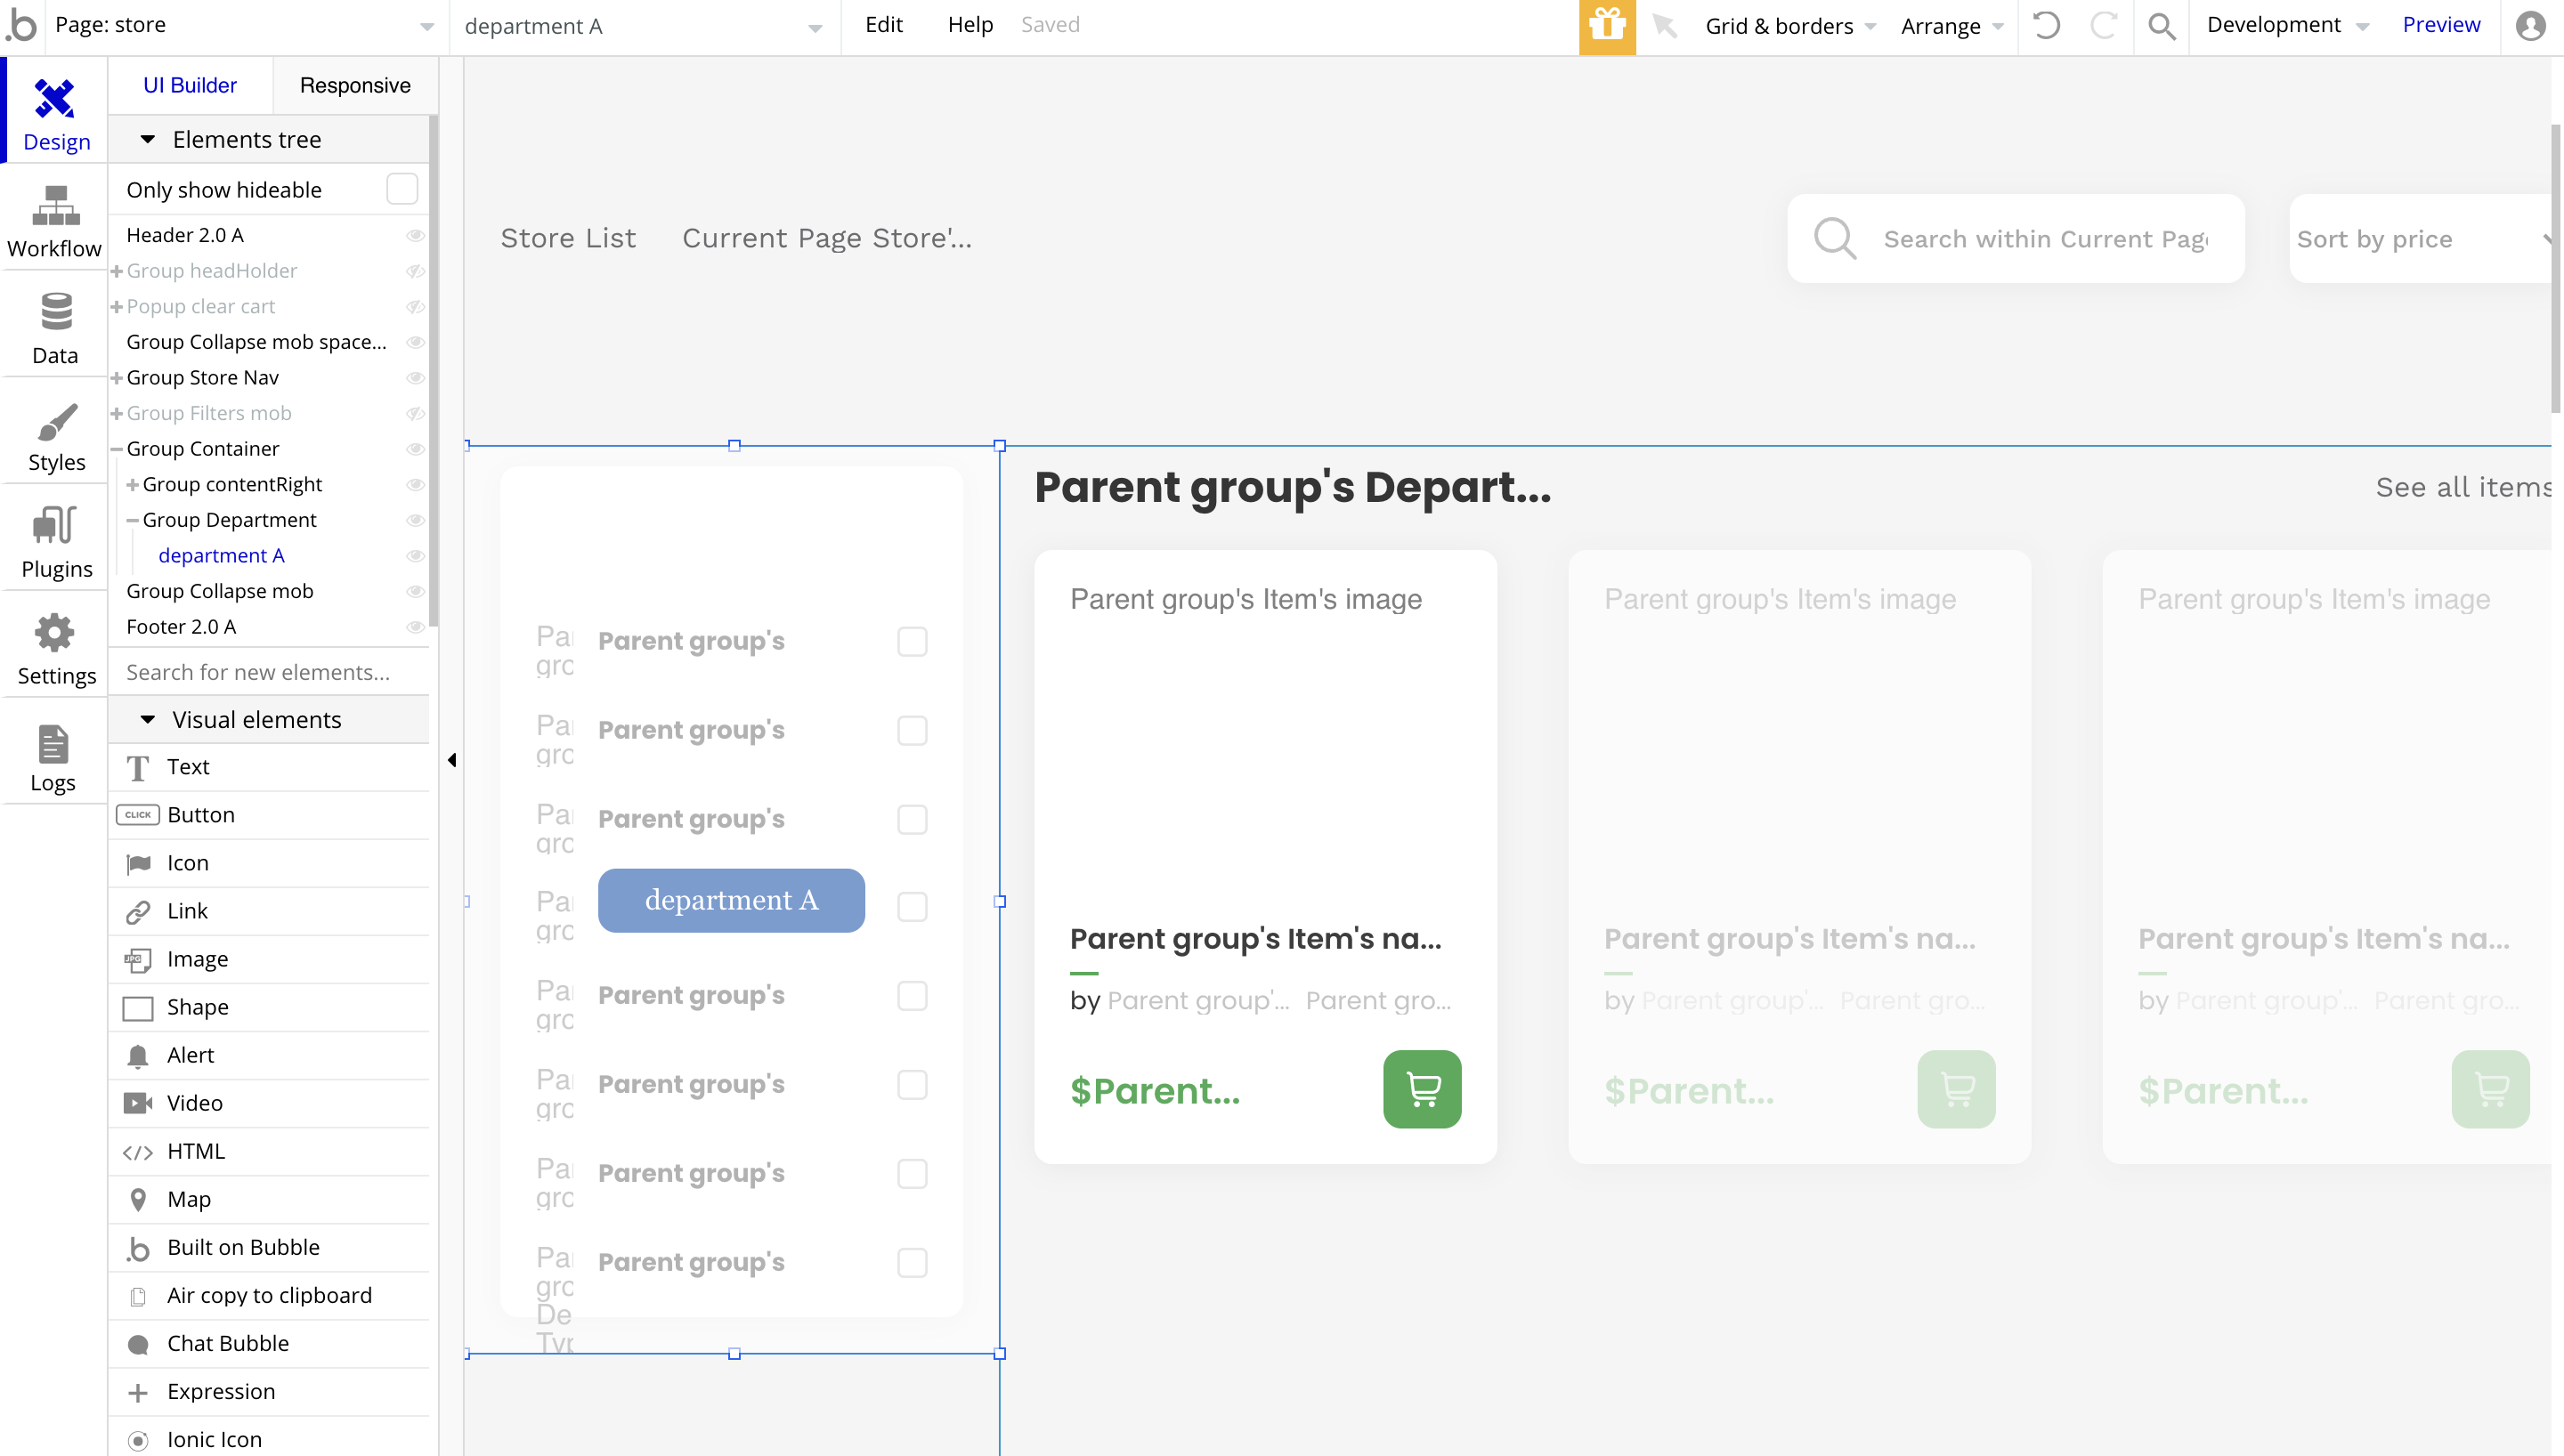
This page is simply displaying the store products that can be purchased. These products are split into different Department Types, and it is possible to filter by them.
The left menu is a reusable element called department, which can be found in the element called Group Department, here:
stores
On this page, the list of all stores is displayed. It is also possible to filter the stores by Department Types their products are categorised by.
The "Clear all filters" button is simply clearing the
departmentSelected state: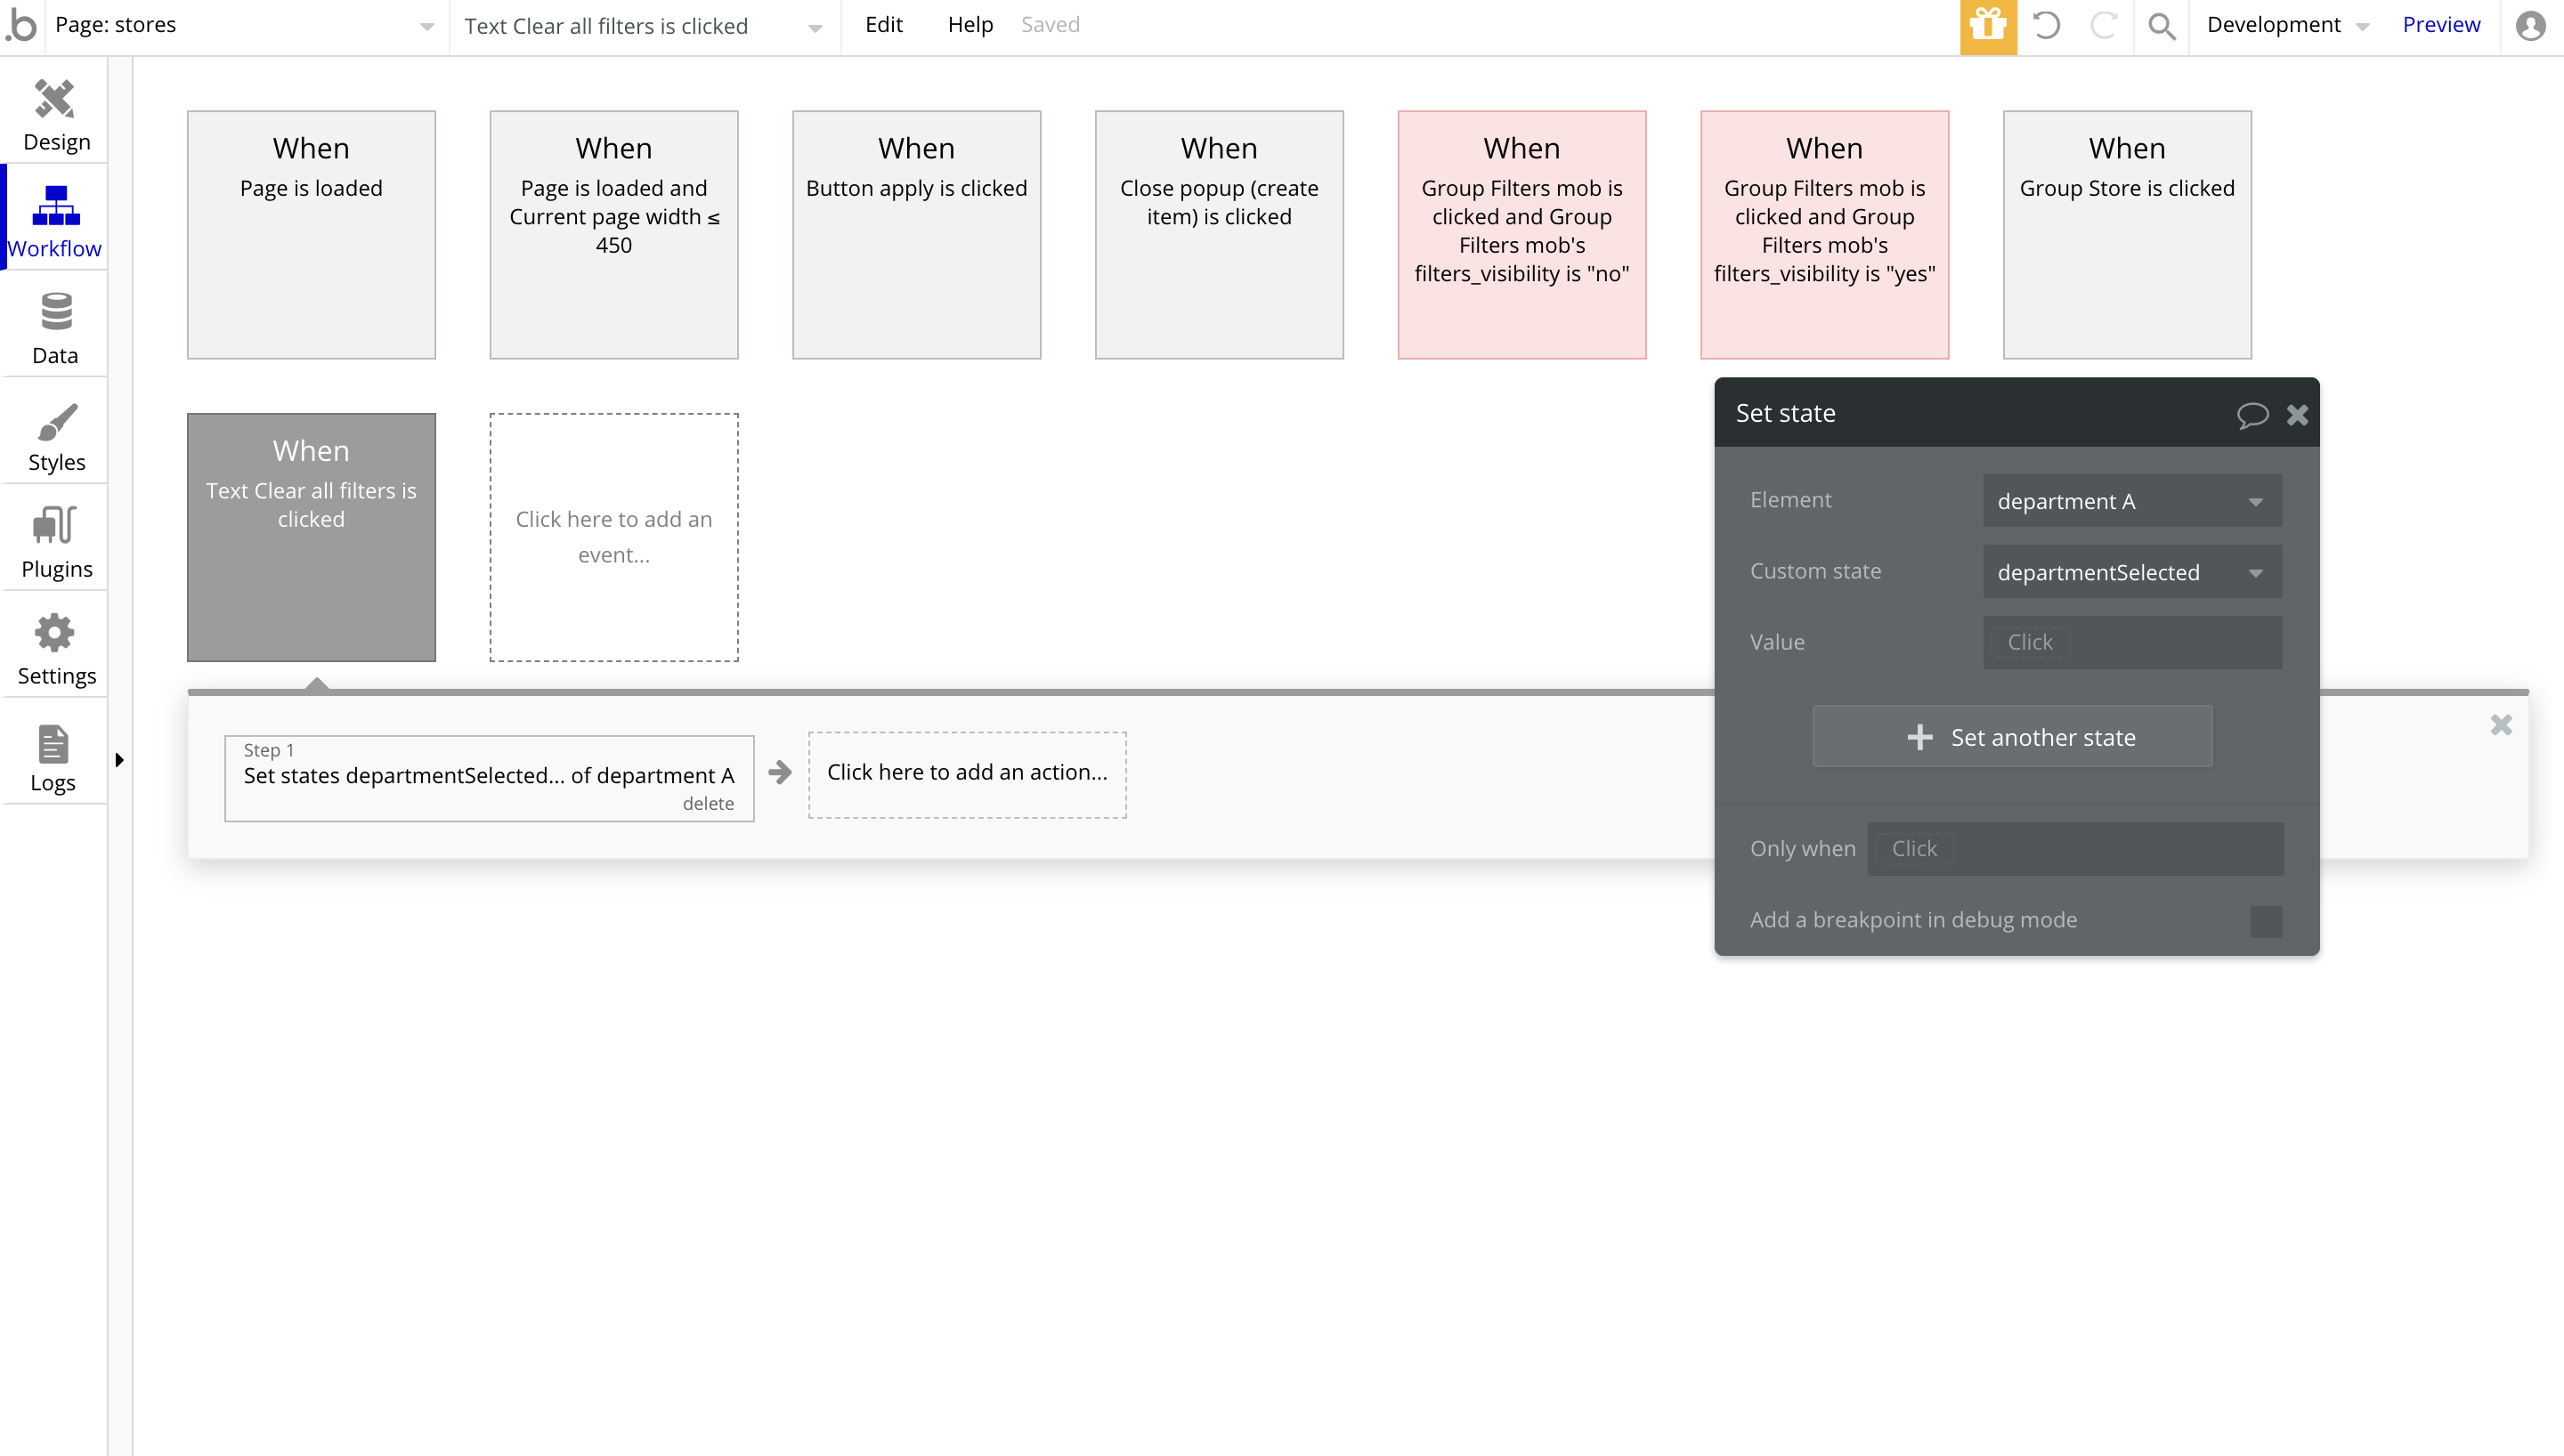
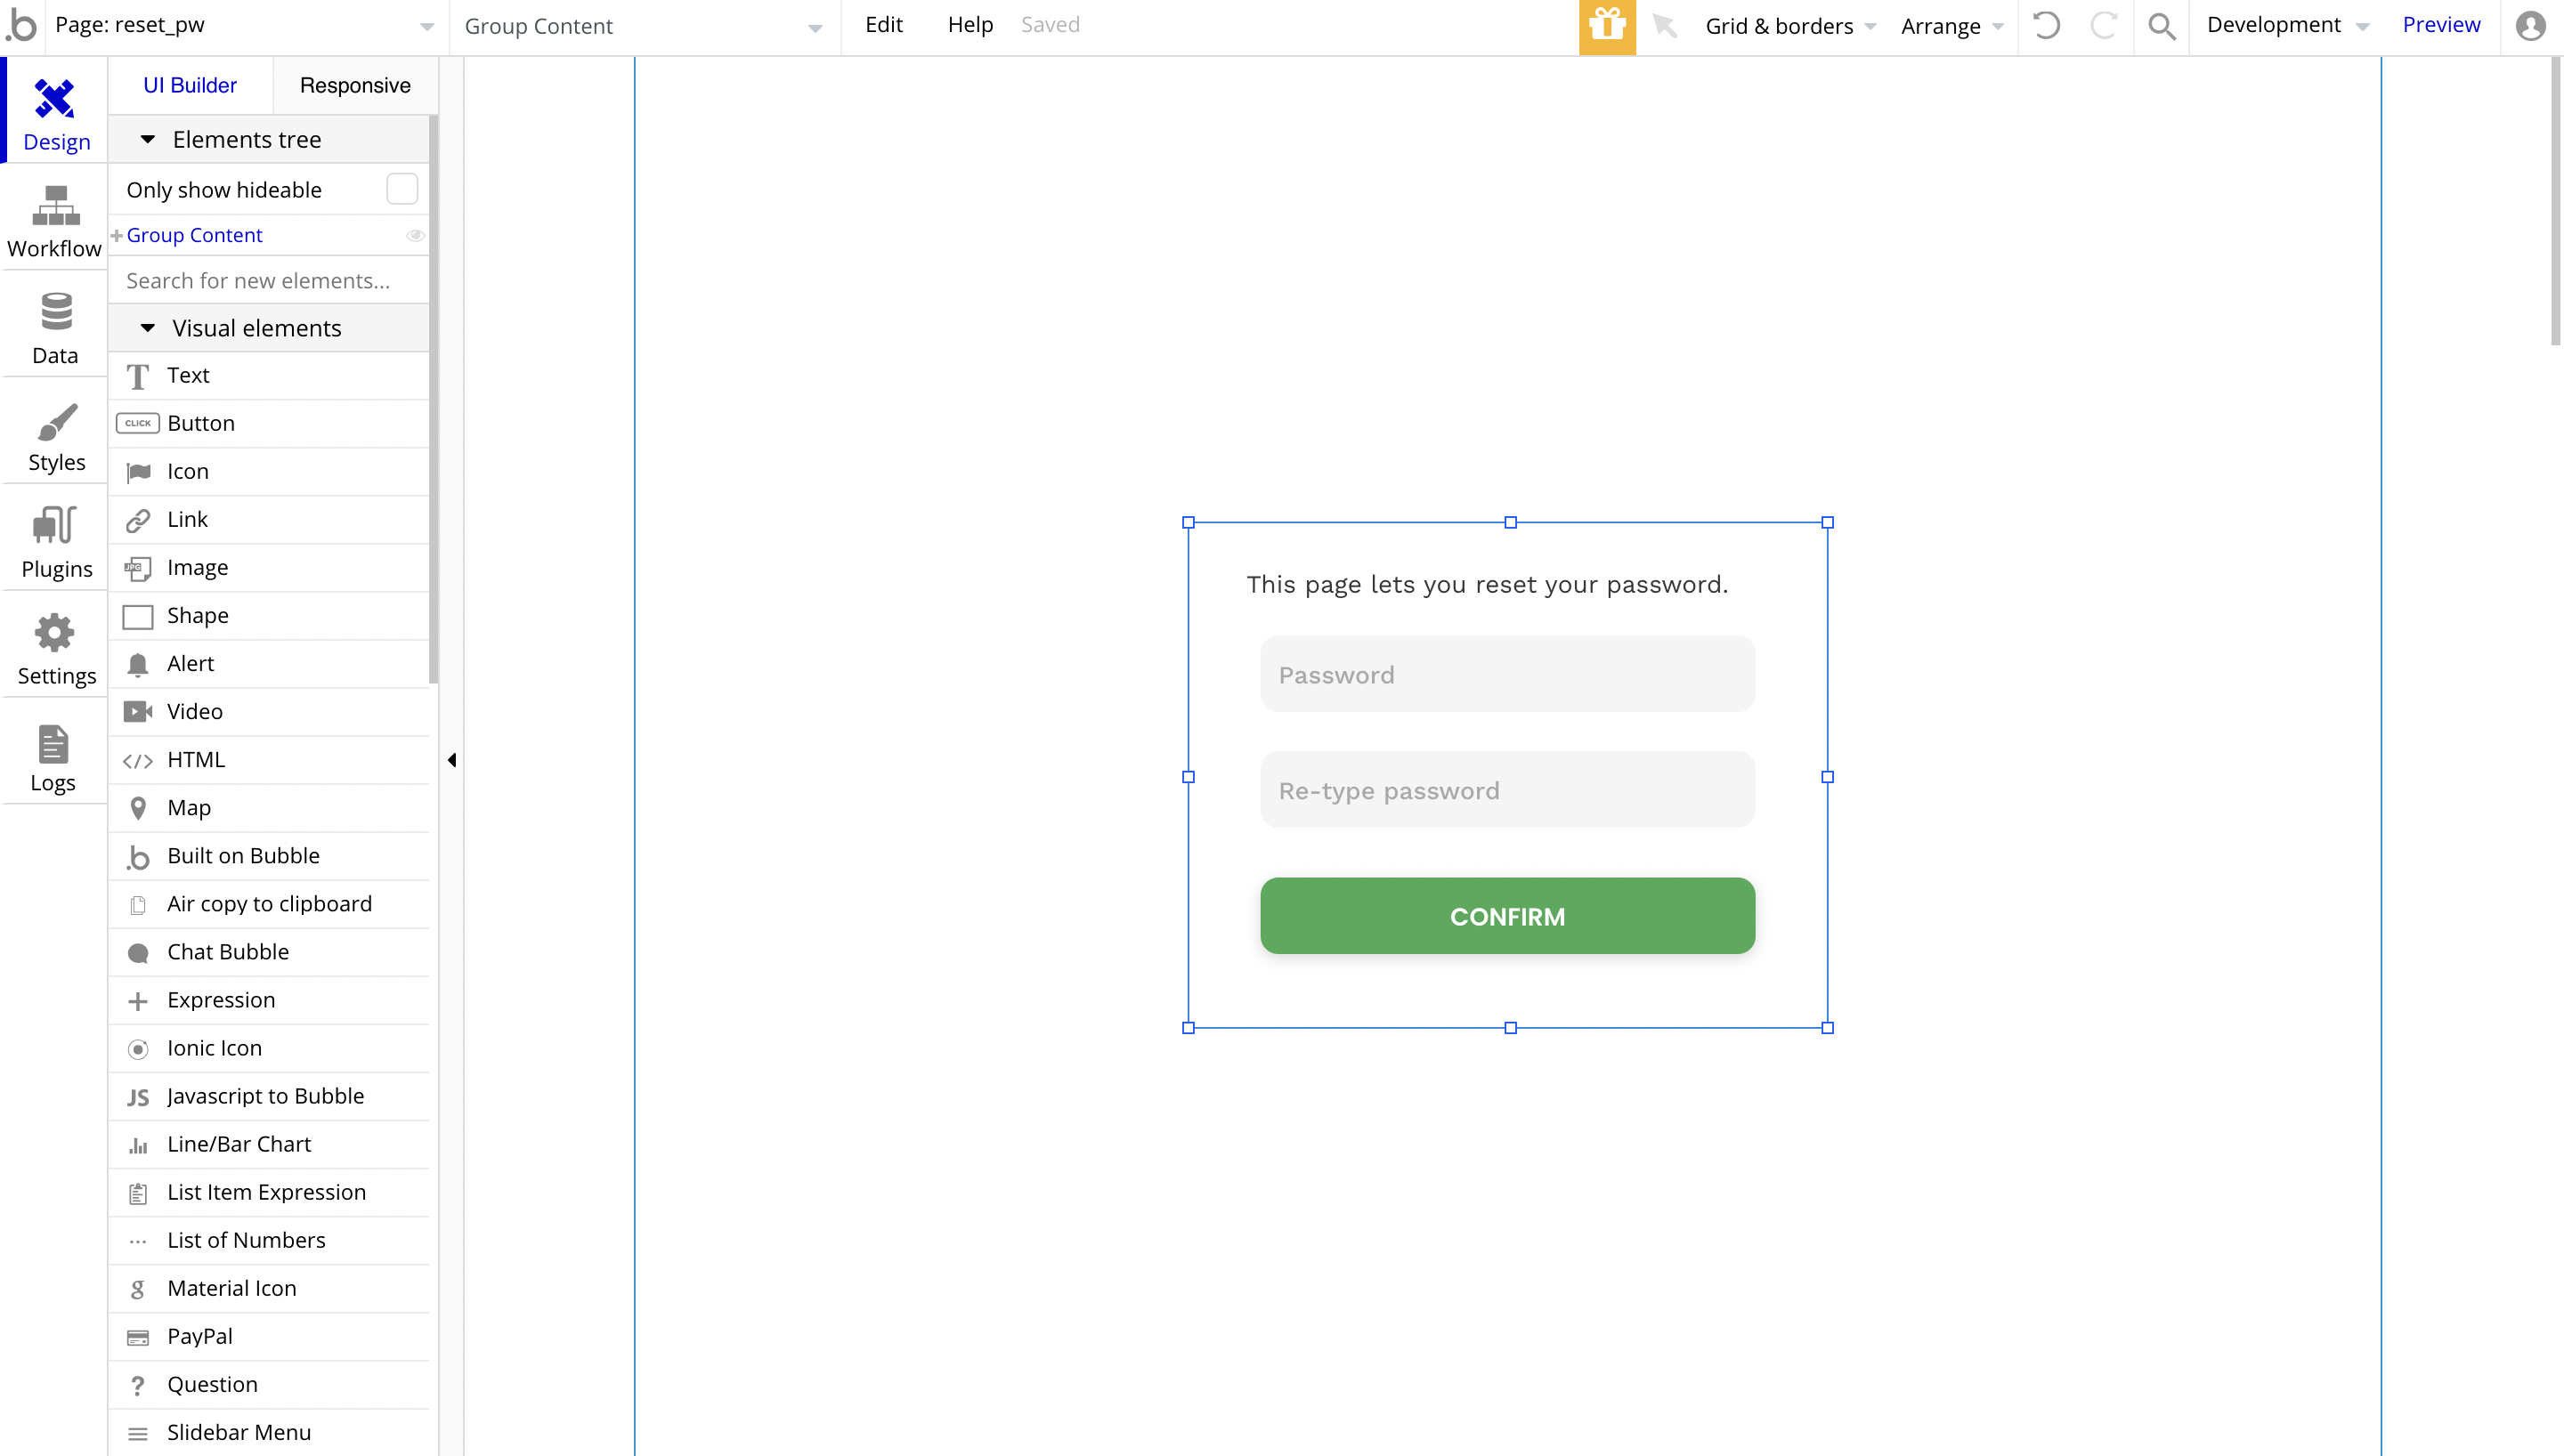
reset_pw
This page is used for resetting the password. It comes with a form to type in the new password and confirm it.
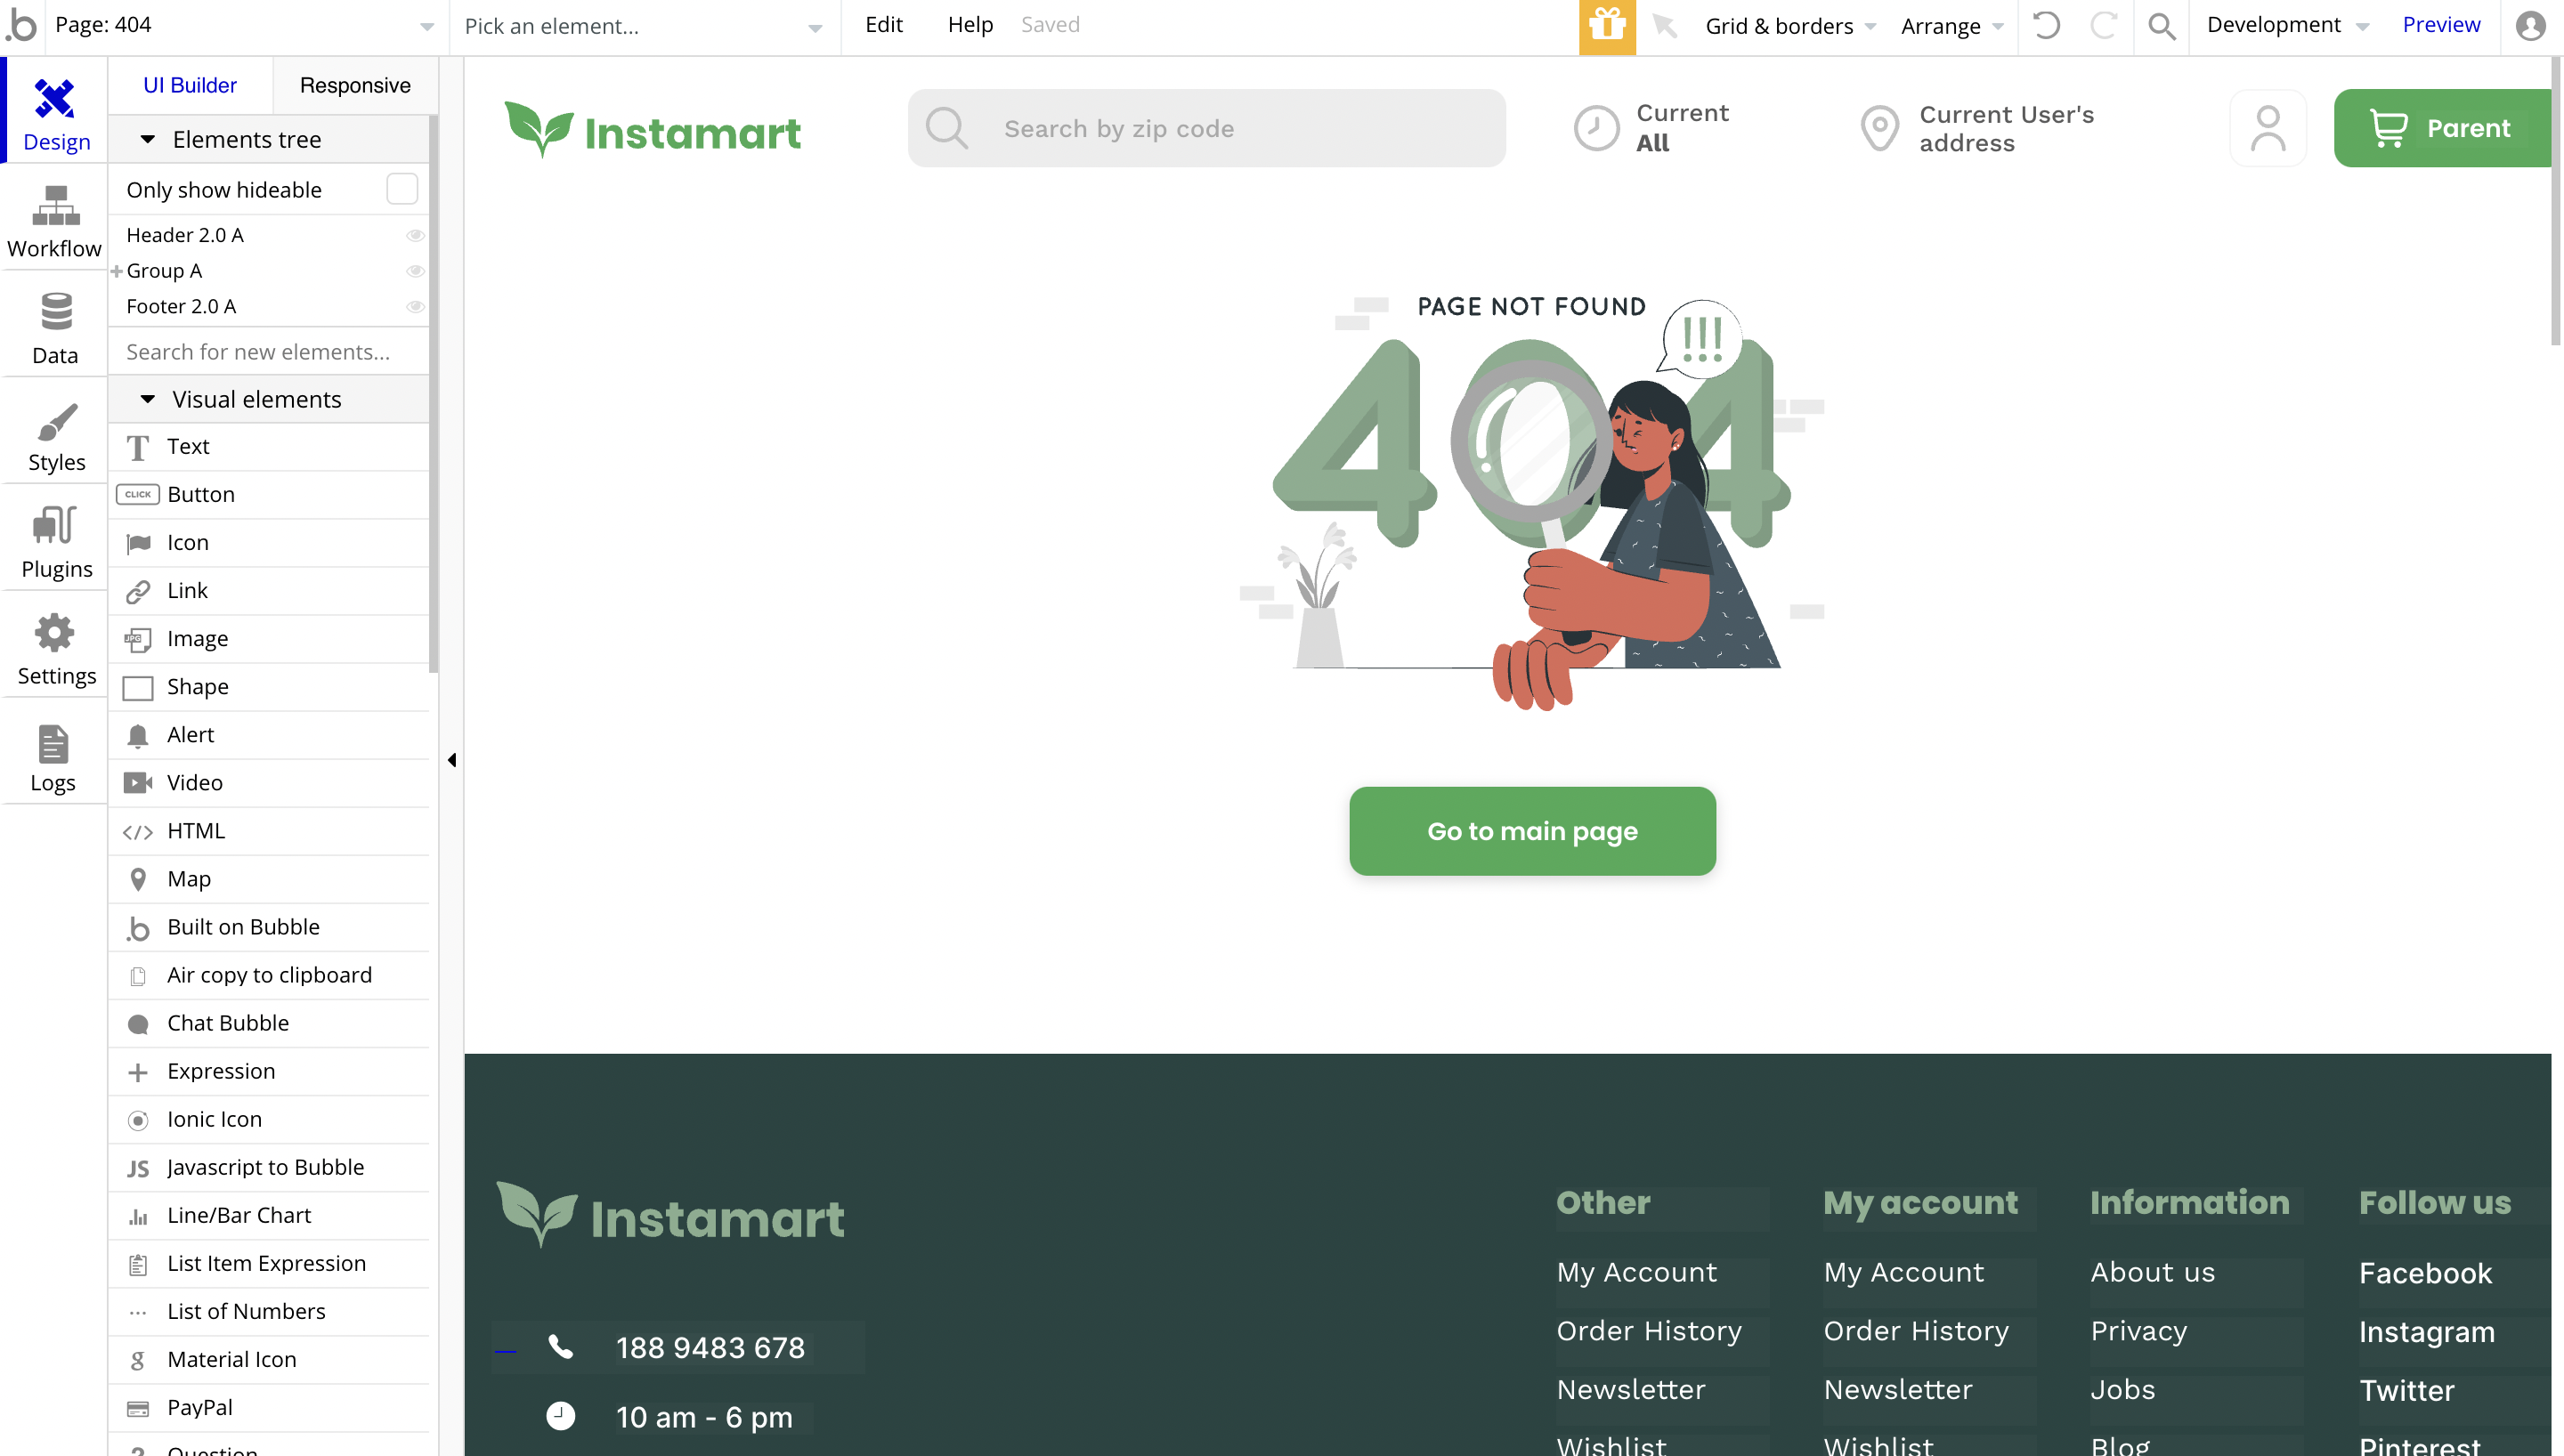
404
This is a custom-designed page for 404 redirect errors, informing a user that the requested web page cannot be found, or it doesn't exist.