The guide states the things to note, like Admin Access, Custom Code, Notes, APIs, etc.
Admin Rights
For security purposes the template has limited rights for potential customers. What that means is that you will not be able to use the admin features at full until you will not buy this template and enable the editing features (delete or edit).
There are two types of users:
1. Customer
2. Admin
All new users will have the attribute “customer” assigned to their account. It will give them all the typical rights and abilities like changing email or password, picking a profile picture or changing the current one, adding products to the shopping cart and paying for them or subscribing to the newsletter (after registration they will be provided with a confirmation email request and you will be able to see in the database in the field “Verified ” if the user has a confirmed email, this way you will be able to build a list of real emails for some specific needs).
The “Admin” user type has the same rights as a customer but he also has the ability to post and edit blogs. You will be the one deciding to whom you want to give this right by changing the field “Type” of the user to “Admin” or you can keep this right to yourself.
If you already bought the template you can enable the additional feature by following the steps below:
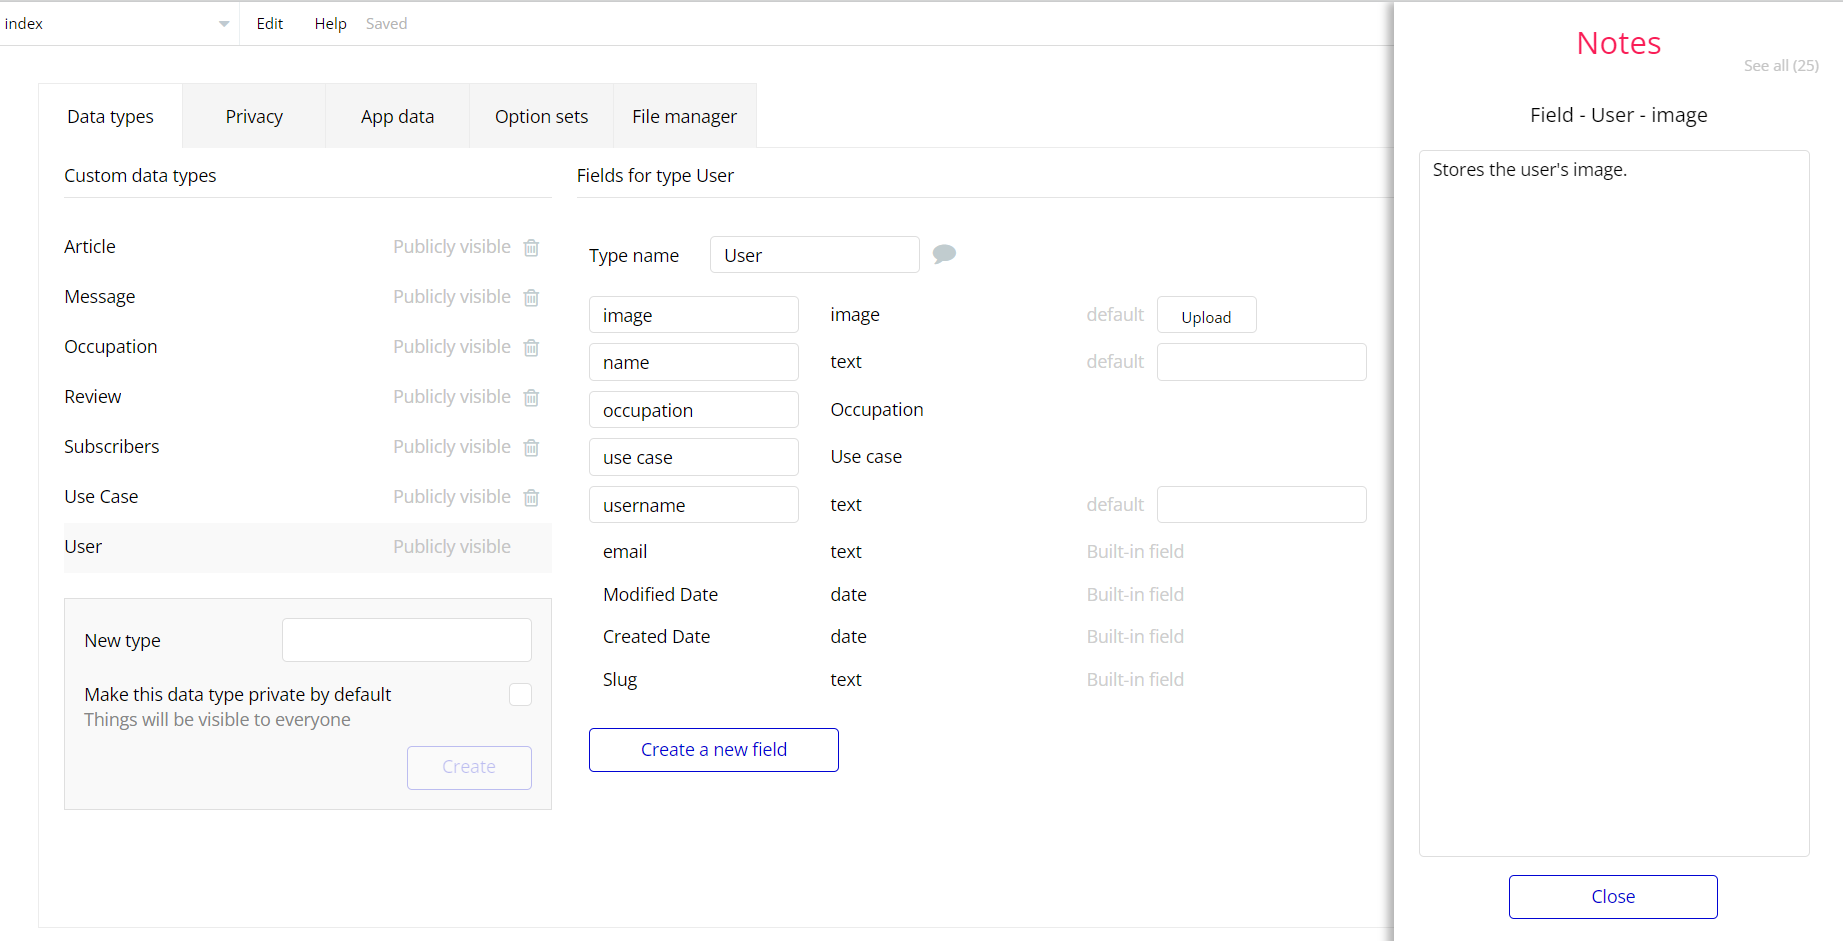
Under Data tab in the Editor, you could find the
User Data Type which has Type field of text type with Admin and Customer type set in respective field. When user is set Admin the admin rights are enabled and user can edit and delete from the
admin page, however if Customer type is set, the Admin rights are disabled for user.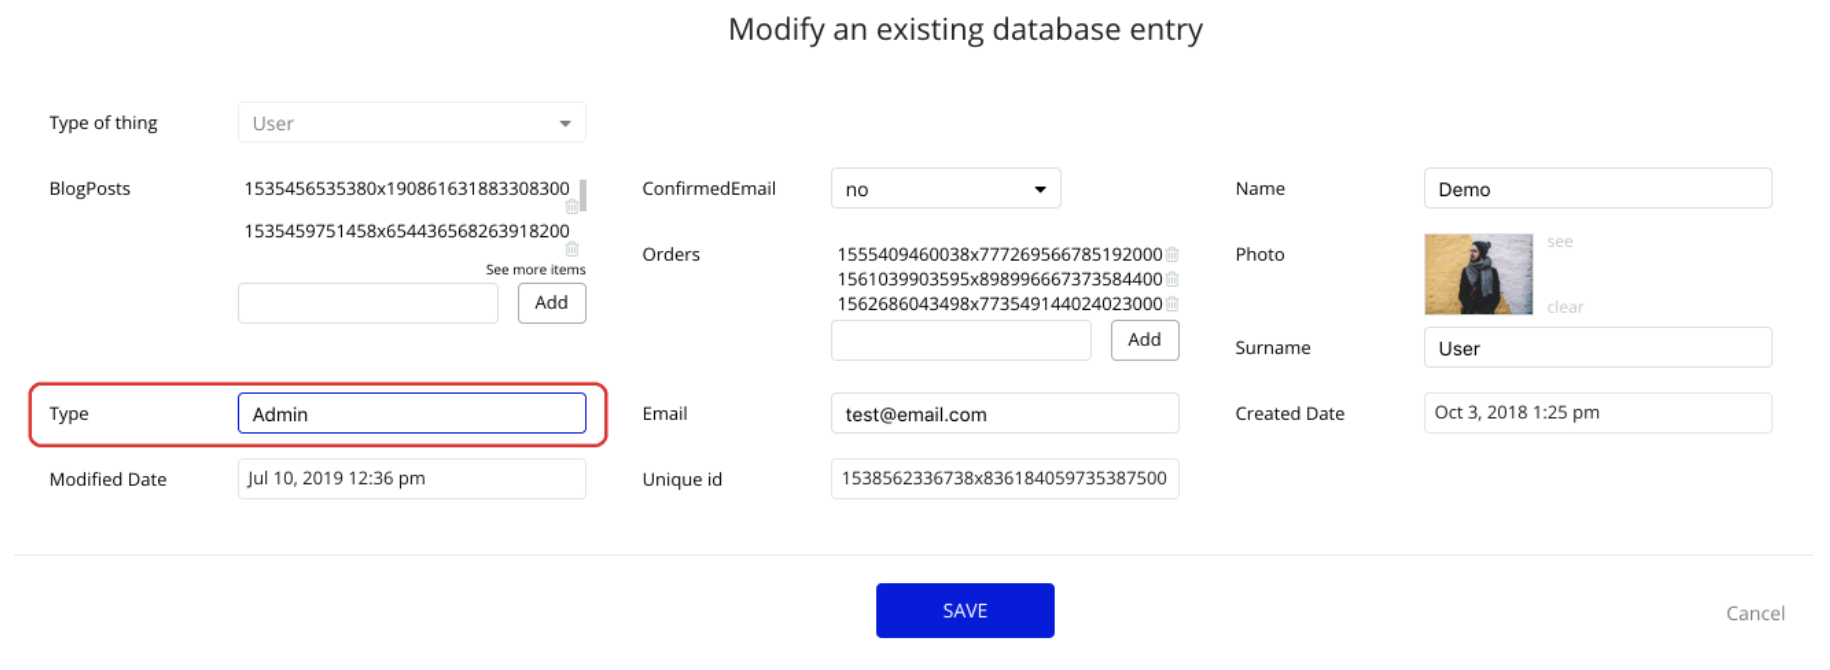
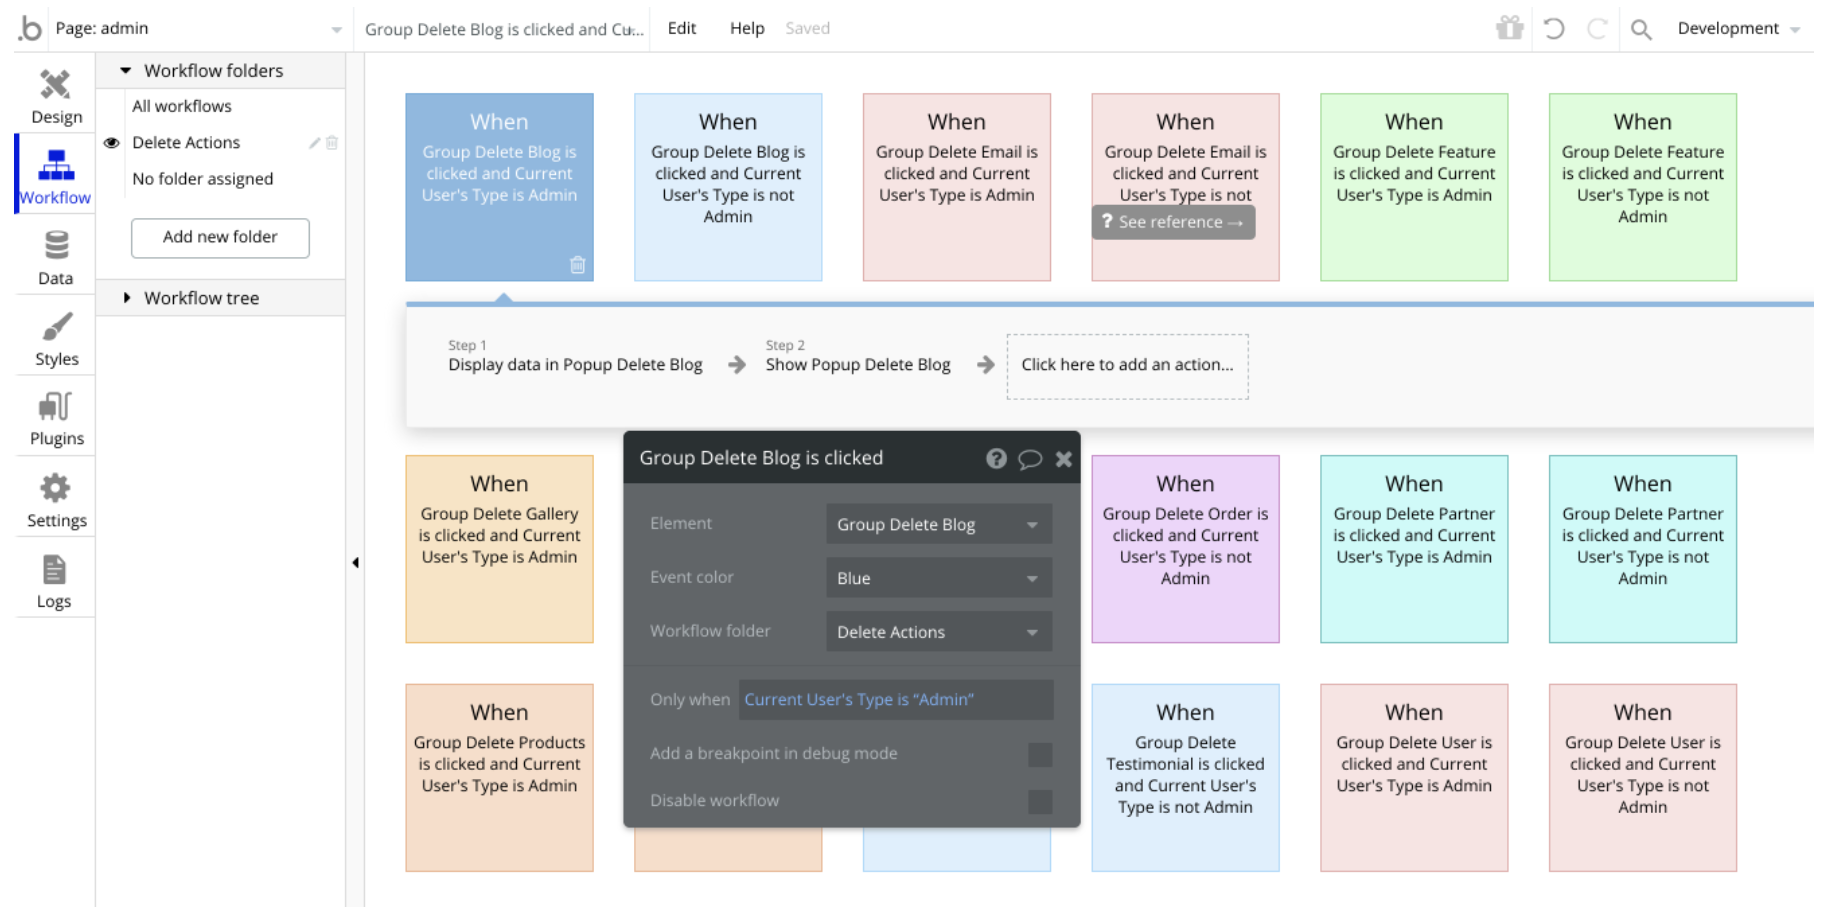
The workflow which shows different pop-up information regarding the security measure for when an User is Admin or not.
These actions are placed inside Delete Actions folder, Edit Actions folder and Add Actions folder for structure convenience.
See example of Delete actions below (for Add and Edit actions please find the respective folders inside editor):

Congrats: You have successfully granted admin rights. Now you can use all the admin page and its features as an admin user.
Also, delete the warning group that says to check the template's documentation:
- Locate the container “Group wrapper” and delete it:
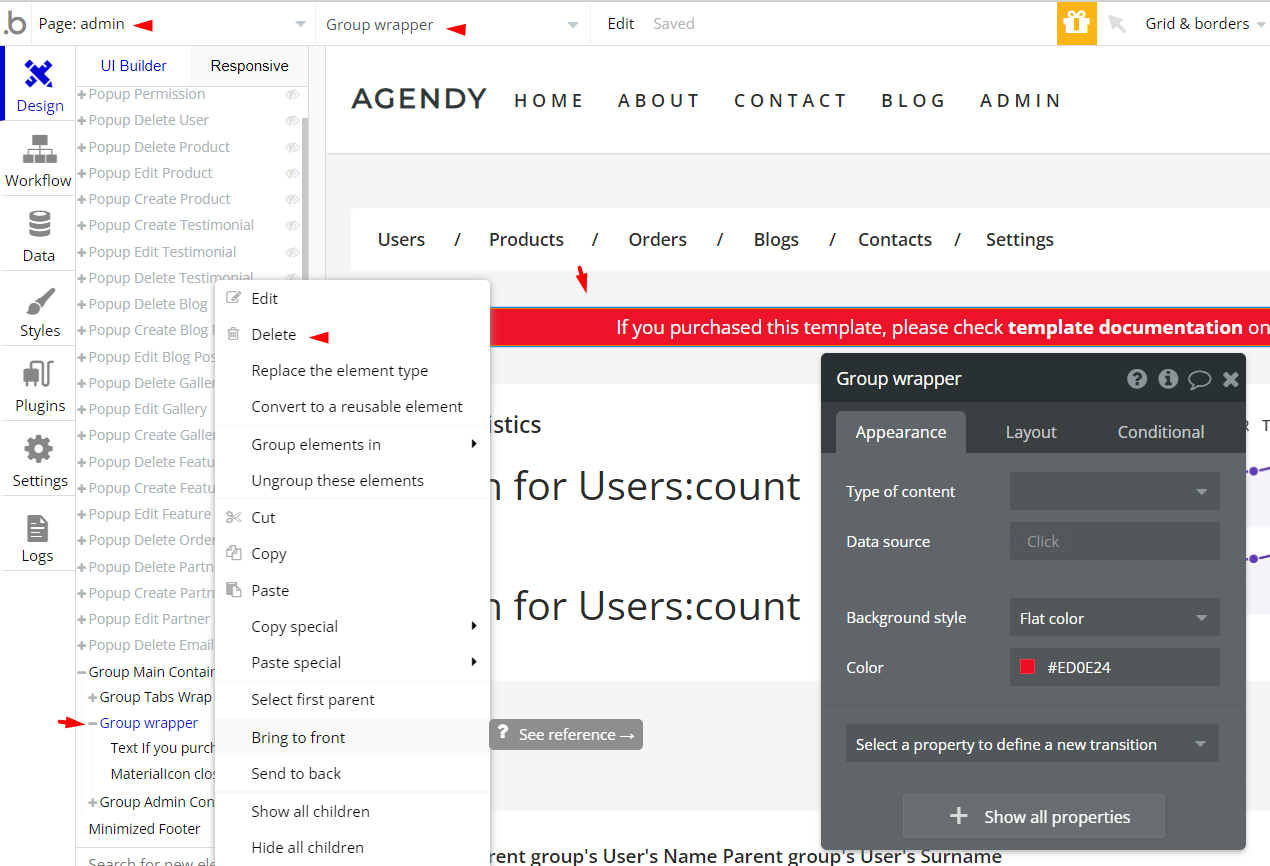
Hidden Design Elements
Tip: Initially, on some pages, design elements in Bubble Editor might be hidden.
Here is an example of how to unhide 👀 them:

Embedded Notes in Bubble Editor
This template comes with explicit Notes for Database fields, Option sets and their fields, and Privacy rules, which will guide you with the modification process.
In order to preview a Note of any data type or field, click on the 💬 icon.