This guide states the things to note like Admin Access, Custom Code, Notes, Paid API and others.
Admin Rights
Most of the template content is directly pulled from the database. Please do not delete an entire Data Thing unless you are sure of what you are doing. However, feel free to delete any template content you prefer.
For security purposes, this template has limited rights for potential customers. Meaning, you will not be able to use the admin features at its fullest until you purchase the template and enable SuperAdmin rights.
If you want to make someone a SuperAdmin, you'll have to change the field
UserType within the User datatype to SuperAdmin. After you do that, this user will have access to the overview option to modify data inside the dashboard page. Under the Data tab click the icon in the editor, go to the Data Type User, and look for
UserType field and choose the SuperAdmin value. When this is set the SuperAdmin rights are enabled for this user can manage site features including editing/deletion, changing Fee values, and switching between paid or free plugins (Stripe vs Stripe Marketplace used for payments and HTML Map vs MapBox used for route) from
admin page.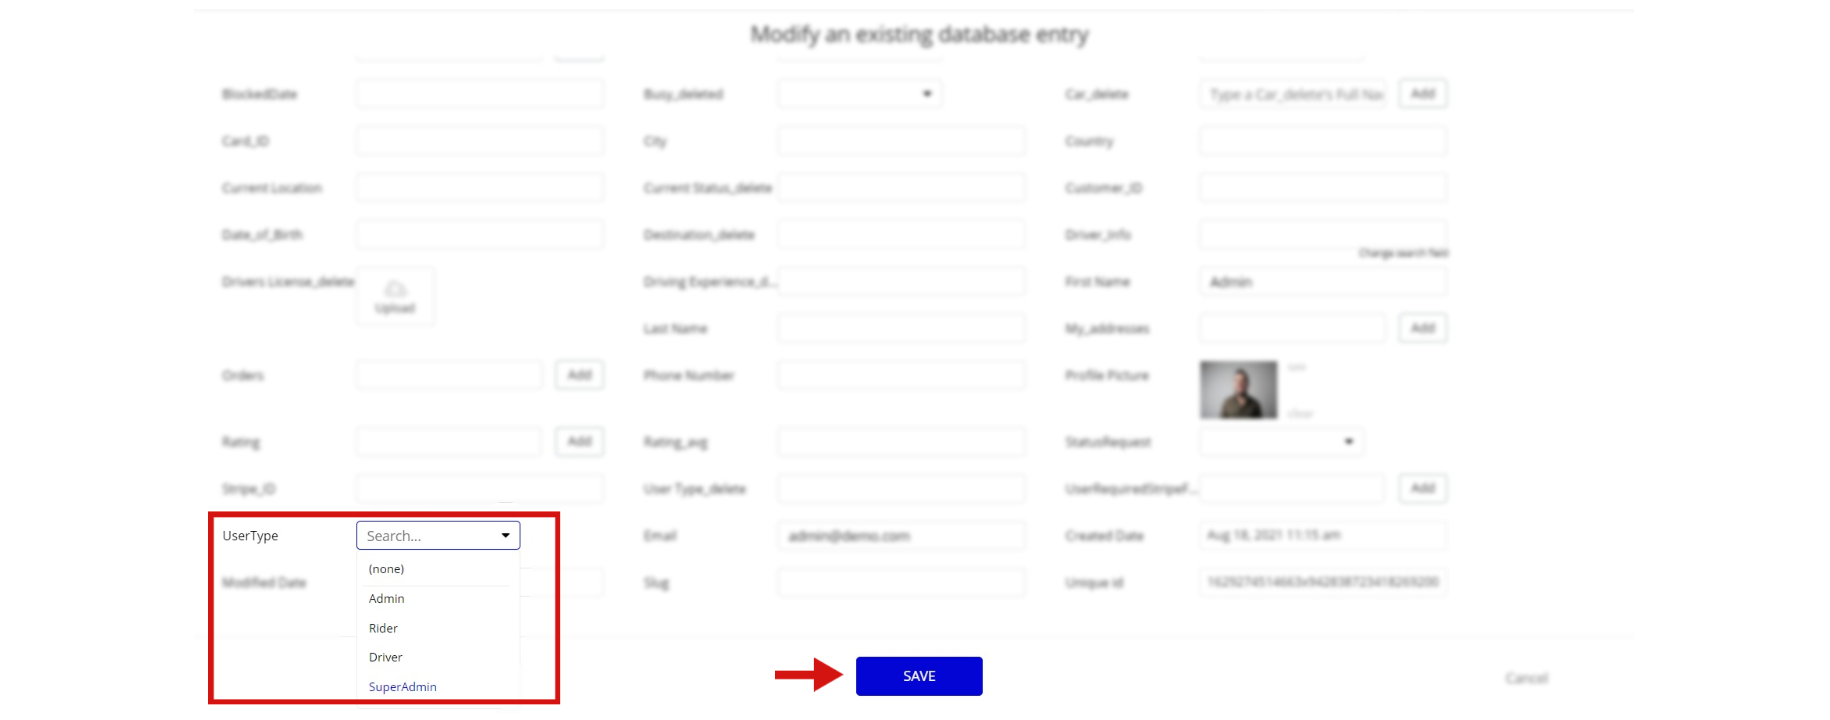
Note: Remember to hit the SAVE button.
The restricted elements action on this page are:
- 2x Button "Edit"
If you have already purchased the template, you can simply delete the following Only when condition for the element in order to gain full access to dashboard features.
- On the page find the button "edit" and click on Start workflow:

2. Select the "edit" button and look for the condition which restricts the action:

3. Remove the conditions from these actions
4. Complete. After these changes, you can check the respective actions on page.
An additional limitation is set on the
admin page via the Variables datatype Access_rights field. If a demo user with admin rights gets to this page, he will not be able to access the page or do any manipulations because of the conditions on edit/delete actions.
Under the Data tab click the icon in the Editor, go to the Data Type Variables, and look for the
Access_rights field with the Yes/No boolean type. 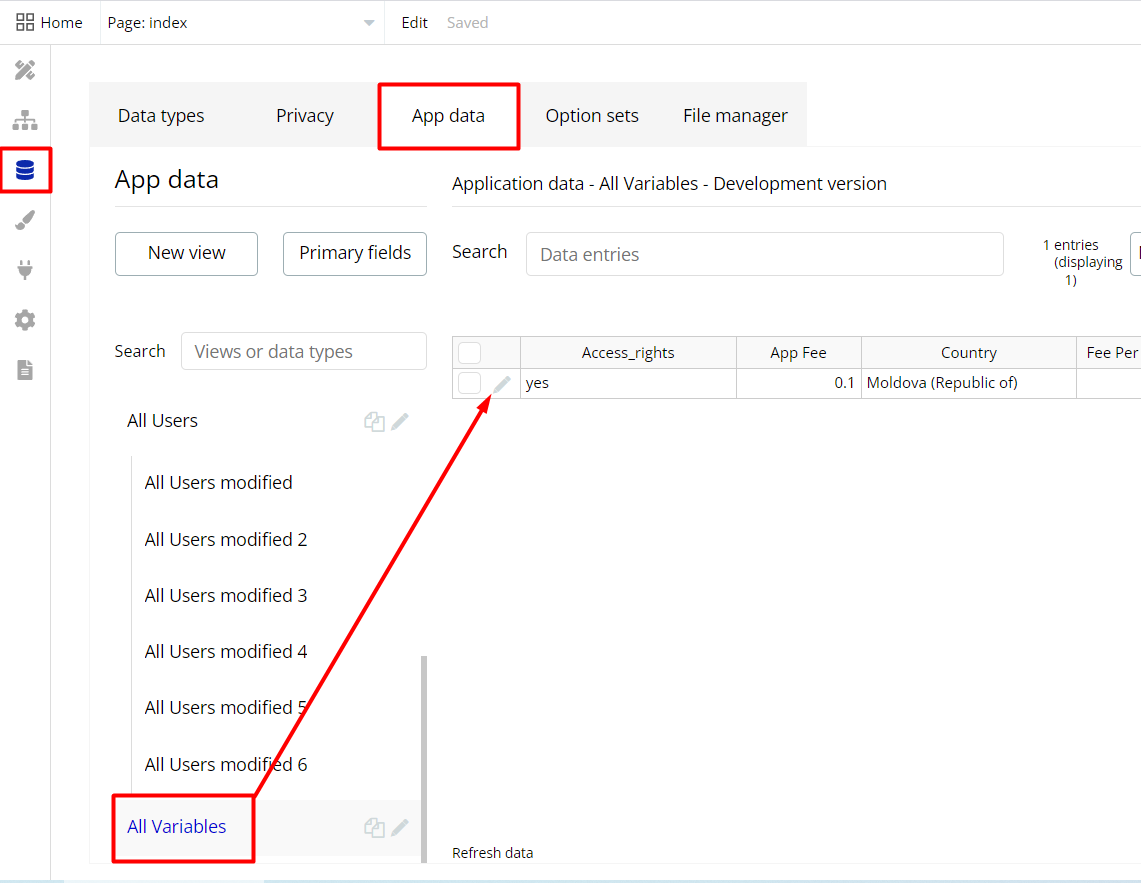
To enable the editing rights set the value to
yes, so the admin user will be able to manage the platform, deleting users, and setting values on the admin page.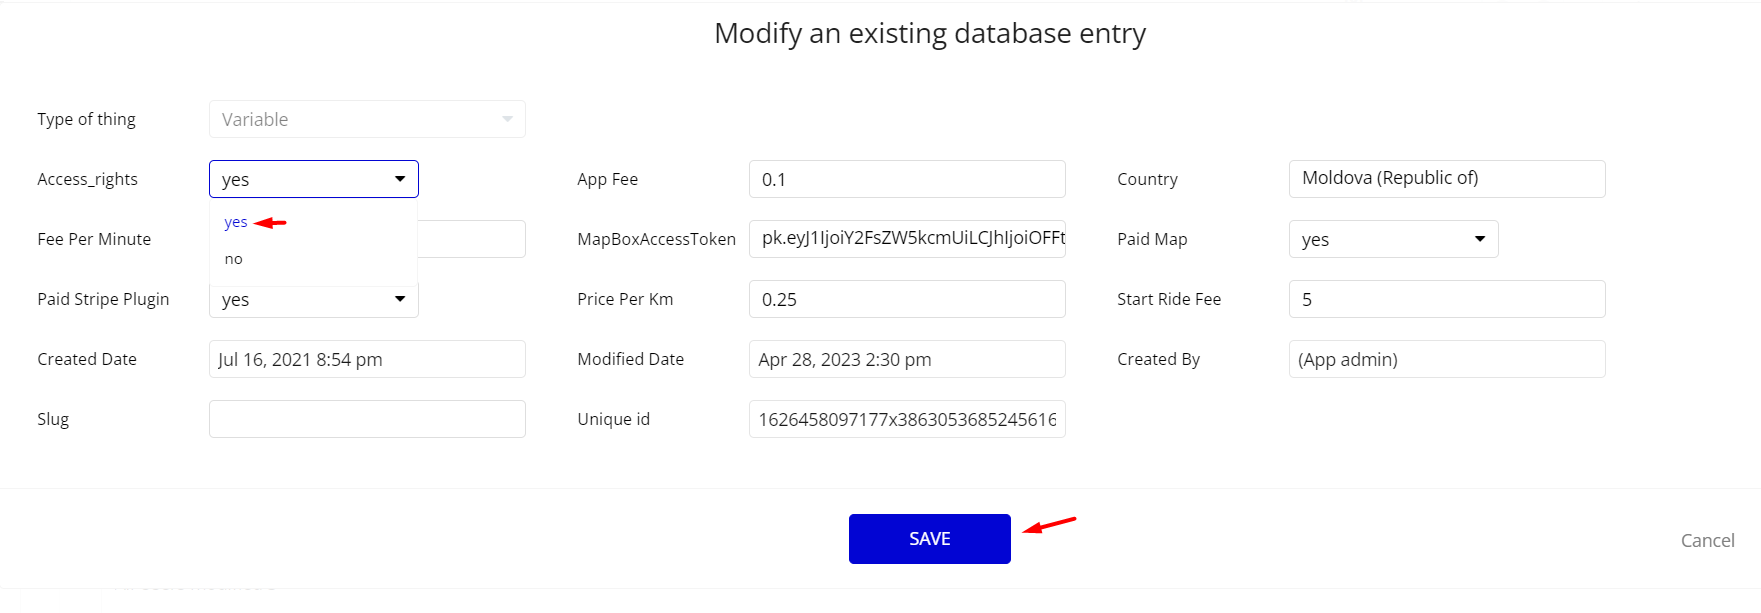
Congrats! You have successfully granted admin rights. Now you can use all the admin page and its features as an admin user.
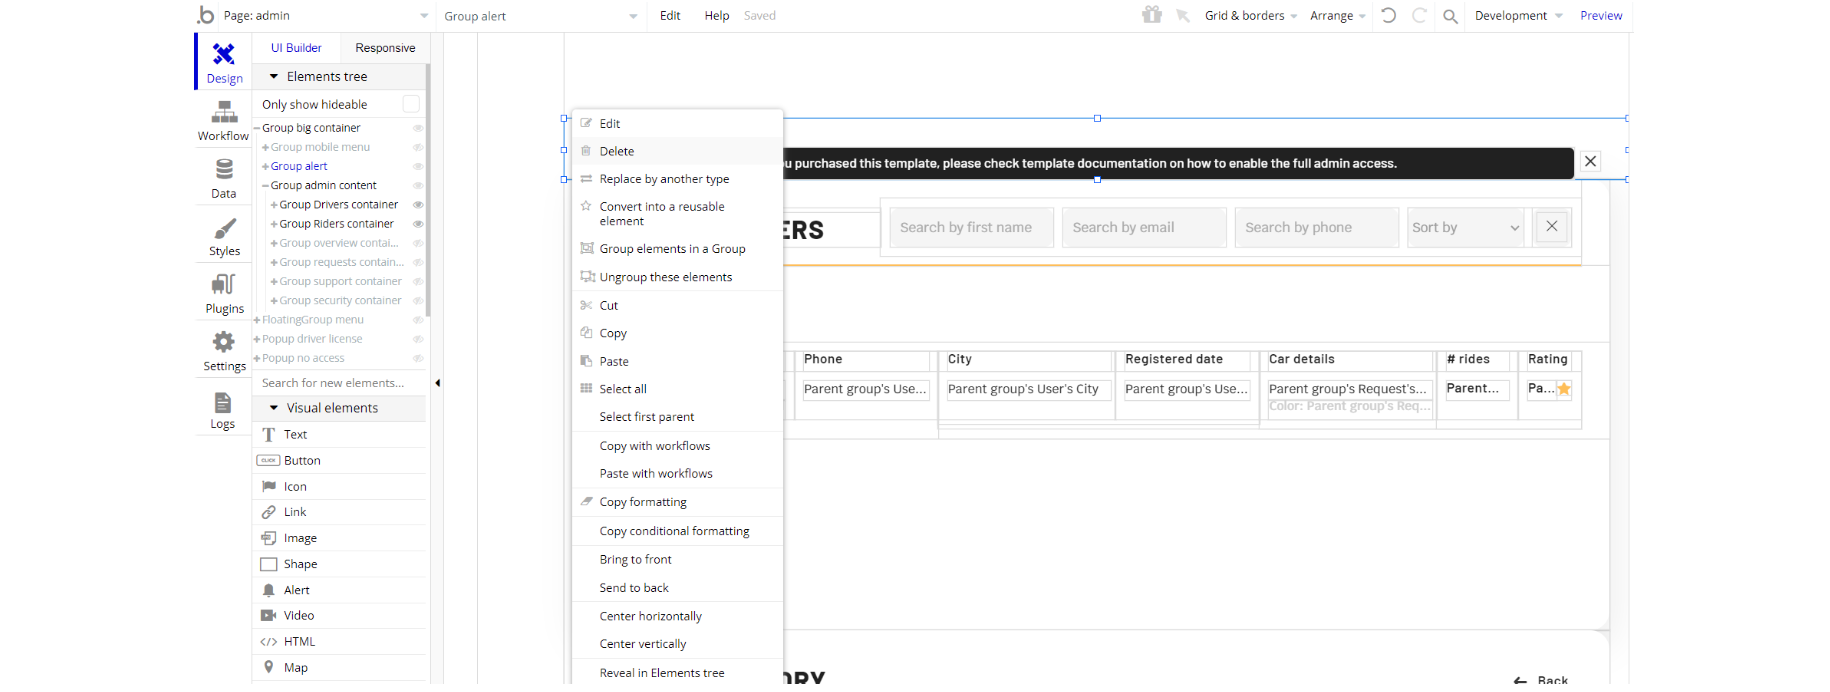
Also, delete the warning group that says to check the template's documentation:
- Locate the container Group "alert Demo":
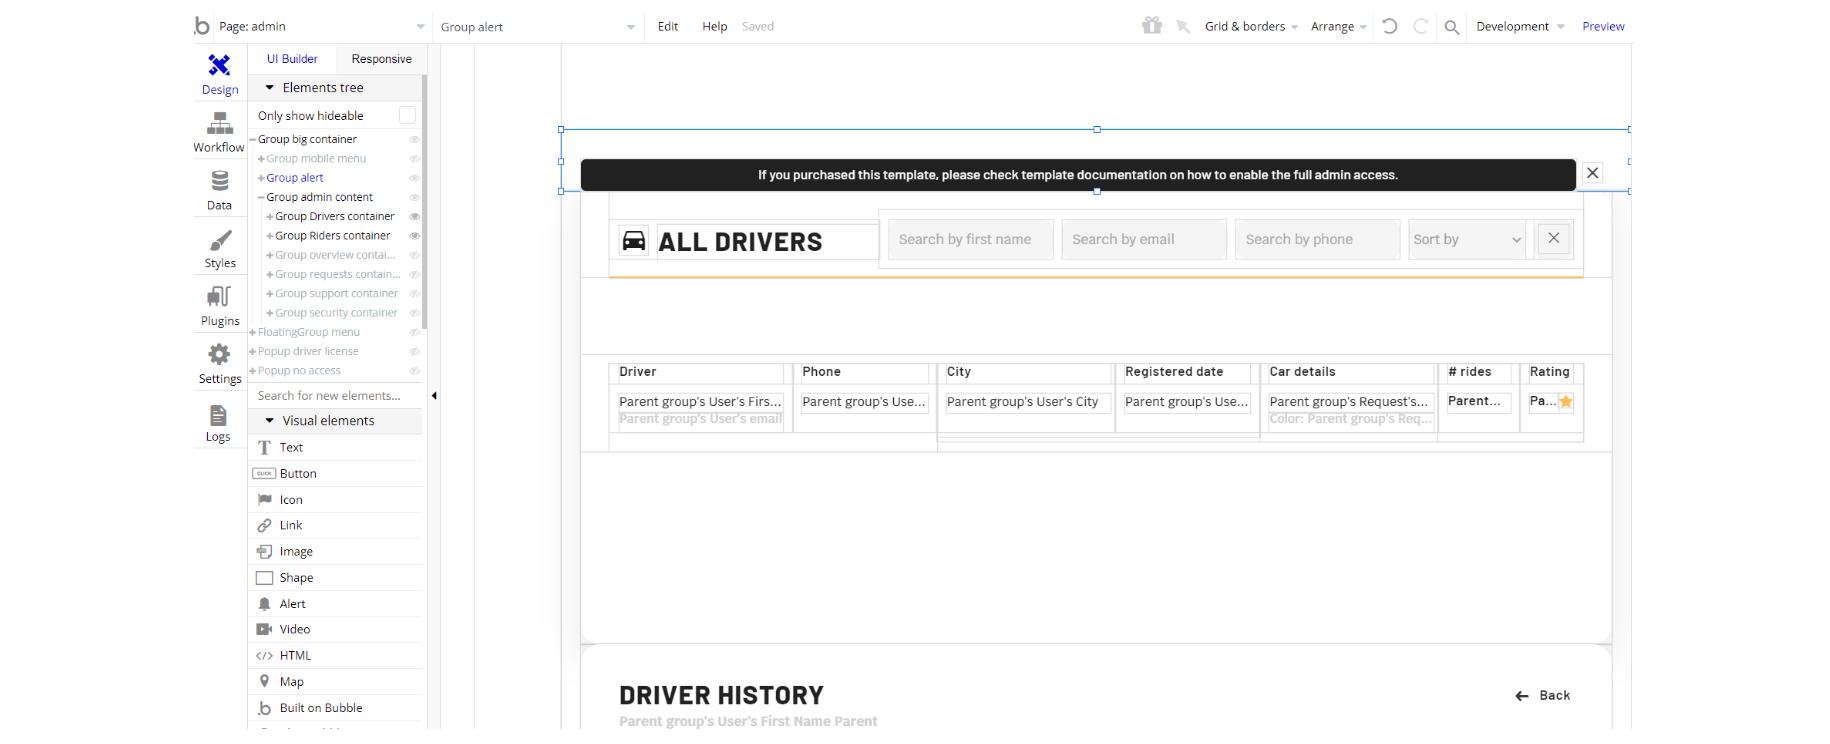
2. And delete it:
Custom Code
On certain pages, there are some HTML elements used for some solutions that are not available by default. You can find these codes on the following pages:
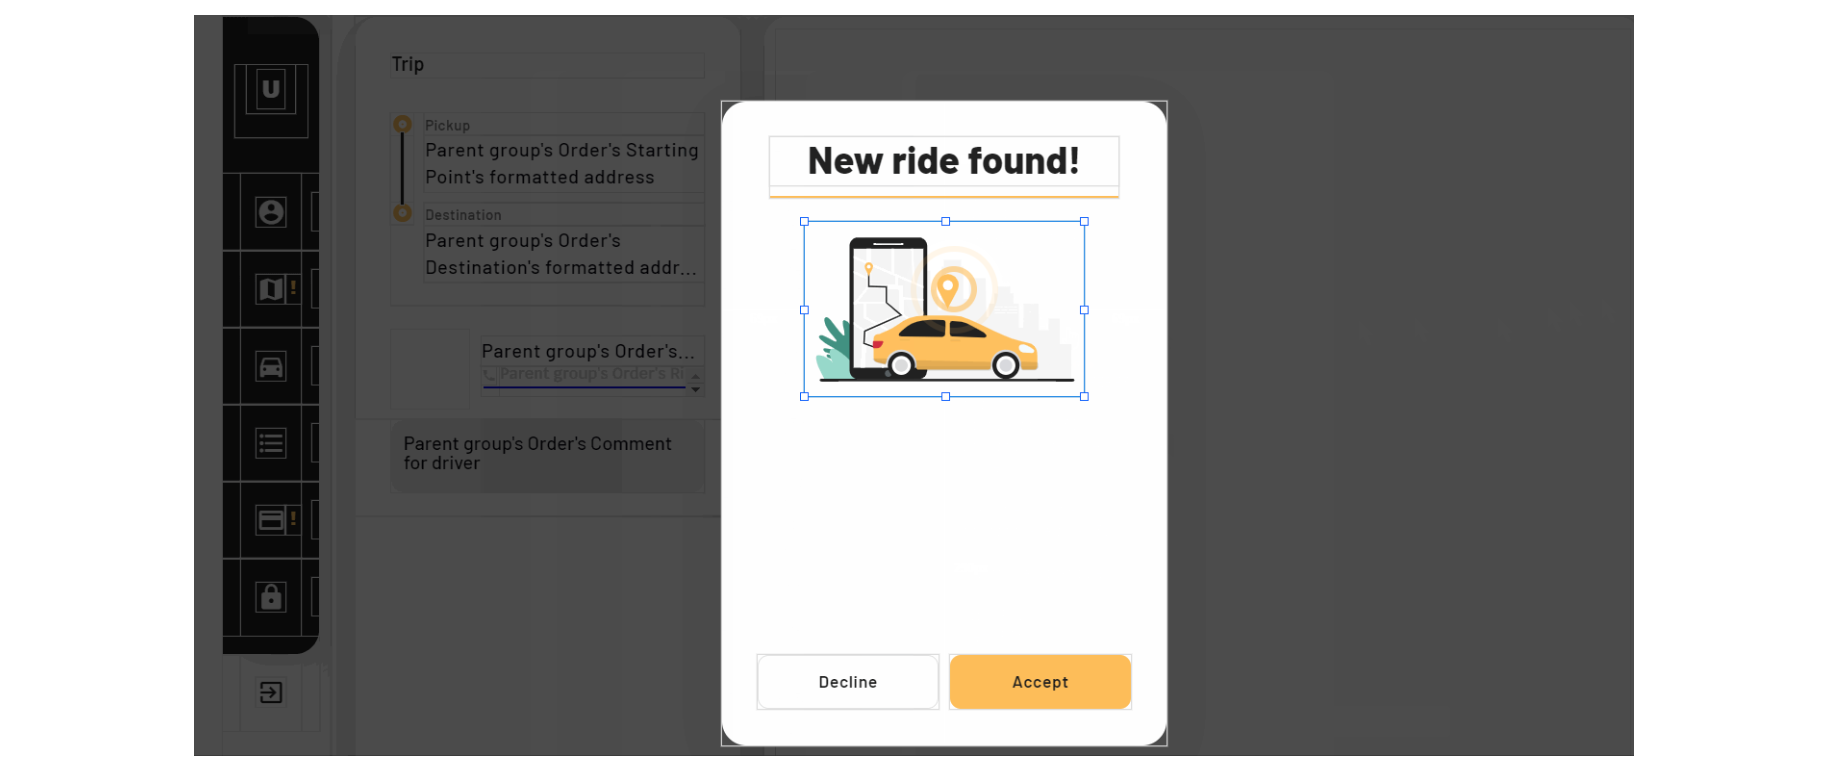
driver page - there is CSS in the HTML element on-page. The HTML loading animation element has CSS and will add pleasant loading animation in the pop-up new ride found.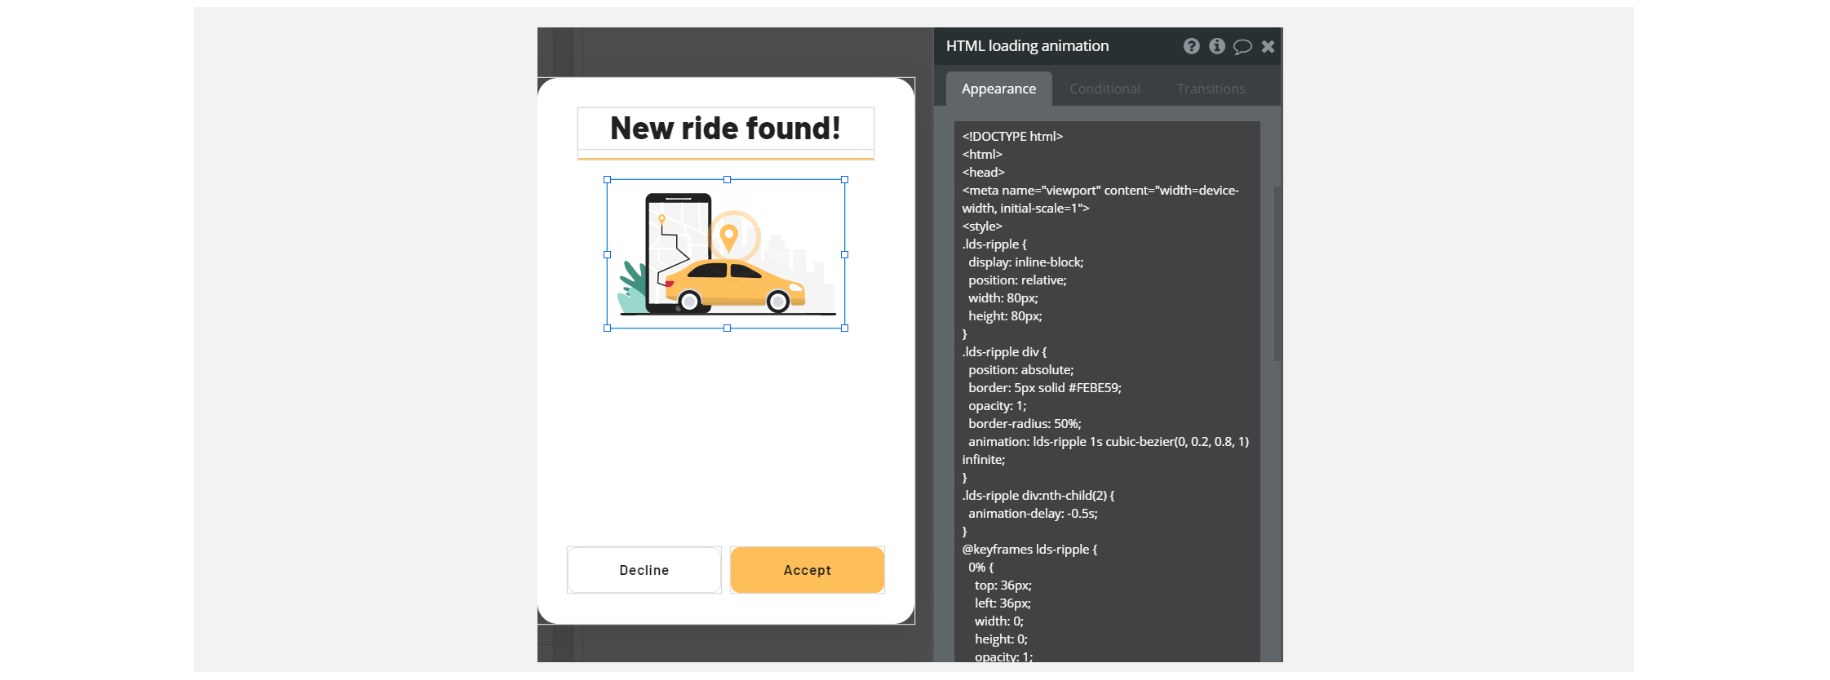
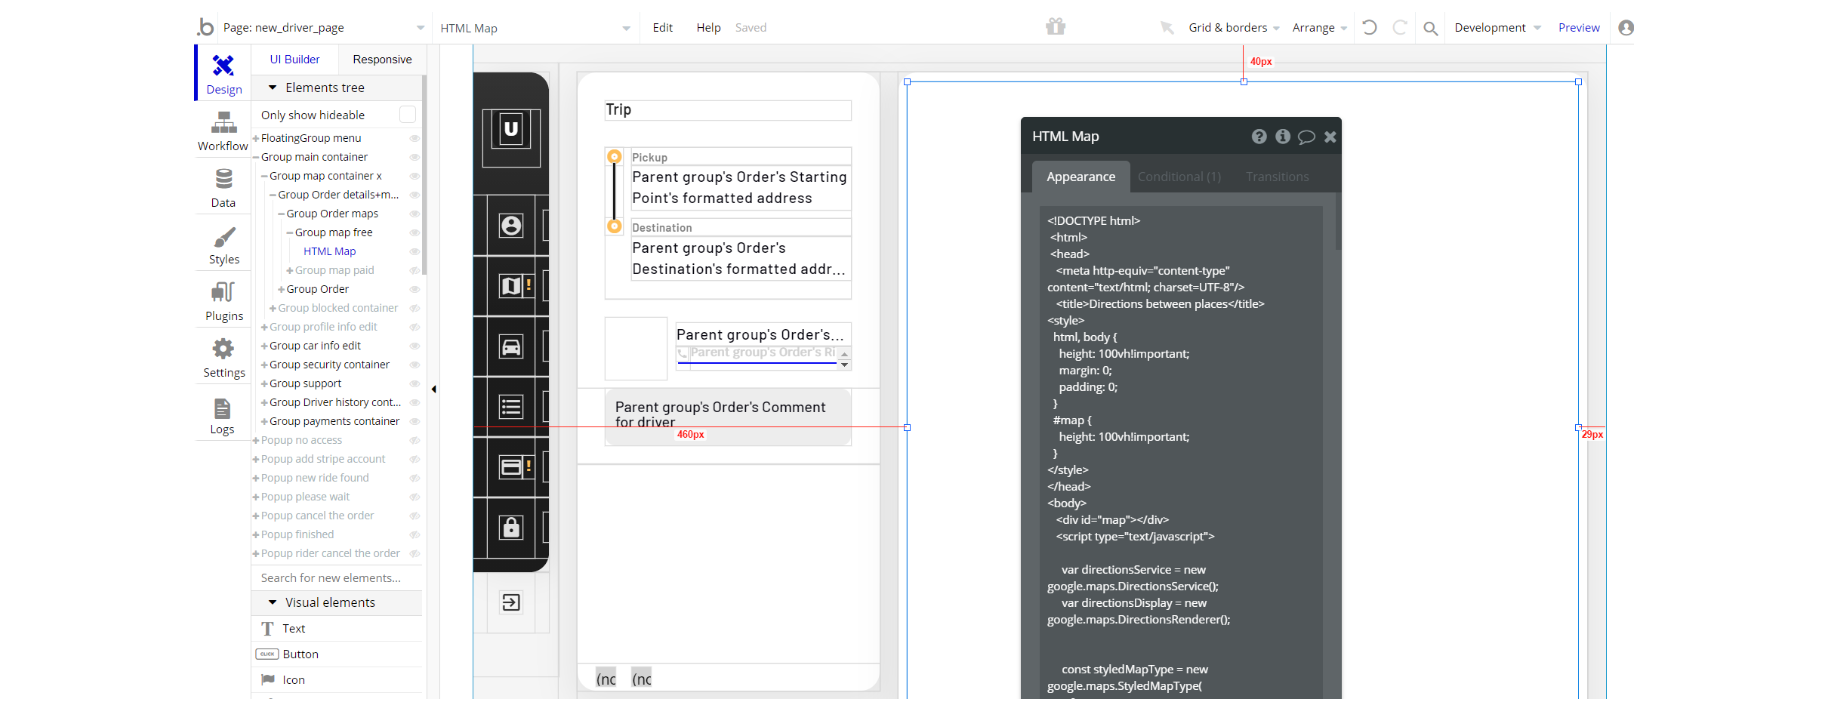
On this page, the HTML Map element has Script/CSS that will draw the route on the map by adding origin and destination points using geographical addresses pulled from the database.
Tip: The styling attributes reference taken from Google documentation - https://developers.google.com/maps/documentation/maps-static/style-reference?hl=en
On this page, there is HTML Tag
<href> in the HTML element on-page. HTML tag href attribute specifies the URL of the page the link goes to. The mobile devices will recognize the phone number and engaging the link will initiate a phone call.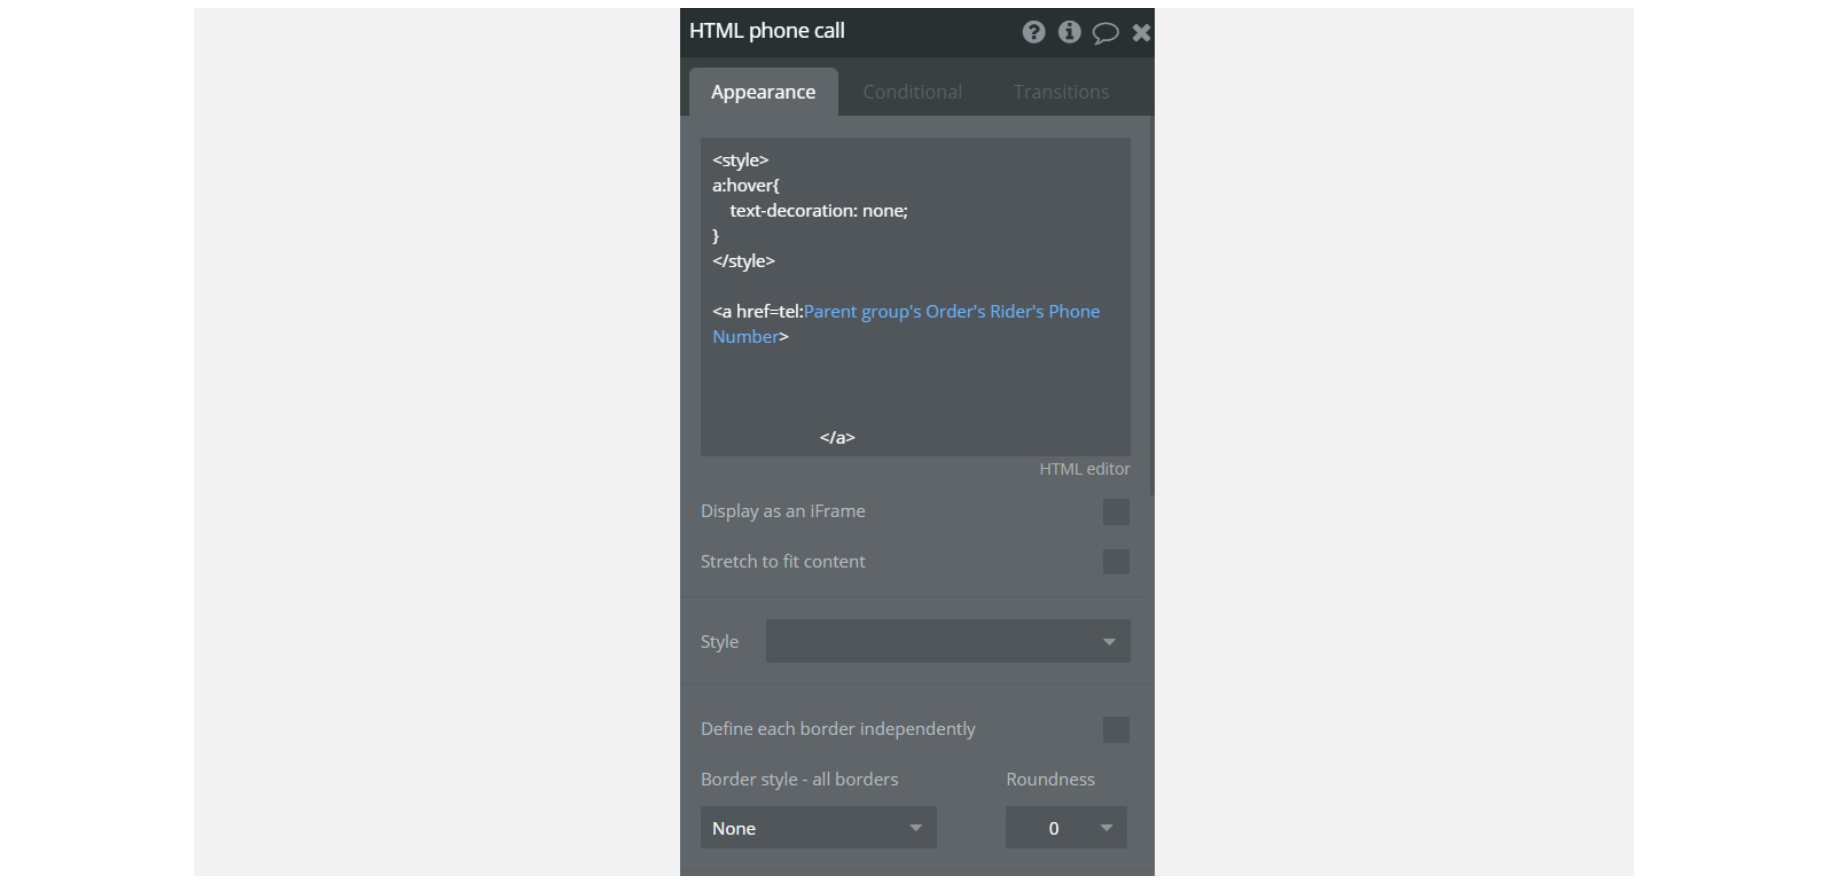
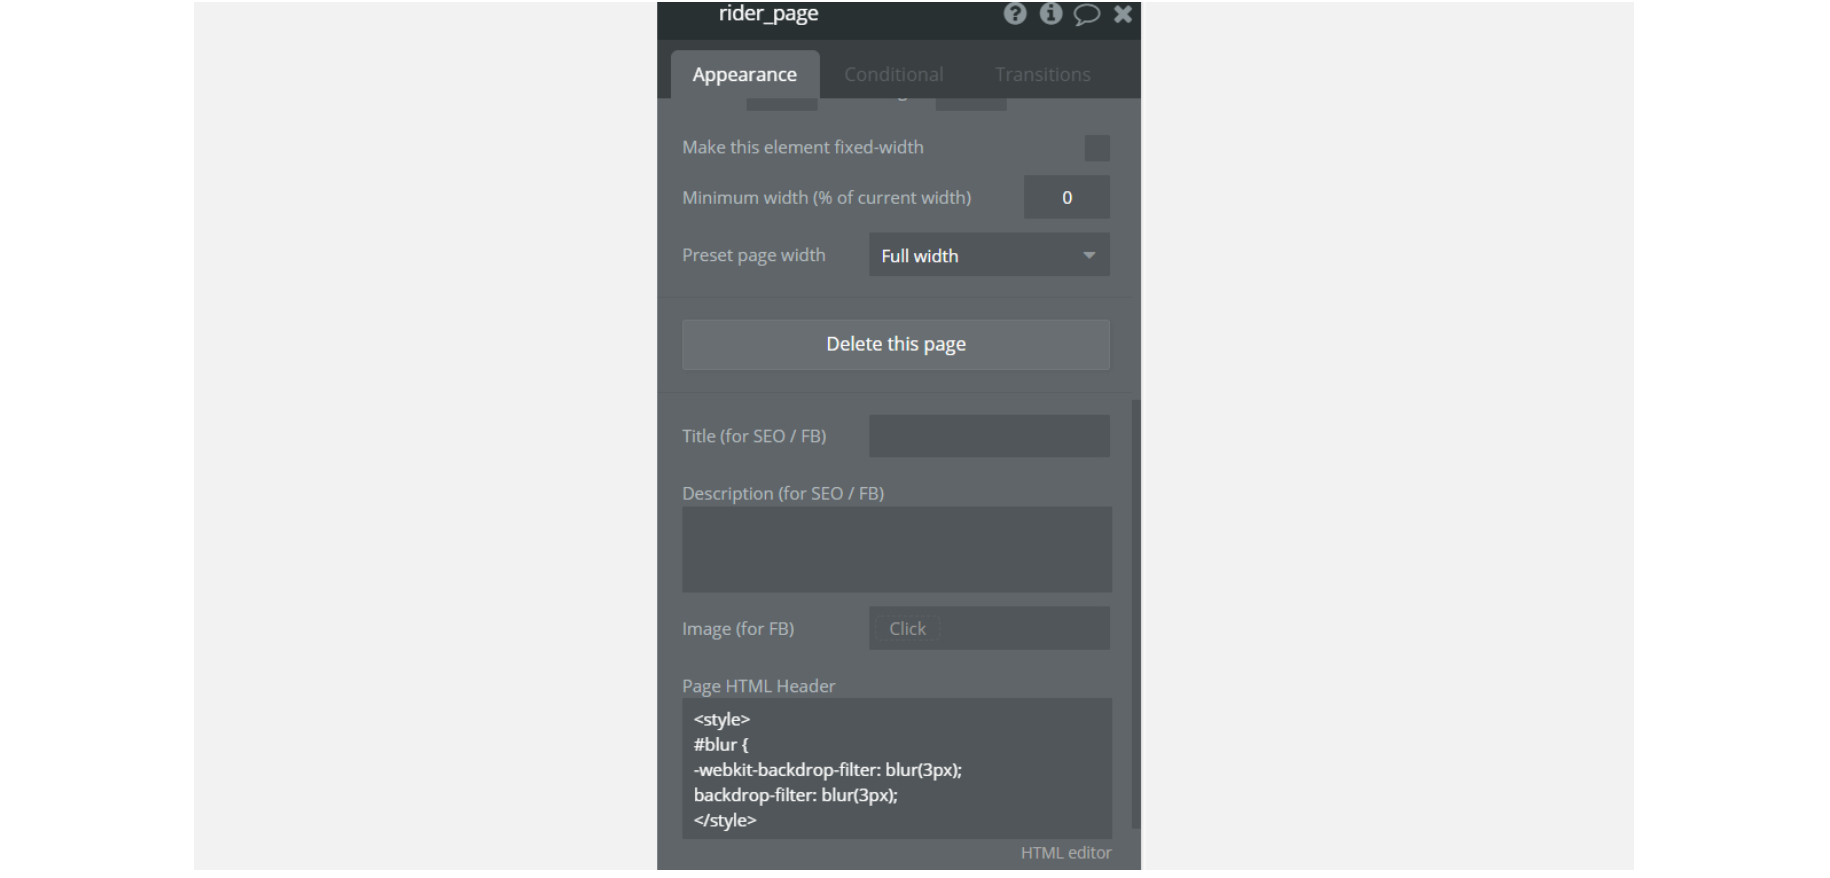
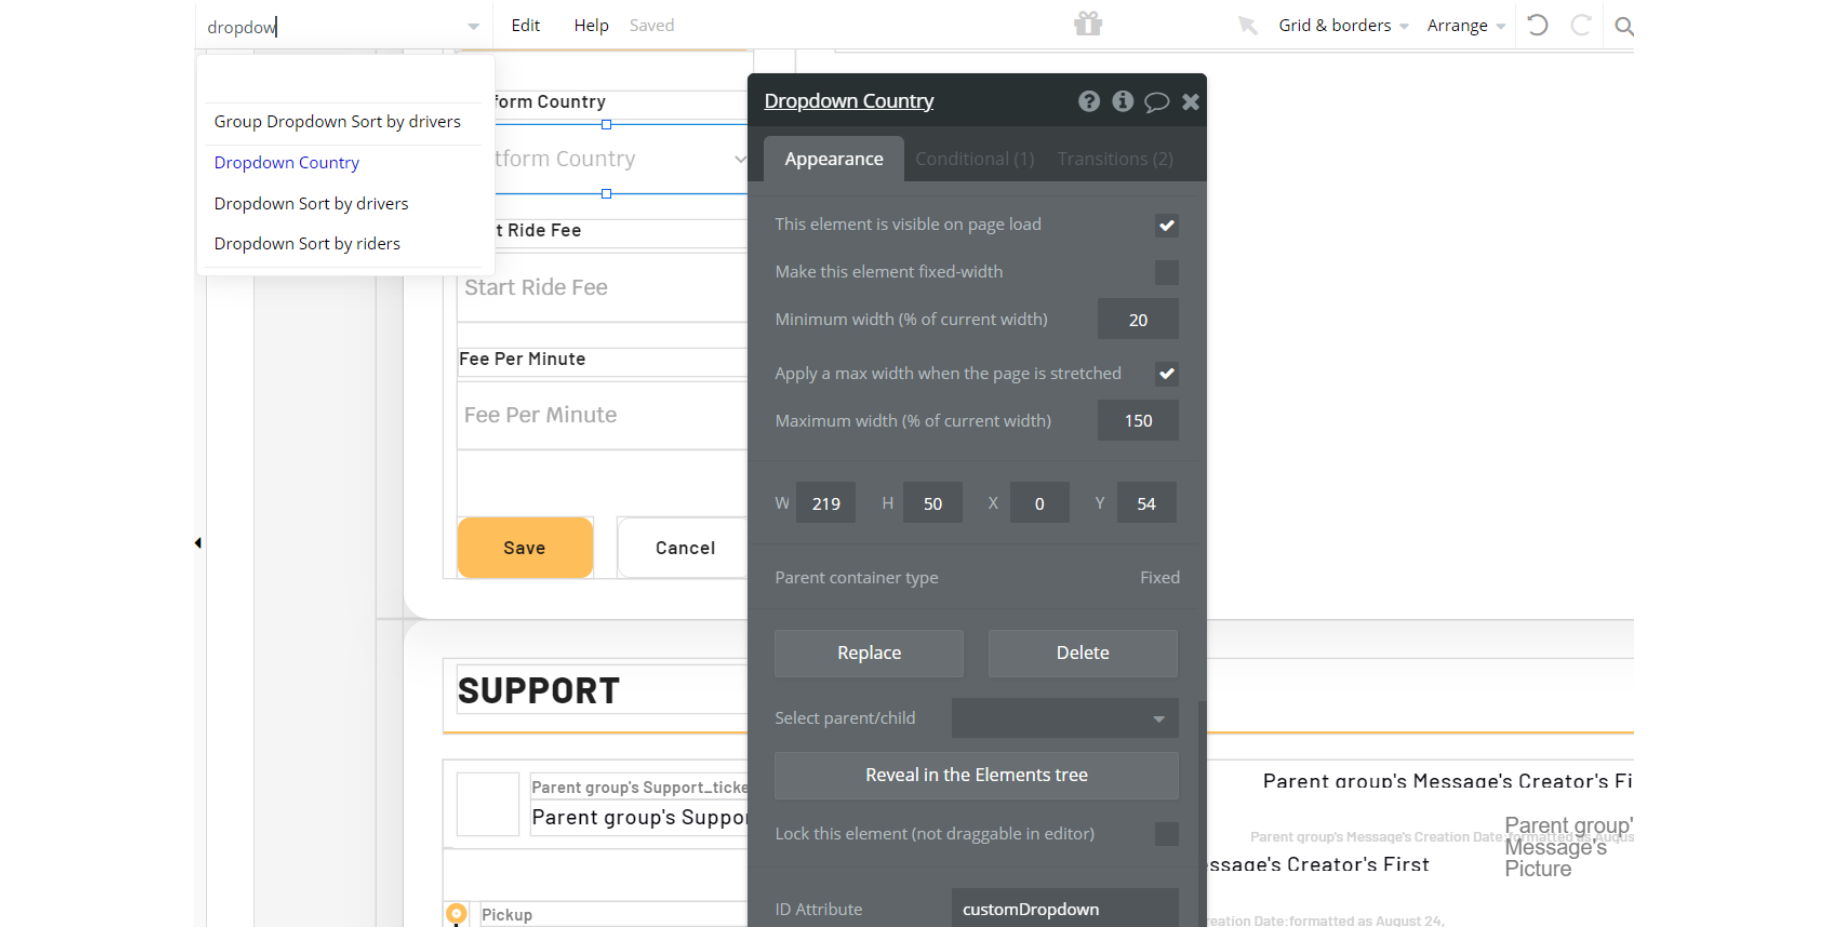
riderpage - On this page, you see HTML/CSS code attached in the Page HTML header. #blur applies style for the Group "preloader" by blurring the background.
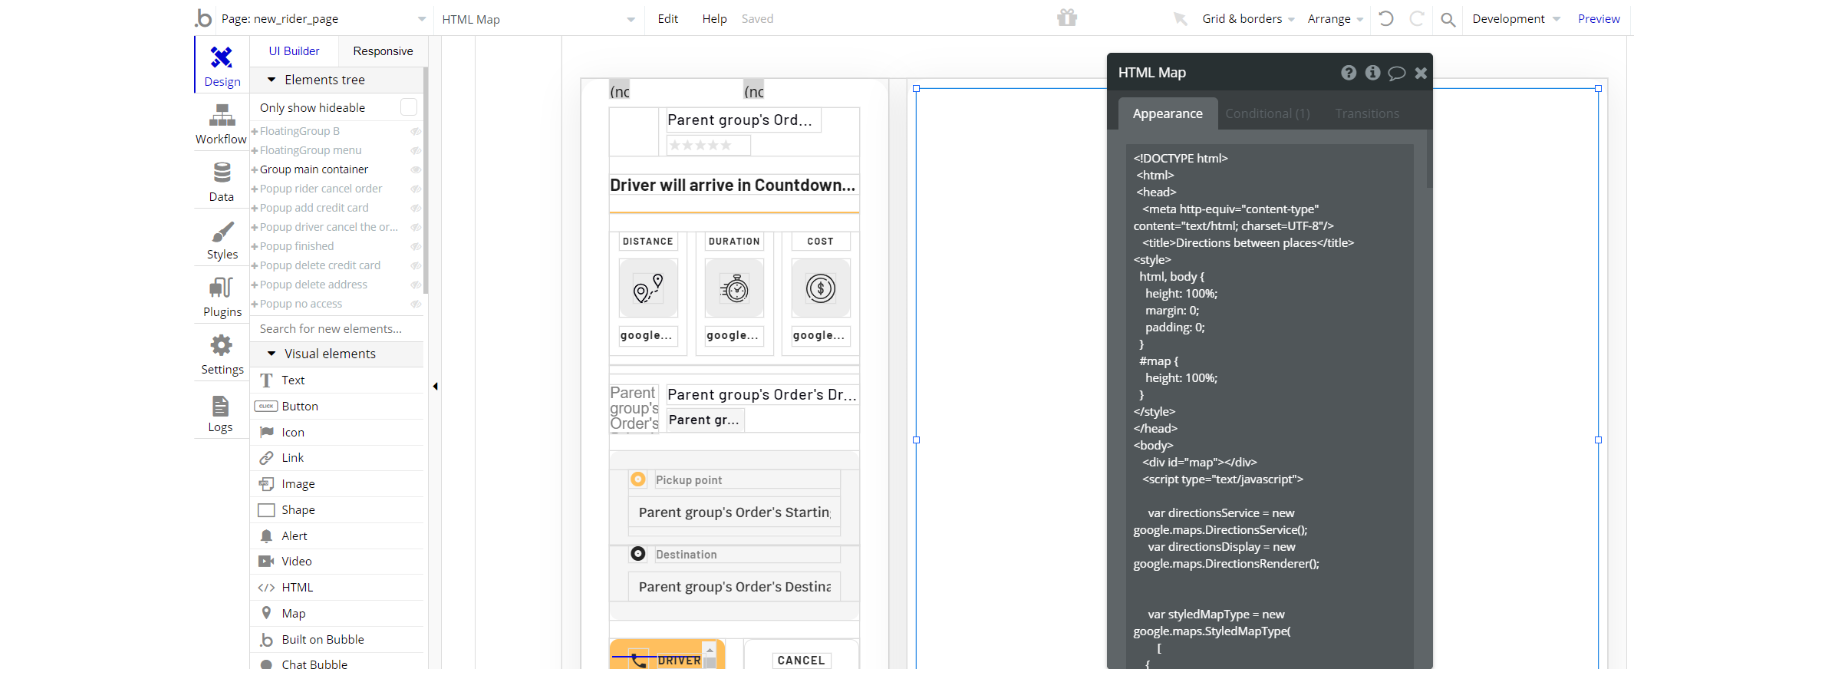
On this page, the HTML Map element has Script/CSS that will draw the route on the map by adding origin and destination points using coordinates from input values.
Tip: The styling attributes reference is taken from Google documentation - https://developers.google.com/maps/documentation/maps-static/style-reference?hl=en
On this page, there is HTML Tag
<href> in the HTML element on-page. HTML tag href attribute specifies the URL of the page the link goes to. The mobile devices will recognize the phone number and engaging the link will initiate a phone call.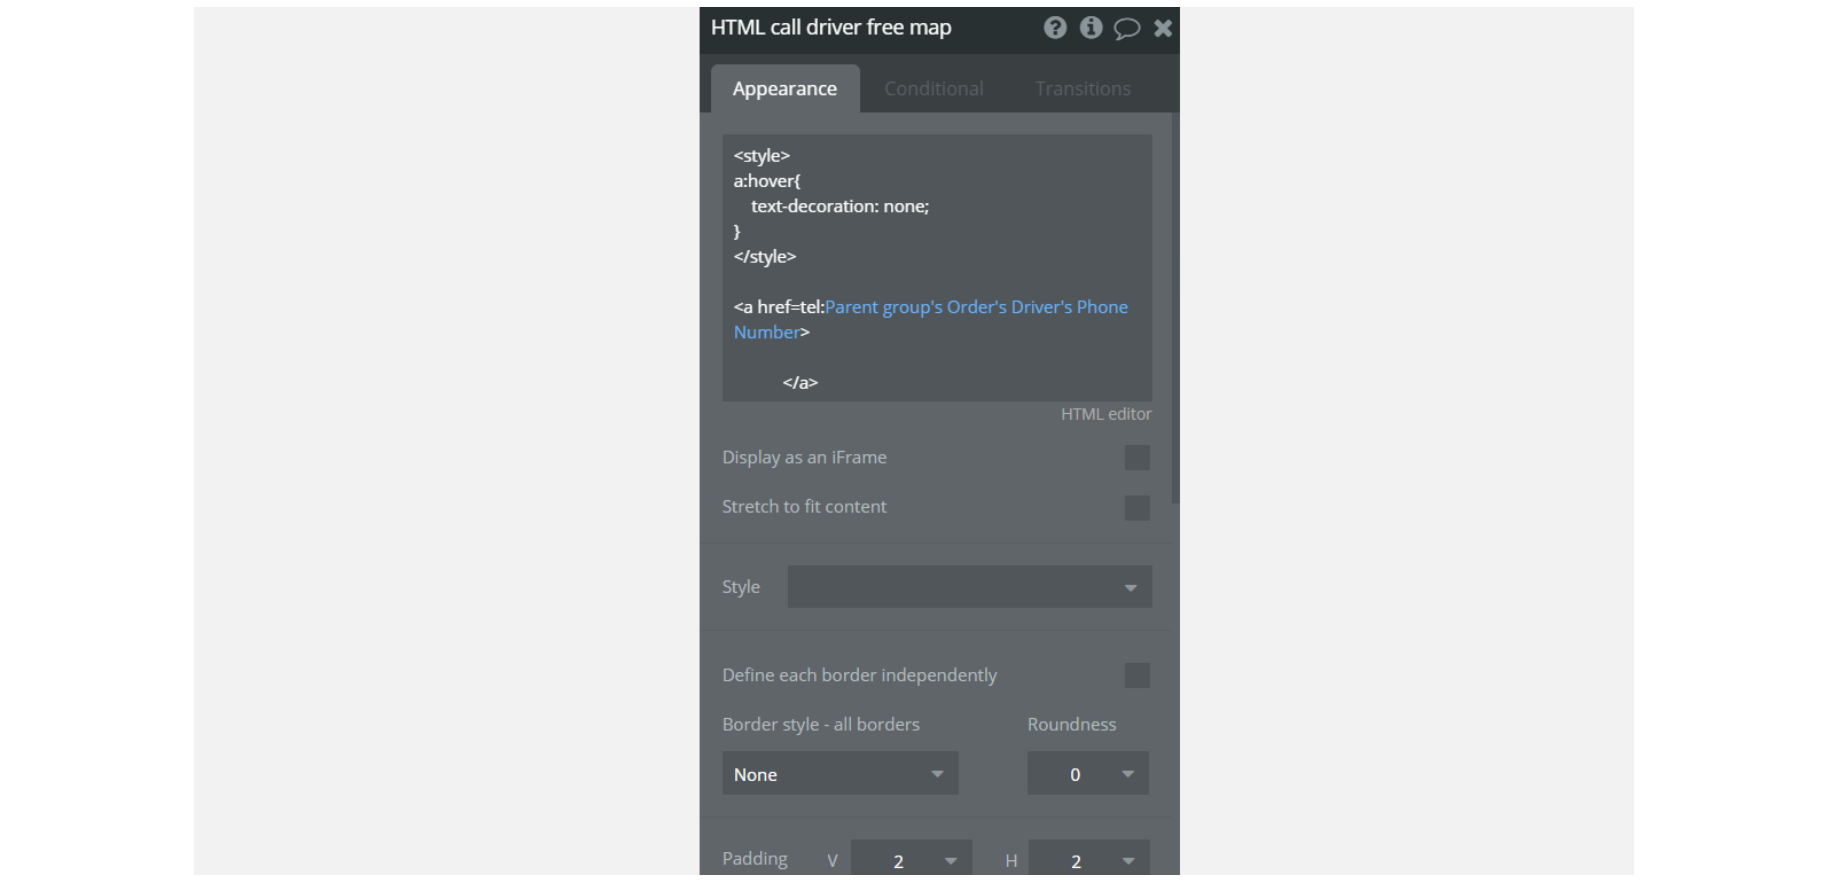
On this page, HTML animation for the free map has CSS and will add pleasant loading animation after the rider starts the search for a ride on the map.
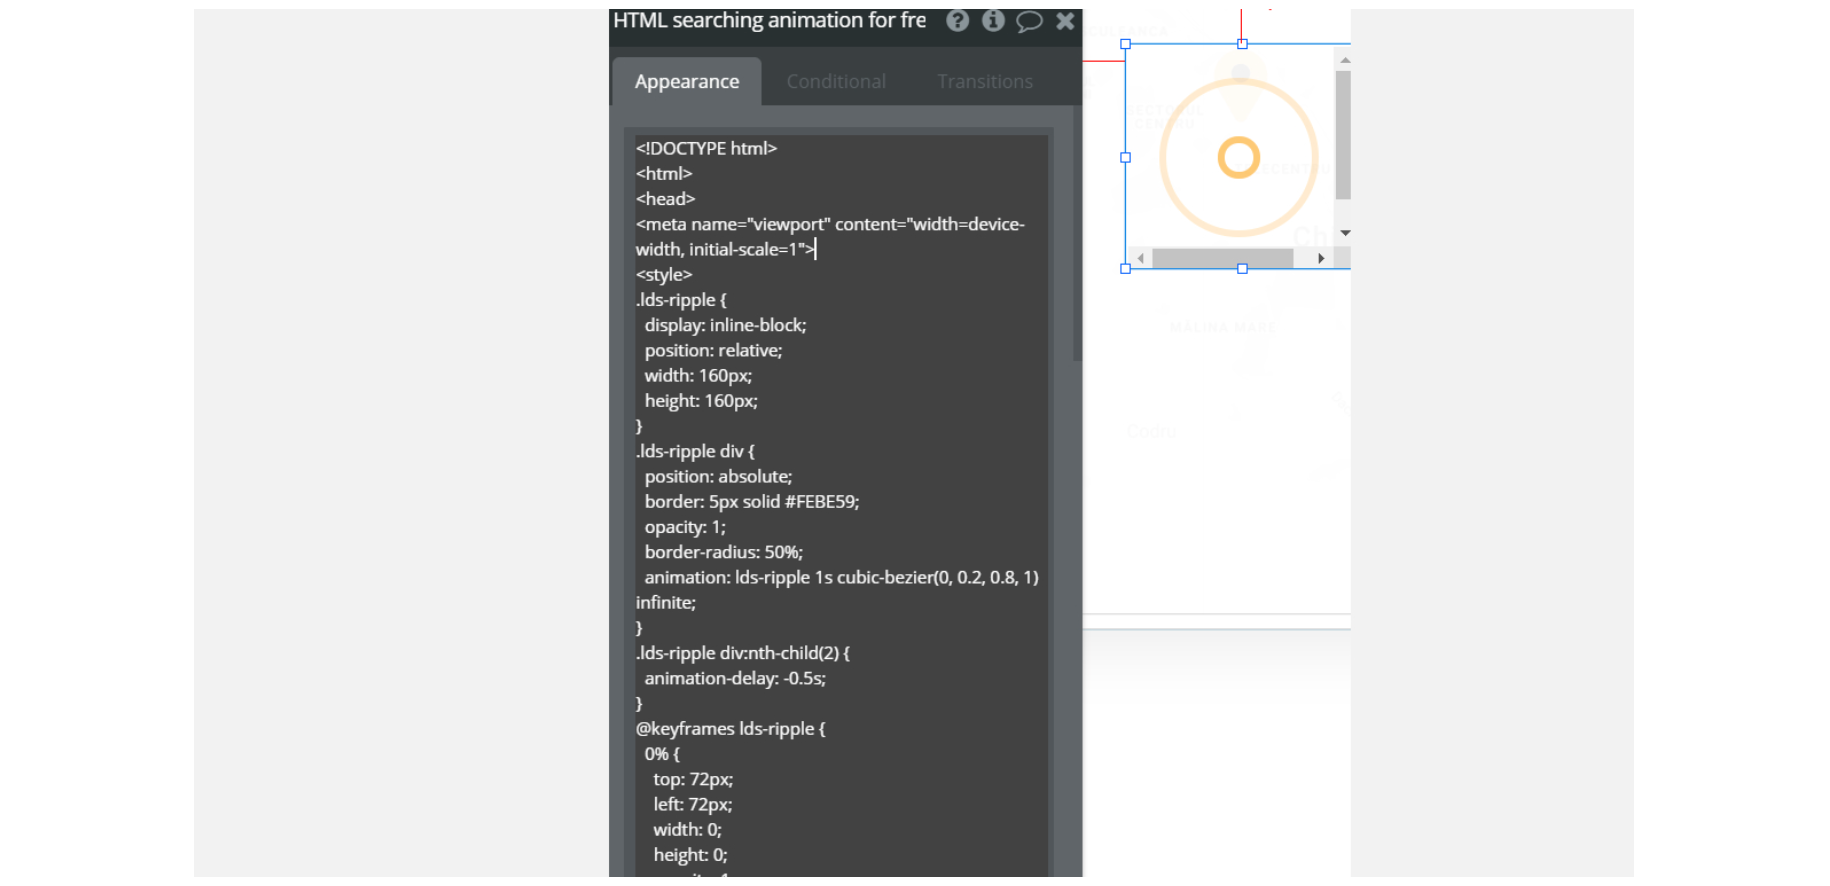
Note: There are additional HTML elements with the same snippet used search loading animation for the Mapbox Plugin alternative.
admin
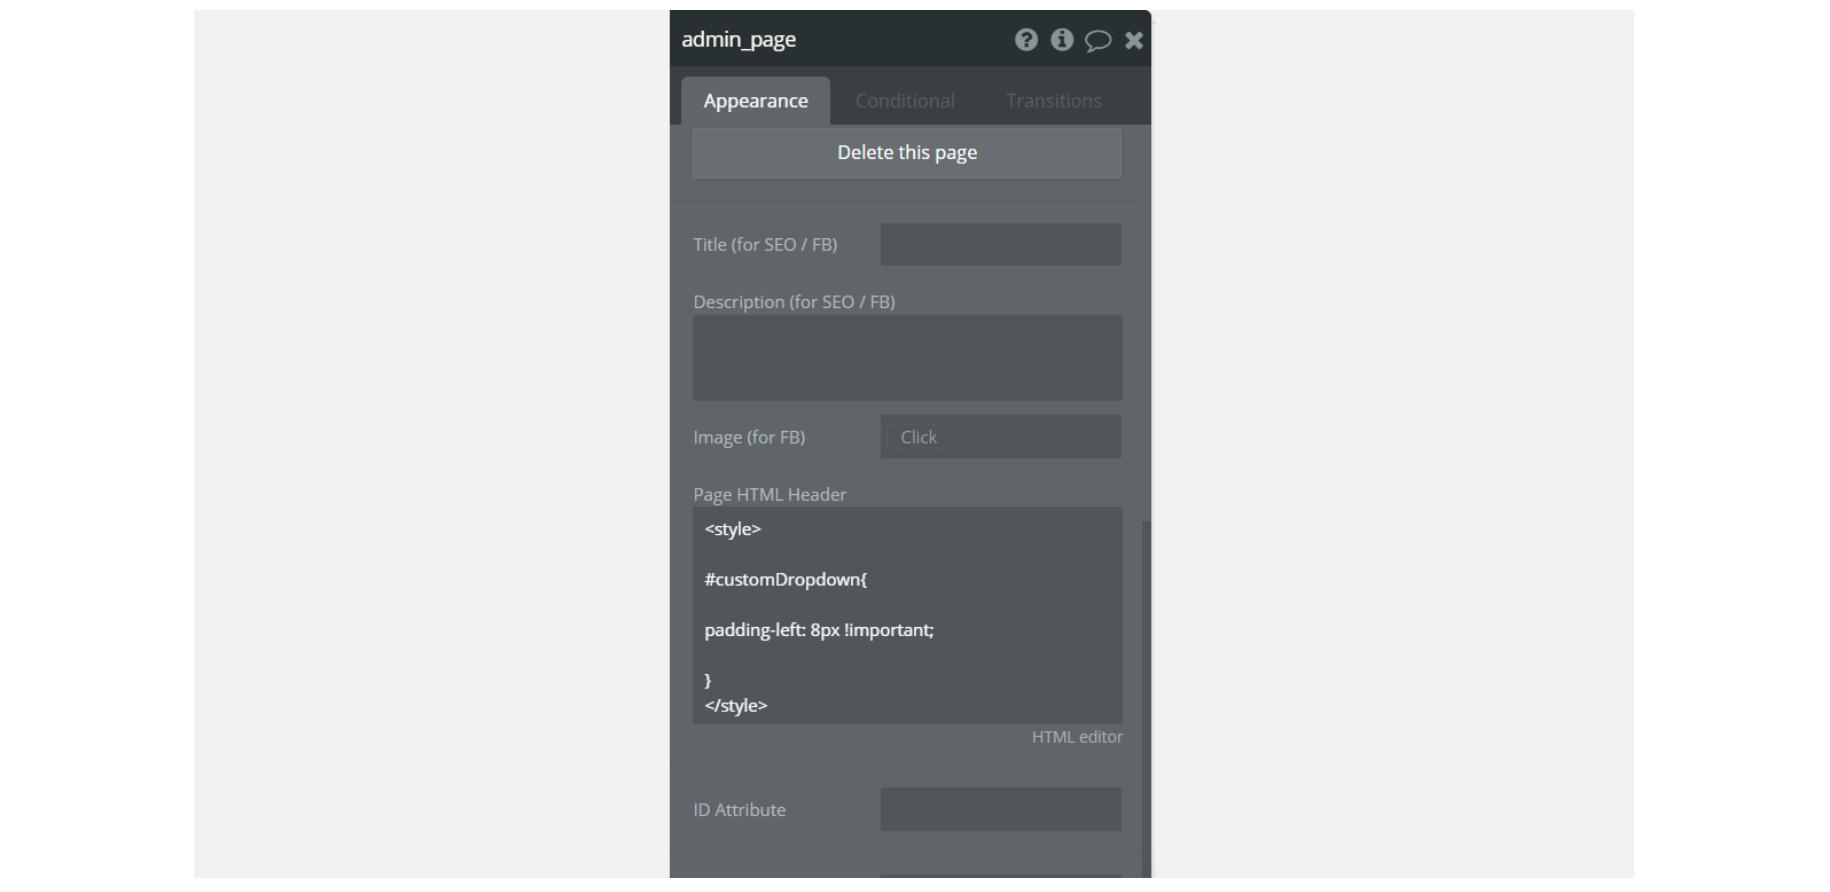
login_signup
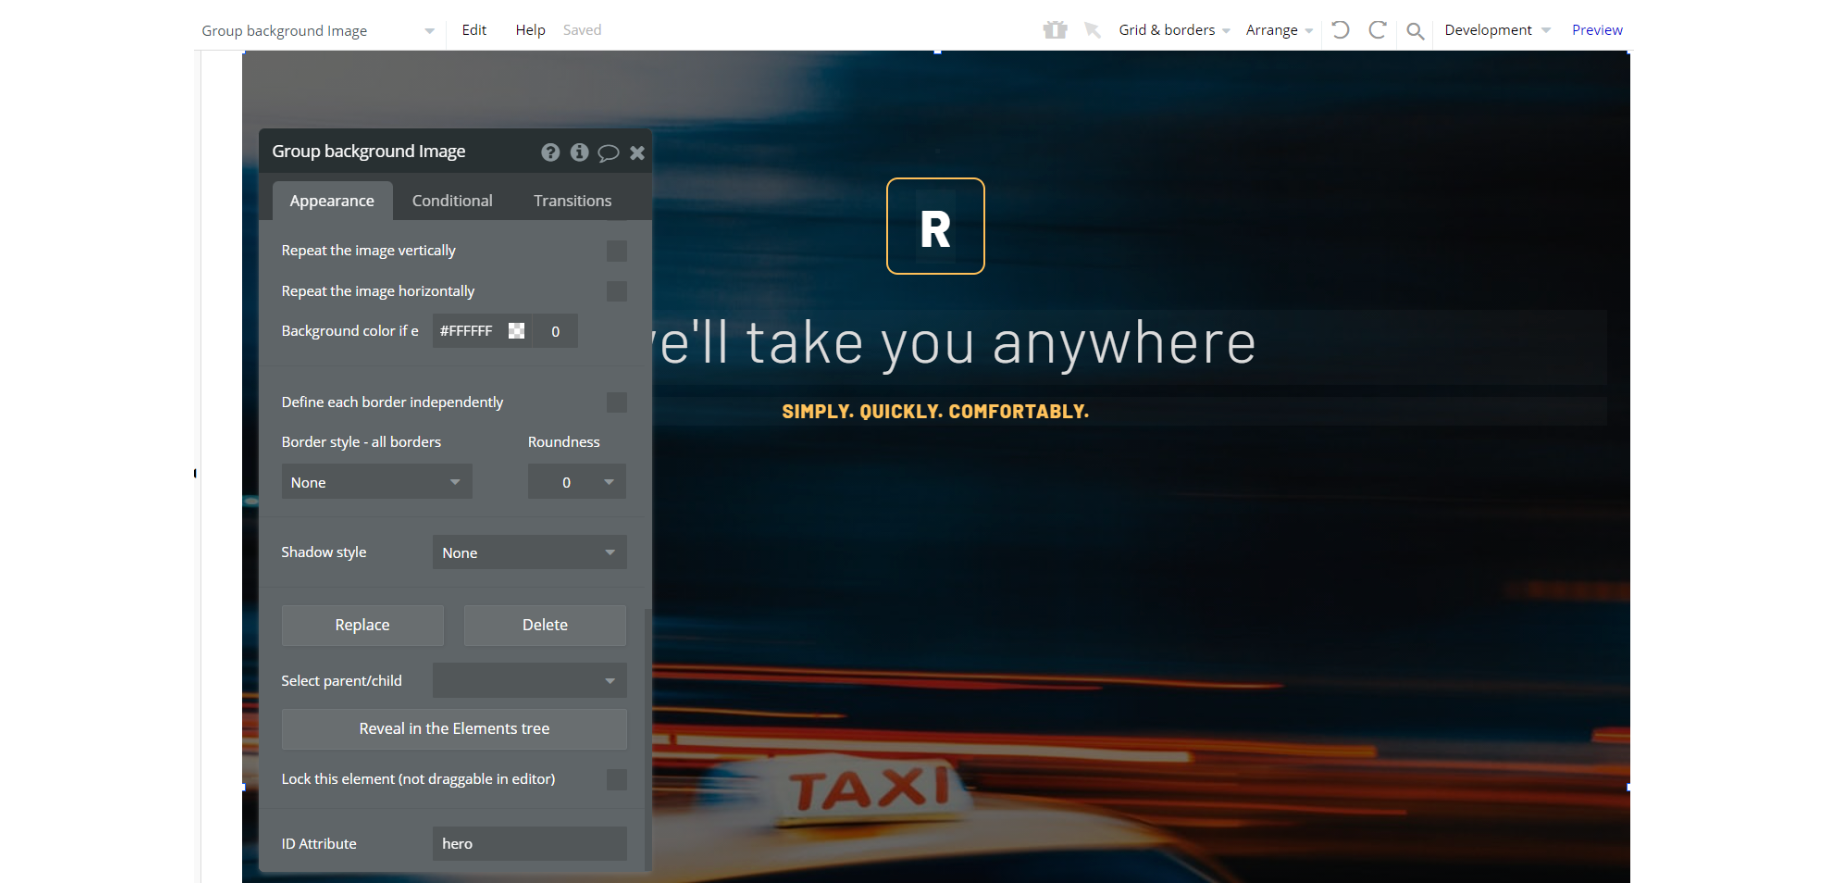
The HTML is used for CSS -
#hero - makes the page height adapt to the viewport - used on Group background Image
#herox - makes the page height adapt to the viewport - used on Group gradient
#blur - applies a blur filter to the background- used on Group log in/Group sign up
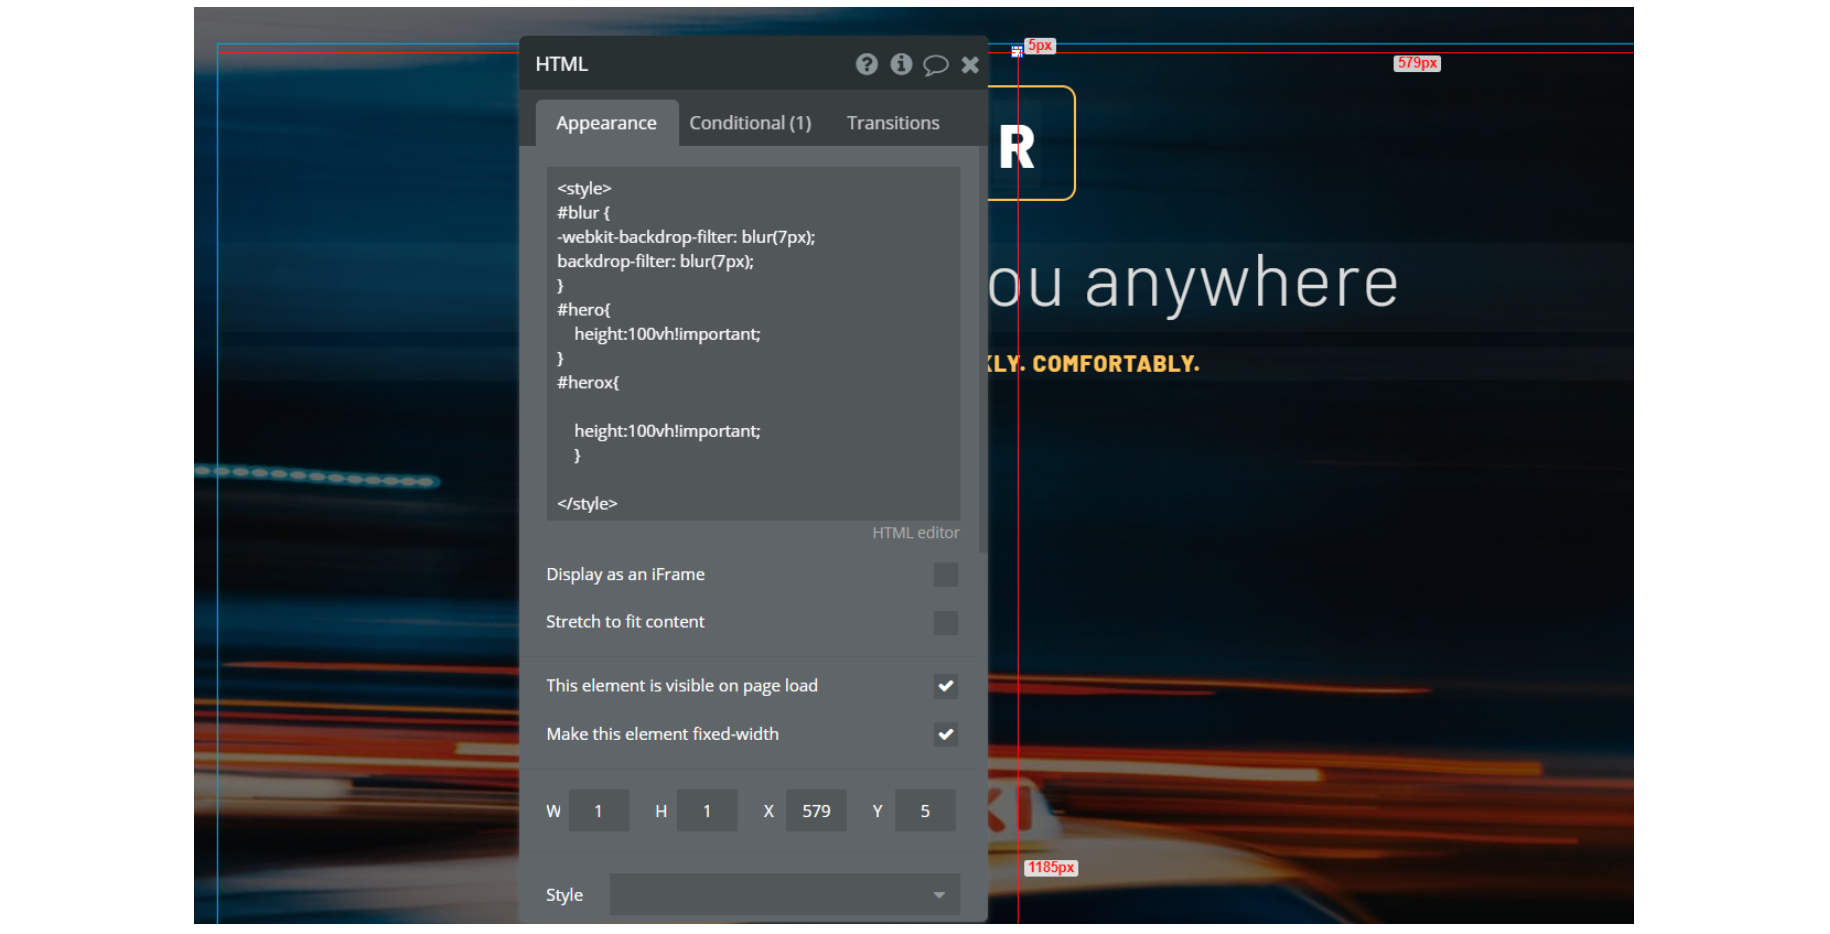
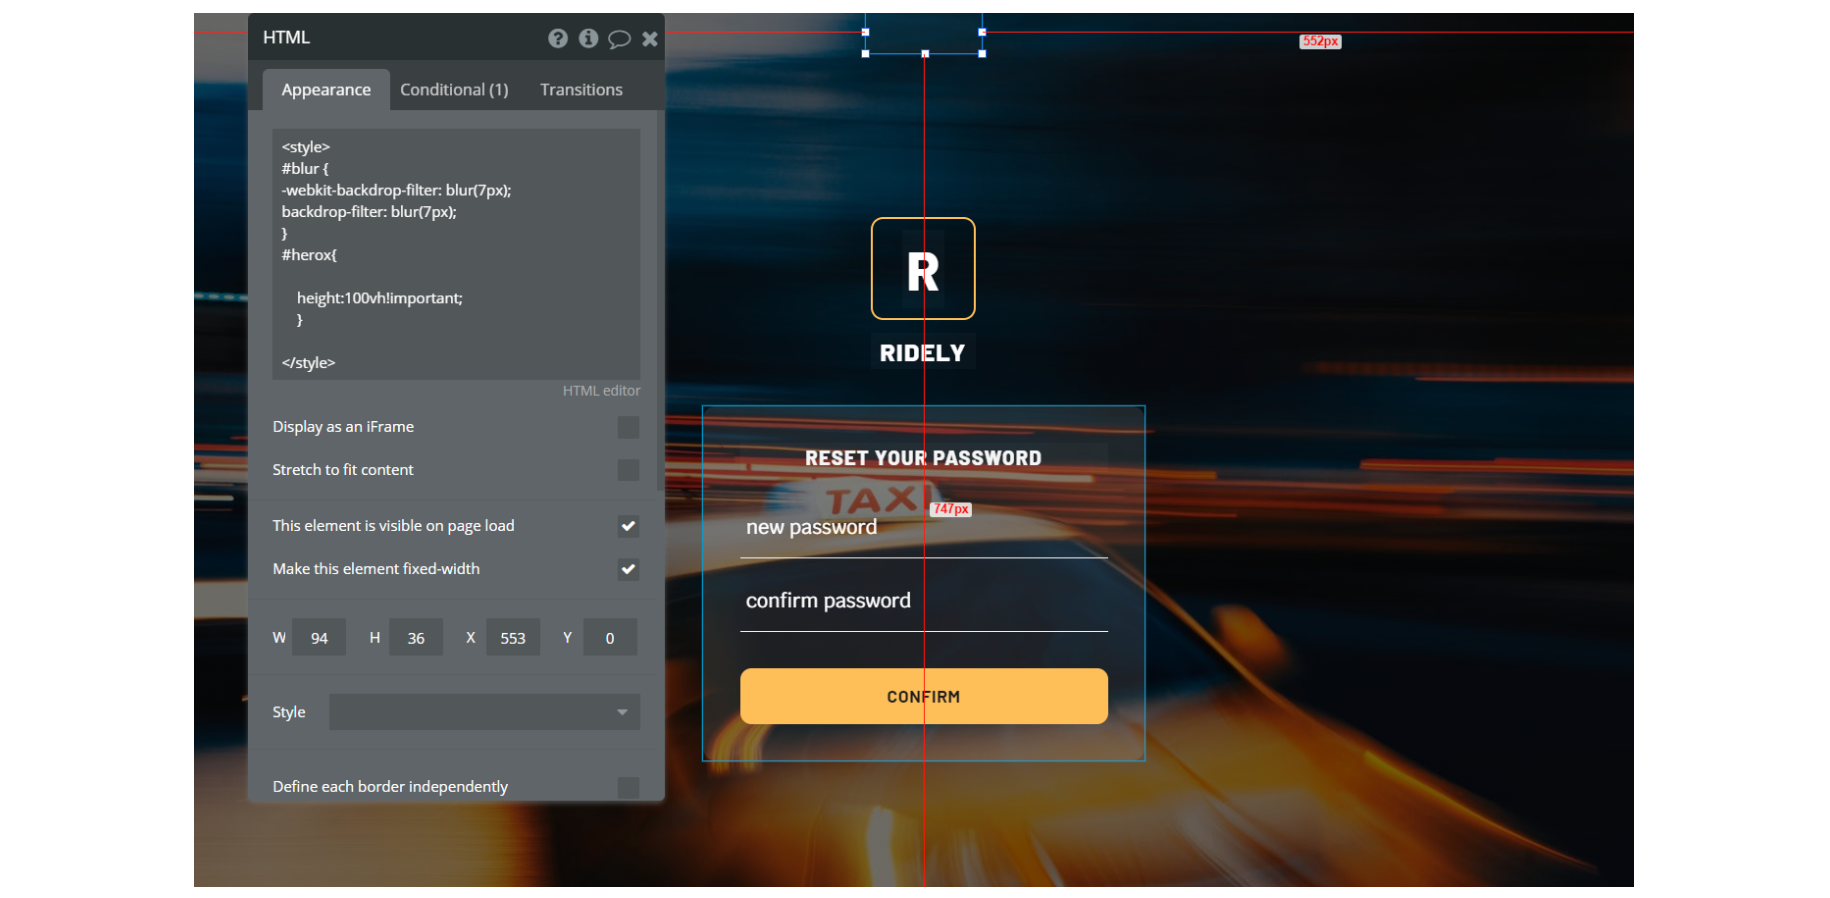
- reset_pw page - On this page, there is HTML element on-page. The HTML is used for CSS - #herox - makes the page height adapt to the viewport - used on Group gradient #blur - blurs the bg - used on Group Content
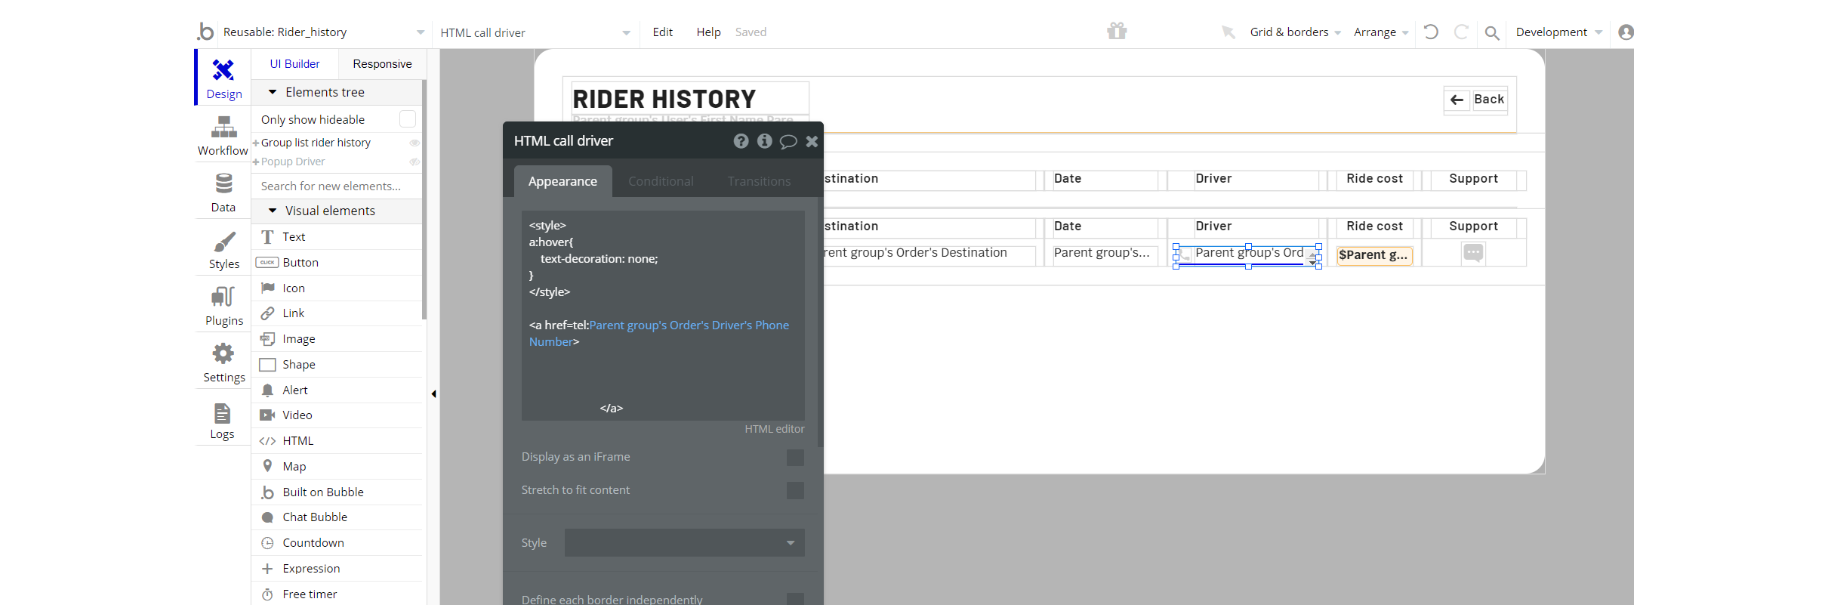
Rider_history reusable element - This reusable element, has a HTML Tag <href> in the HTML element on-page. HTML tag href attribute specifies the URL of the page the link goes to.
The mobile devices will recognize the phone number and engaging the link will initiate a phone call.
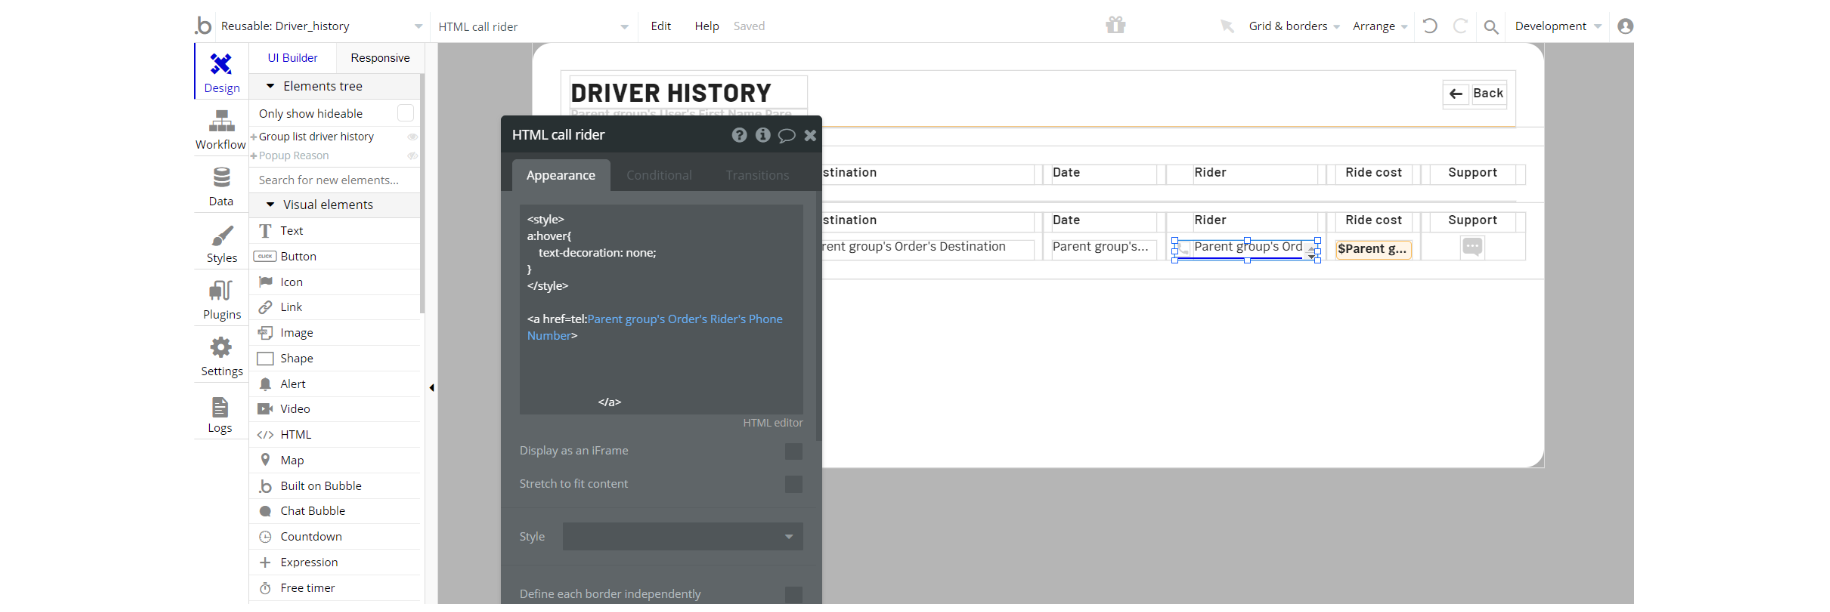
Driver_history reusable element - This reusable element, has a HTML Tag <href> in the HTML element on-page. HTML tag href attribute specifies the URL of the page the link goes to.
The mobile devices will recognize the phone number and engaging the link will initiate a phone call.
Note: Feel free to customize the styles, but please note that changing the code may break the described functionality. Strong CSS/Javascript and Bubble skills recommended.
For all things Bubble check: https://manual.bubble.io/.
For CSS/Javascript check: https://www.w3schools.com/.
Plugins
In this section, we describe additional plugins used in templates on pages for different purposes.
admin page
Note: On this page, there is a default Bubble Charts plugin: https://manual.bubble.io/core-resources/bubble-made-plugins/chart.js to display platform revenue visually on a chart.
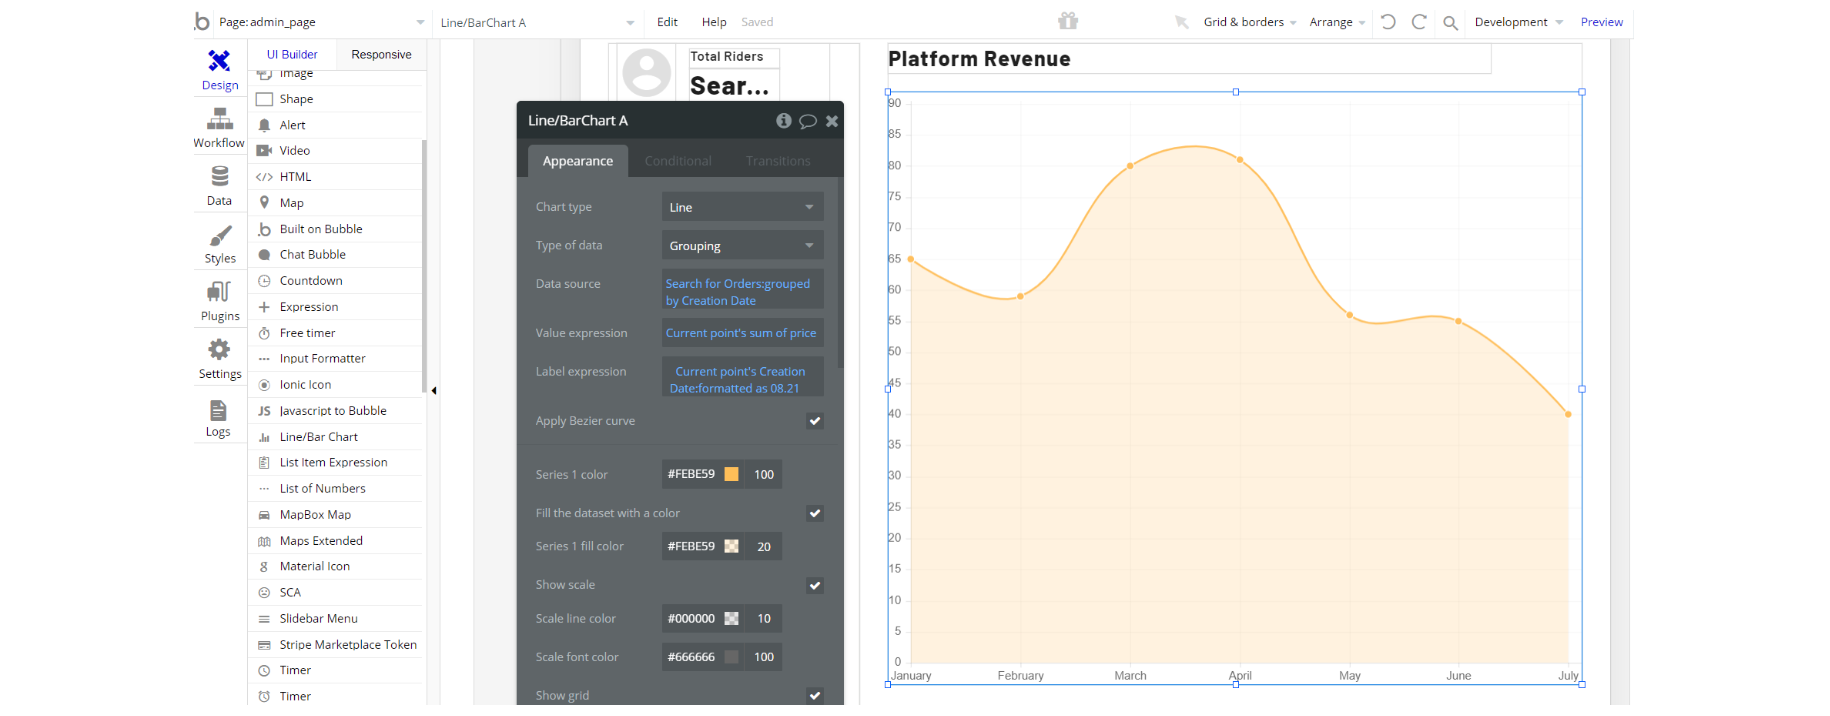
Note: On this page, under the Overview Tab as application owner there is the functionality to toggle between Paid Stripe Plugin and Paid Map Plugin by activating or deactivating them.
If you do not want to use them, simply remove the plugins from the template by uninstalling and unsubscribing.

driver page
Note: On this page, there is Mapbox plugin, used to draw a map and display the route from origin to destination: https://zeroqode.com/plugin/mapbox-maps-1528977923342x484968448273940500
This plugin is paid premium Zeroqode plugin. In order to use it, you'll need to subscribe or purchase it. (Optional)
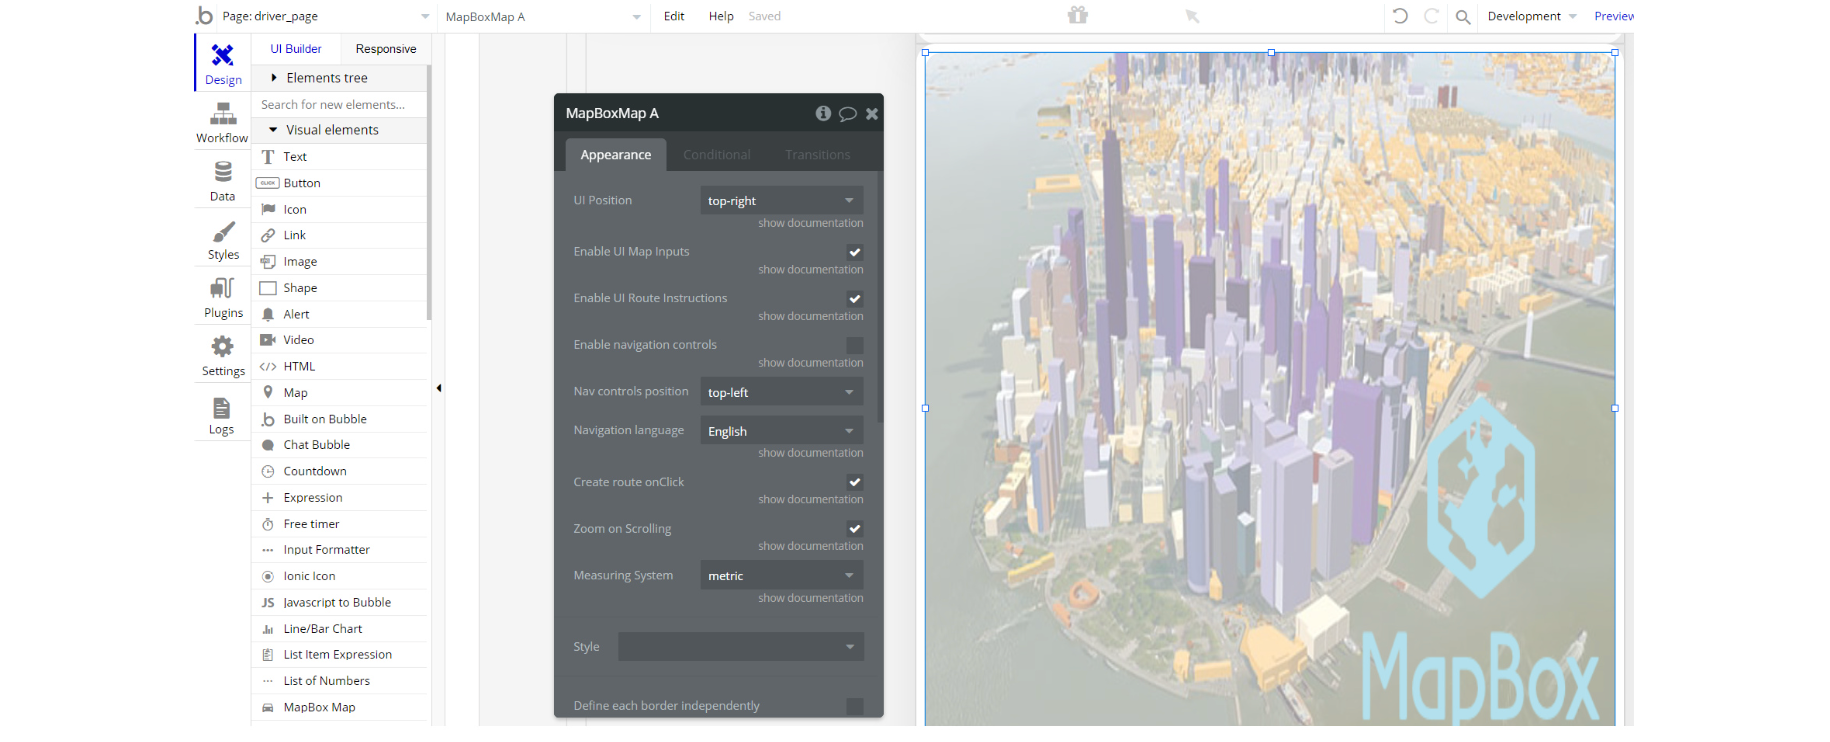
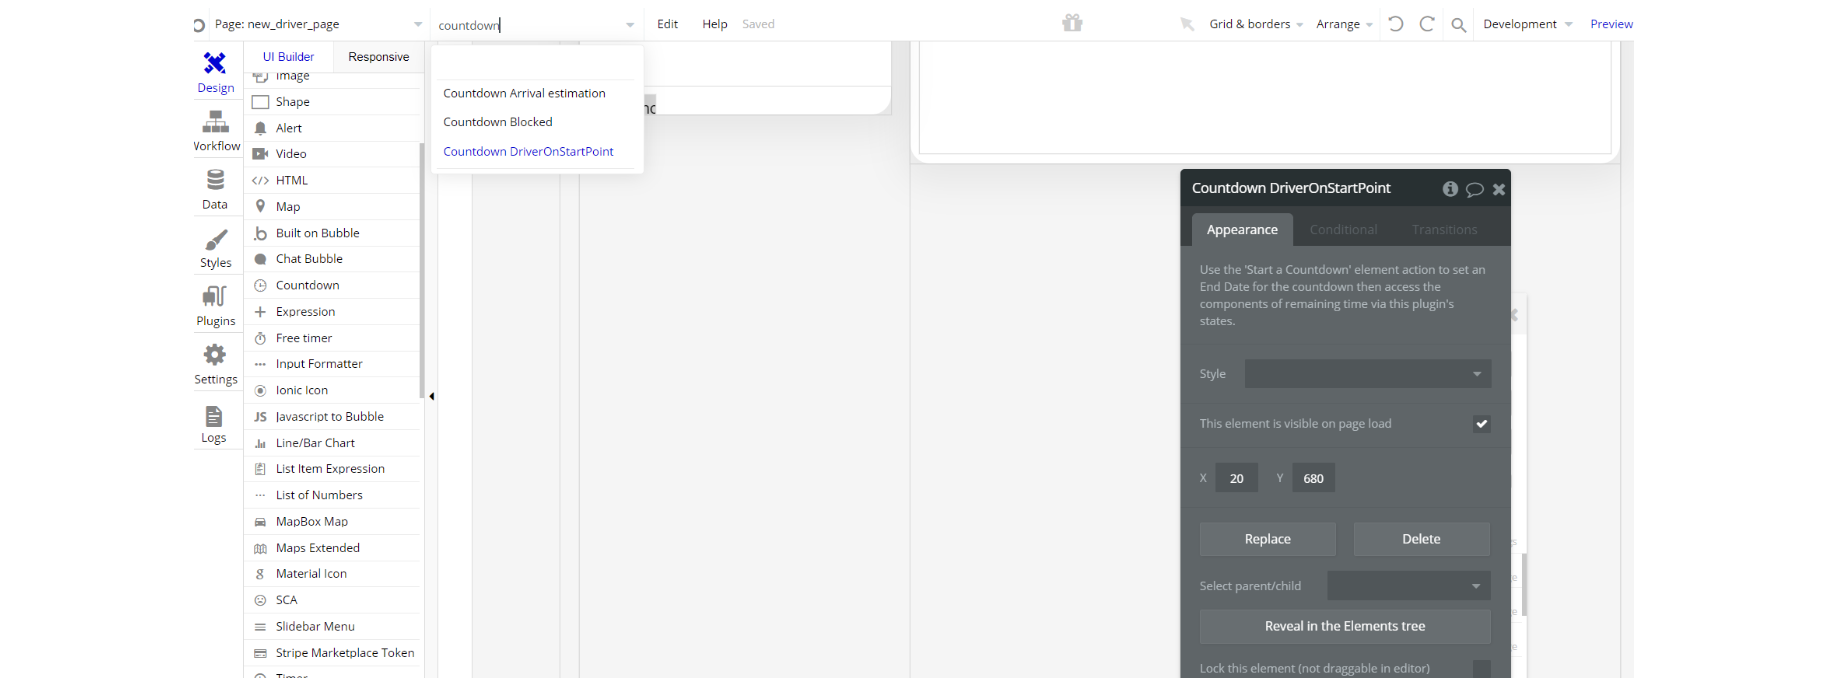
Note: On this page, there is the Countdown plugin, used as a countdown timer for different actions (Arrival, onStart): https://bubble.io/plugin/countdown-1564346312331x151935294257758200
There are 3 plugin elements placed on the page, in different container elements.
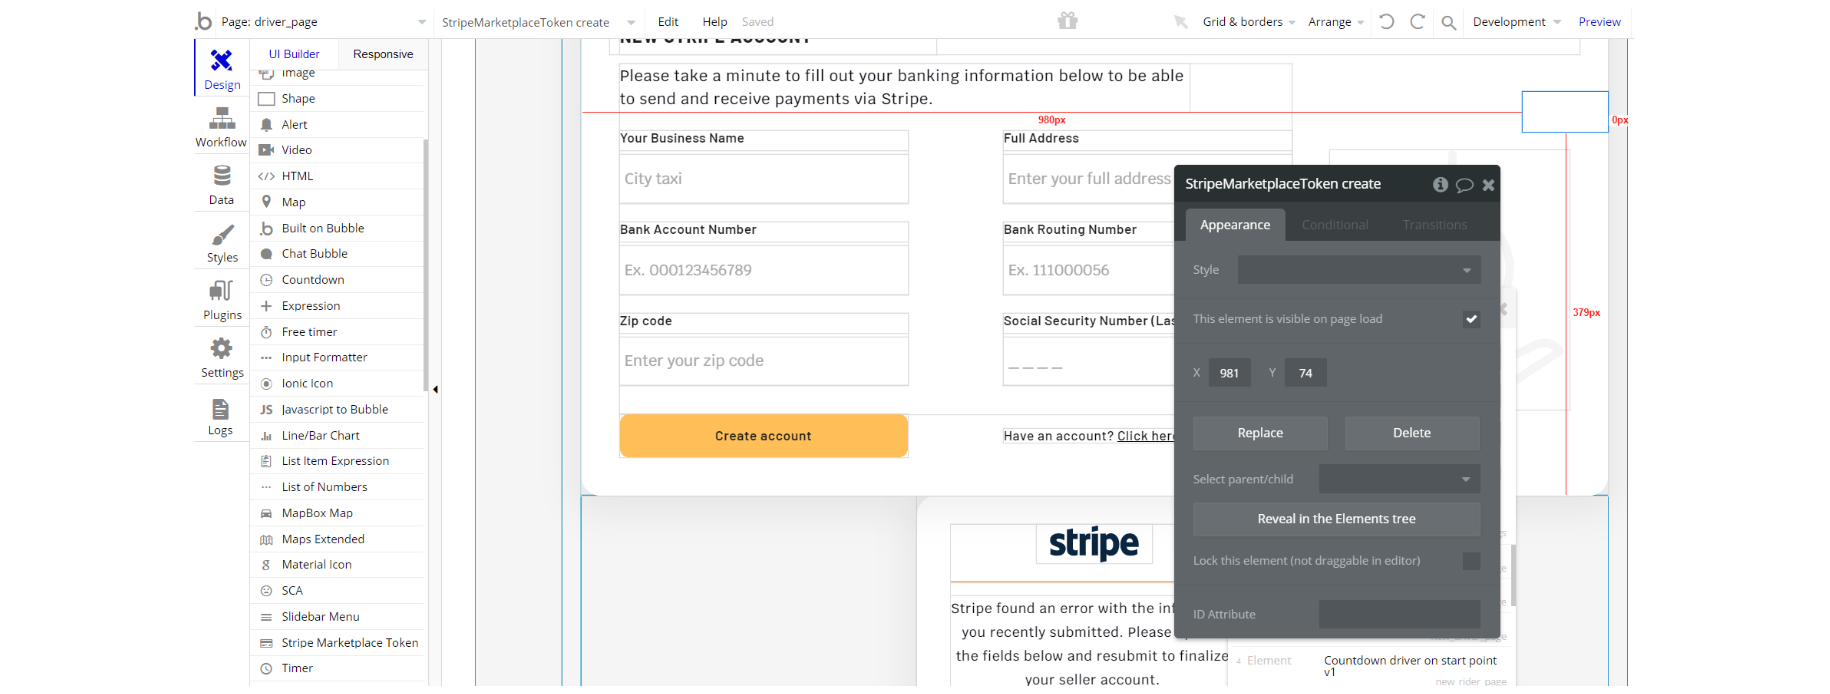
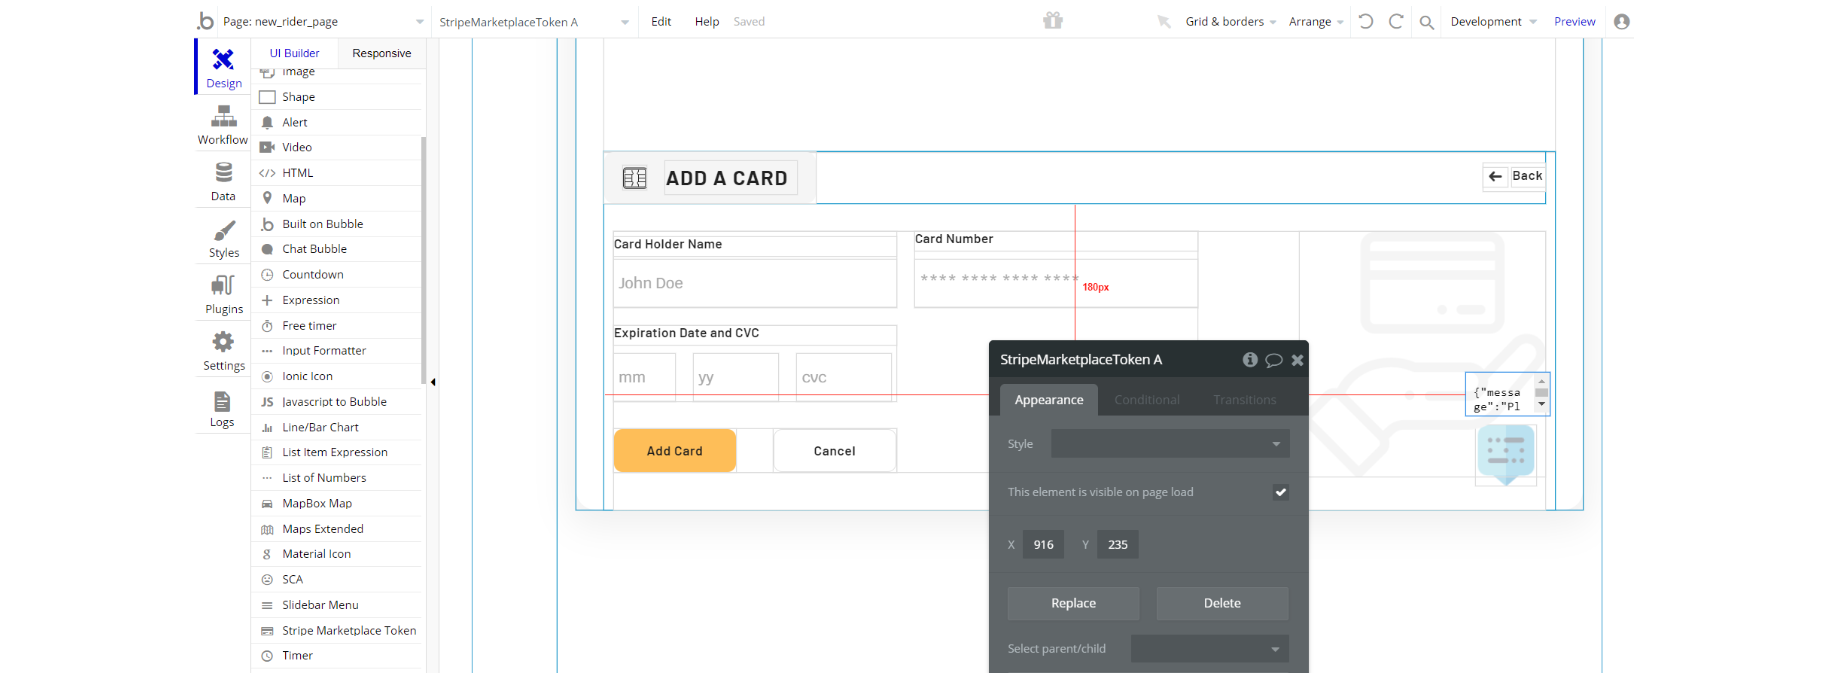
Note: On this page, there is the Stripe Marketplace plugin, used as the payment processor for the driver to create a seller account to receive funds: https://zeroqode.com/plugin/1-stripe-marketplace-express-1579425168812x906283616713048000
This plugin is paid premium Zeroqode plugin. In order to use it, you'll need to subscribe or purchase it.
rider page
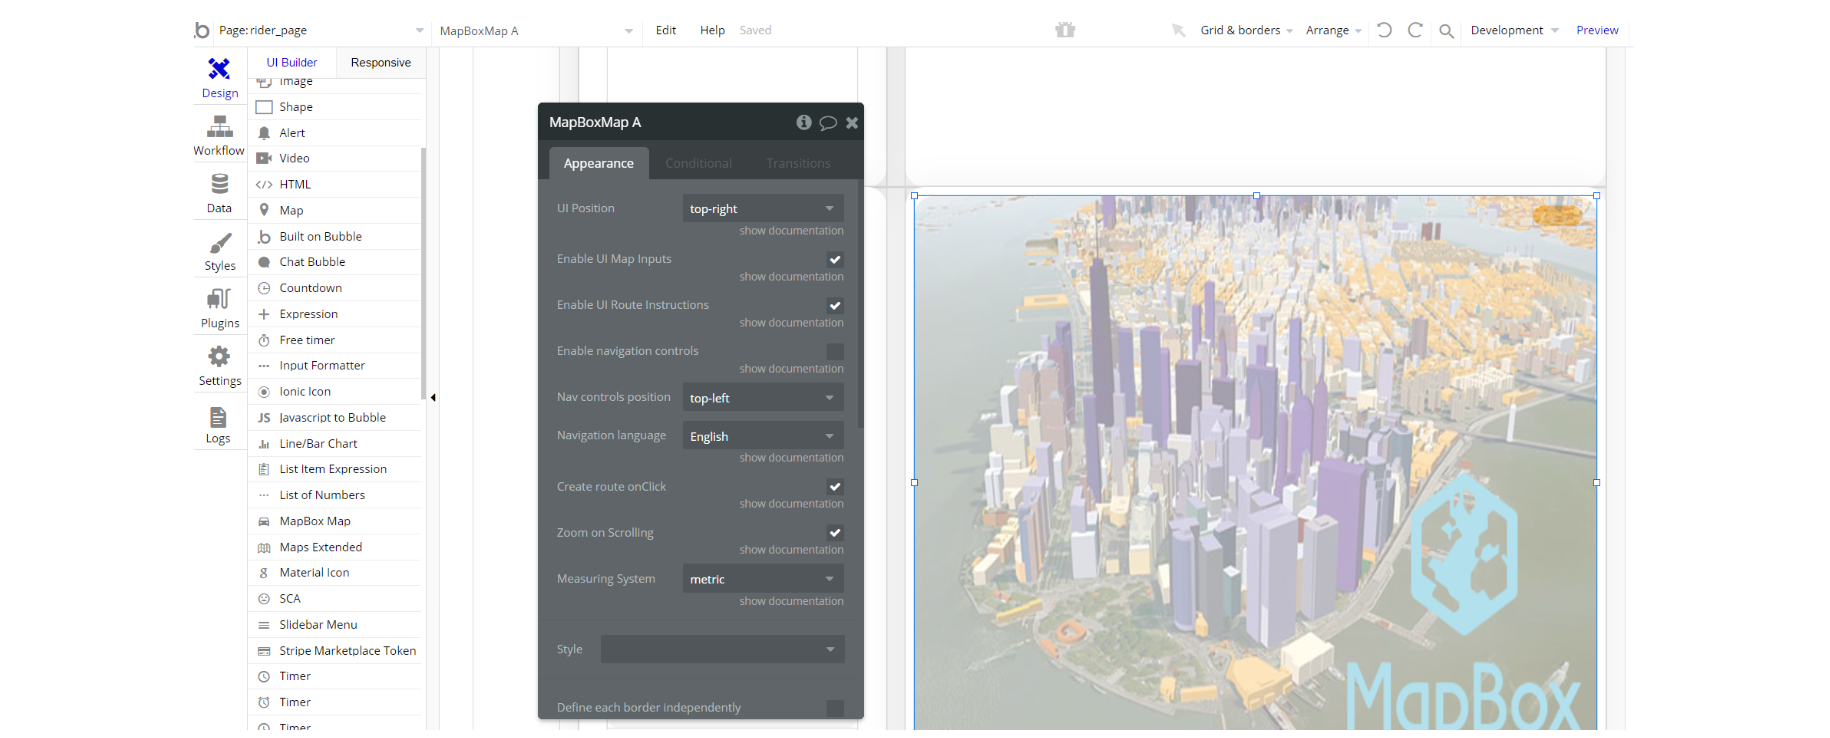
Note: On this page, there is the Mapbox plugin, used to draw a map and display the route from origin to destination: https://zeroqode.com/plugin/mapbox-maps-1528977923342x484968448273940500
This plugin is paid premium Zeroqode plugin. In order to use it, you'll need to subscribe or purchase it. (Optional)
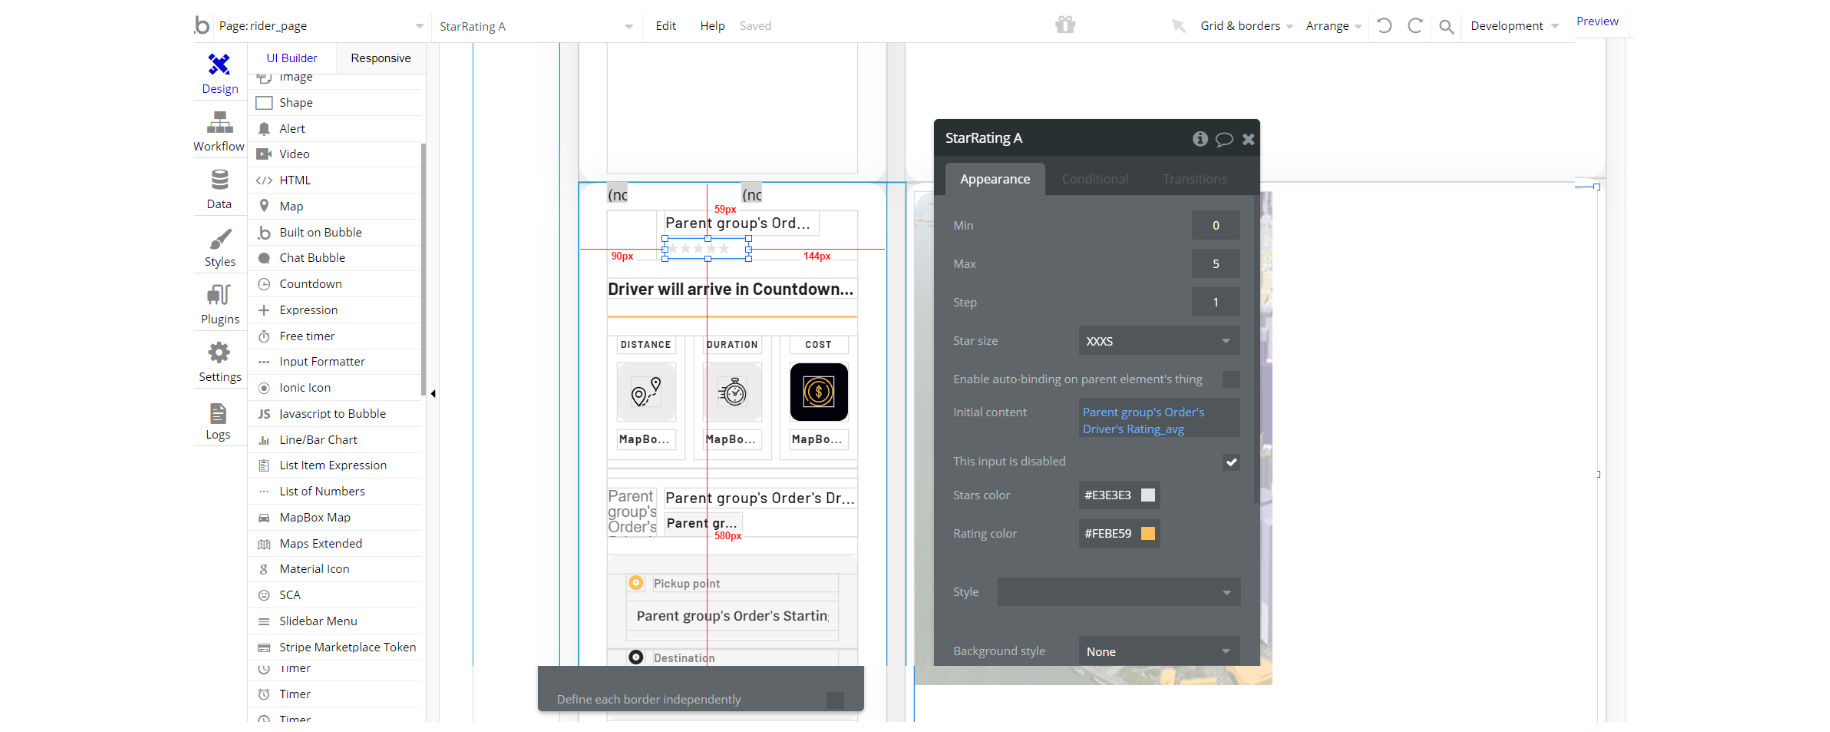
Note: On this page, there is the default Star Rating plugin, for displaying driver rating and rating driver after ride is finished: https://manual.bubble.io/core-resources/bubble-made-plugins/star-rating
There are 3 elements placed on the page, in different container elements
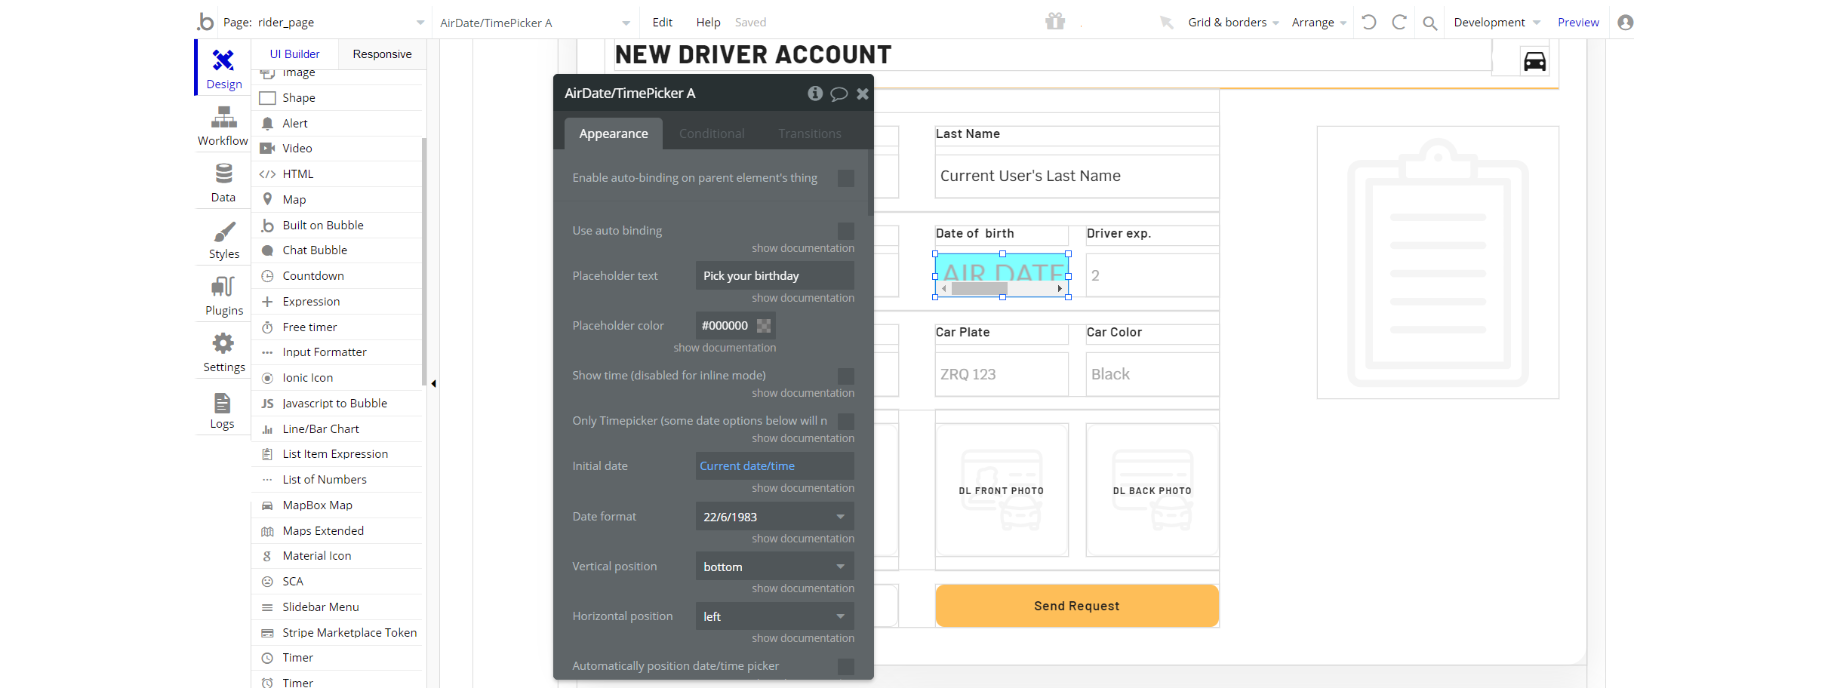
Note: On this page, there is the AirDate/TimePicker plugin, used for the new driver account creation process: https://bubble.io/plugin/air-datetime-picker-1495642567089x595986733356023800
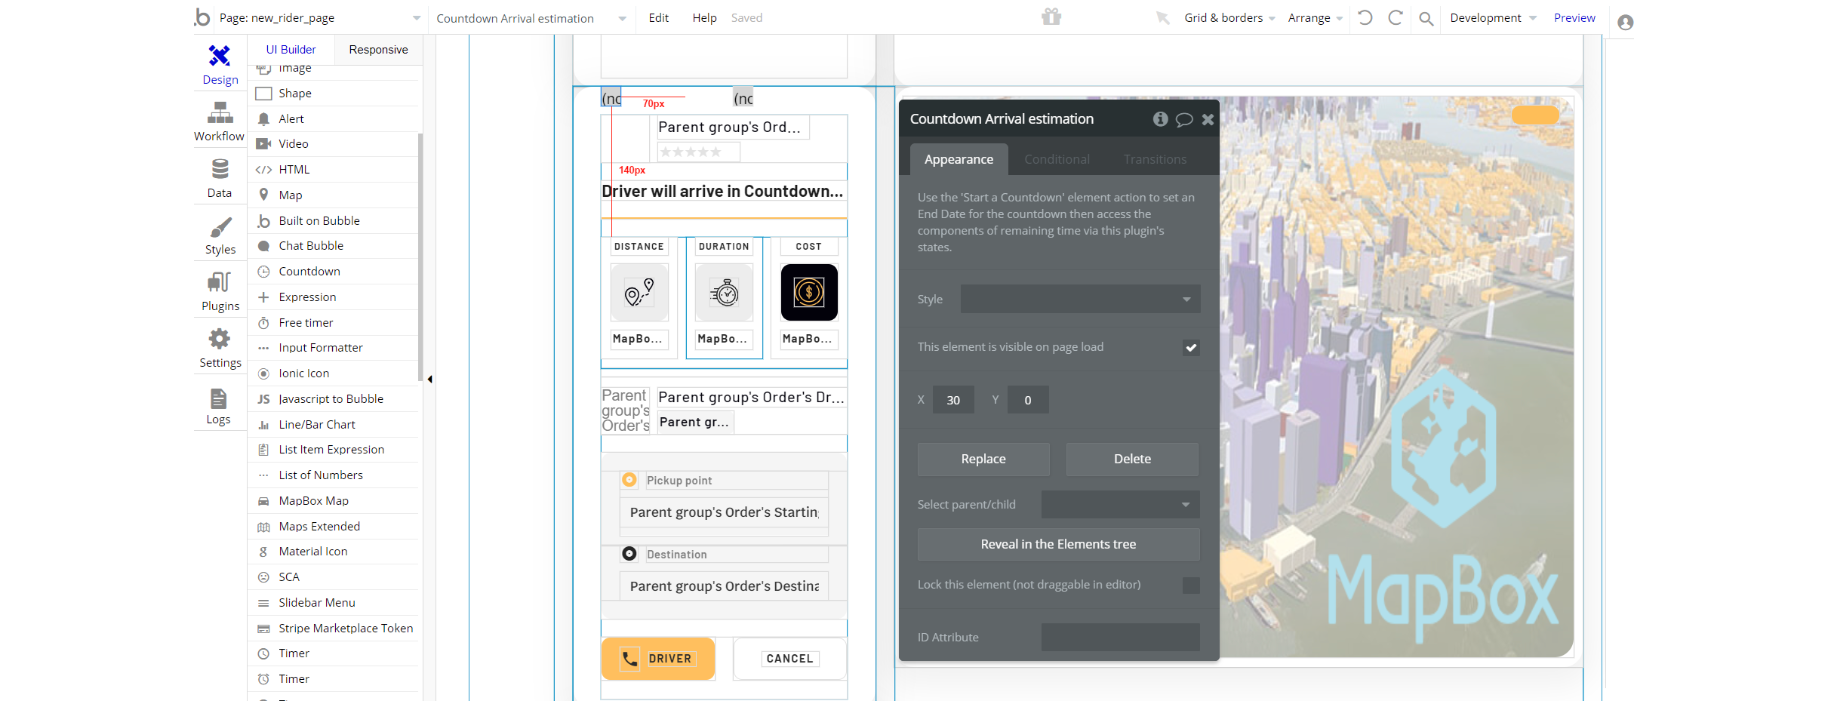
Note: On this page, there is the Countdown plugin, used as a countdown timer for different actions (Arrival, onStart): https://bubble.io/plugin/countdown-1564346312331x151935294257758200
There are 4 plugin elements placed on the page, in different container elements.
Note: On this page, there is the Stripe Marketplace plugin, used as the payment processor for the rider to add CC and pay for the ride: https://zeroqode.com/plugin/1-stripe-marketplace-express-1579425168812x906283616713048000
This plugin is paid premium Zeroqode plugin. In order to use it, you'll need to subscribe or purchase it. (Optional)
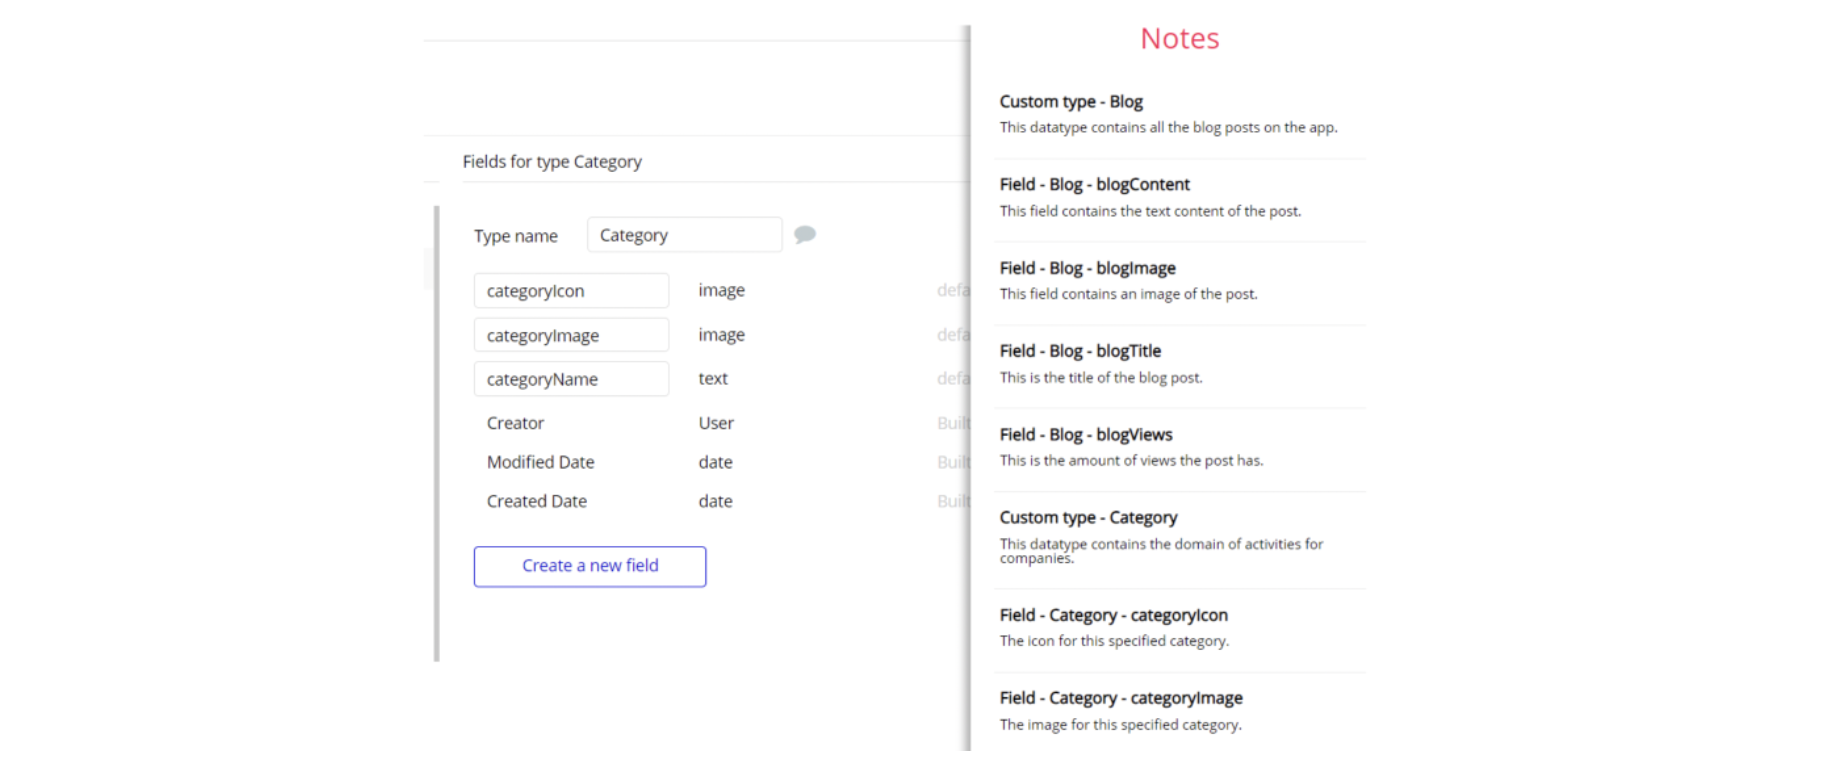
Embedded Notes in Bubble Editor
This template comes with explicit notes for Data types and their fields, Option sets and their fields, and Privacy rules, which will guide you through the modification process.
In order to preview a Note of any data type or field, click on the chat icon.
Note: Remember to hit the SAVE button.