This section states the purpose of each page.
Introduction
In this summary, we will describe each page and its content. The Page Element is the fundamental one that contains all the other elements.
Tip: See Bubble Reference for more information about Pages element https://bubble.io/reference#Elements.Page 🙂
Pages
index
This is the main page typically encountered first on the web app that usually contains links to the other pages of the site. A homepage includes a variety of menus that make it easy for users to find the information they need.
This engaging page begins with a beautiful slideshow🖼 of categories links. You can also locate here the Popular Products, Latest Products, with sections to cover suggested products (Related Products) and most browsed categories.
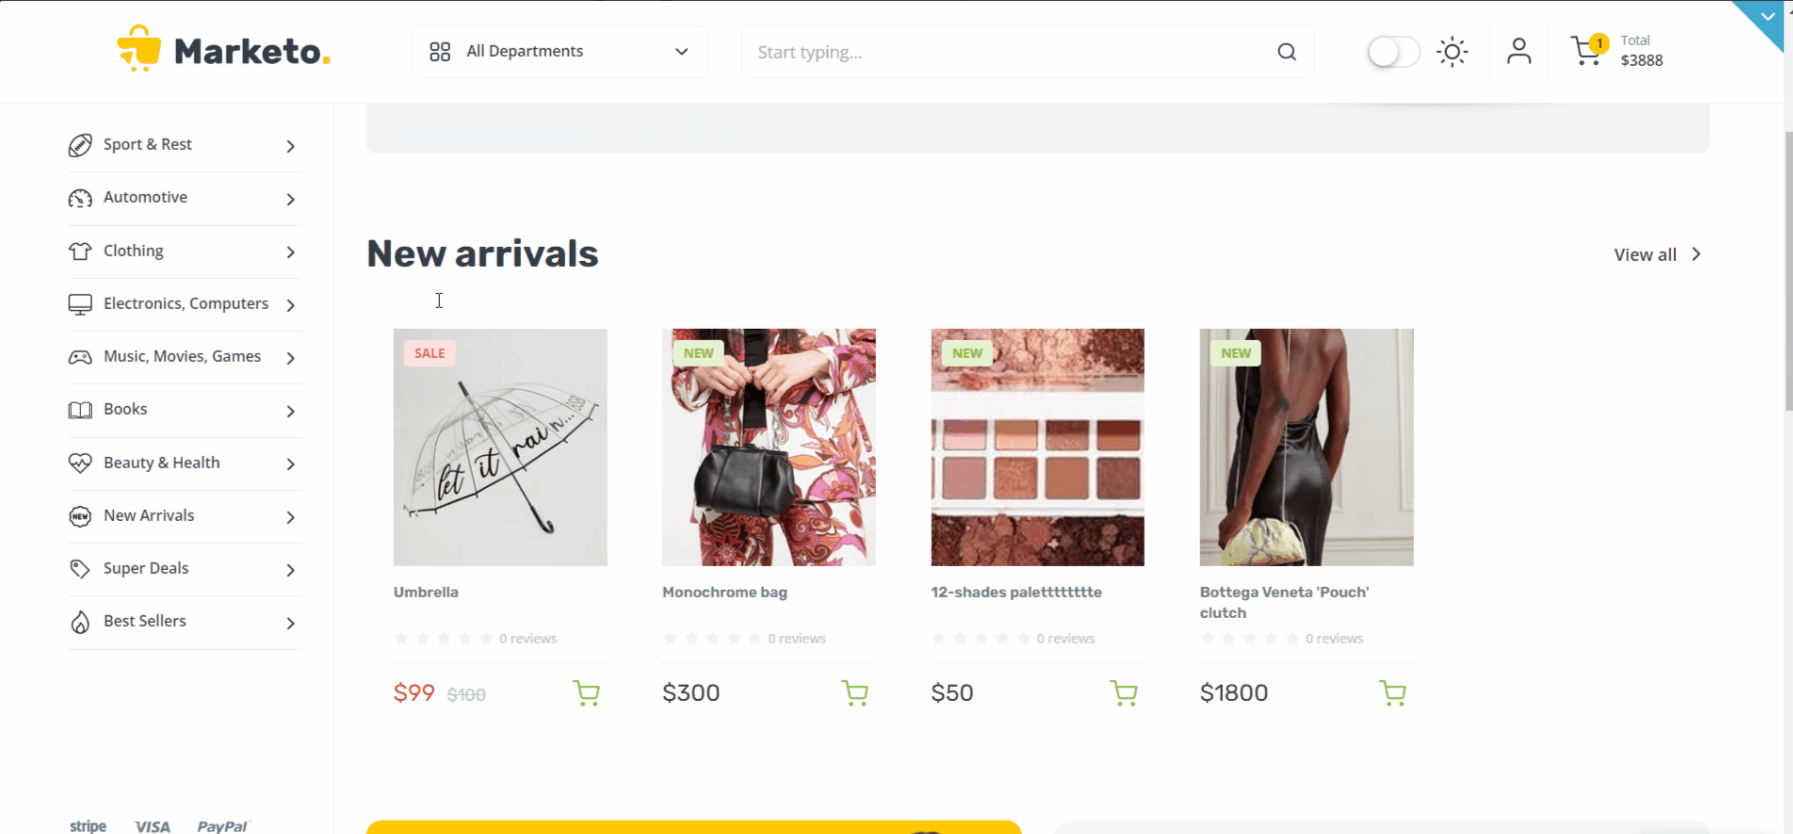
This template comes with a cool feature to switch between Light🌝 and Dark🌚 modes.
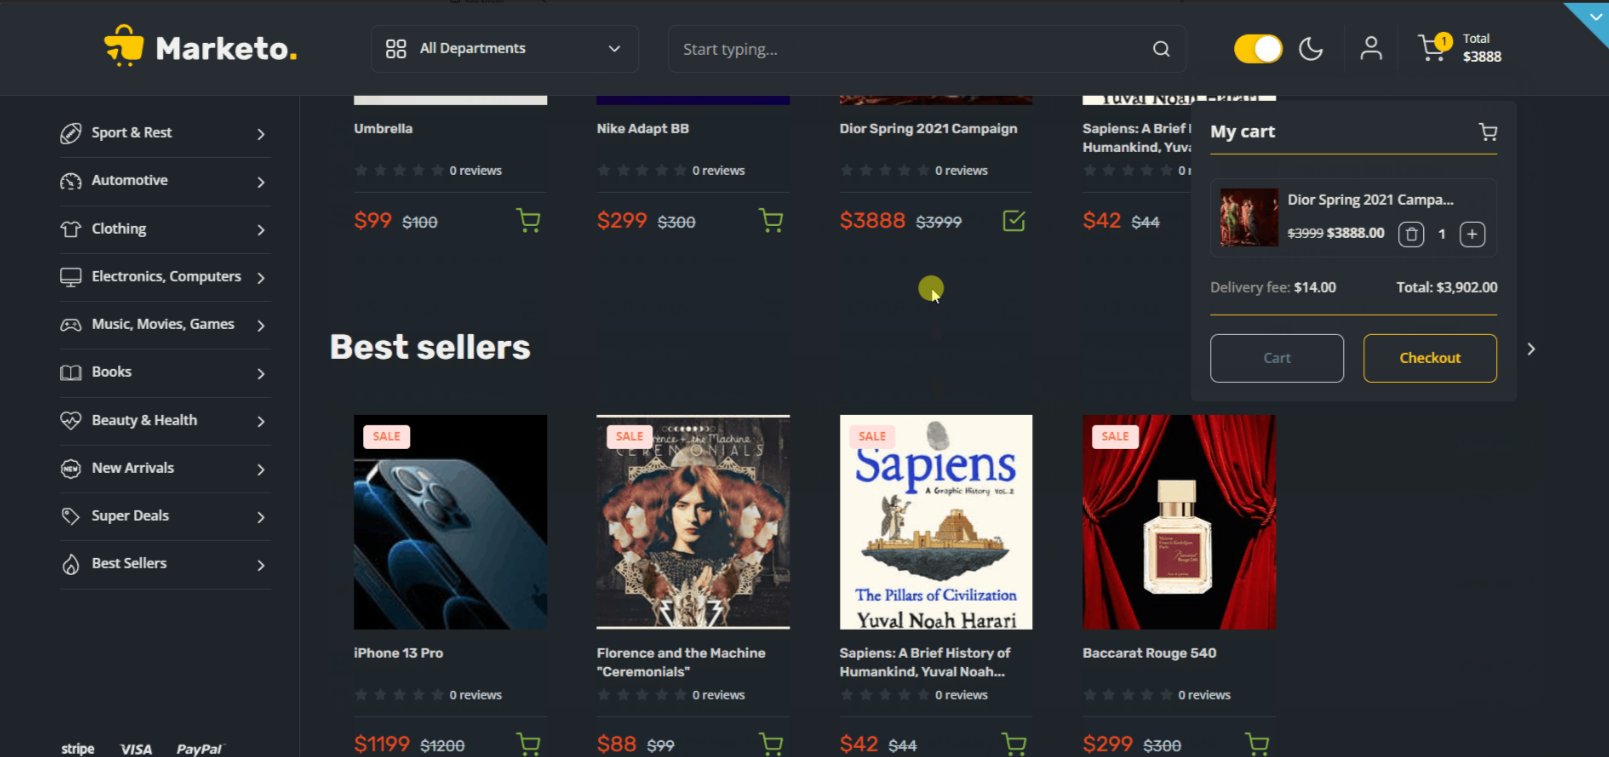
Light/Dark mode: Check the Header reusable element, to see how this toggle works.
admin
This page is designed to manage platform data, e.g. Users, Items, Payments… and others. Only users with admin rights are able to access this page (in read-only mode), and those users who have access rights can edit or delete anything here. This page is for the owner😎of the app.
Here, the admin user is able to manage the platform Sellers, Buyers, Products, as well as preview stats about Orders, set the Platform Fee and approve/decline the Products and manage Refunds.
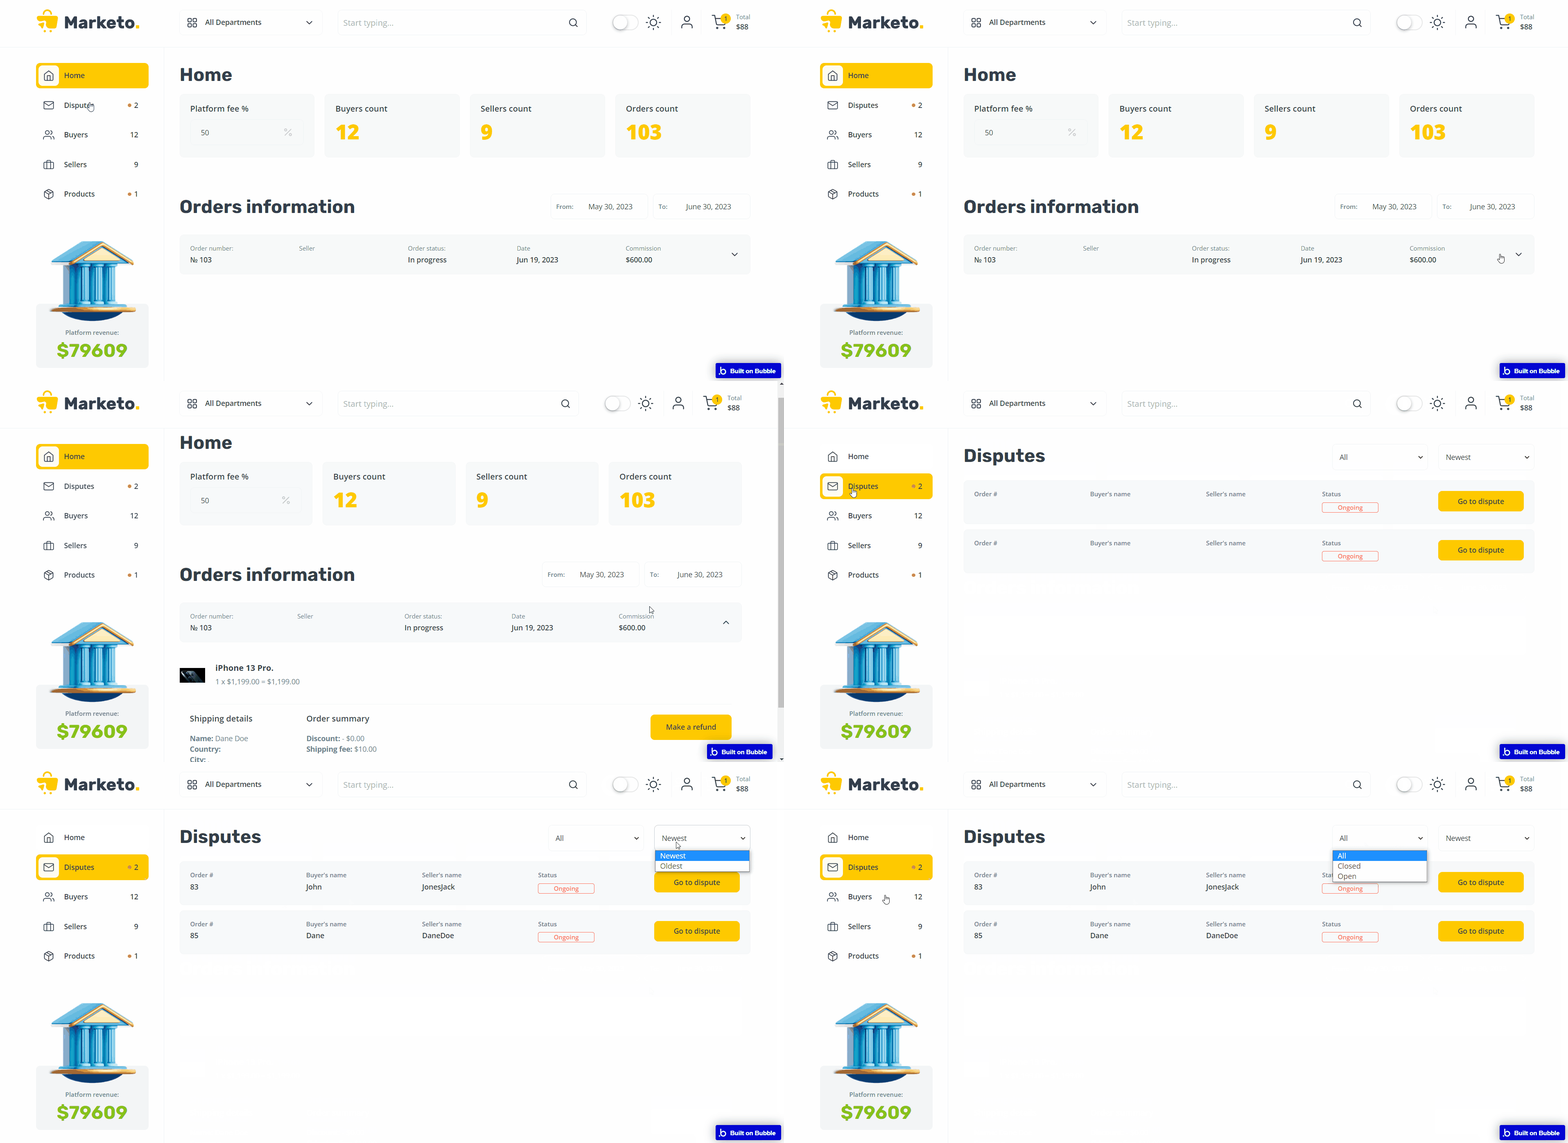
In order to edit/add/delete data, it is required to grant Admin Rights to some user.
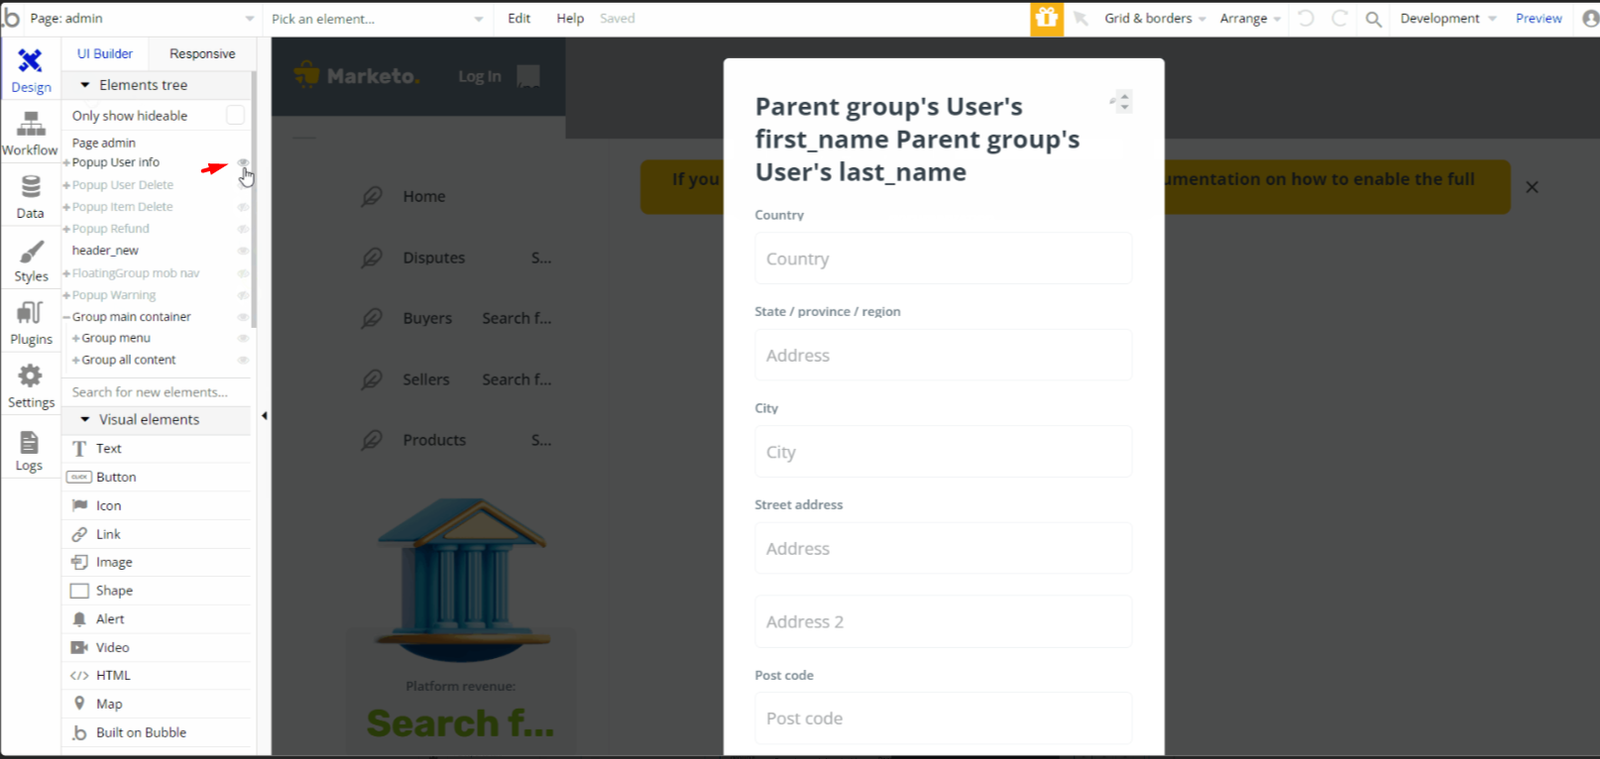
Tip: Initially, your Design tab may be lacking elements but no worries! They are simply hidden in the Bubble editor.
Here is how to unhide👀the elements:
The Button "Approve" can be found here:
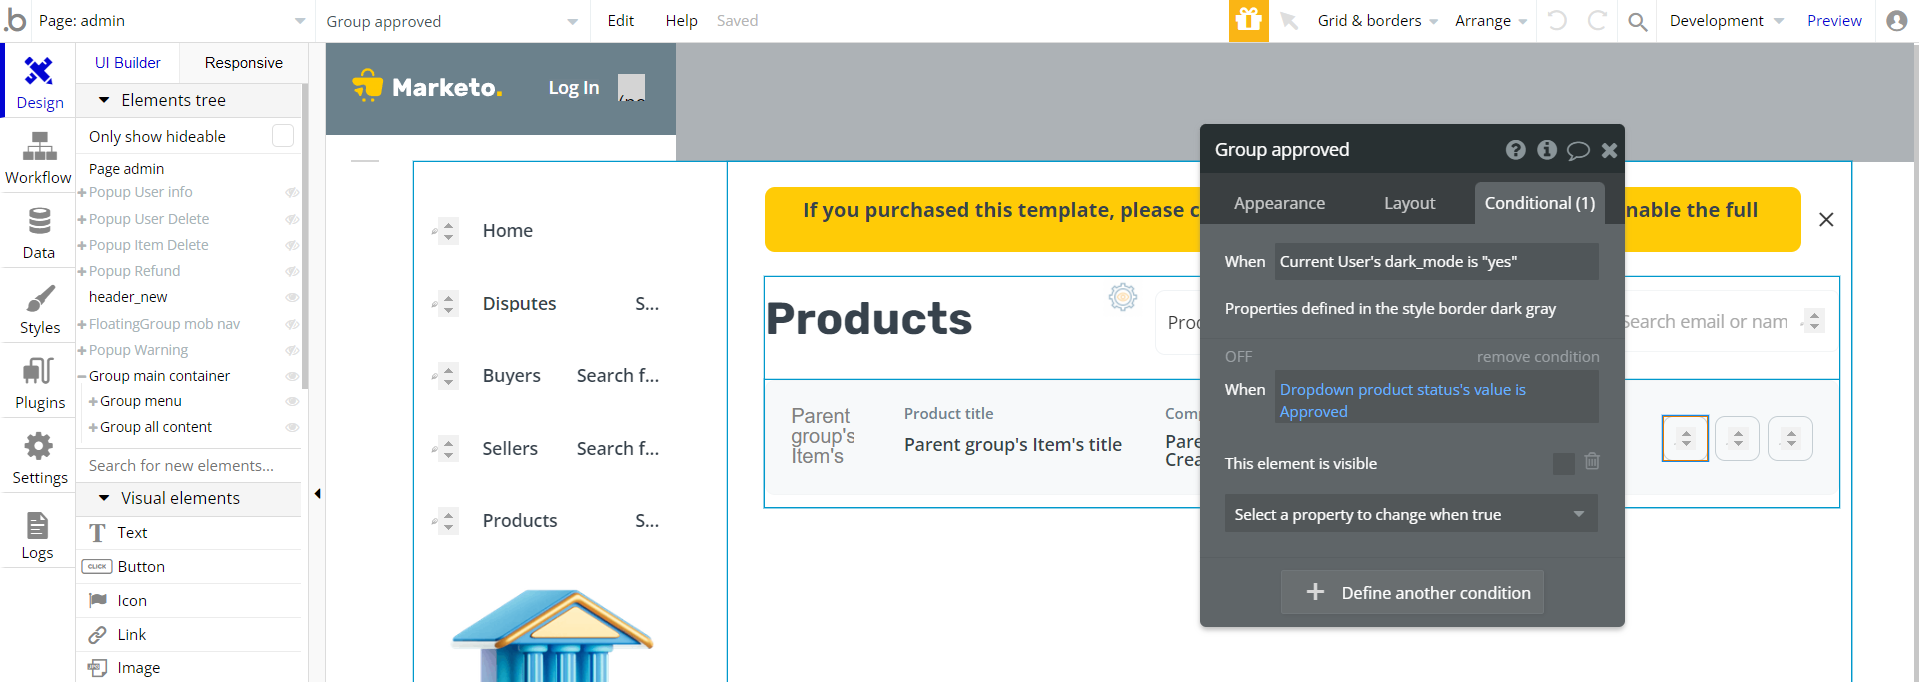
Which is making the changes to the
Declined by setting it as "no" and Approved as "yes" of this item:
The Platform Fee can be found here:
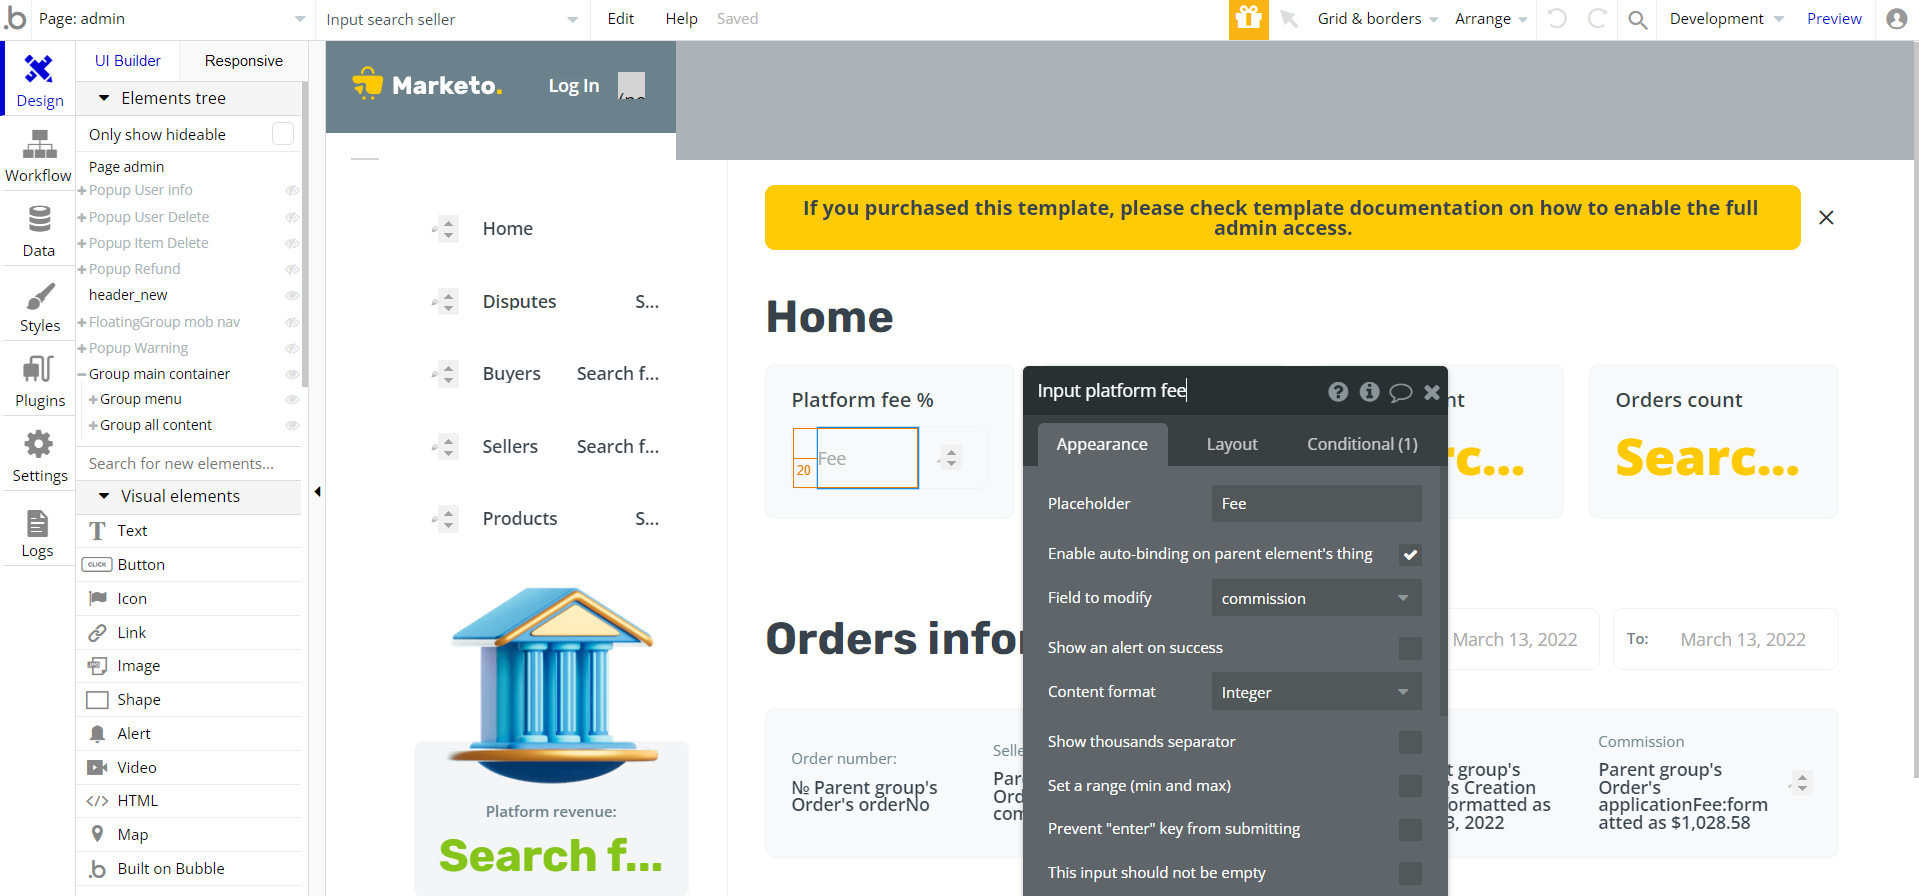
And when the input value is changed, the platform fee is updated in your database:

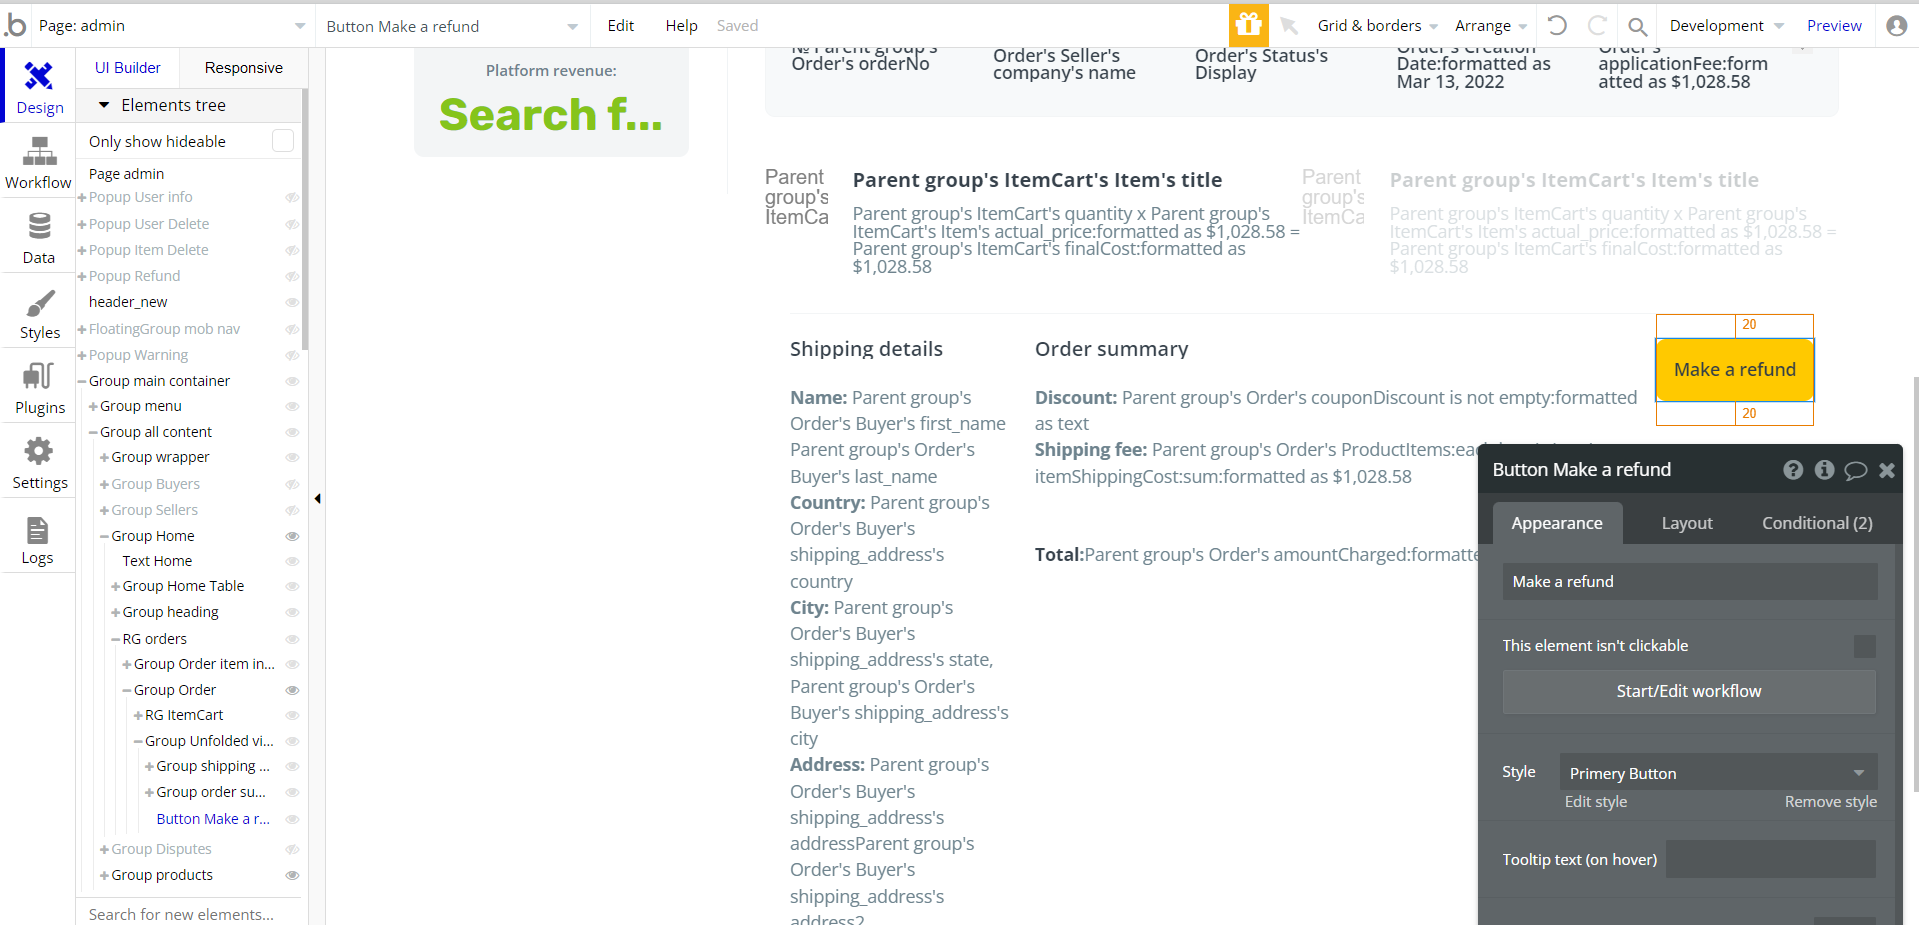
The Refund part of this template can be found here:
cart
All products selected by the buyer are summed up here🛒 including the shipping cost. Products can be removed from the cart before proceeding to checkout.
Mainly, this page comes in two groups: the cart itself and checkout:
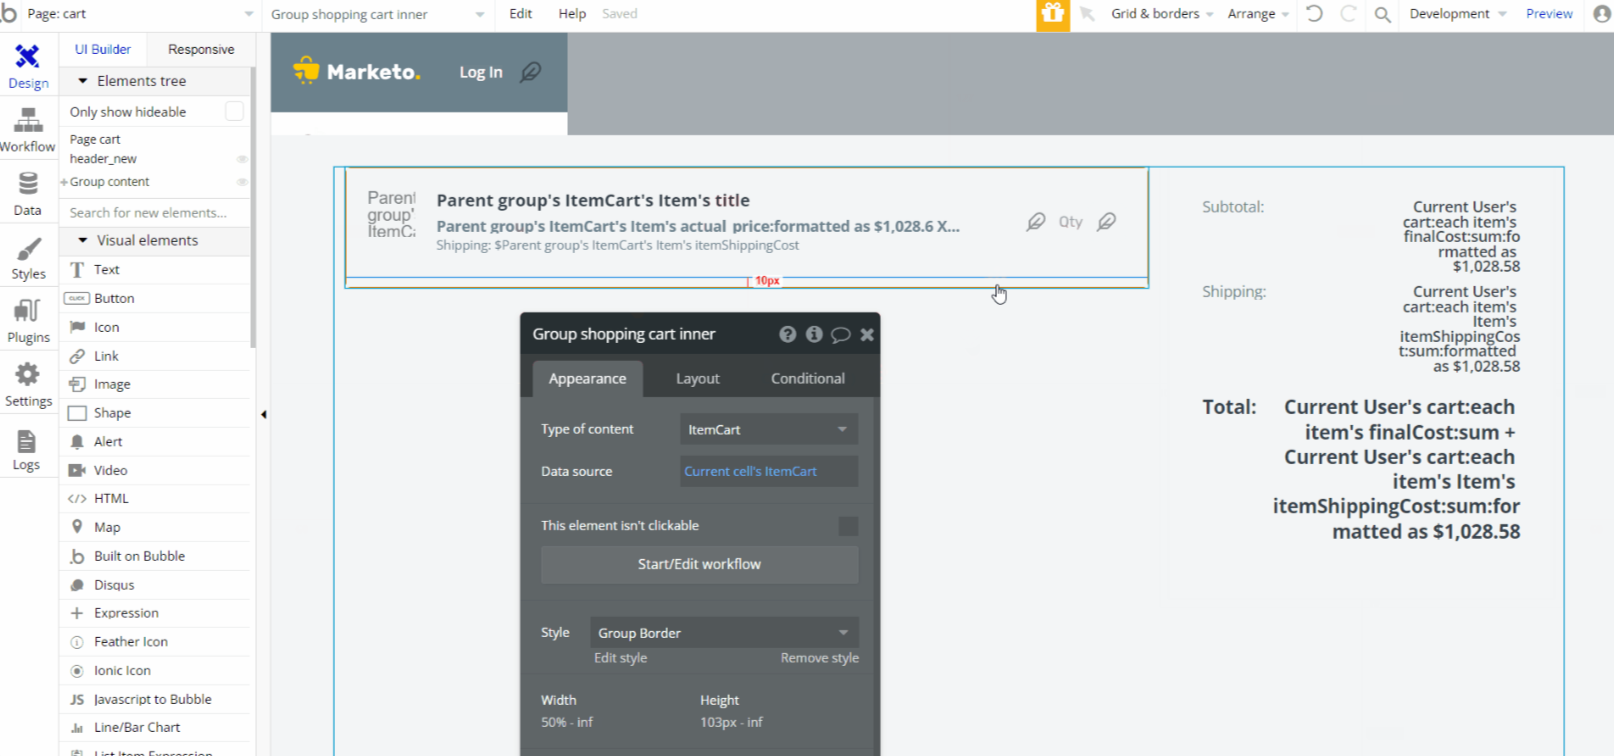
The "PROCEED TO CHECKOUT" button is simply redirecting to the checkout page, also sending the
User object: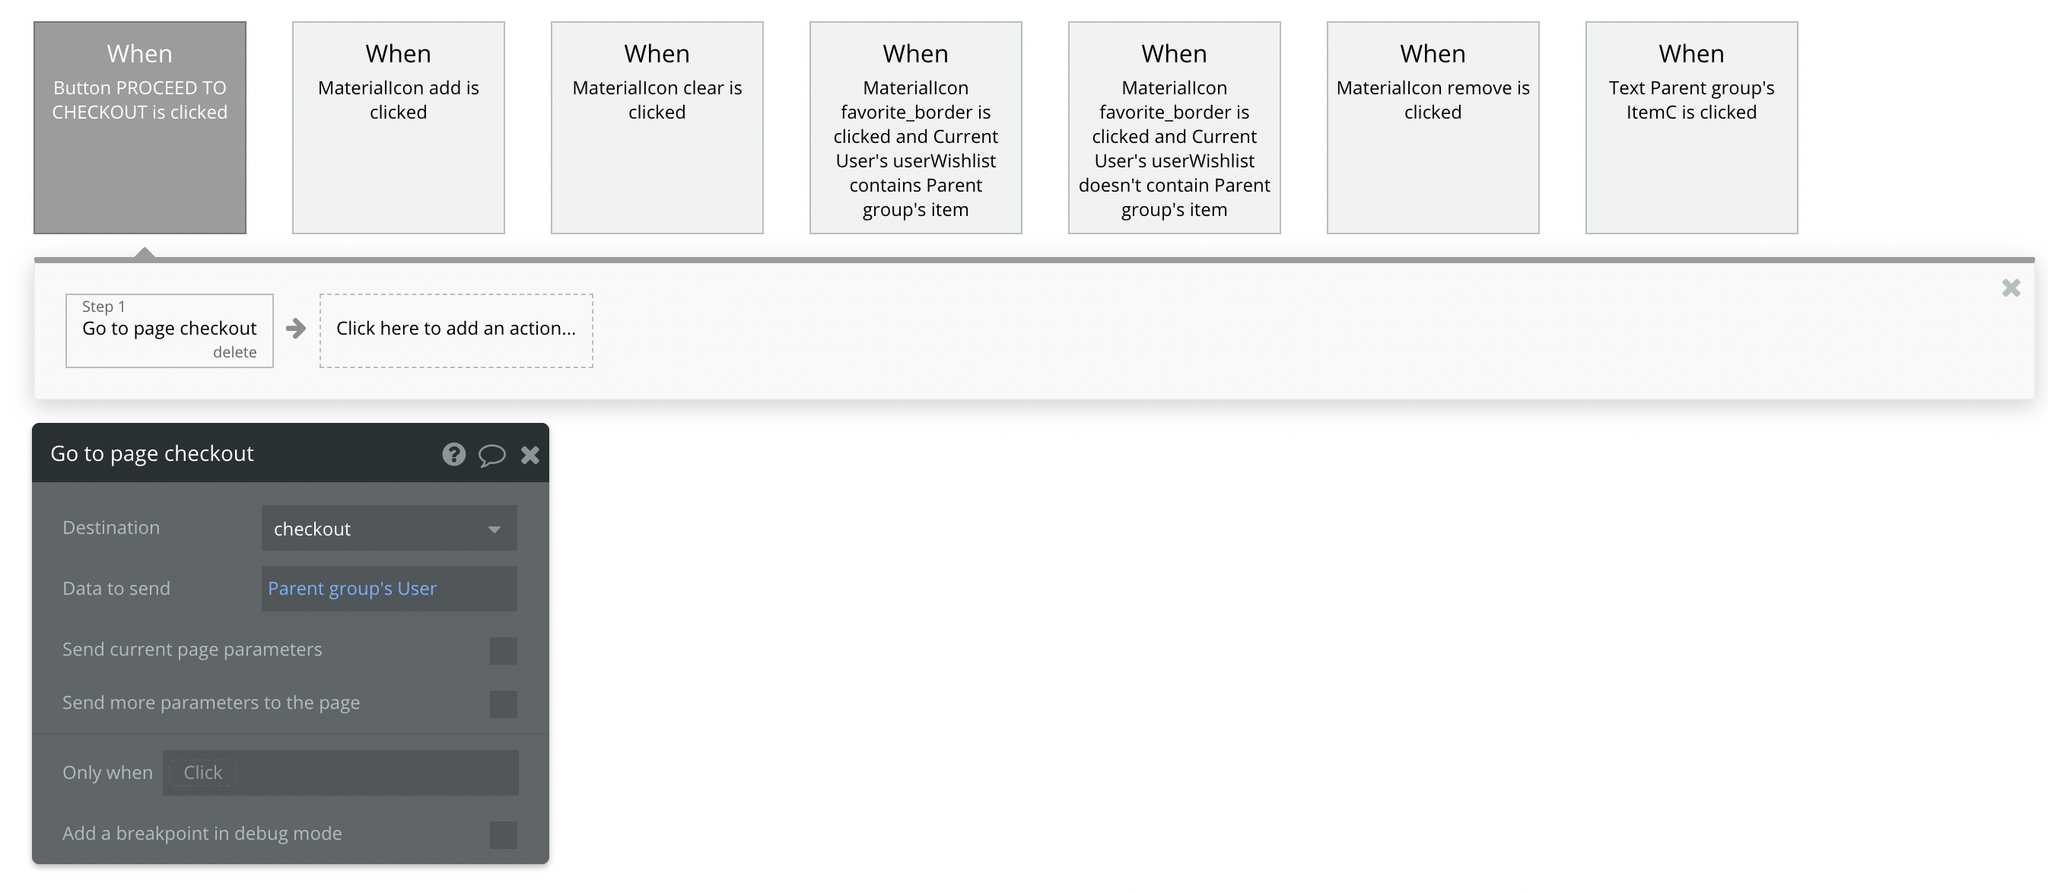
category
Products are grouped into🔠categories. This makes products easy to find. You are able to switch between categories and the relevant products will be displayed on the page.
If there are no products, placeholder text will be displayed ( "No items in this category" ).
Tip: The categories are displayed in the
rg category A reusable element. There are eight categories in this template that are manually added in Data -> App data -> All Categories tab.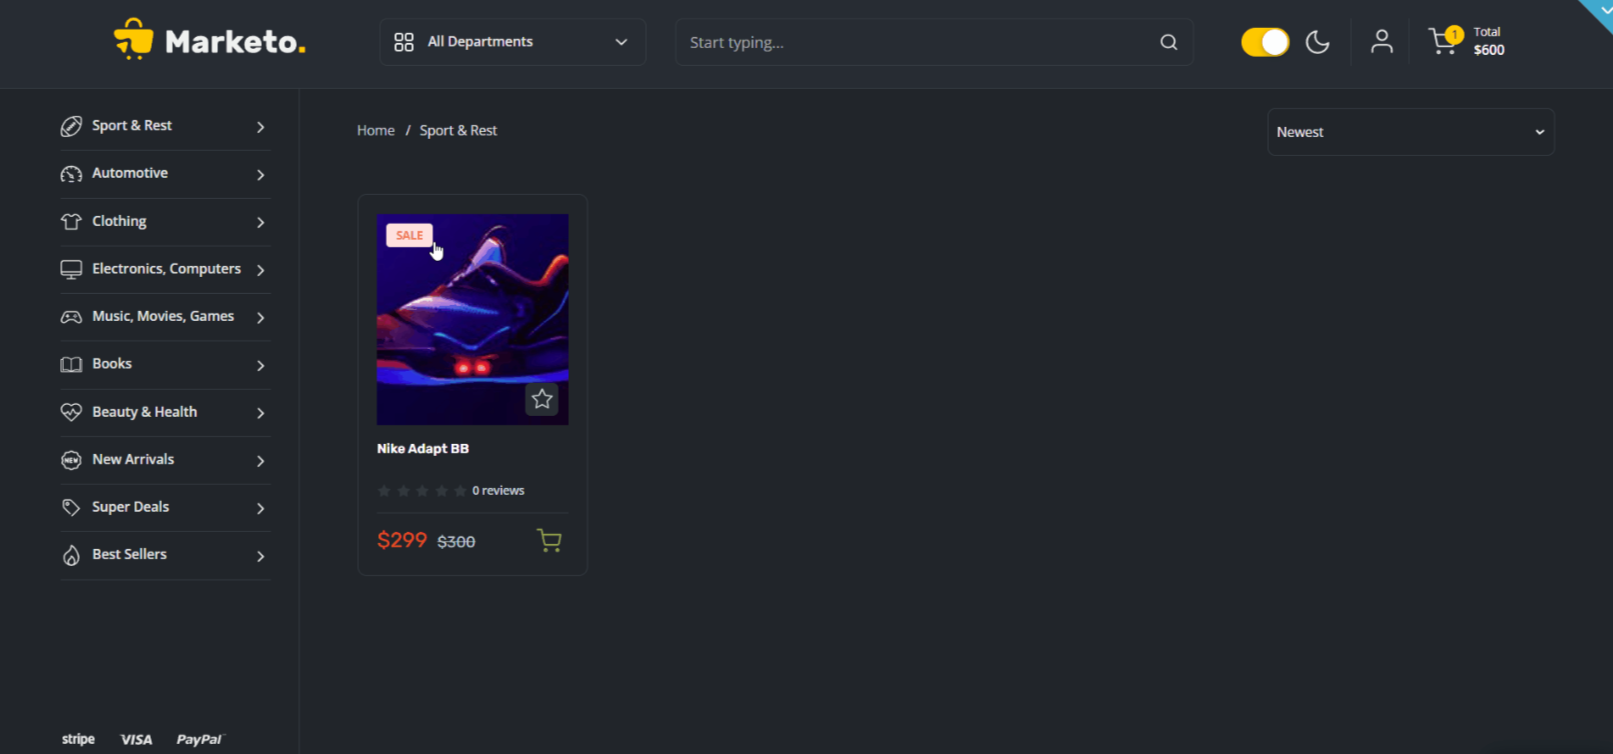
The items are pulled from the database into a repeating group, here:
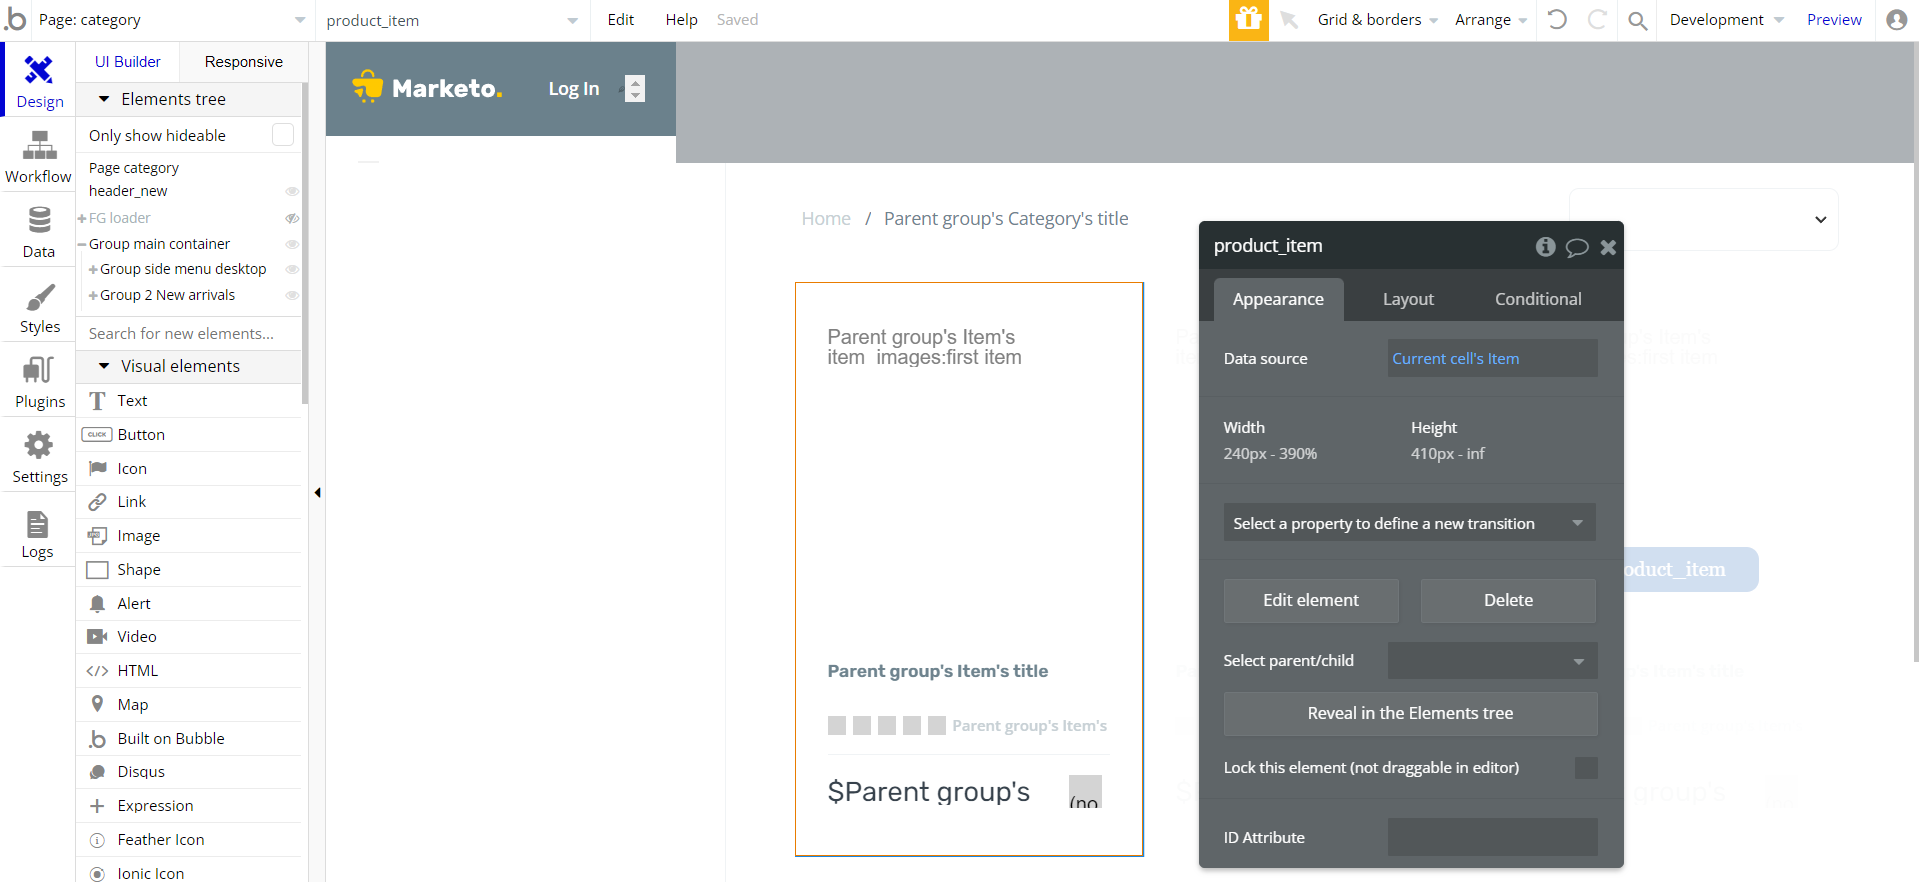
You are also able to sort↕the items by Newest, Oldest, Price highest, Price lowest & Best sellers.
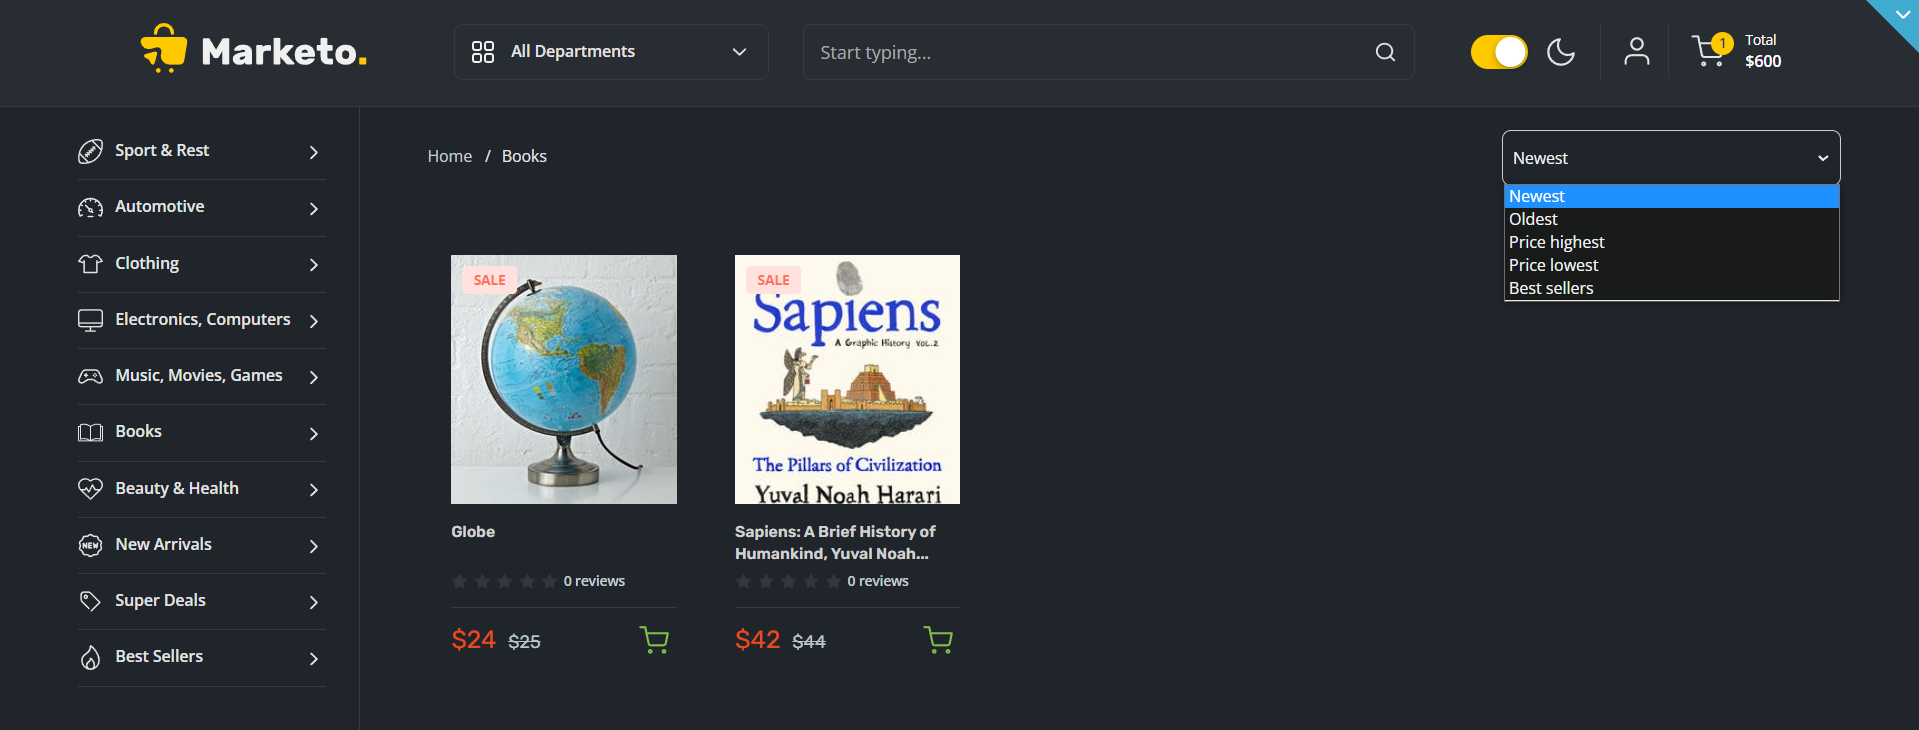
The dropdown element is pulling sorting options from an Option set:
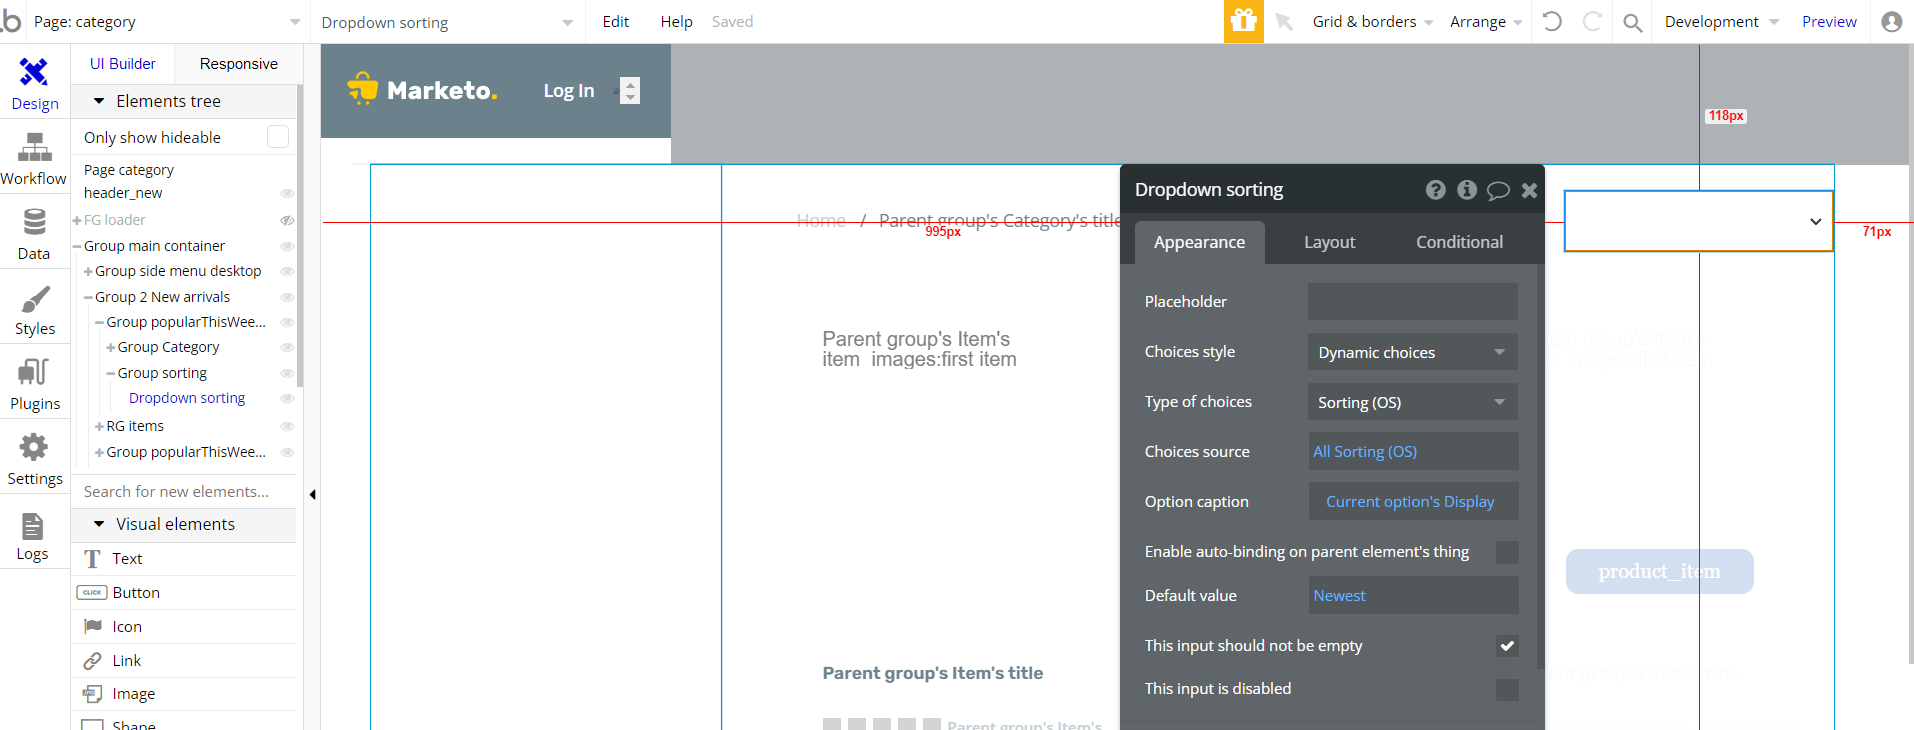
Which is called
Sorting and can be found here: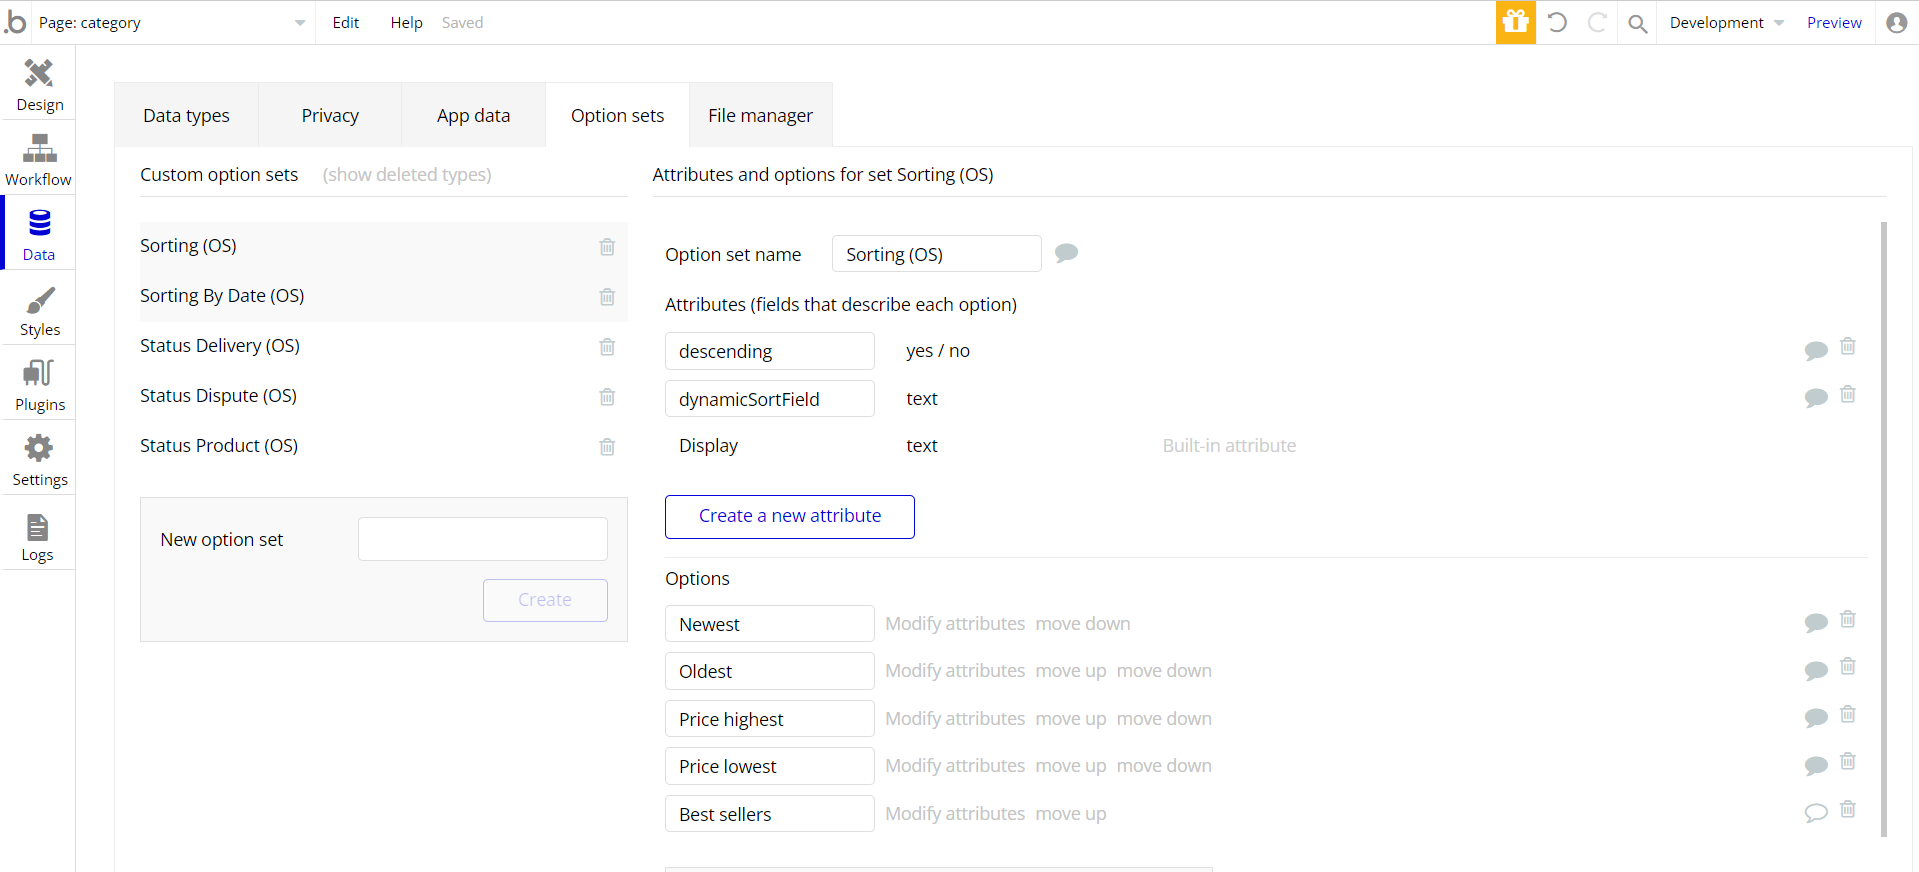
checkout
This is where the user places the order and pays 💳for it. Here shipping address is added.
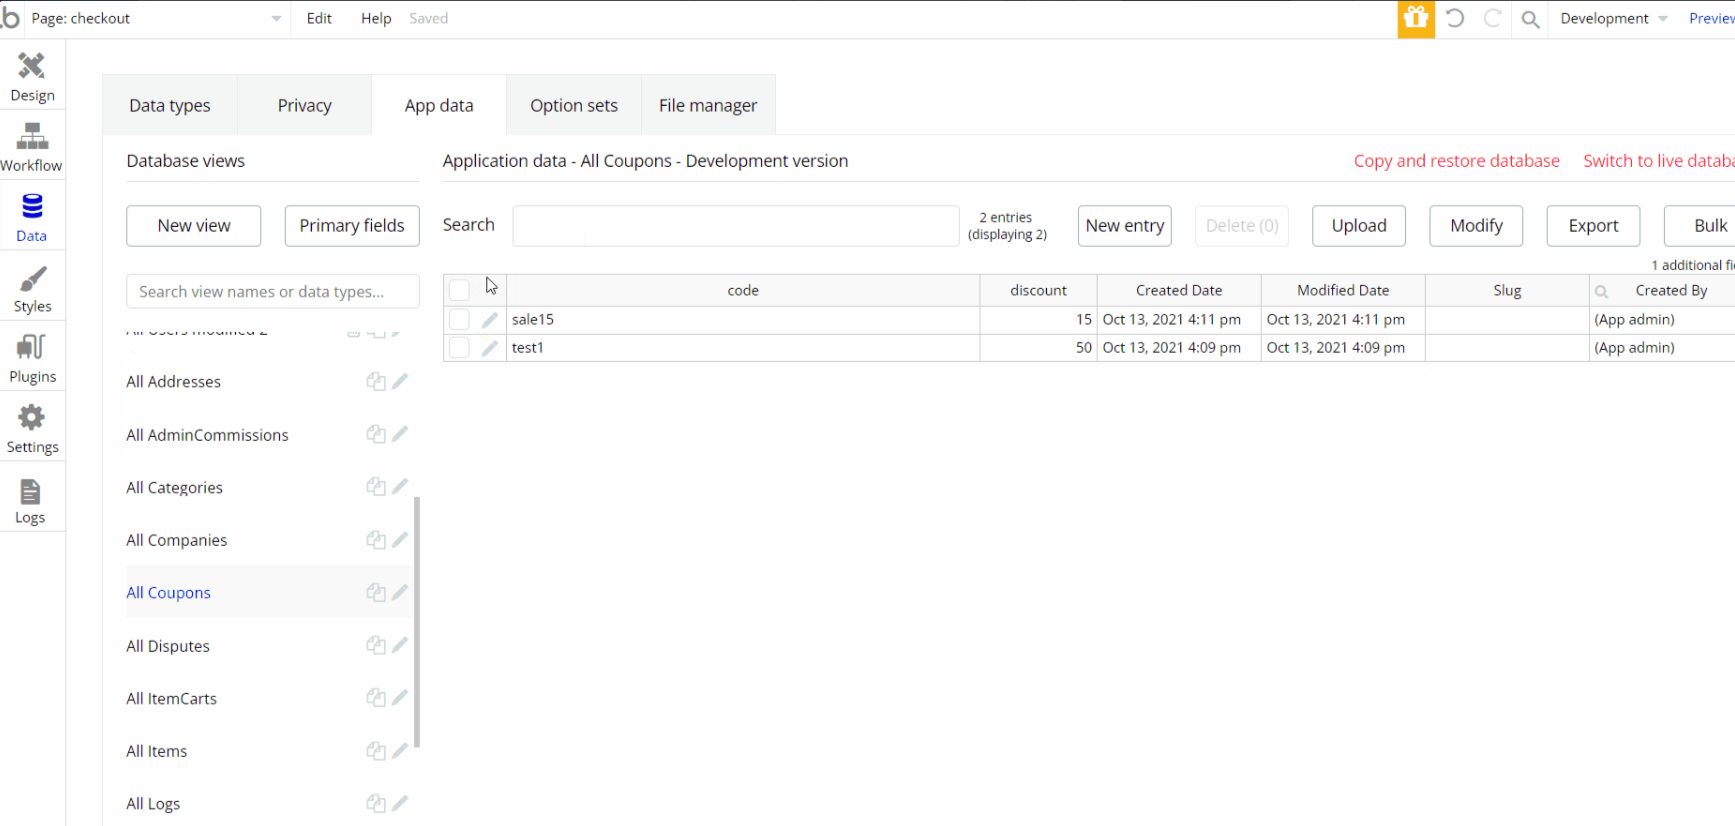
Tip: Coupon codes are applied here before orders are placed.
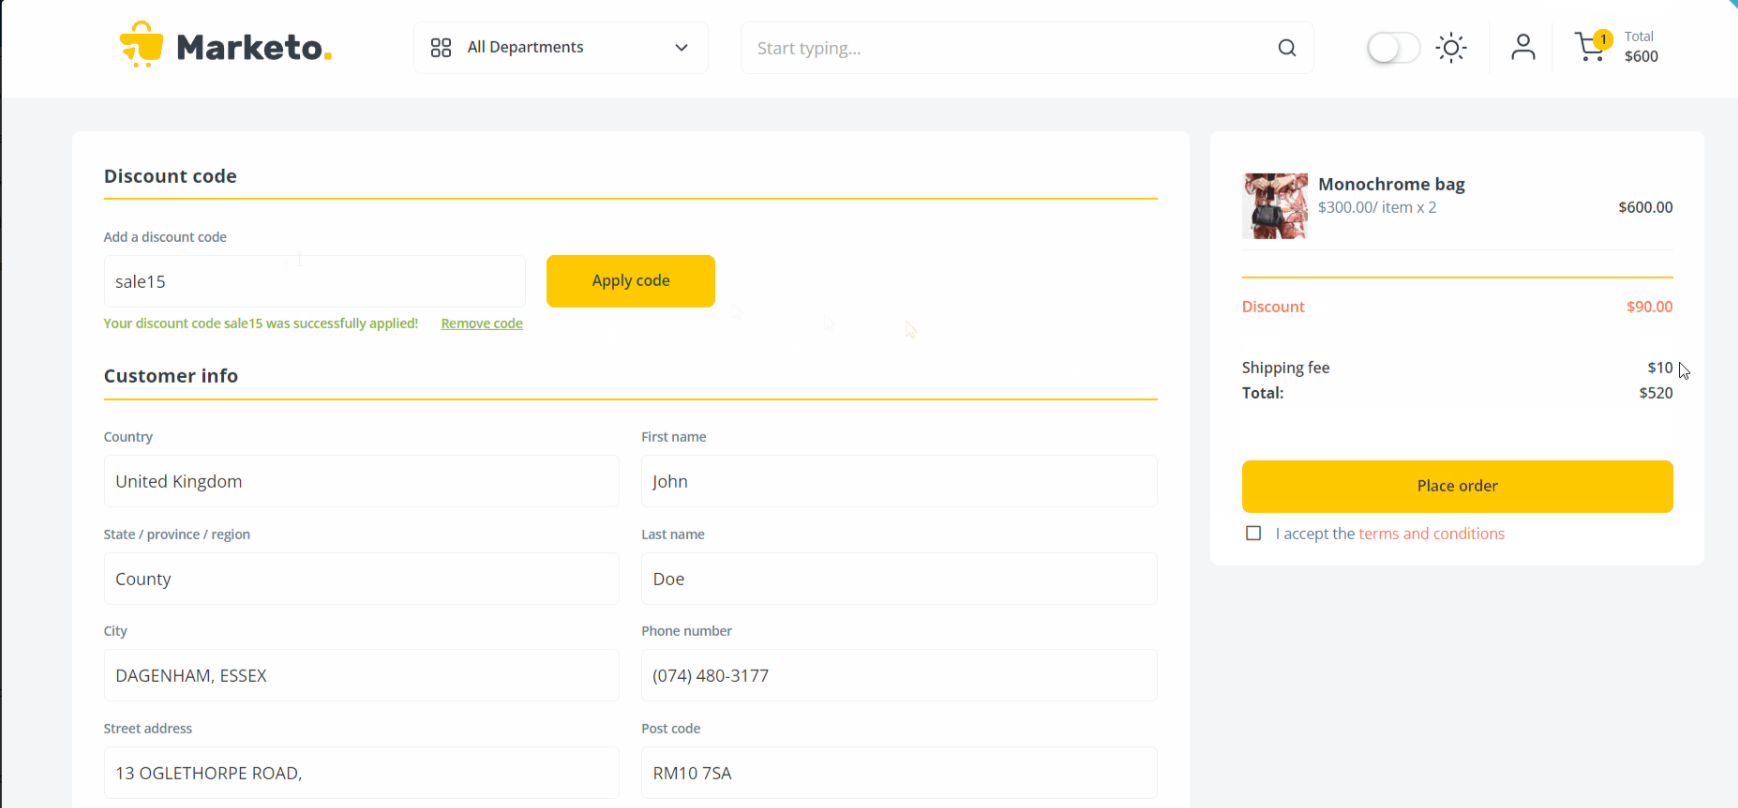
Discount codes are added/edited/deleted on the related database field:
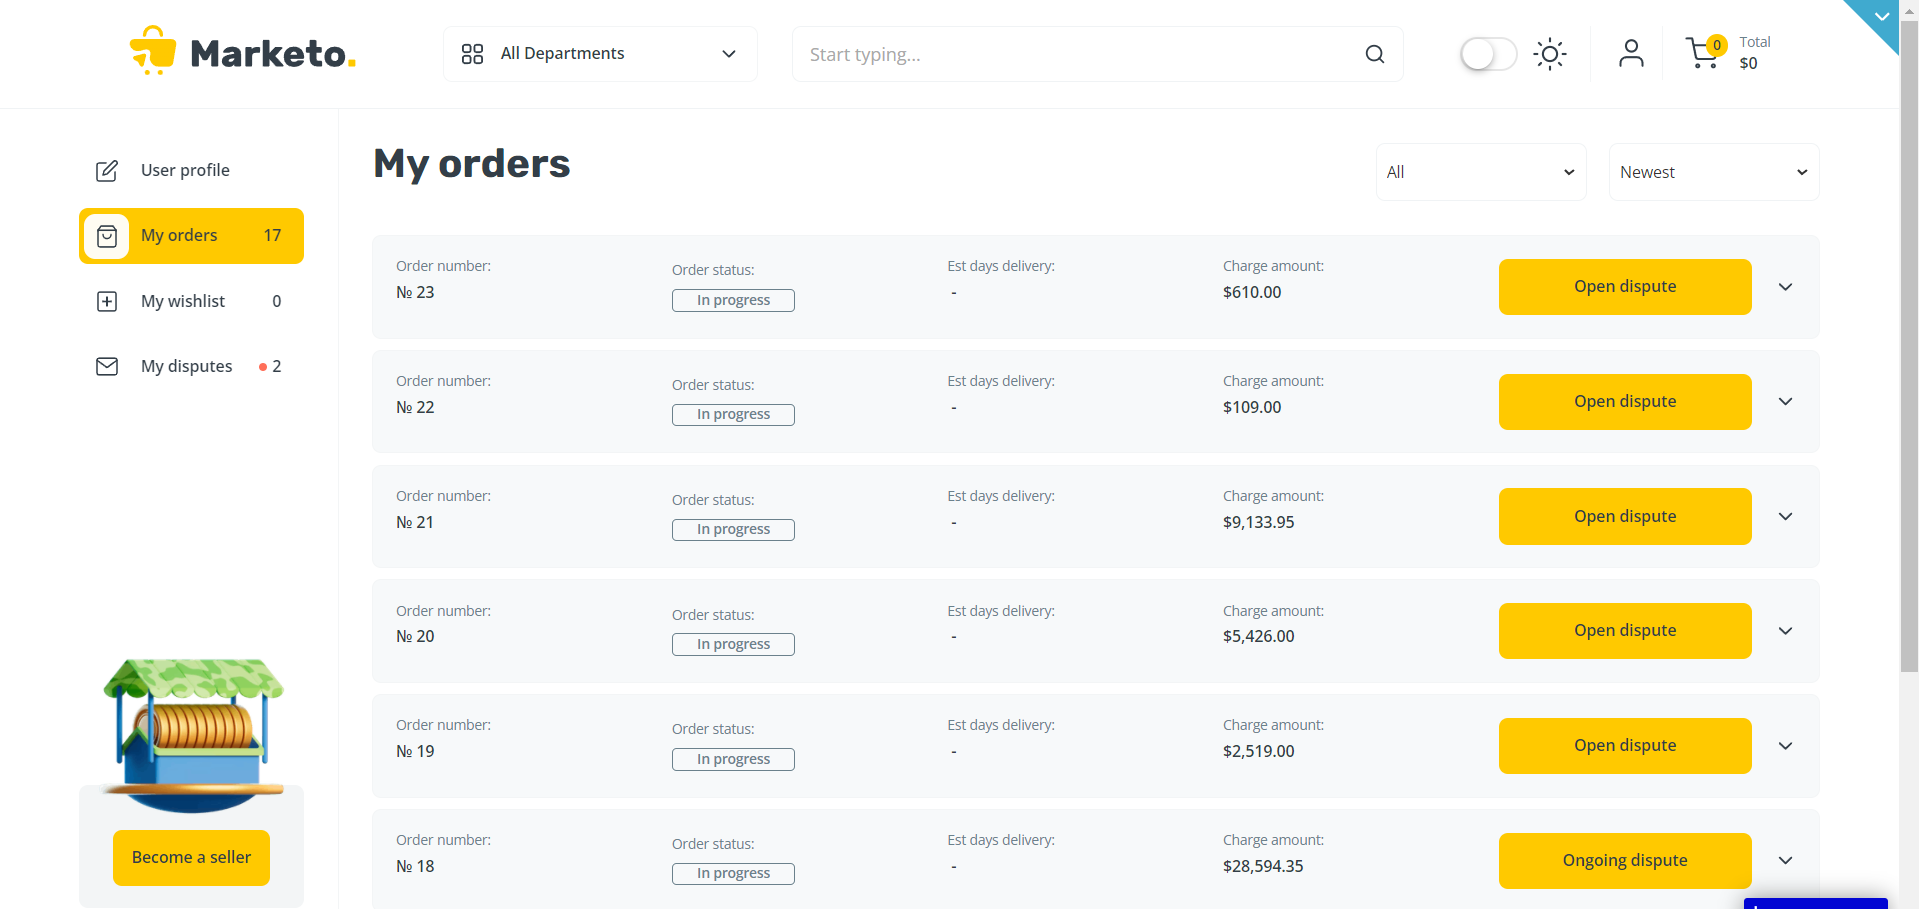
After making an order, you'll get redirected to the profile page to see order details (and orders history when there is more than one order):
The payments implementation is using two different custom events: "discountEmpty" and "discountNotEmpty".

The "discountEmpty" event is triggered if the discount field is "no", and discountNotEmpty is triggered when it is set to "yes".
And the Stripe workflow is implemented in the custom events:

dispute
When a user receives an item that differs significantly from its description he can open a dispute here. By opening a dispute, the user can communicate directly with the seller.
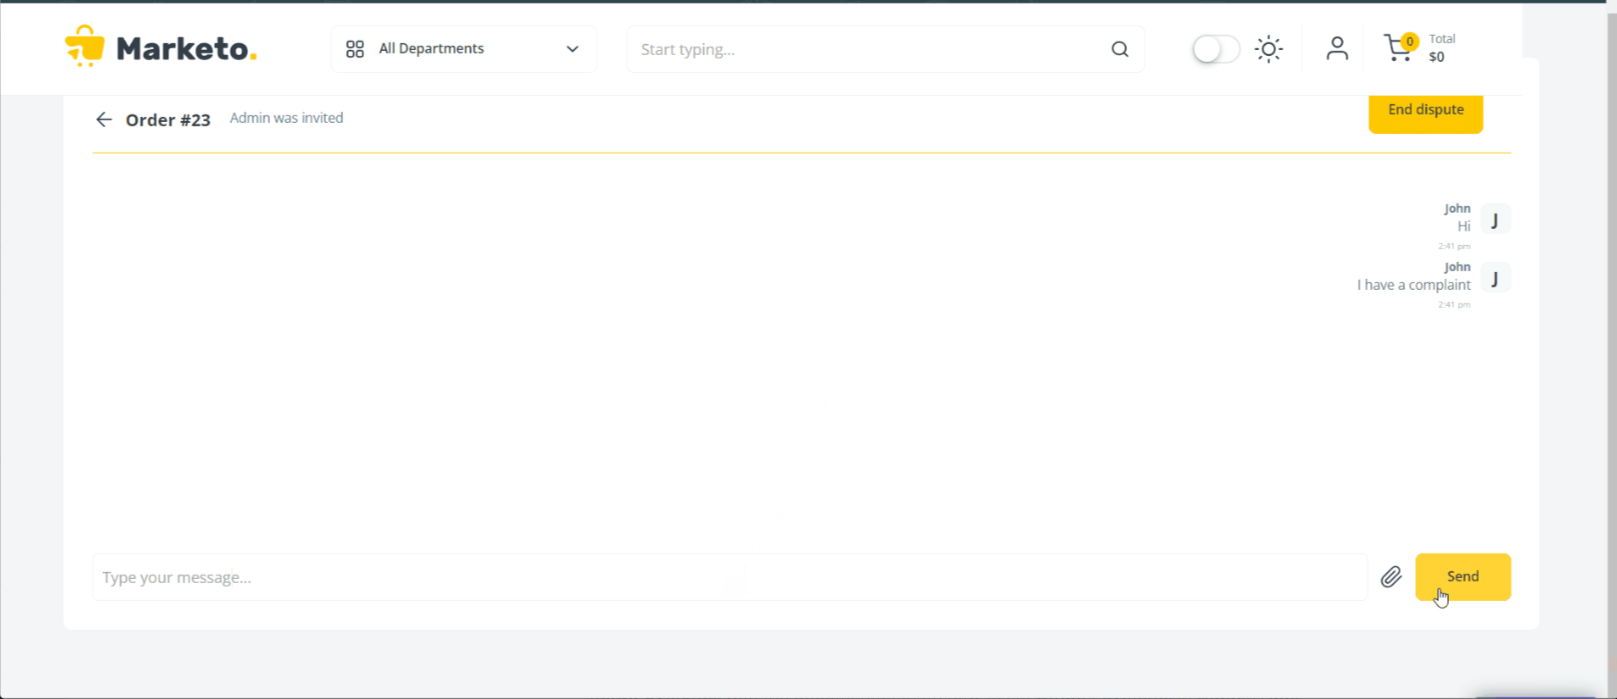
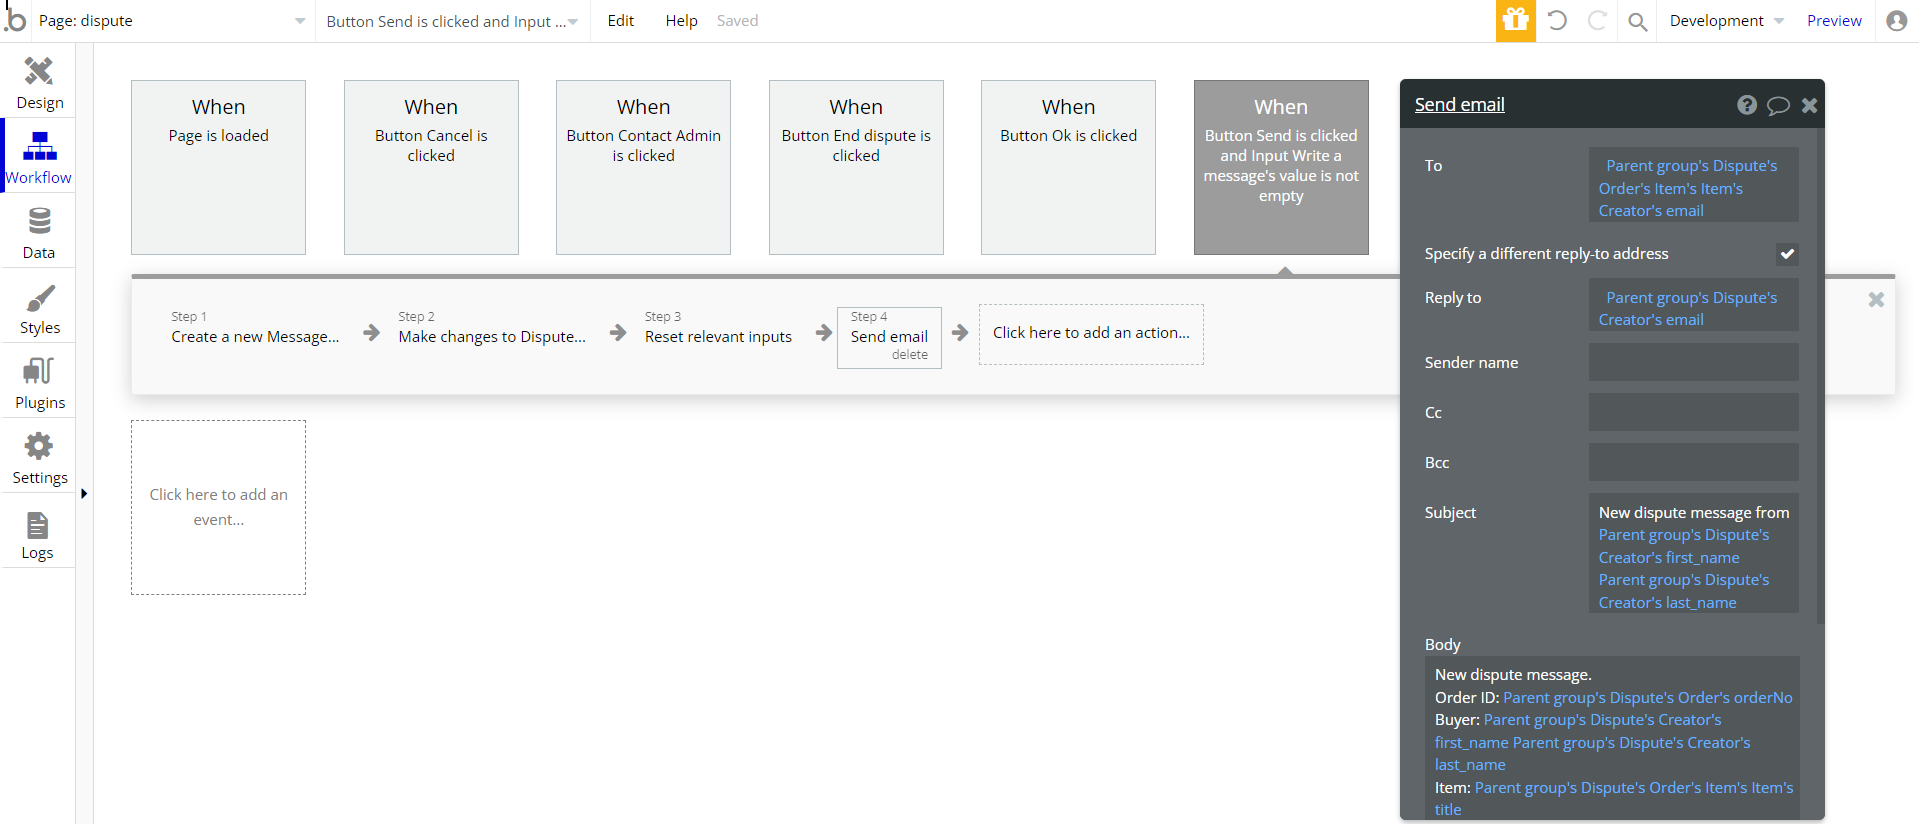
Tip: Sent disputes are followed by an automated mail notification to the seller.
Tip: When opening a dispute, buyers write a message to the seller, but they may also contact the admin user, which will be added to the chat.
Tip: The contacted admin will be the admin user with the least number of disputes.
Tip: The dispute may be closed by either the admin user or the user that opened the dispute (a buyer).
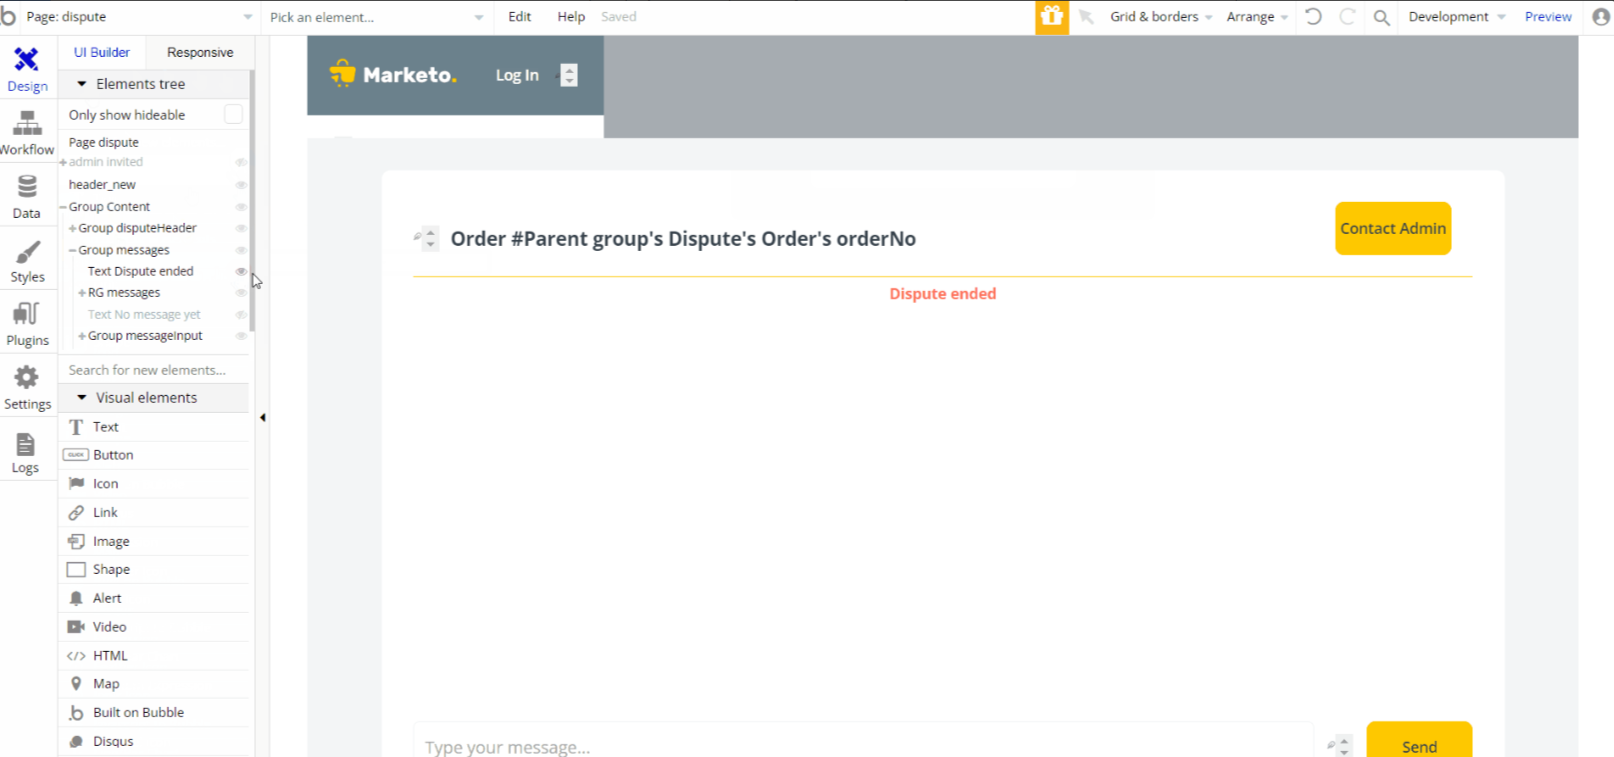
Initially, the design elements might be hidden in your editor.
Here is how to unhide 👀 them:
item
The item's data ℹ is detailed on this page. You are able to preview the overall information about the product, and customer reviews, and add it to your wish list or/and to the shopping cart🛒.
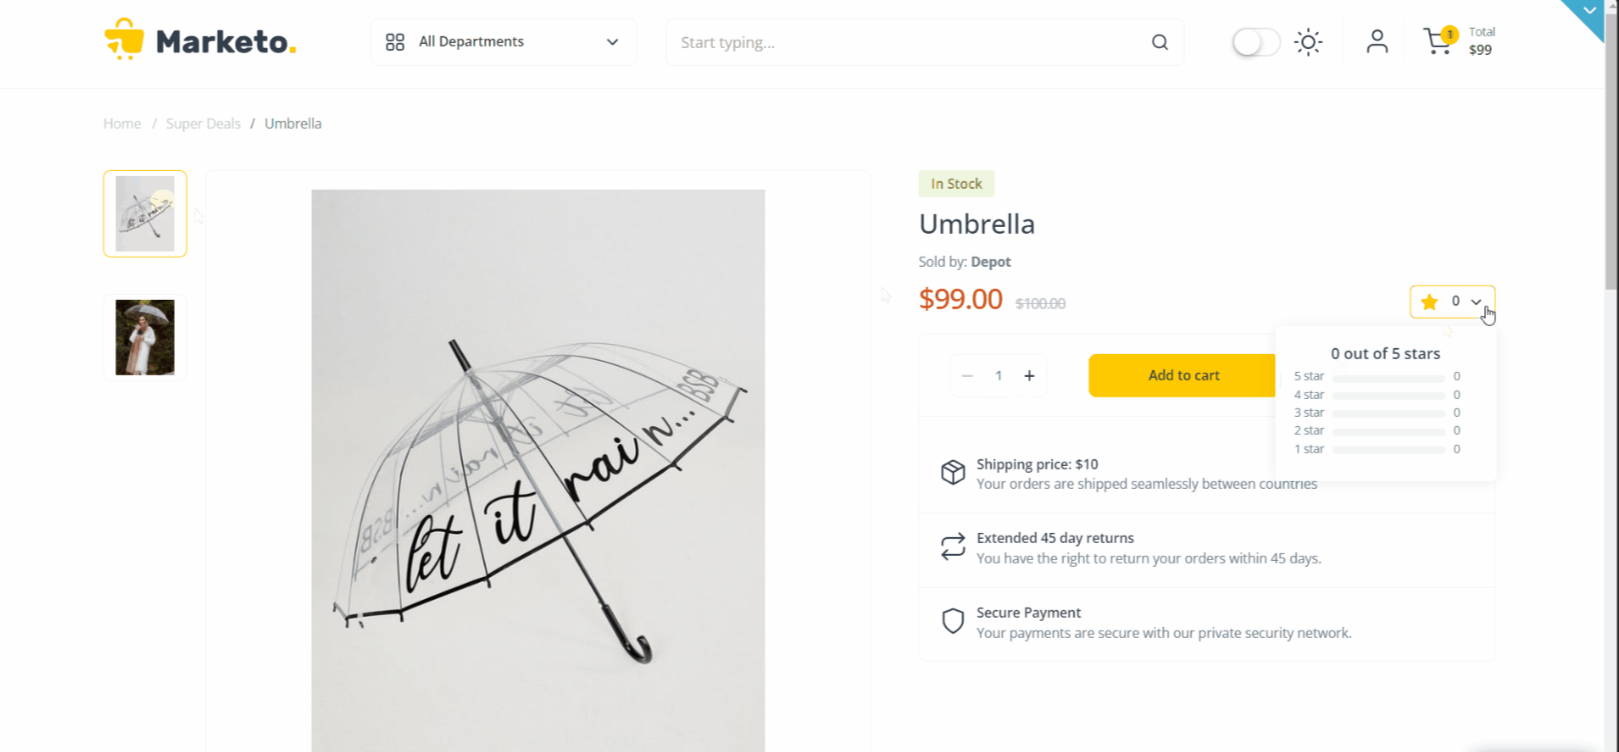
The "ADD TO CART" button can be found here:
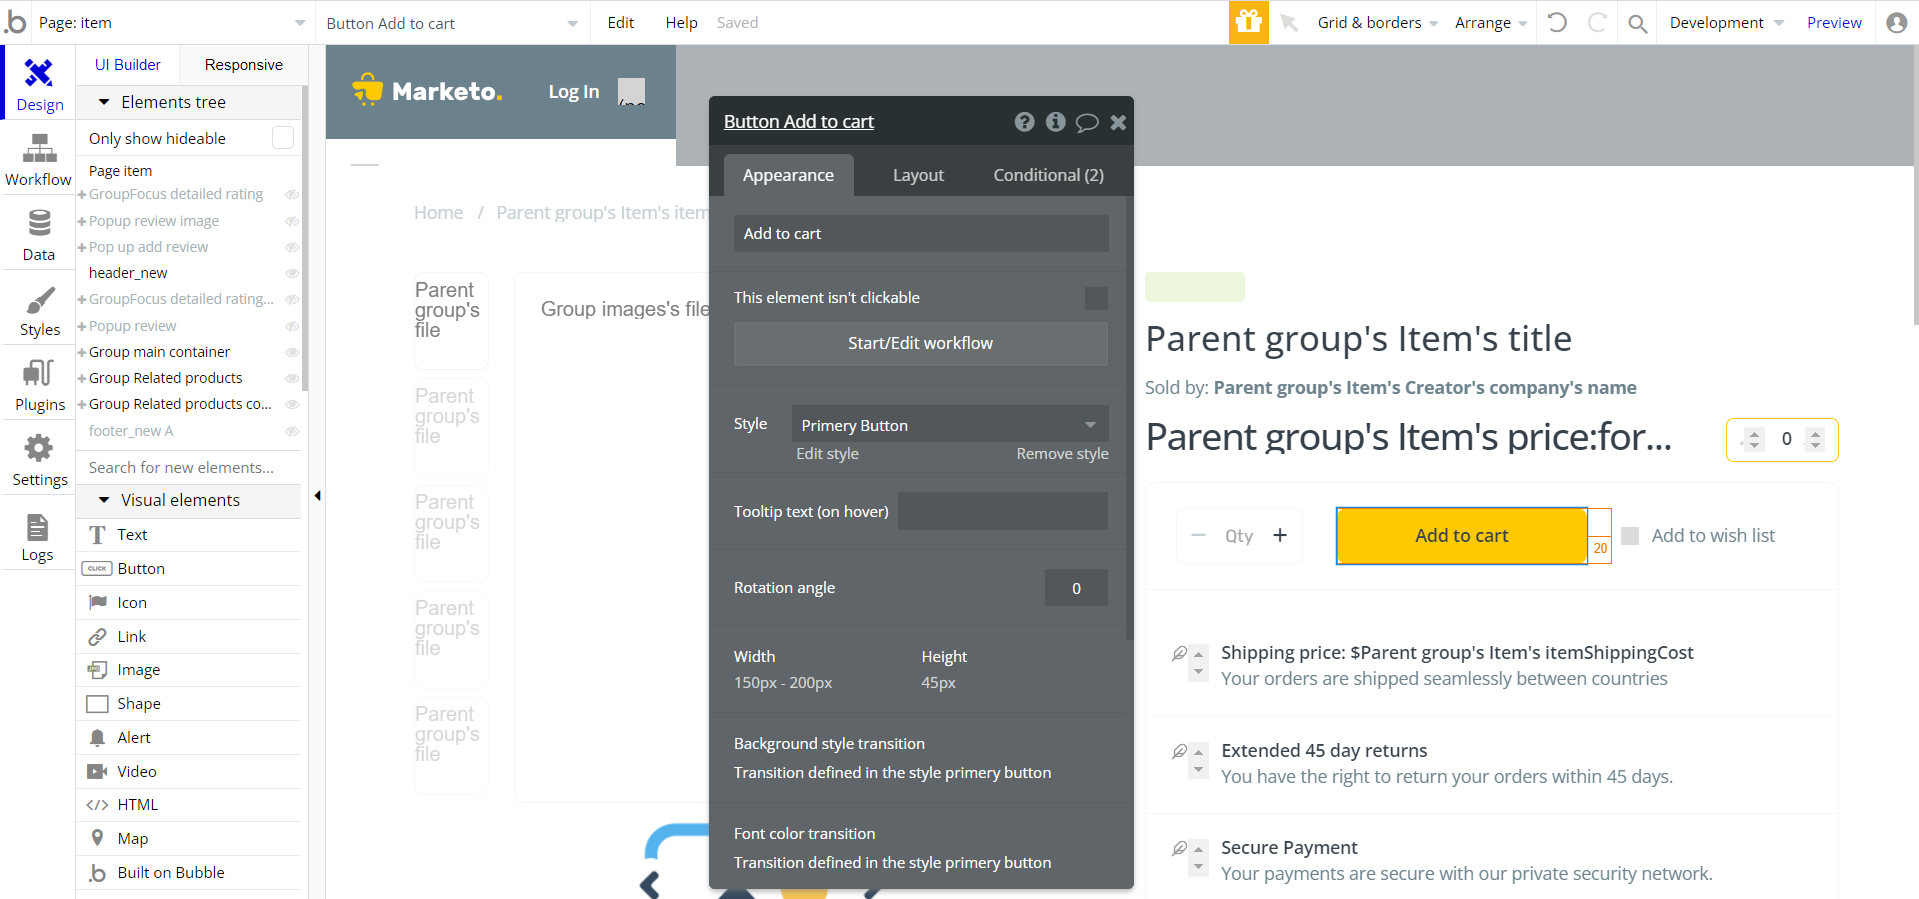
And its workflow can be located here:

login
This page is used to create an account or log in to an existing one. To access it, users click on the
FeatherIconF button in the header and press the "Login/Signup" button in the popup. On this page, users are offered to use demo logins to test all the template features from all the available user types.
Login is done with an email address and a password. It also uses a verification system.
When signing up, you need to select a user type: Buyer or Seller.
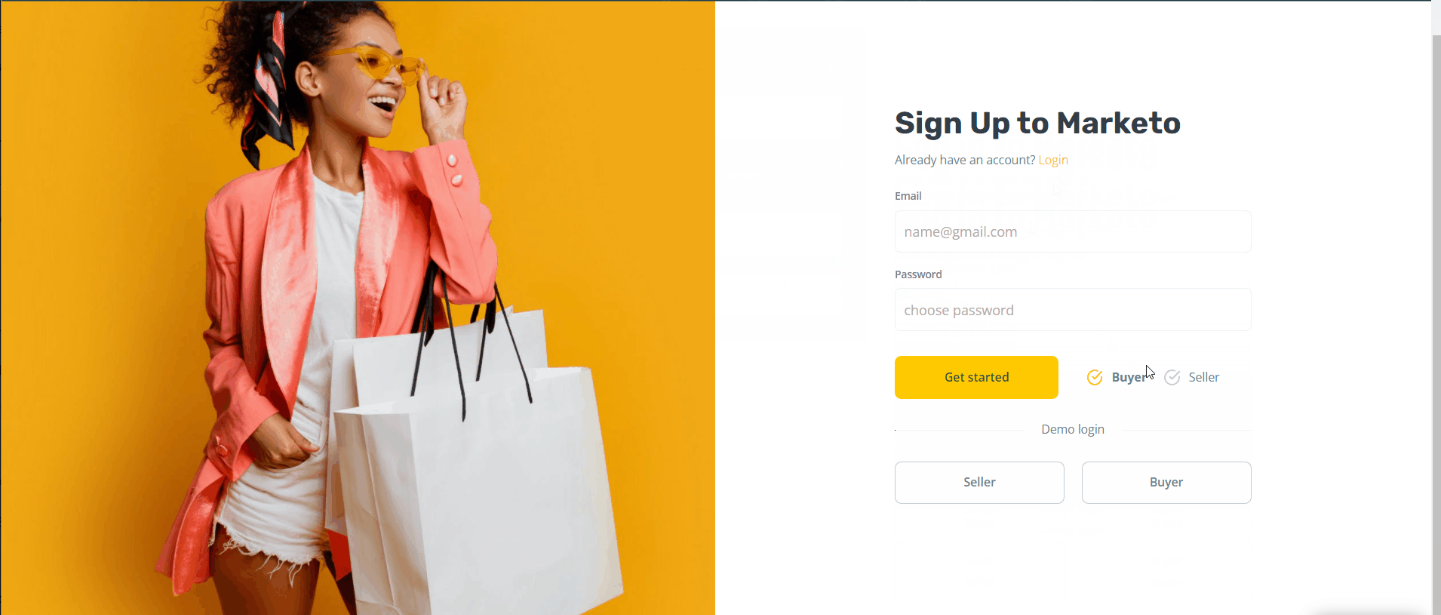
Tip: This page comes with demo logins that have been placed for testing purposes. They may be removed from your app.
Initially, the design elements might be hidden in your Bubble editor. Here is how to unhide👀the elements:
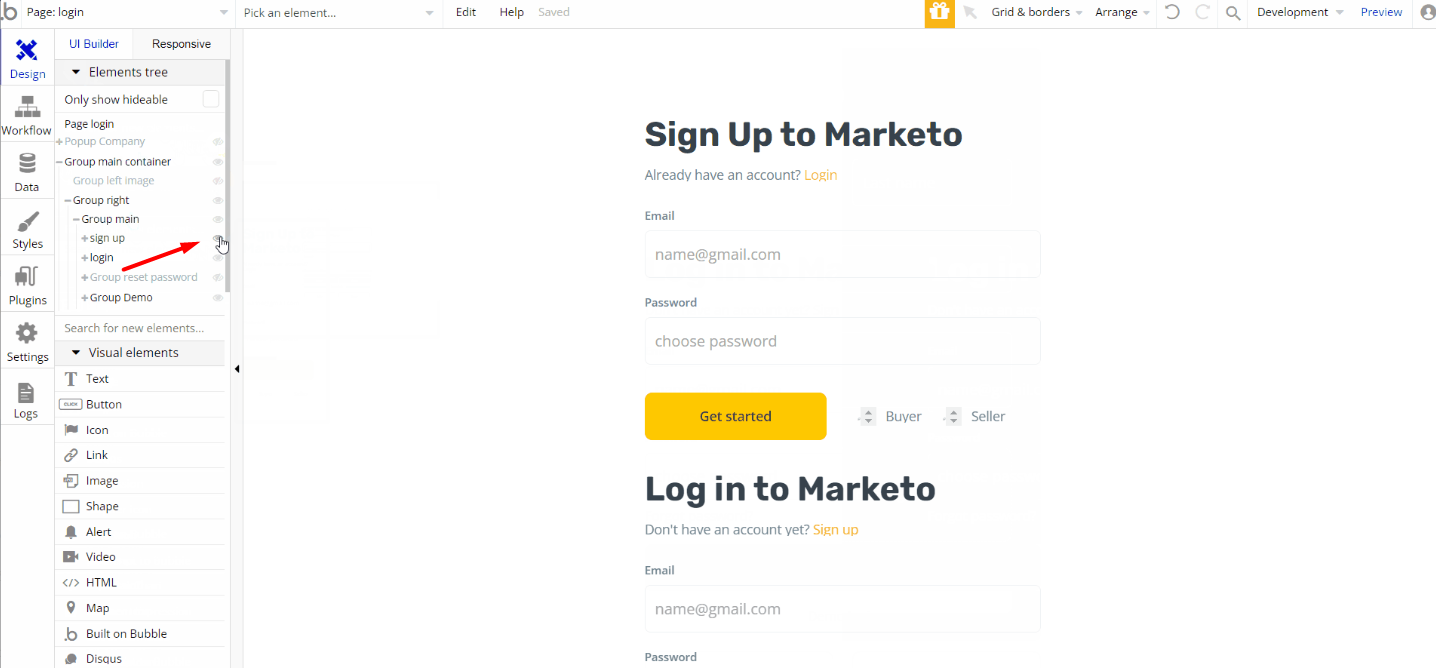
Here you can locate the signup actions:
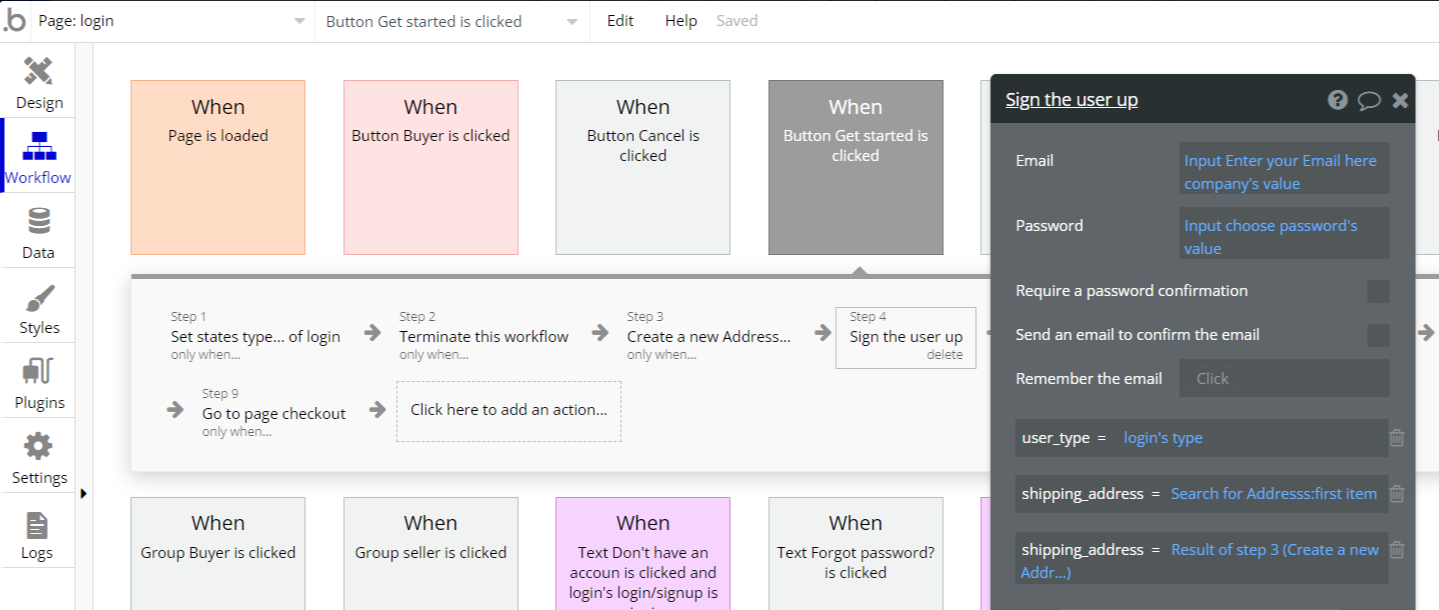
As you can see, it is also saving the
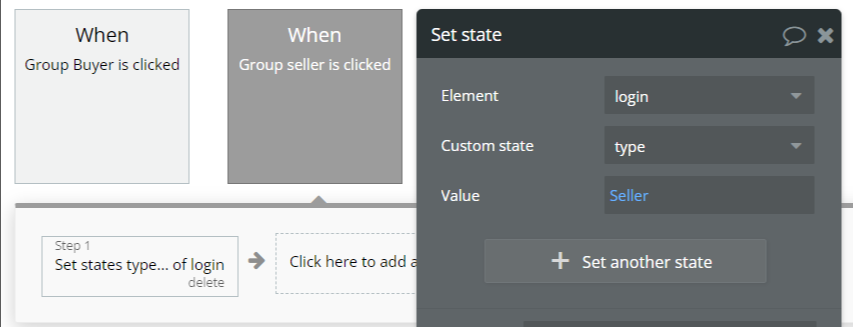
userType, based on the Buyer/Seller account type. The type value is passed into this field, which is a state set on "Buyer" or "Seller" button clicks: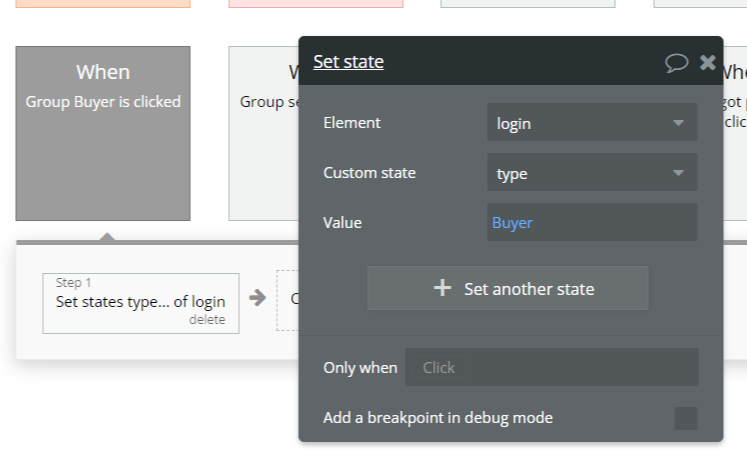
profilebuyer
This is the user's profile👤where as a Buyer the user is able to change the account information like profile picture, delivery address, as well as preview orders made, wishlist, etc.
Tip: A Buyer is able to become a Seller here.
👤 Account overview
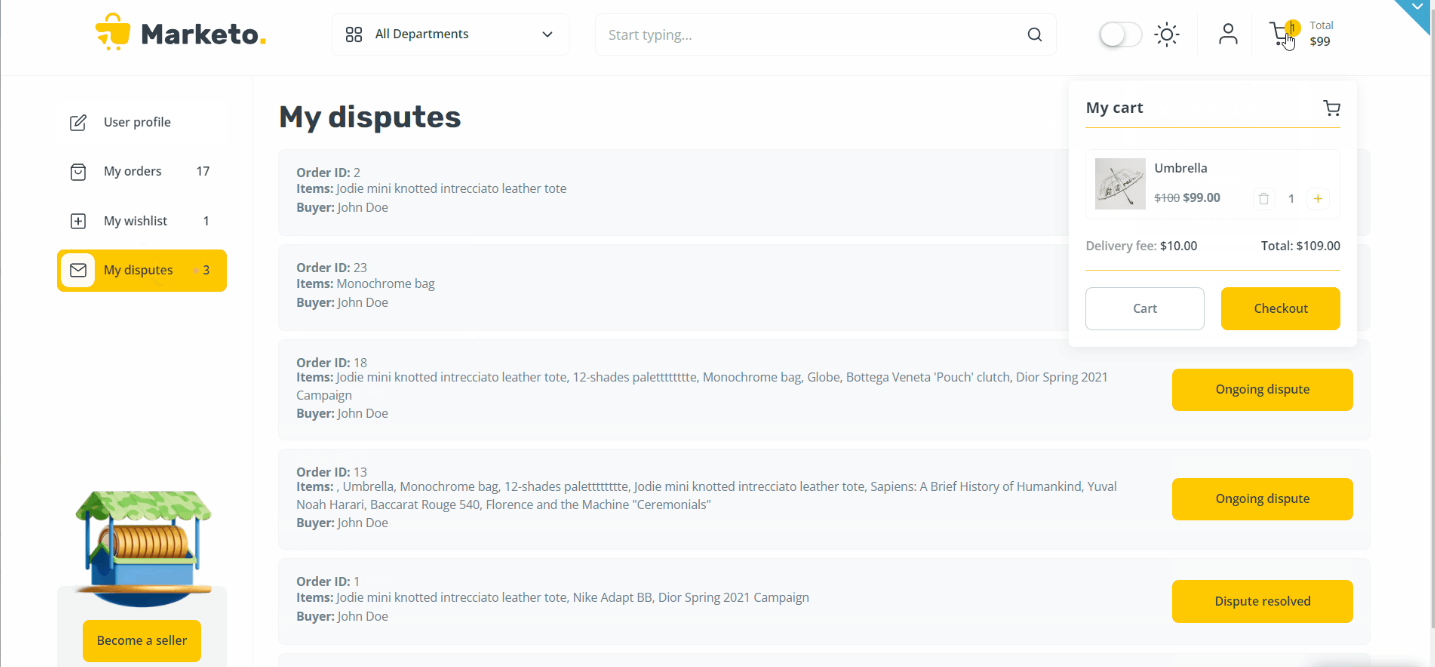
The "Become a seller" button shows the Popup "Company":

Where Buyer is completing his Company details:
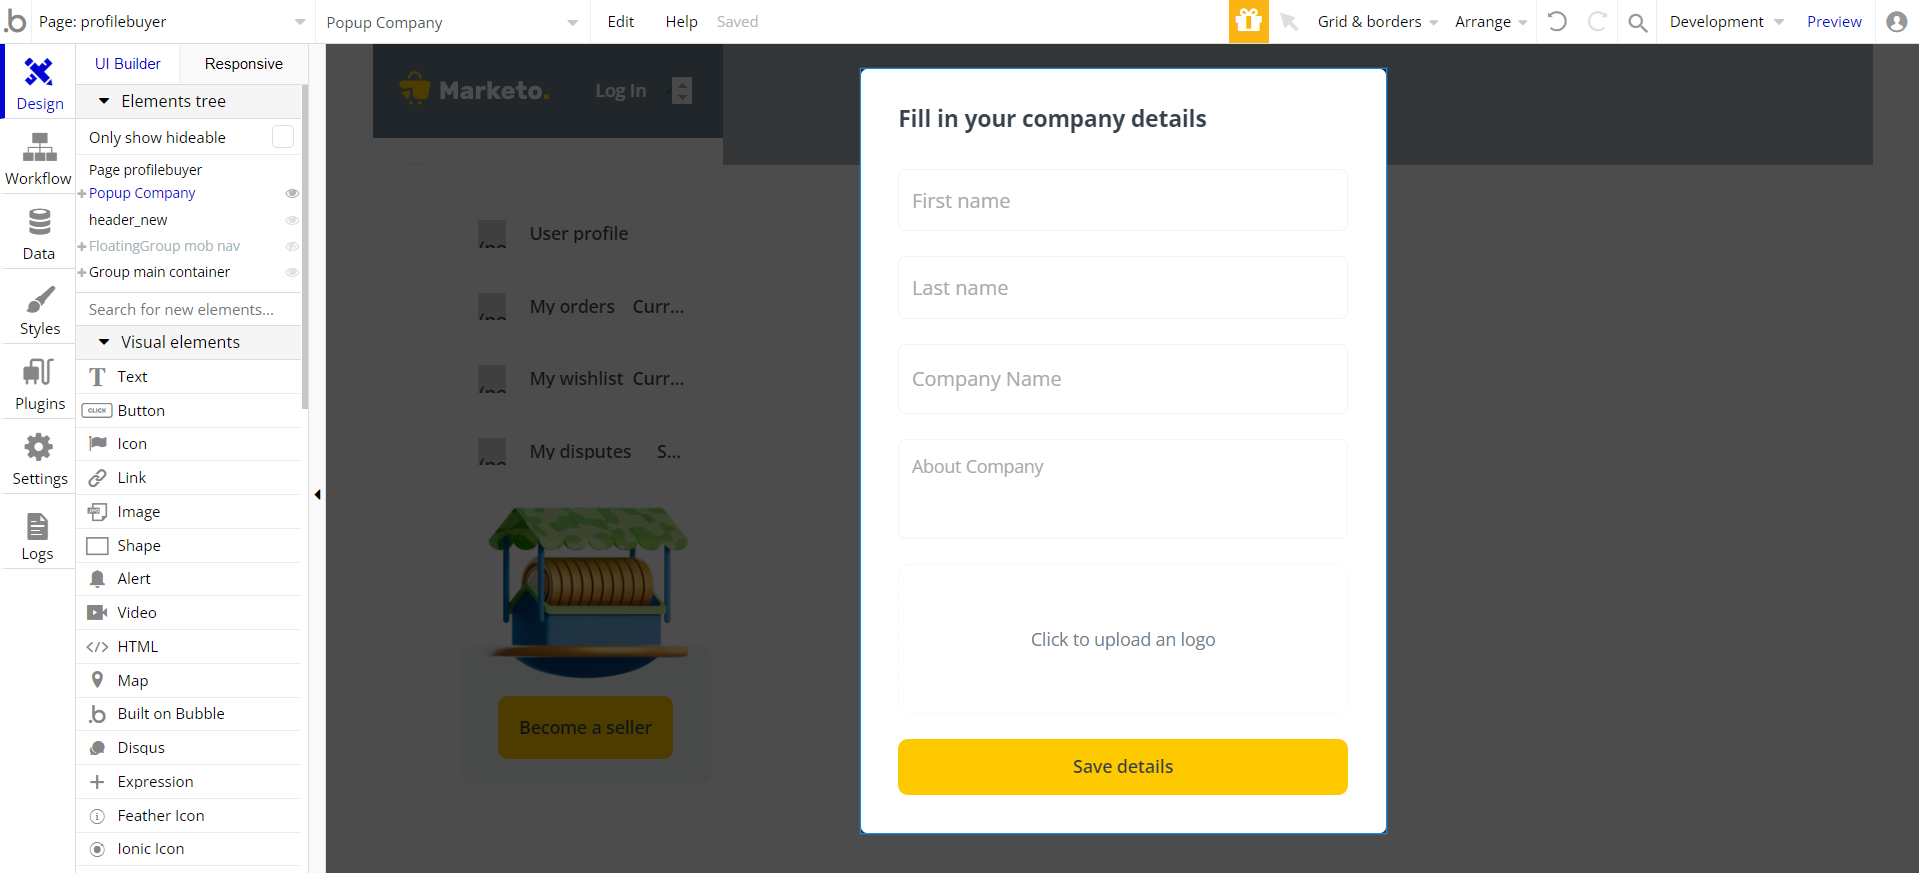
And when clicking on the "Save details" button, it registers the user as a seller, changing its
userType to Seller:
profileseller
This page is the seller's🏦profile. Here the seller can change profile information, preview products added, sales, and orders made, as well as add some new products.
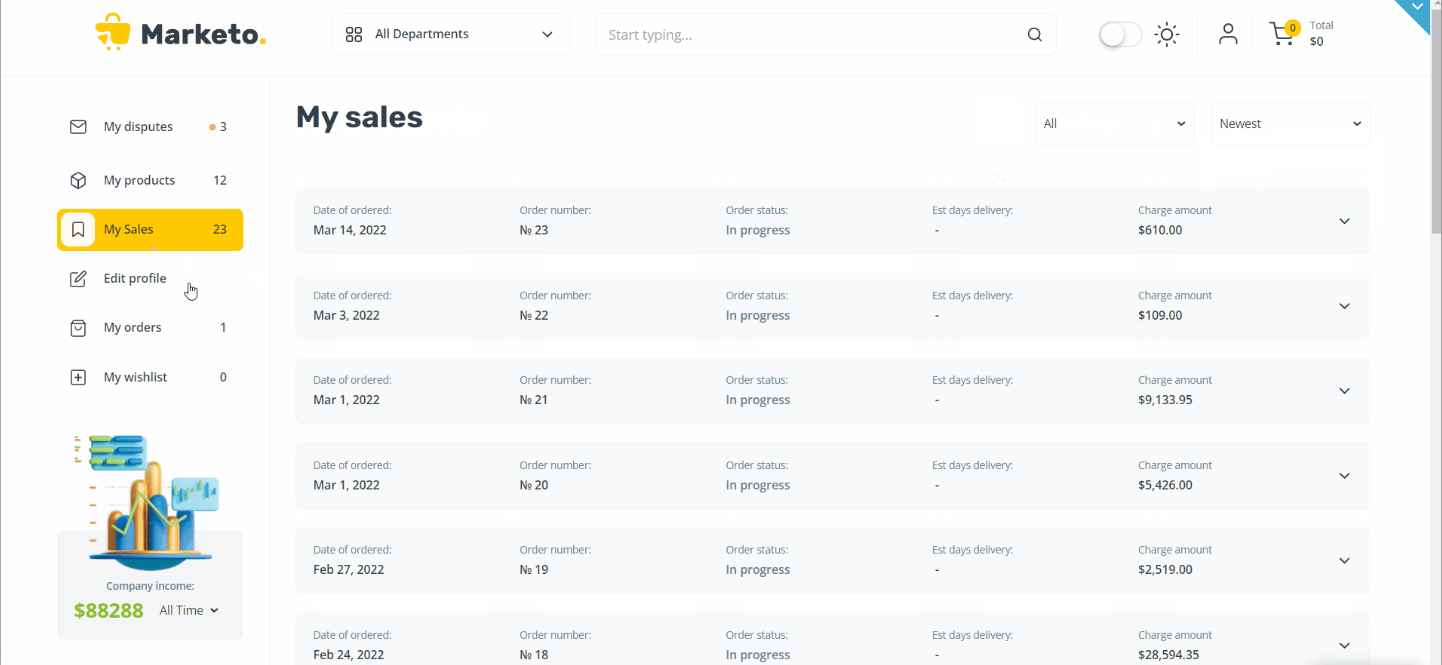
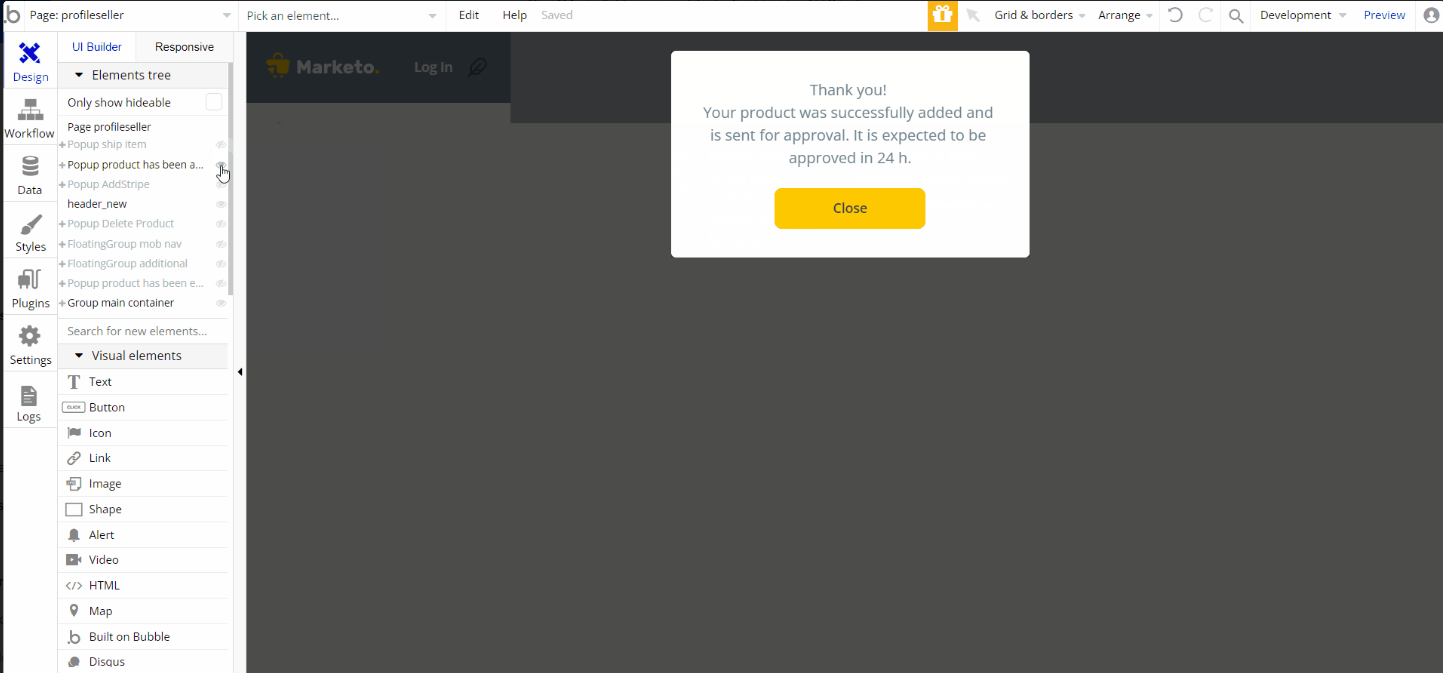
Initially, the design elements might be hidden in your Bubble editor.
Here is how to unhide👀the elements:
searchresults
The search🔍results are displayed on this page. You just type in a product name in the search bar in the header then hit the search icon or Enter↩to update the page.
Tip: The search bar is located in the Header reusable element.
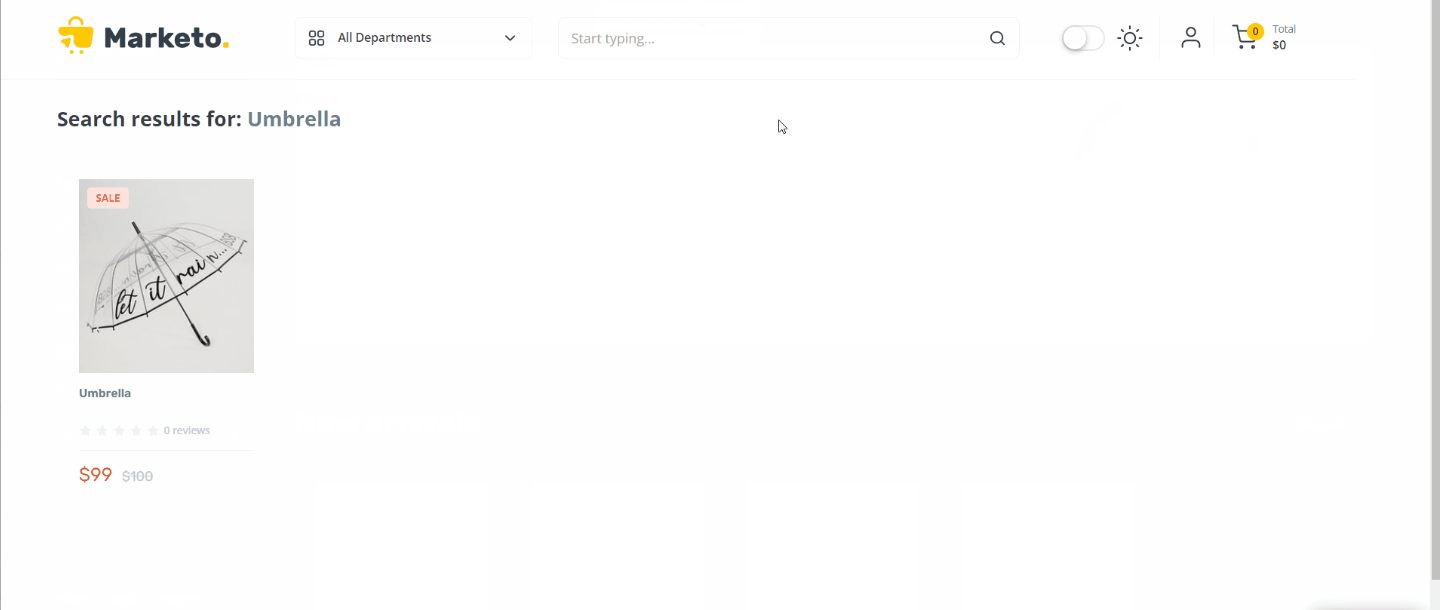
Note: Only products approved by the admin will be visible and available for search.
terms
This is the page where users see the agreement act between both sides: the company that has the web application and users who access the web application.
Tip: The text on this page is a placeholder and should be modified according to your own terms of service.
This page is designed for your Terms of Service. You can generate the terms here: https://www.shopify.com/tools/policy-generator/terms-and-conditions
Tip: Also, add a Privacy page. It will help you go through App Store and Google Play approval procedures, in case you convert your Bubble app into native iOS and Android apps. These links are also important for Facebook login.
reset_pw
This page is used for resetting the password. It comes with a simple form with two inputs for the new password and password confirmation:
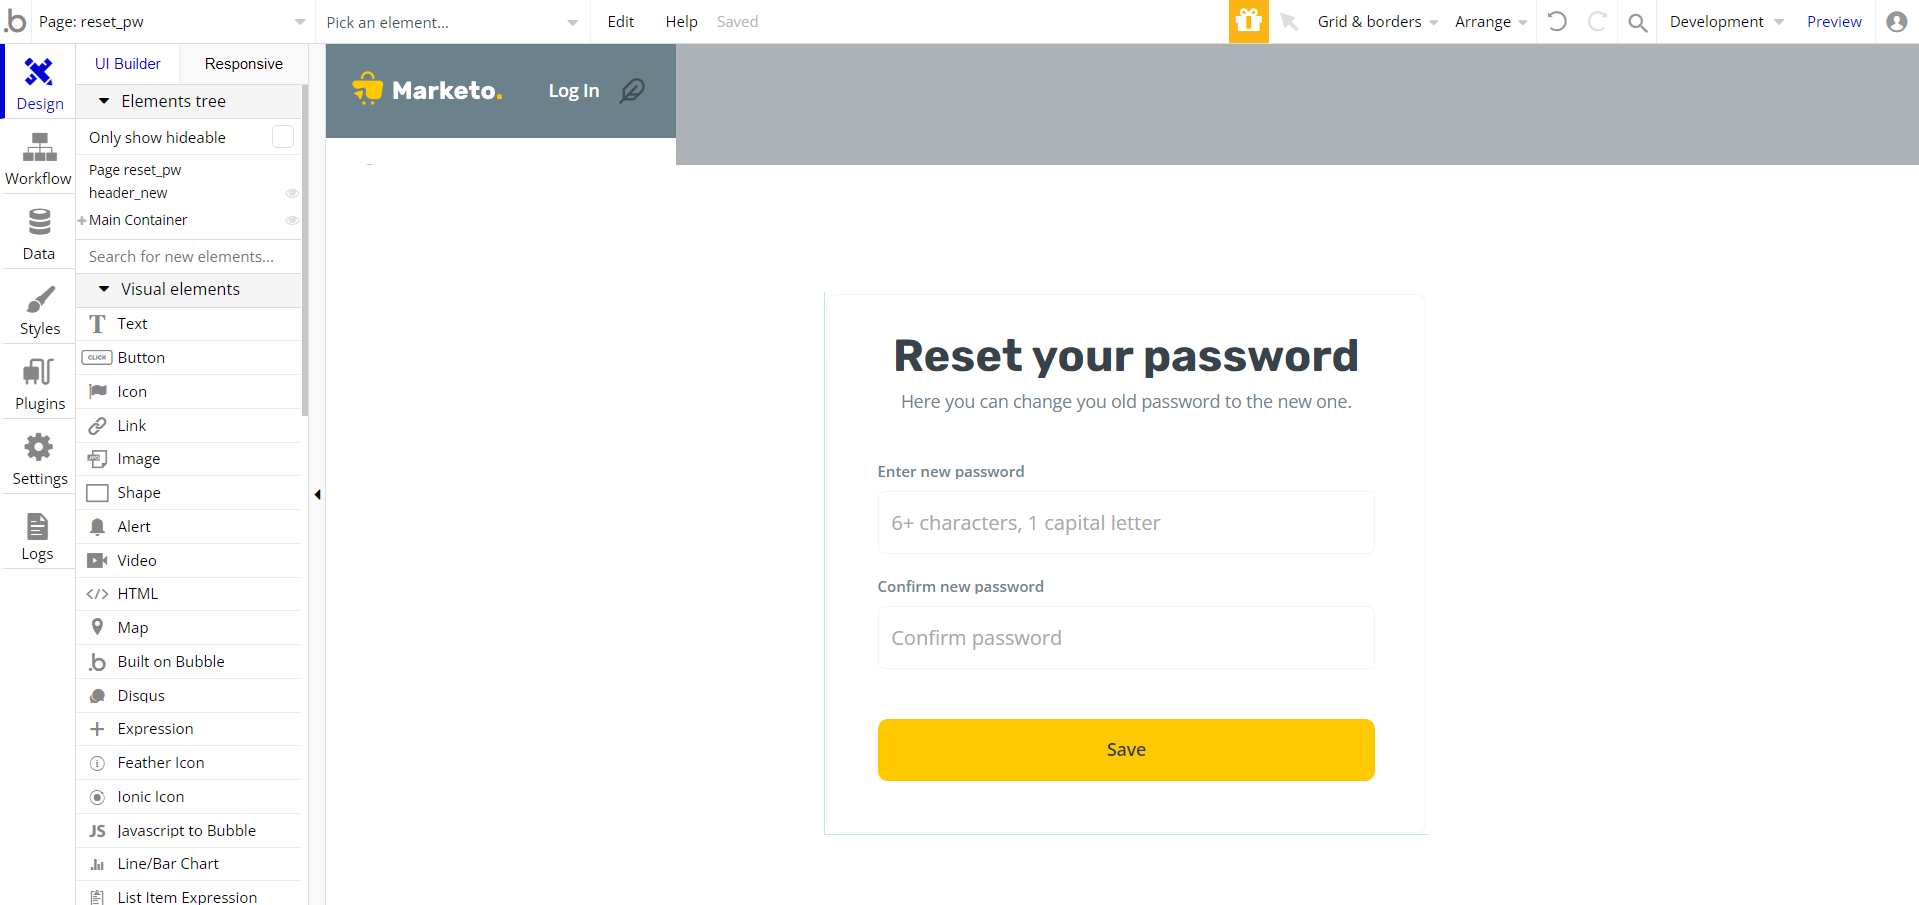
It comes with just 1 workflow event, to submit the new password and go to the main page.

404
This is a custom-designed page for 404 redirect errors, informing a user that the requested web page cannot be found, or it doesn't exist.
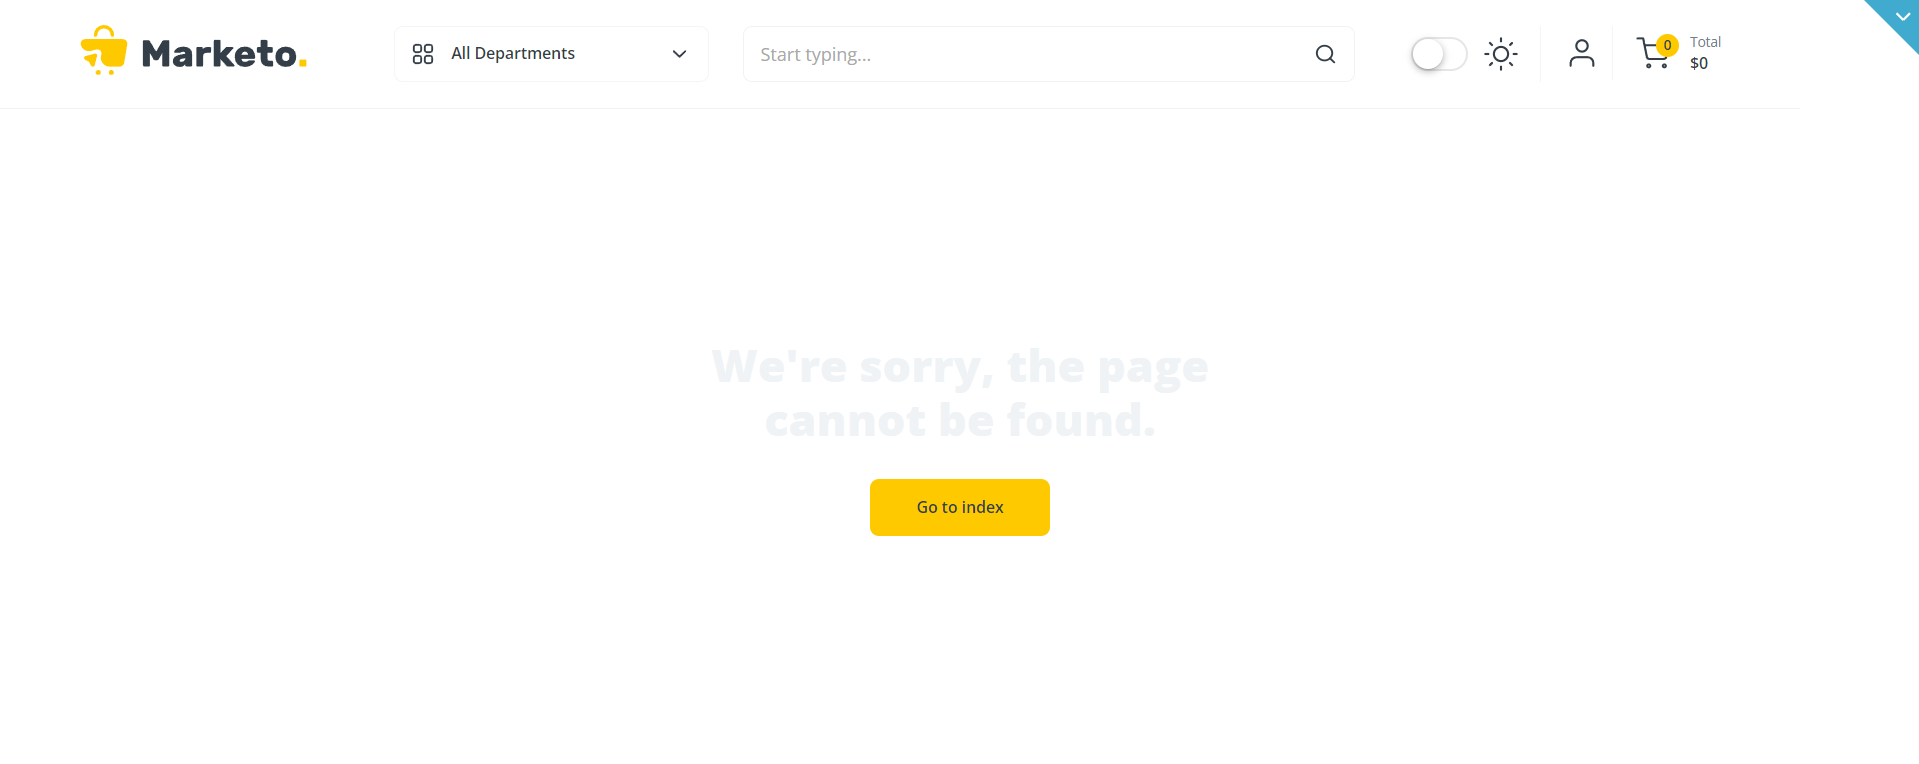
Tip: This page has only 1 redirecting workflow, to the index page