The guide states the things to note, like Admin Access, Custom Code, Notes, APIs, etc.
Admin Rights
For security purposes, this template has limited rights for potential customers. This means that you will not be able to use the admin features to their fullest until you purchase the template and enable admin rights.
Tip: It is possible to access the admin panel via Demo Admin user. But, for security purposes, the features are not enabled unless purchasing the template and turn this feature on. In order to grant the admin rights, please follow the instruction below.
Decisive buttons that lead to creation/deletion/editing of an object are disabled and the text "blocked" in their name.
In order to remove this restriction, you will have to make some changes in the workflow after you purchase this template. You can remove this restriction by following these steps:
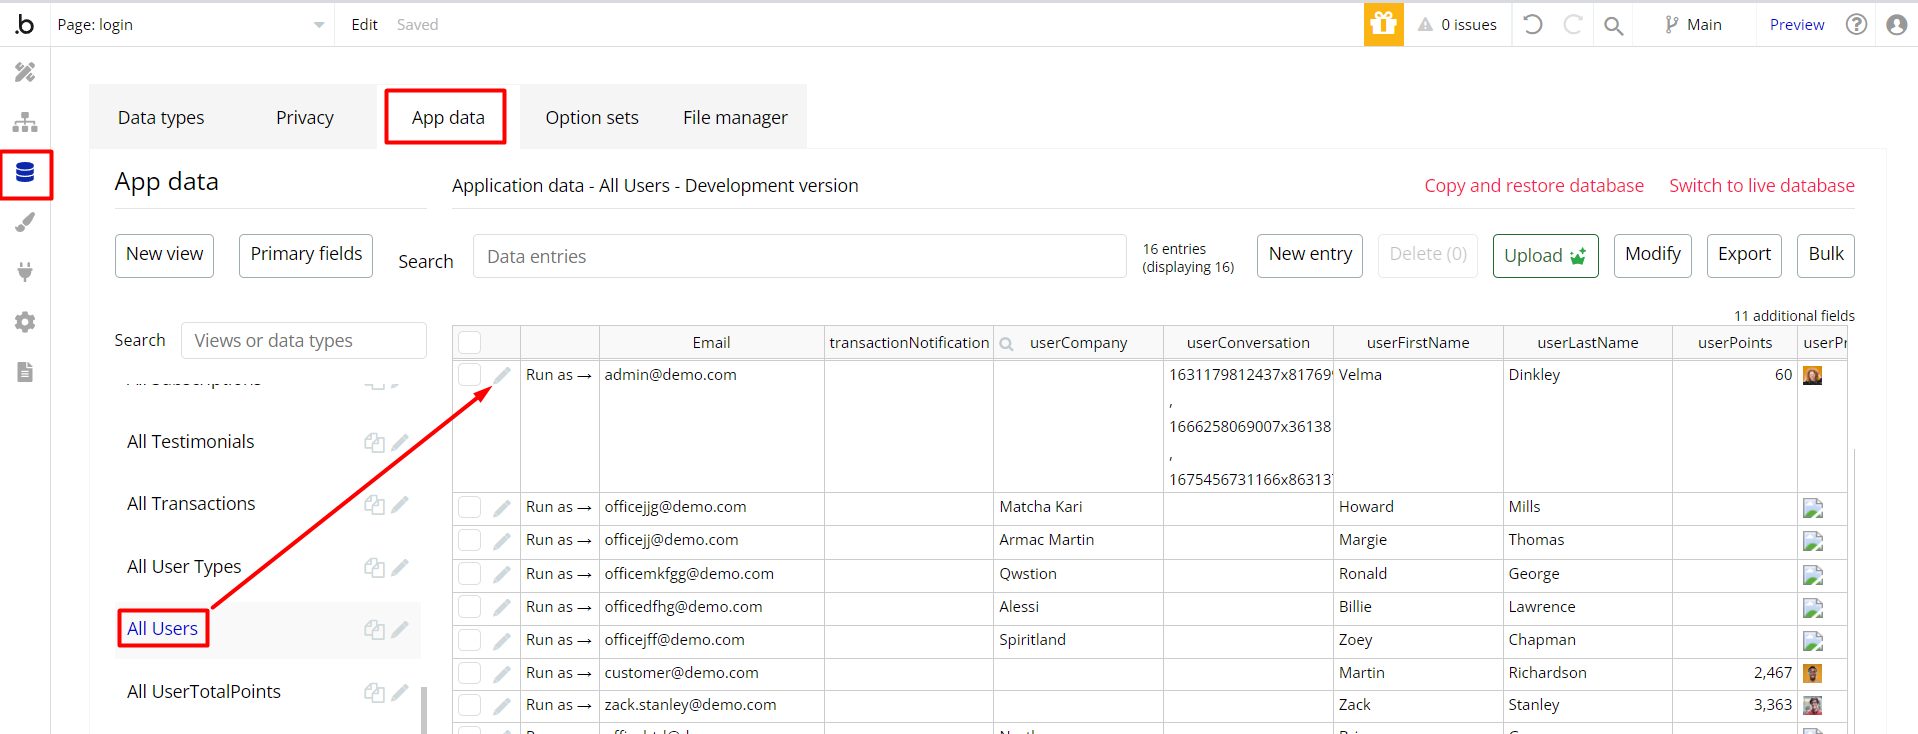
- Go to Database -> App data -> Variables and modify the
WriteRightsfrom "no" to "yes".

- For the user to whom the admin role will be assigned, change the “WriteRights” value to yes:

- The second option is a bit harder than the first one but not too complicated. You will have to remove all the conditions from the buttons and texts that have this security check. These elements that have this restriction will contain a corresponding condition. Here is an example of how to find them:
Congrats: You have successfully granted admin rights. Now you can use all the admin page and its features as an admin user.
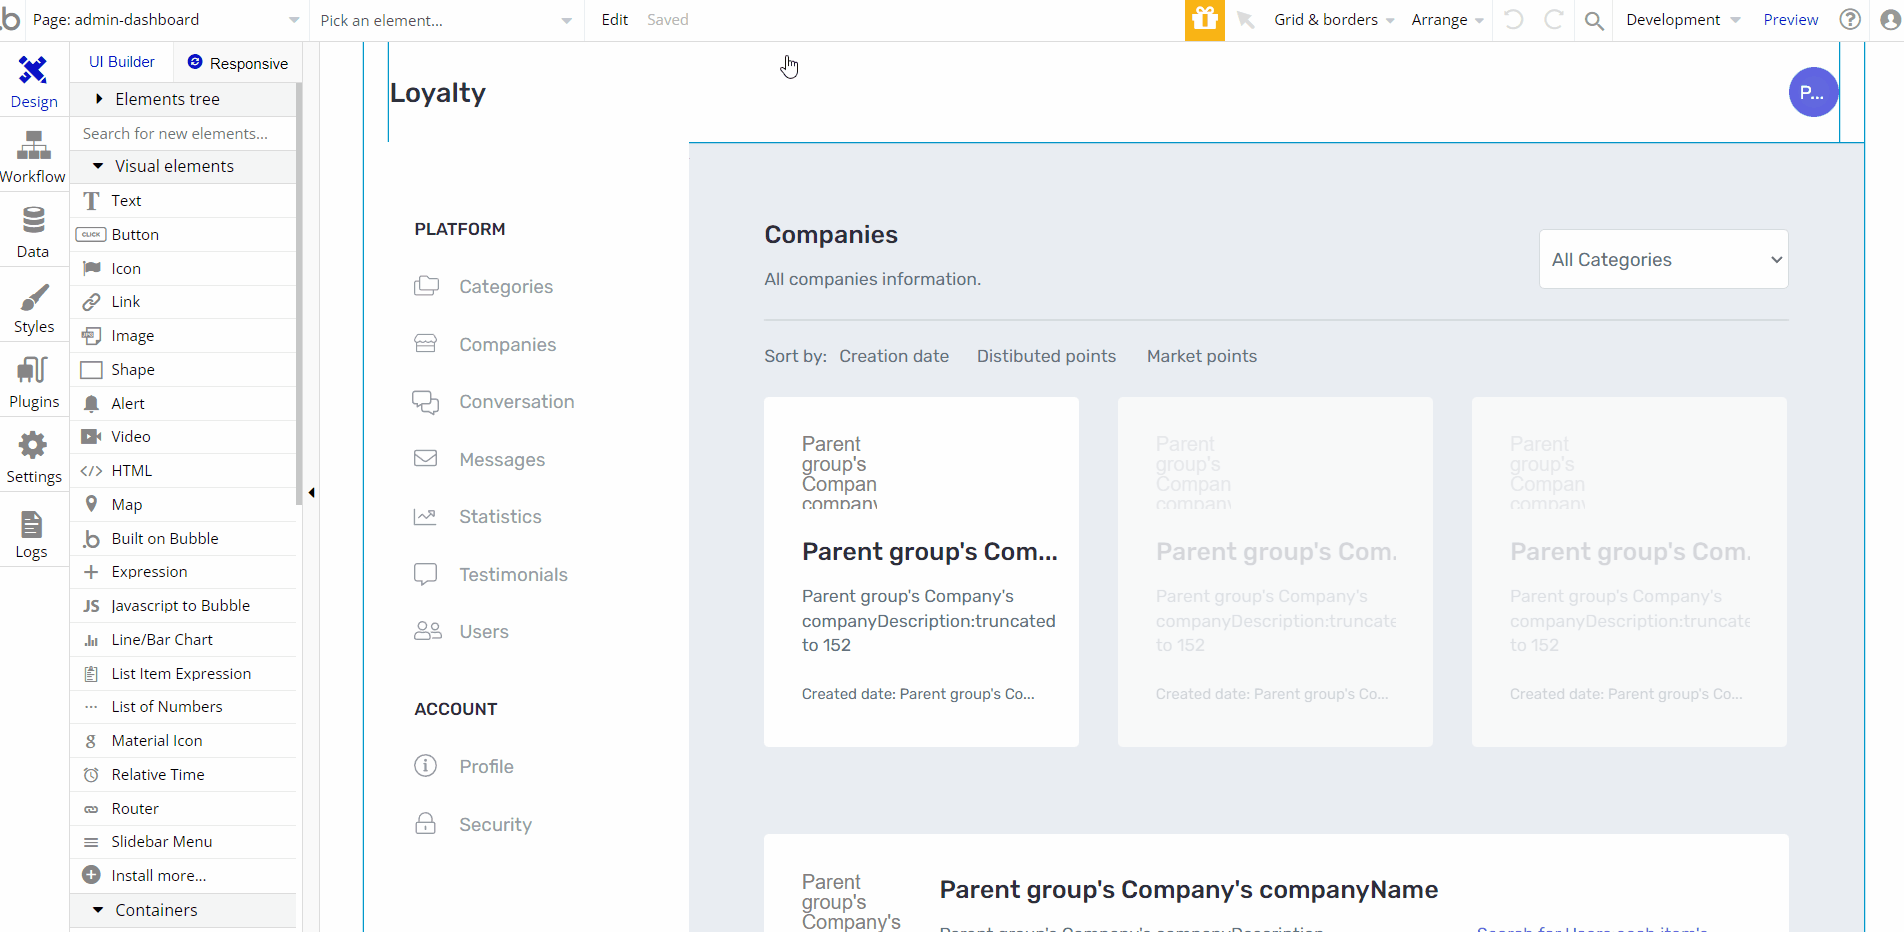
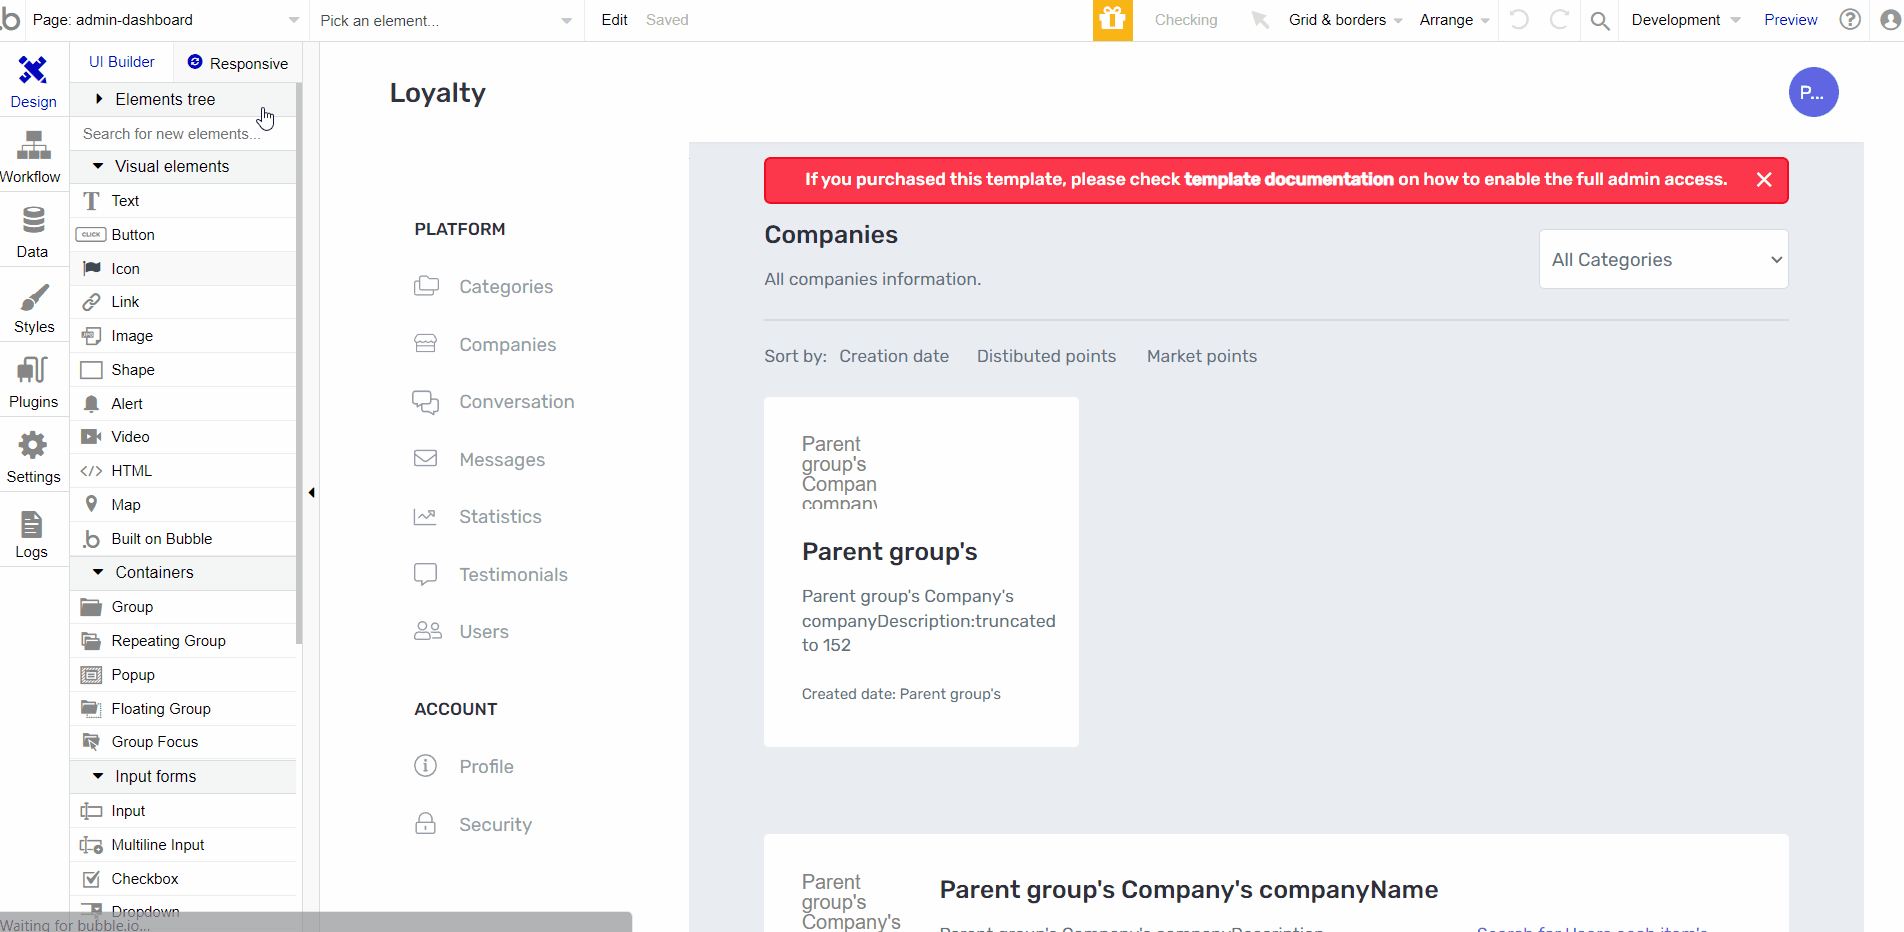
Also, delete the warning group that says to check the template's documentation:
- Locate the container Group "wrapper and delete it:
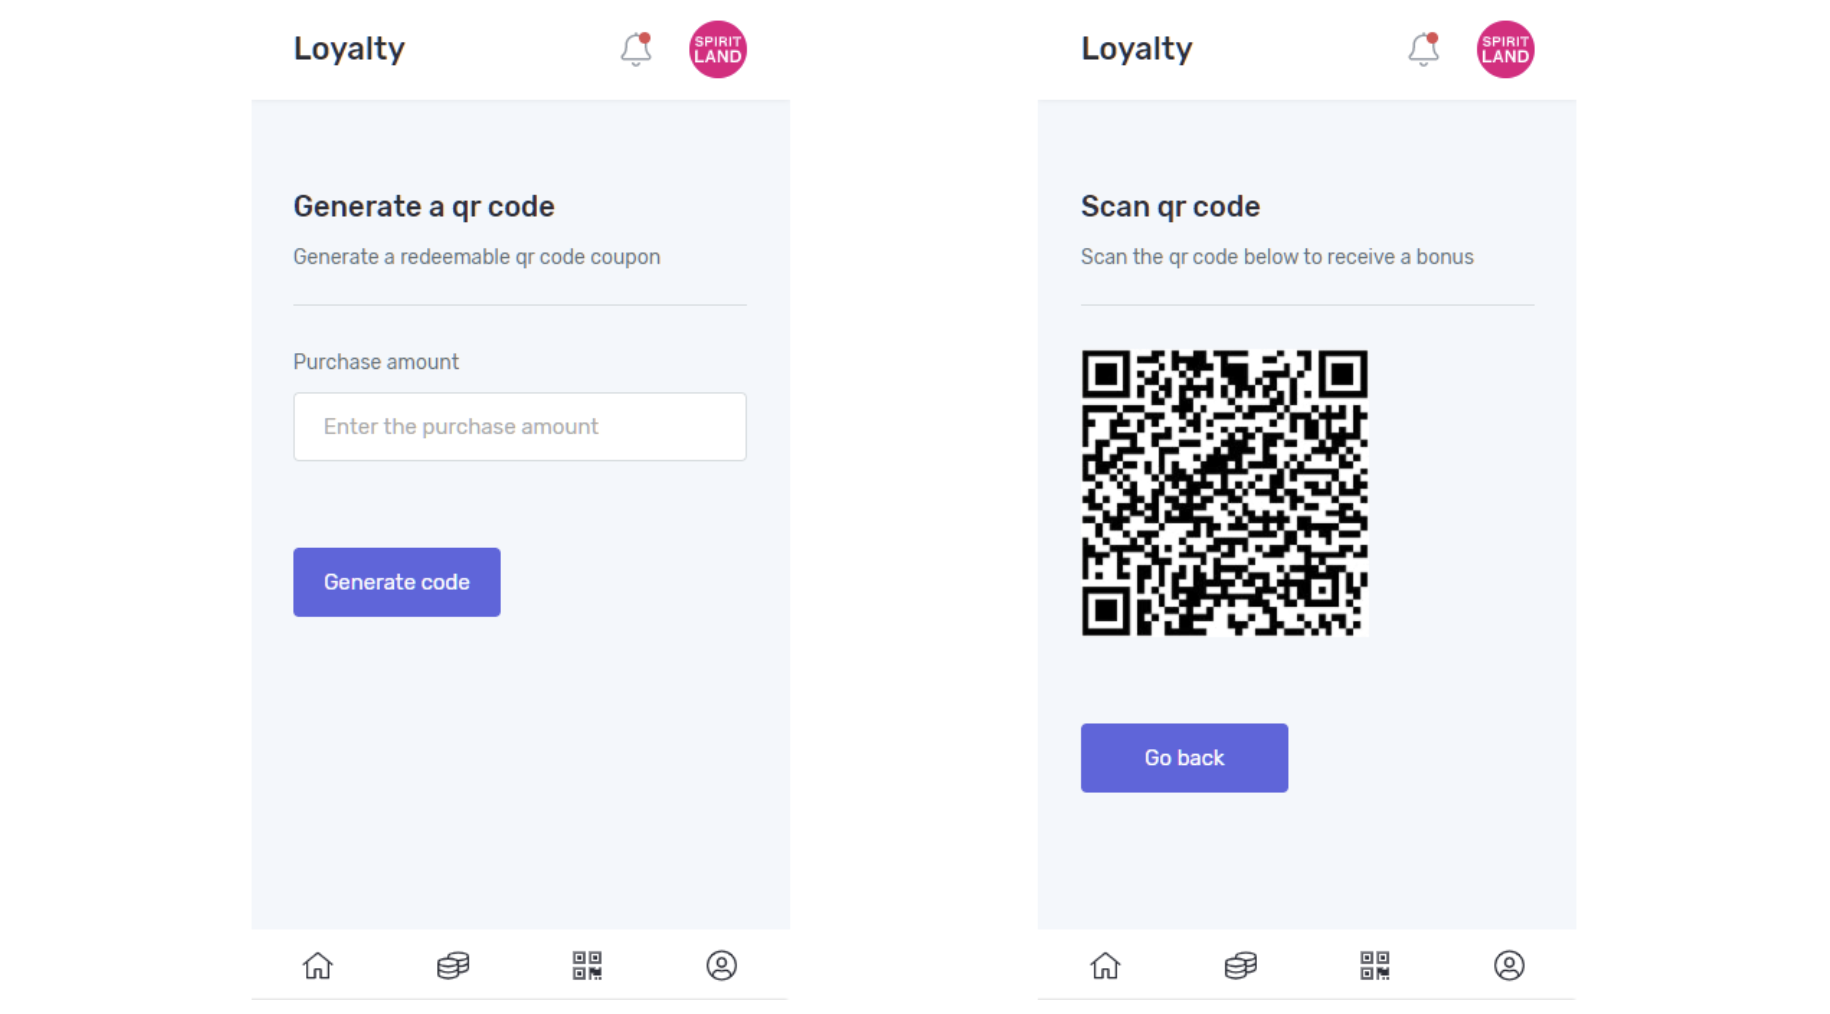
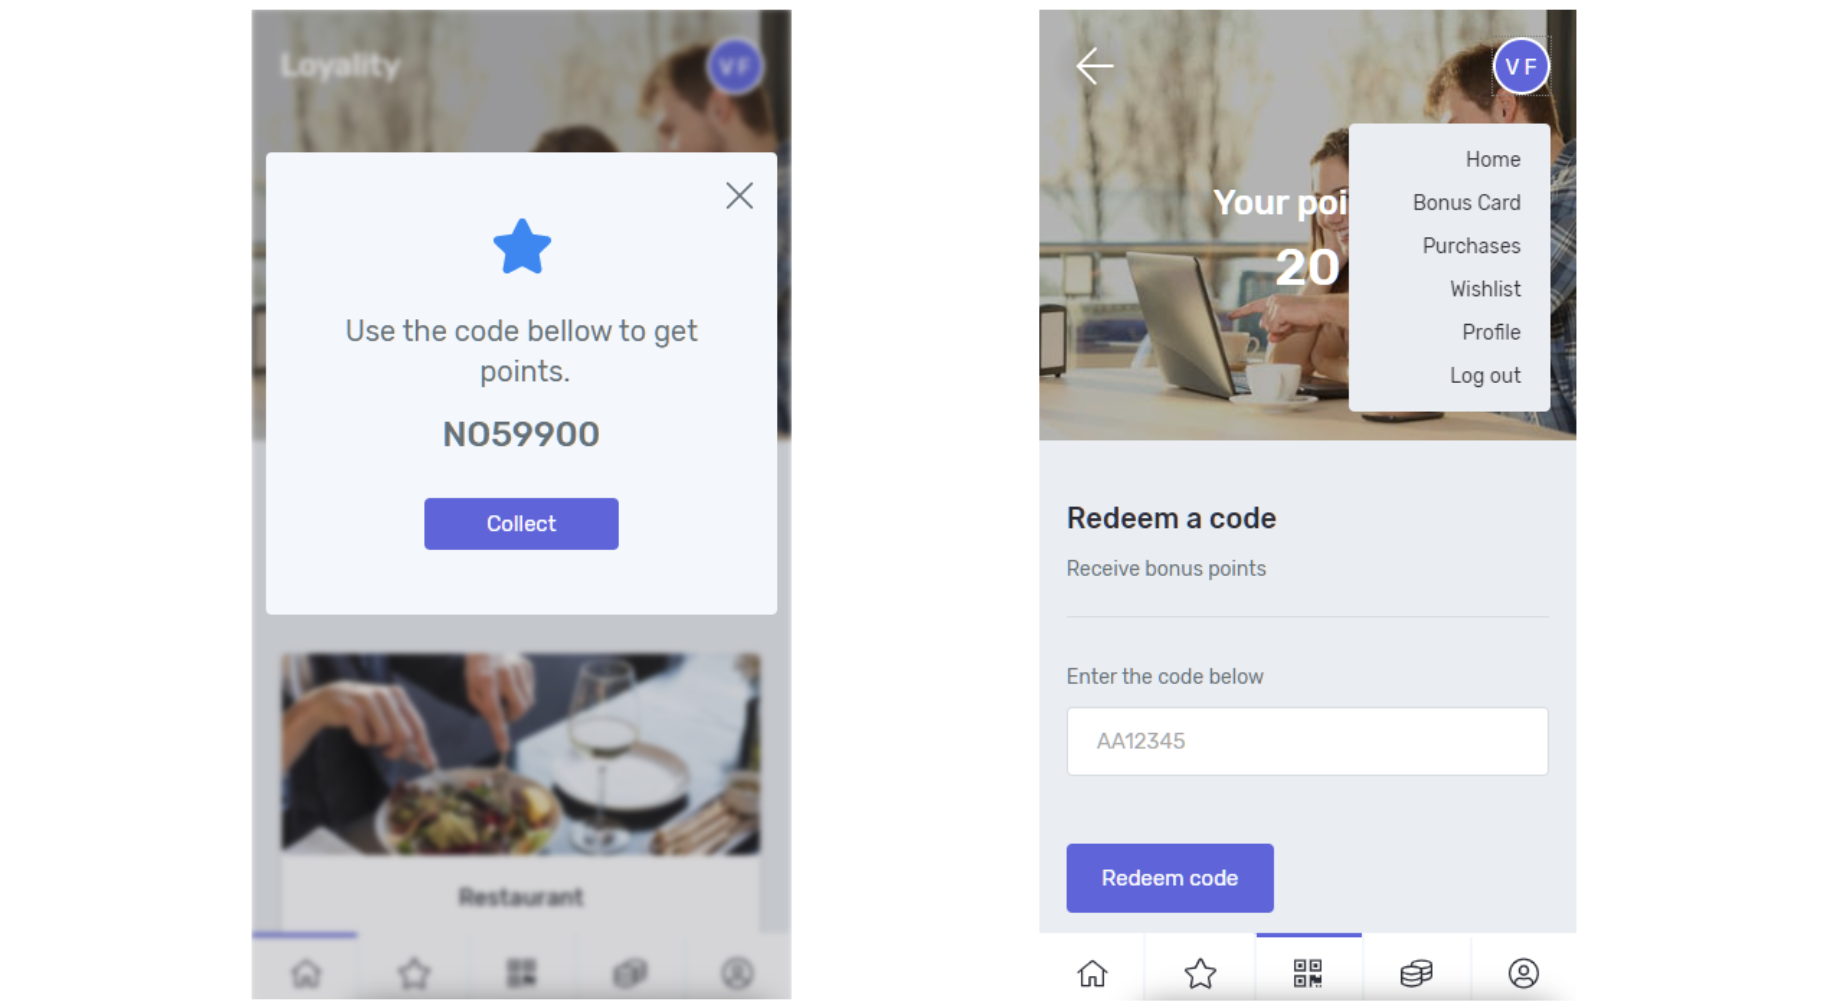
Coupons
This template has an integrated coupon system that rewards customers when they buy something. The process is rather simple:
- The obvious first step is for a customer to buy something
- Then the seller/staff uses the total amount spent to generate a qr code
- The customer scans the qr code using his native camera app or any other third party qr code reader
- After the qr code is scanned the customer will land on the customer page where he will be greeted with a popup to collect the bonus. If the user is logged in the bonus is instantly added when he clicks on the Collect button, if he is not logged in he will be redirected to the login page and the bonus will be added after he logs in/register. Also, the user can just copy the code and close the popup, and redeem it later or give it to a friend to redeem.
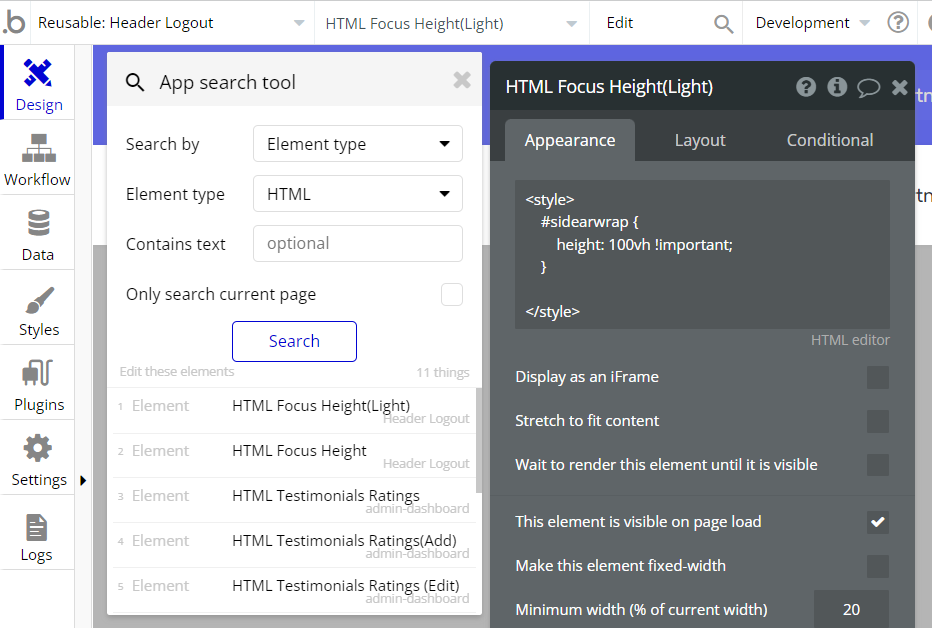
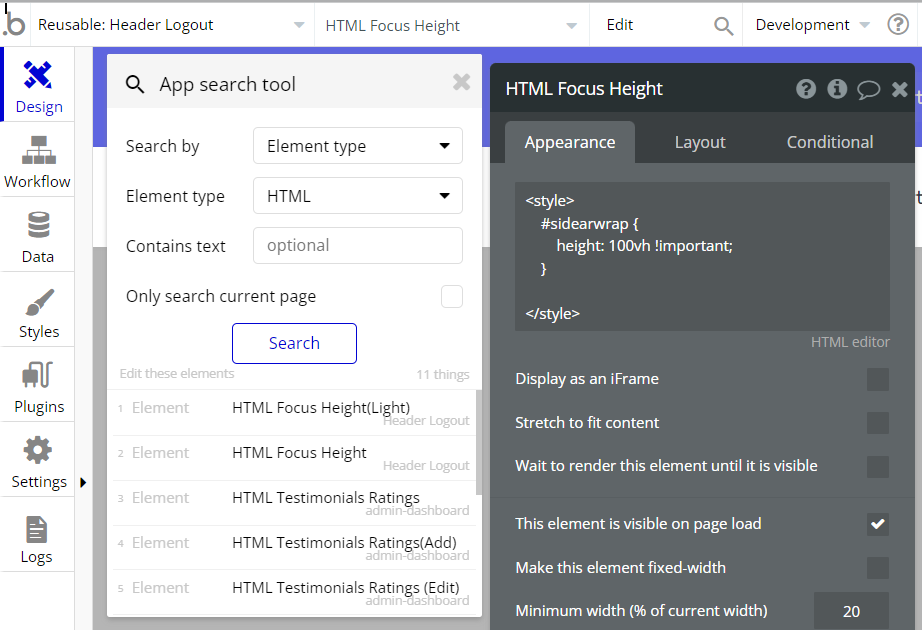
Custom Code
On certain pages, there are some HTML elements used for some solutions that are not available by default. You can find these codes on the following pages:
Header Logout reusable element
HTML Focus Height(Light)&HTML Focus Height- these elements make the GroupFocus Sidebar Wrap (Light) & GroupFocus Sidebar Wrap to the whole height of the page.
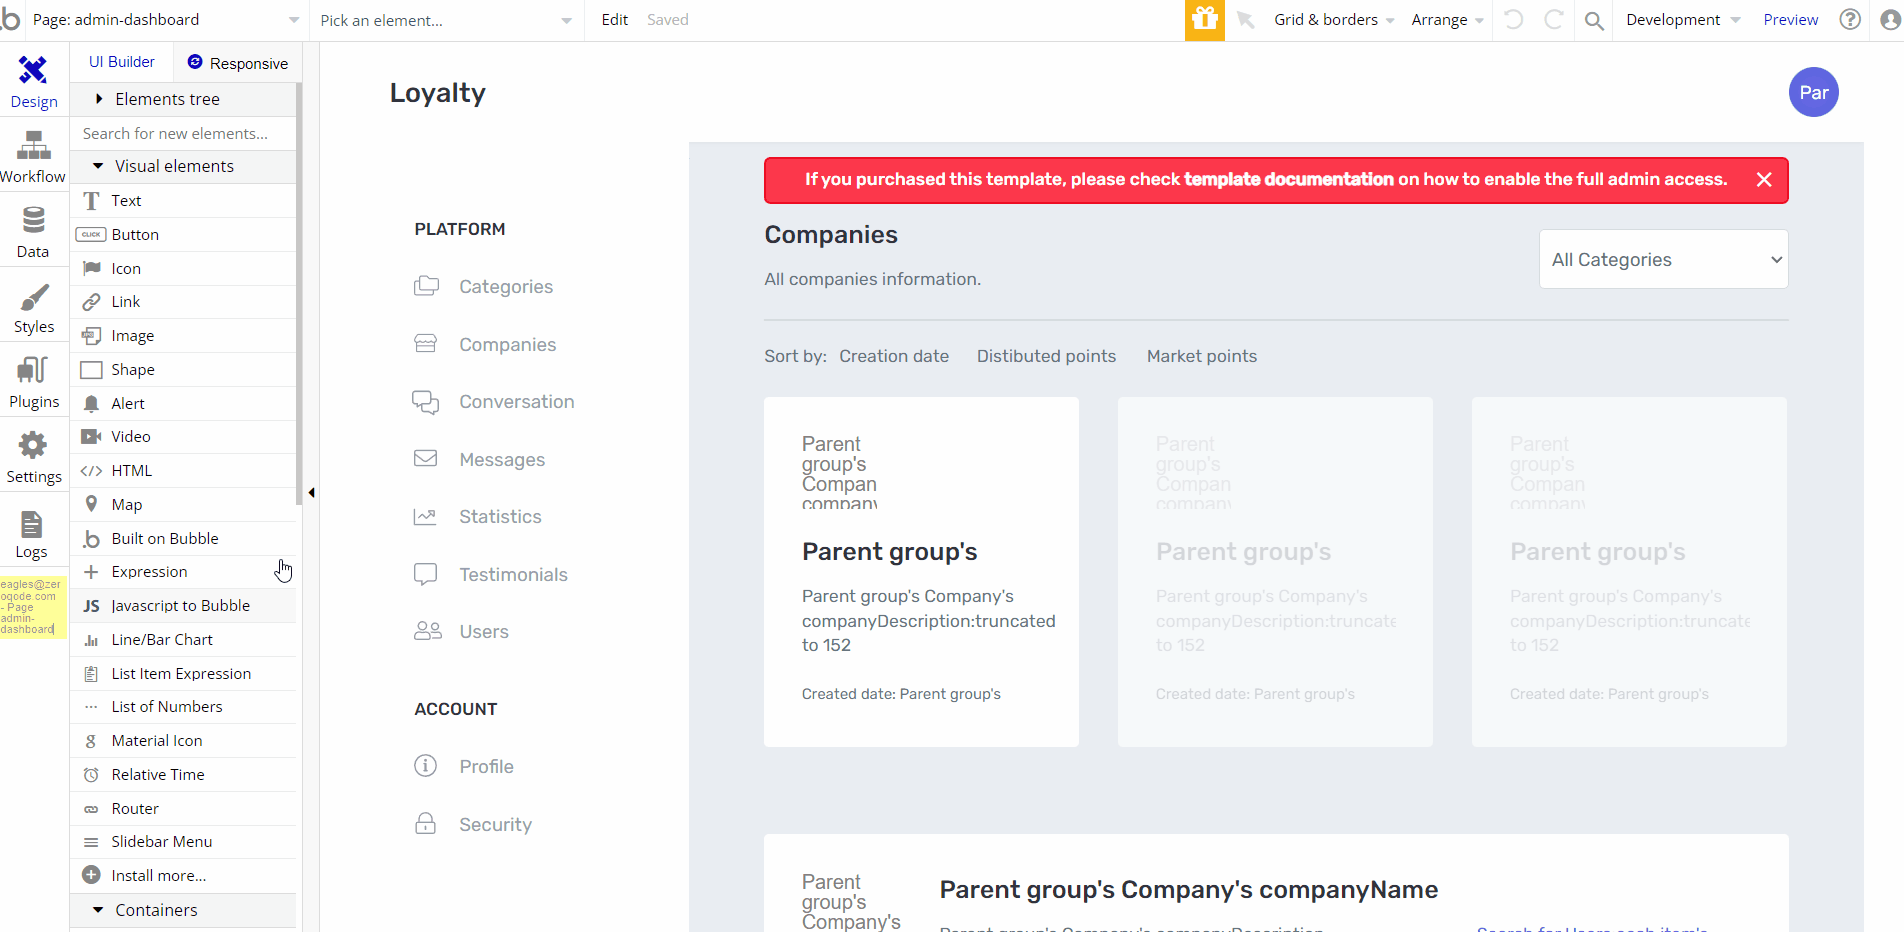
admin-dashboard page
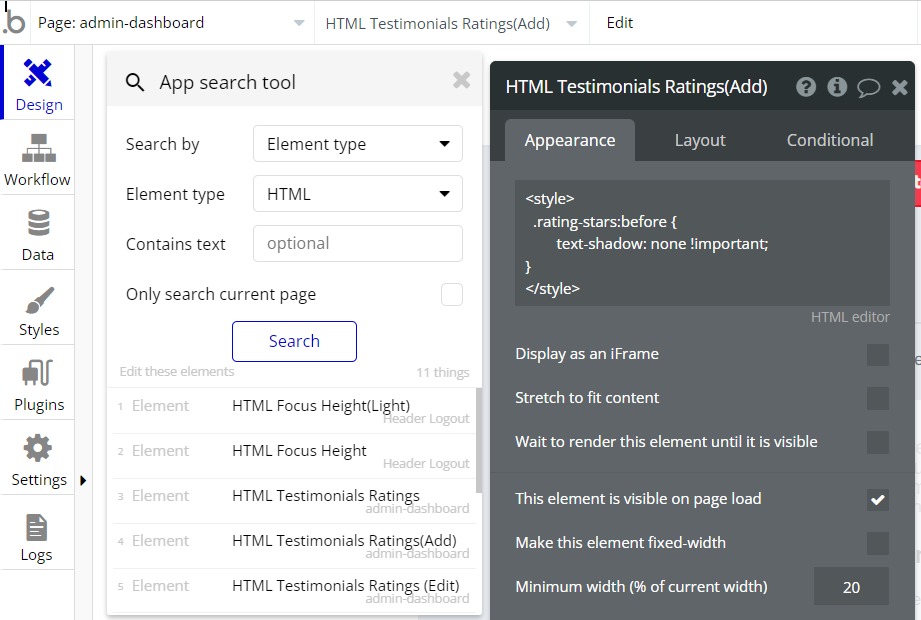
HTML Testimonials Ratings&HTML Testimonials Ratings (Add)&HTML Testimonials Ratings (Edit)- this elements remove the shadow from rating.


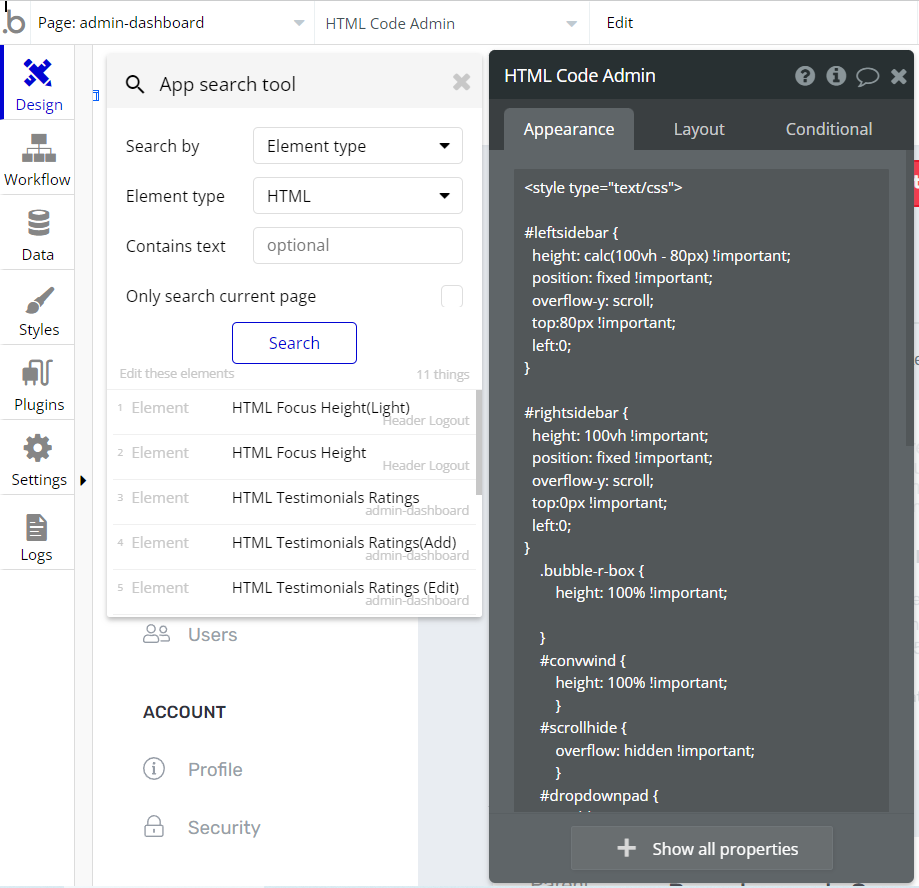
HTML Code Admin- this element changes the style of the right sidebar (height, scrolling position), the height of the Group Conversation List Window (Desktop), and padding in dropdowns.
bussiness-dashboard page
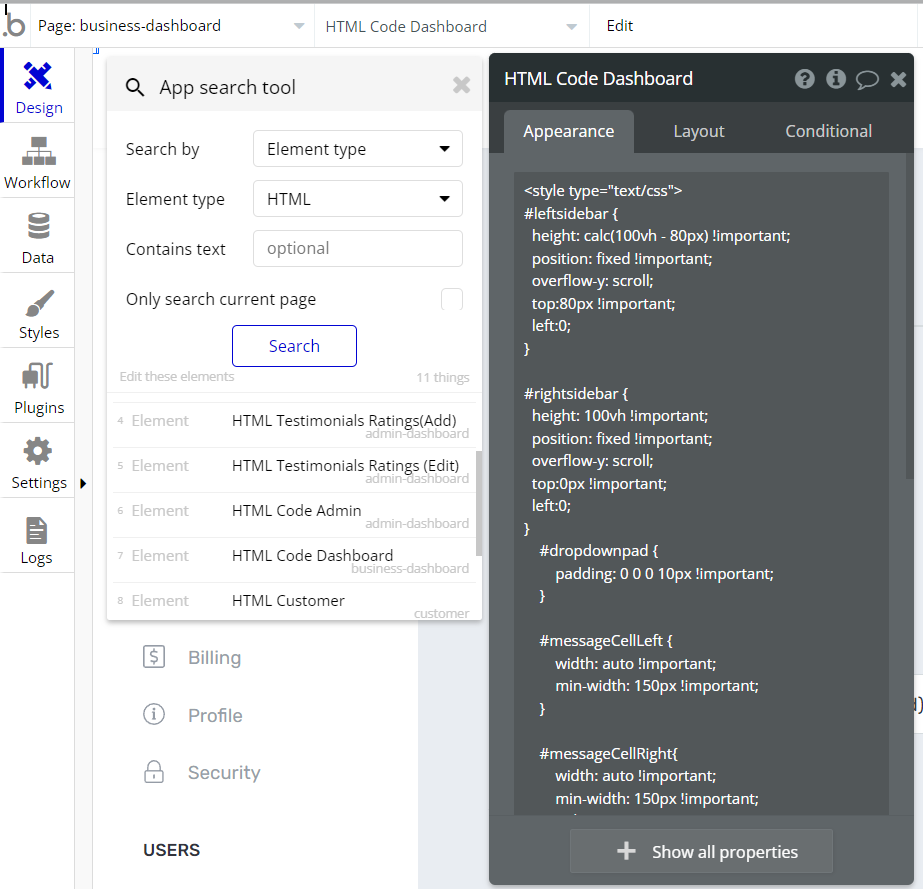
HTML Code Dashboard- this element changes the style of the right sidebar GroupFocus Sidebar Right on the bussiness-dashboard page.
customer page -
HTML Customer - this element changes the scroll bar on the customer page. 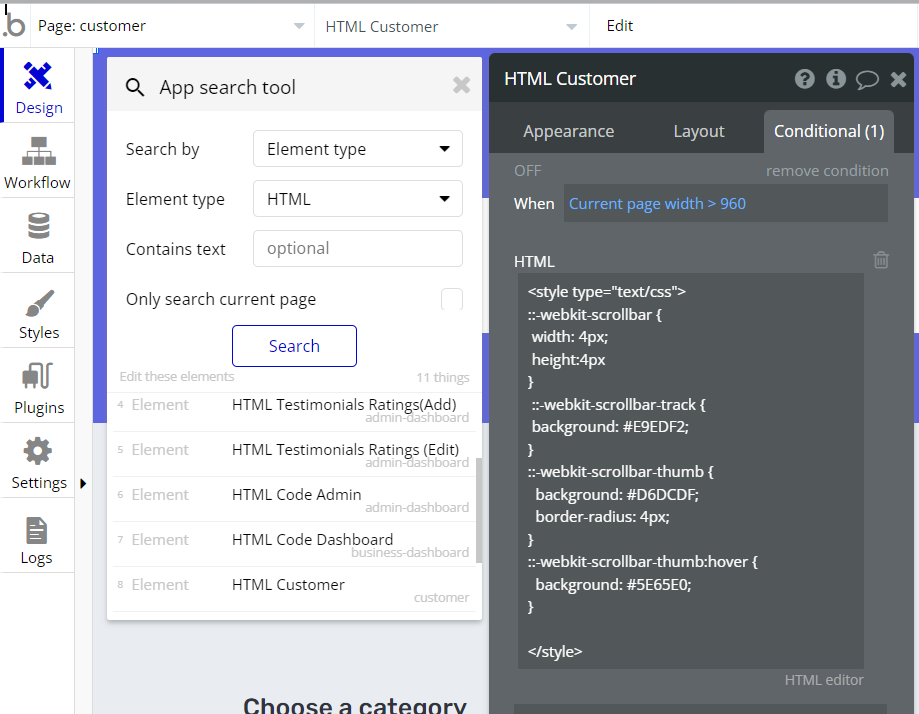
index page -
HTML Testimonials Ratings(index) - this element removes the shadow on rating. 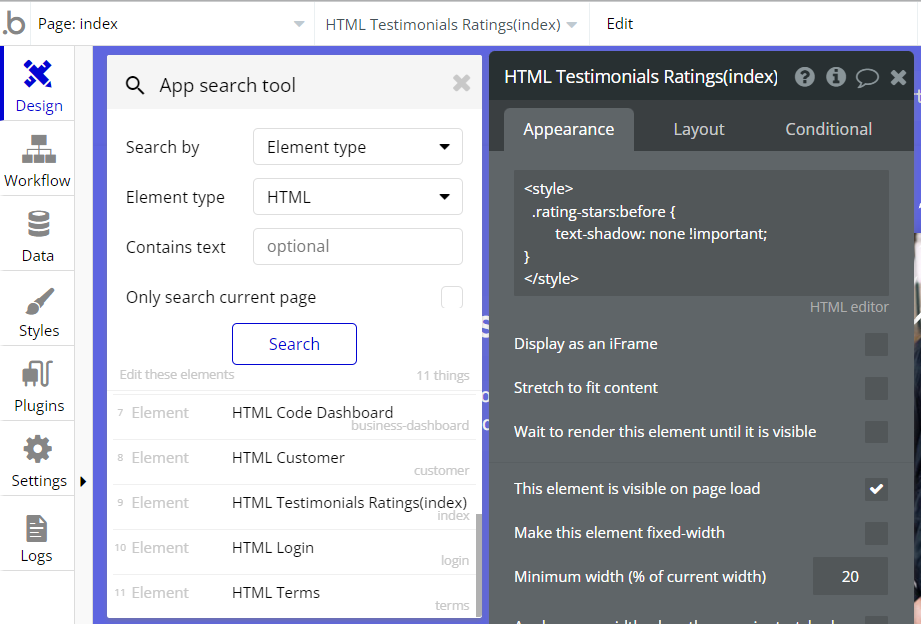
login page -
HTML Login - this element does the Group Right Side on group height, and add padding for dropdown. 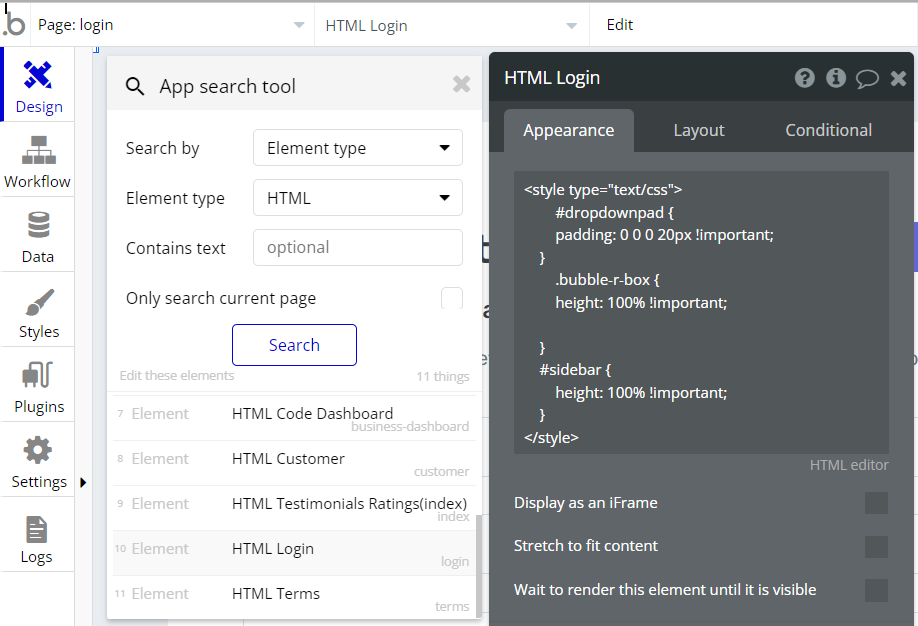
terms page -
HTML Terms - adds a top indent and fixes the position of the Group SideBar on the termspage. 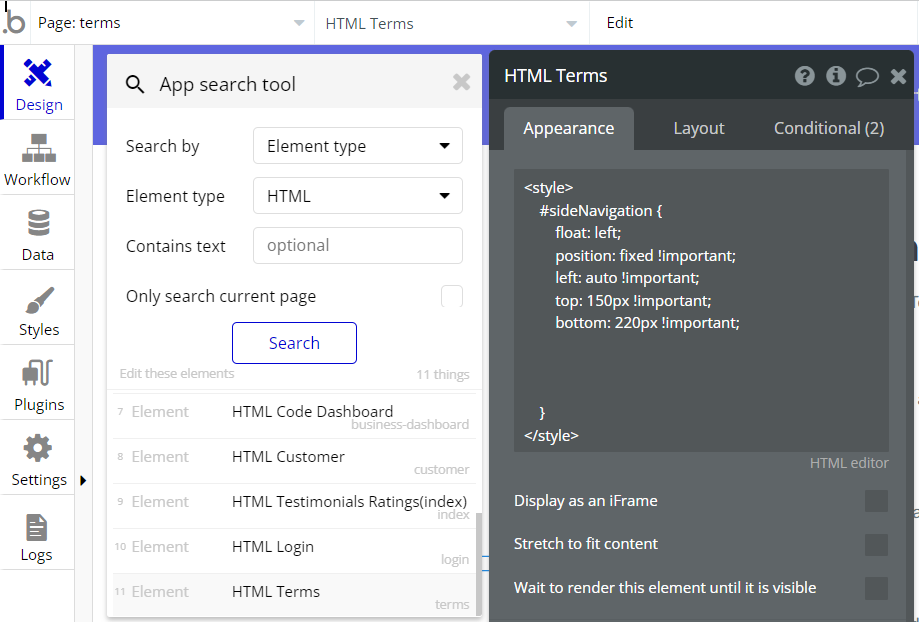
Feel free to customize the styles, but please note that changing the code may break the described functionality. Strong CSS/Javascript and Bubble skills recommended.
❕For all things Bubble check: https://manual.bubble.io/.
❕For CSS/Javascript check: https://www.w3schools.com/.
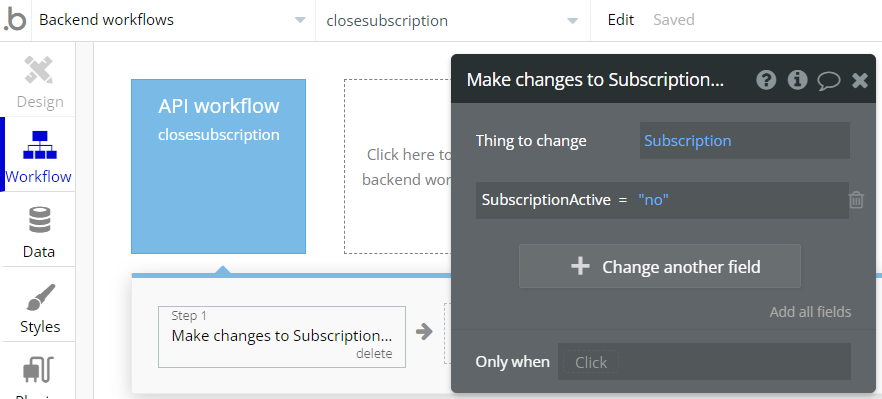
API Webhooks
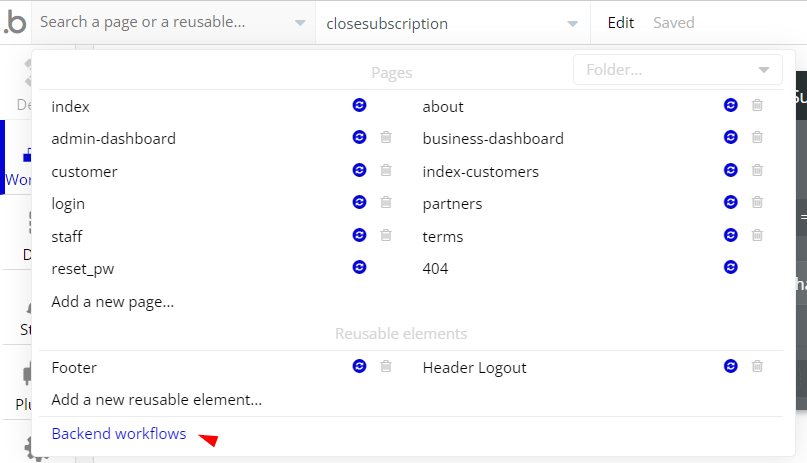
Loyalty template is using Backend workflows for one feature: update subscription status to no.
It can be located in the Backend workflows tab in your editor:
The responsible endpoint for updating and canceling a subscription is the following one:
Hidden Design Elements
Tip: Initially, on some pages, design elements in Bubble Editor might be hidden.
Here is an example of how to unhide 👀 them:
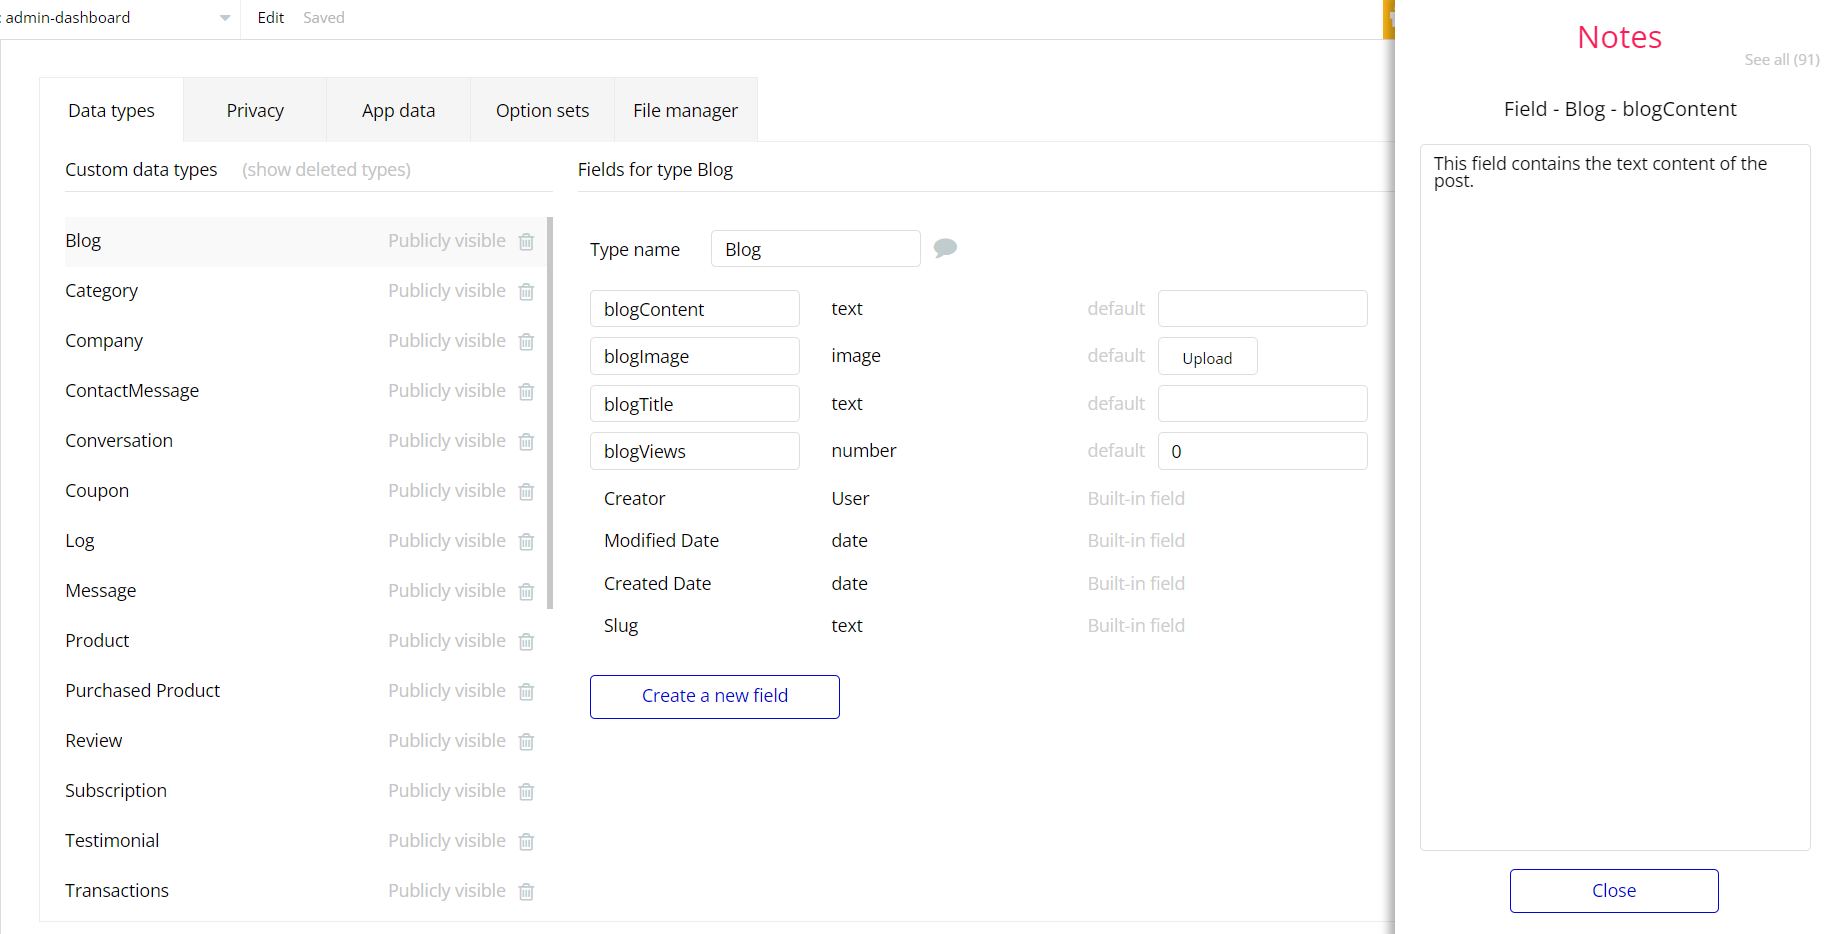
Embedded Notes in Bubble Editor
This template comes with explicit Notes for Database fields, Option sets and their fields, and Privacy rules, which will guide you with the modification process.
In order to preview a Note of any data type or field, click on the 💬 icon.