This section states the purpose of each page.
Introduction
In this summary, we will describe each page and its content. The Page Element is the fundamental one that contains all the other elements.
Tip: See Bubble Reference for more information about Pages element https://bubble.io/reference#Elements.Page 🙂
Pages
index
This is the main page typically encountered first on the web app that usually contains links to the other pages of the site. A homepage includes a variety of menus that make it easy for users to find the information they need.
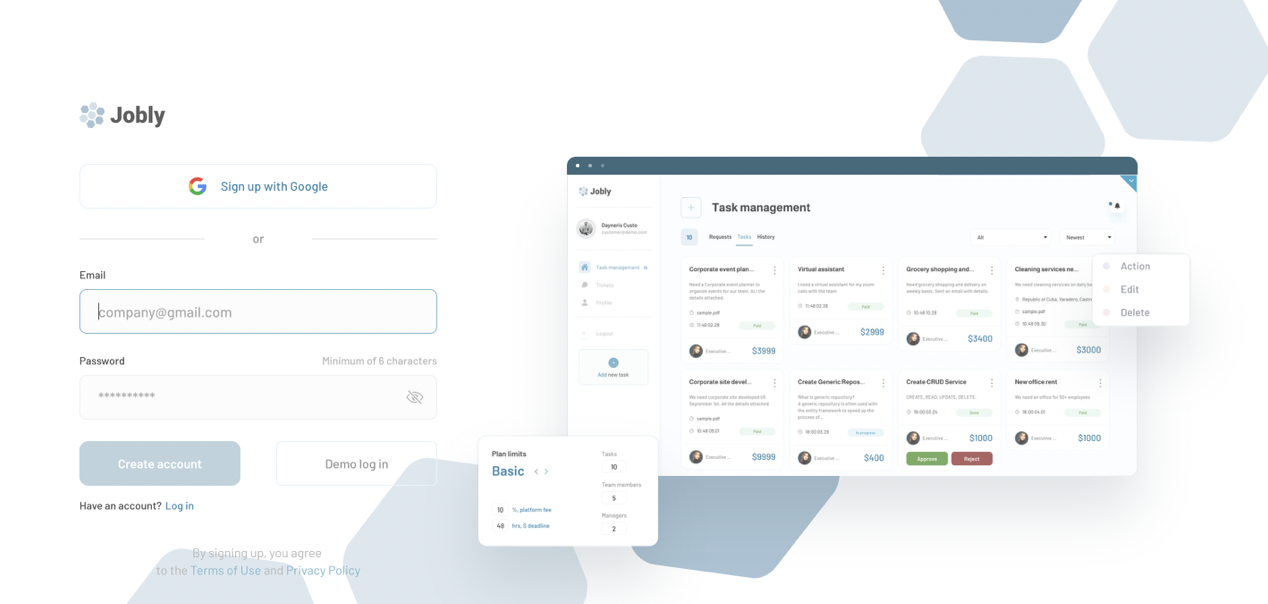
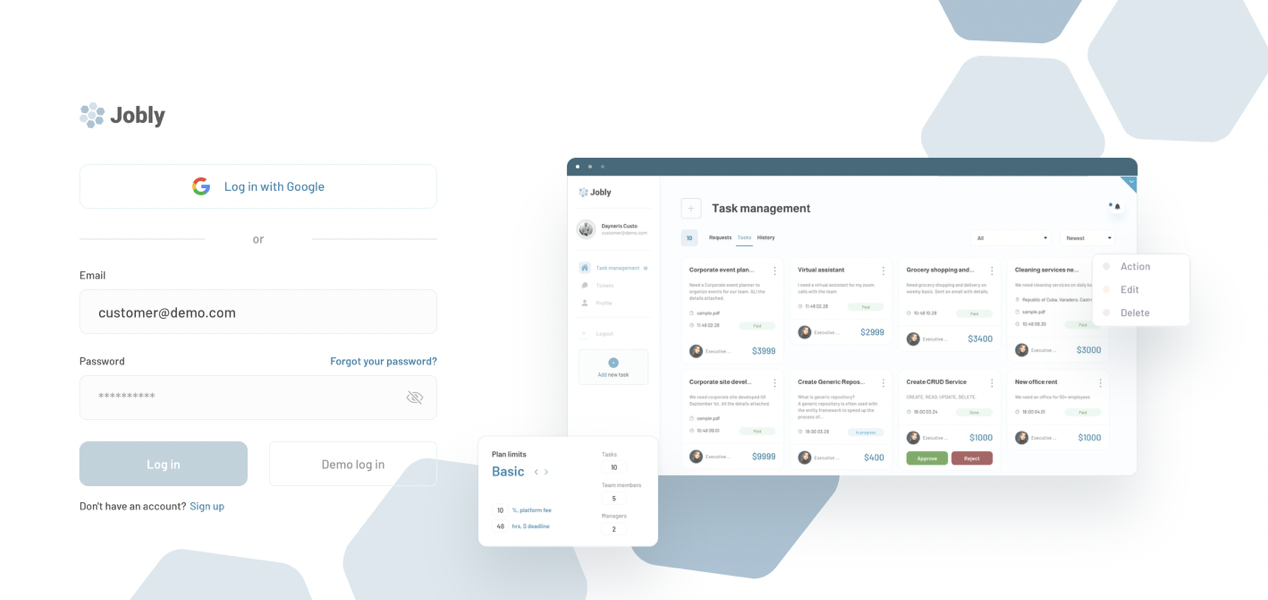
This page is used for creating an account or logging in to an existing one. To access it, users will click on “Signin” button in the header. Besides standard registration, users can also use their Google accounts to register or log in.
On this page, users are offered a demo user to log in and test all the template features. For detailed information on how to remove this button, see the Remove Demo Login section.
This template comes with multiple login options for different user types. The available options are the following:
- Demo Company Owner
- Demo Manager
- Demo Staff
- Demo Customer
- Demo Admin
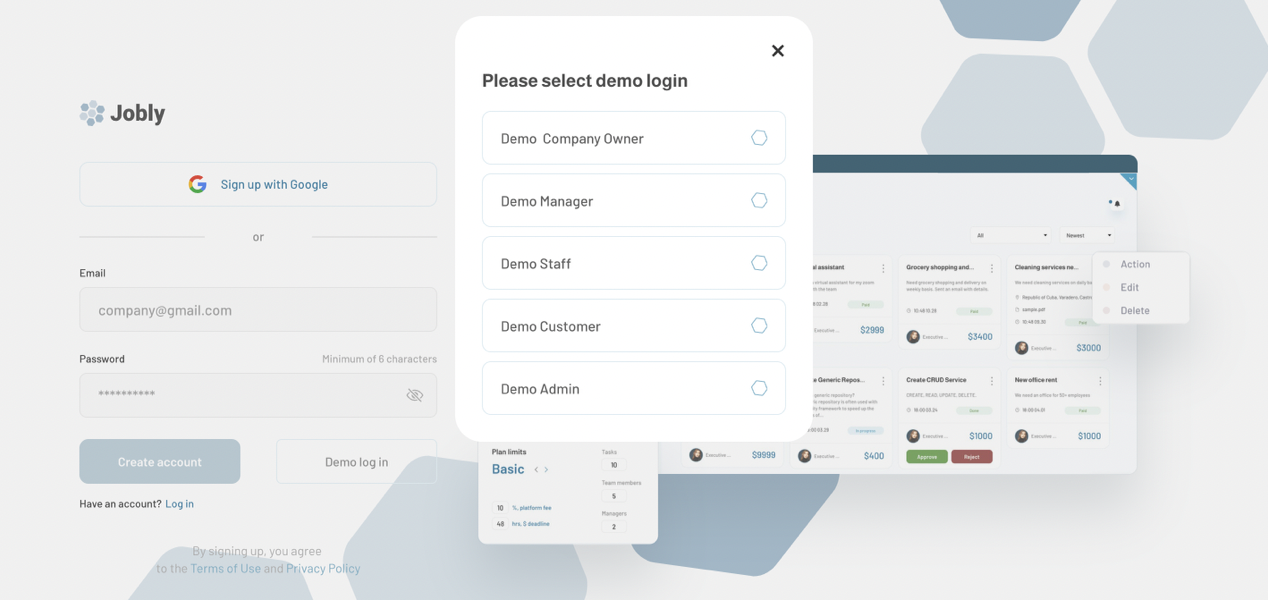
All the user types can be tested thoroughly except for the Admin which requires the admin rights to be able to use the admin panel features at its fullest.
admin_dashboard
This page is designed to manage platform data, e.g. Users, Items, Payments… and others. Only users with admin rights are able to access this page (in read-only mode), and those users who have access rights can edit or delete anything here.

Here, admins can check the overview stats about the plans, revenue, list of transactions, etc. and also set plan limitations (nr of taks, team members, and managers allowed) for the paid plan in the Plan limits section.
Admin can overview Users and their data, quickly check the name, company, email (and actually copy it to your clipboard), user type, etc.
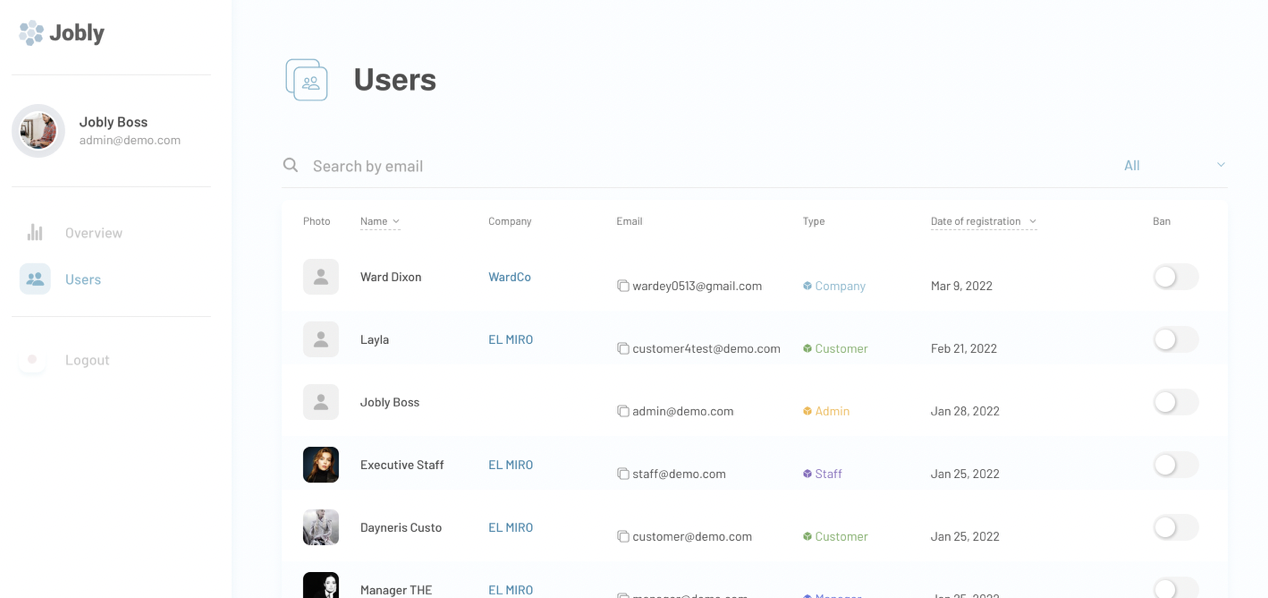
Tip: It is possible to ban a certain user.
As it can be seen, the Type column is displaying the User Type of the platform user, which are can be one of the following types:
- Company (Company Owner)
- Manager
- Staff
- Customer
- Admin
company_dashboard
This page is where company owners land after logging in. They are able to manage their company profile through the available tabs in this dashboard.
It comes with the following sections: Overview, Team, Membership and Profile.
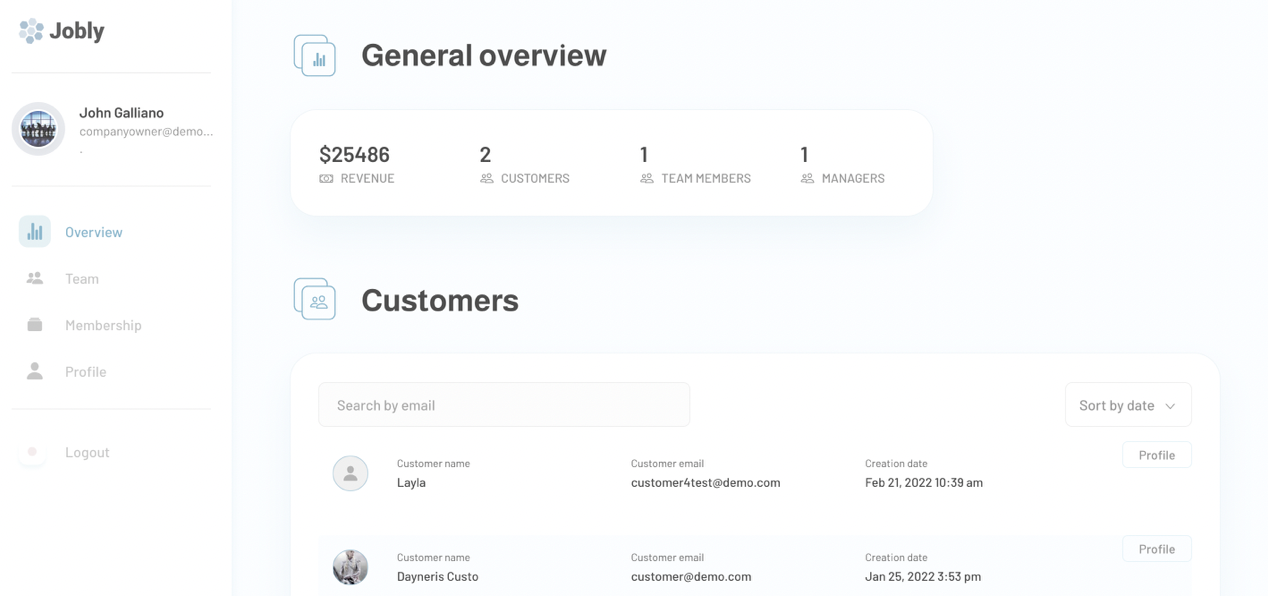
Overview
This section is displaying some general stats about the company revenue, the number of customers, team members and company managers.
It is also possible to search through all customers and view their profiles here.
Team
This section is displaying the team members with their data like name, type, tasks, etc. It is also possible to ban any team member if needed.
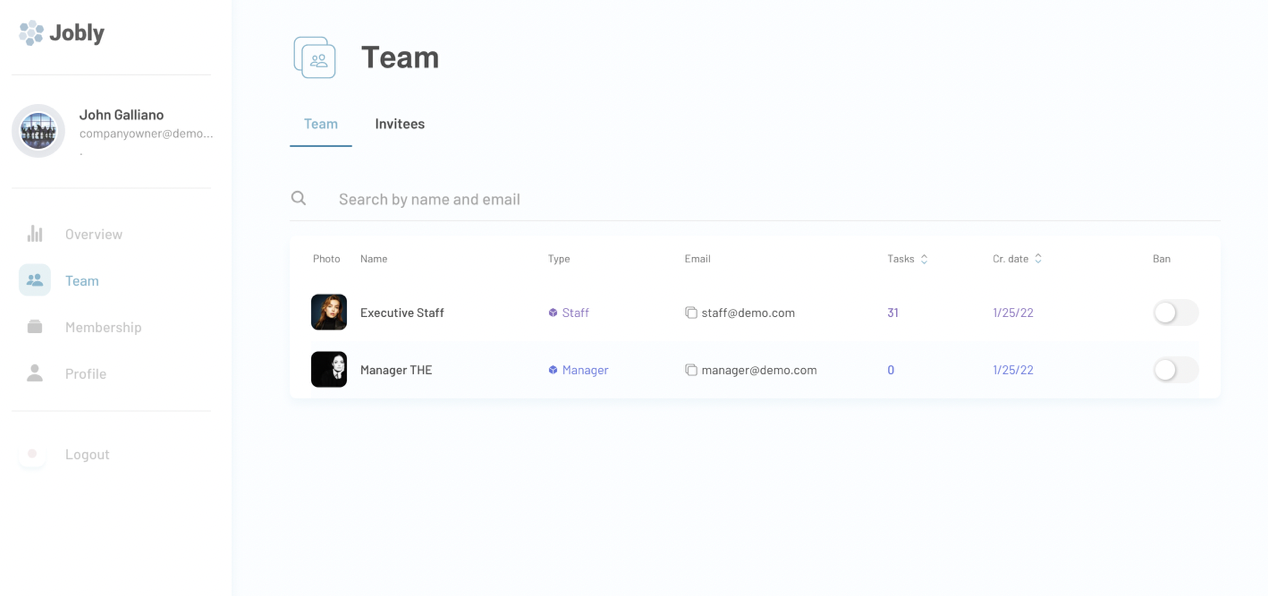
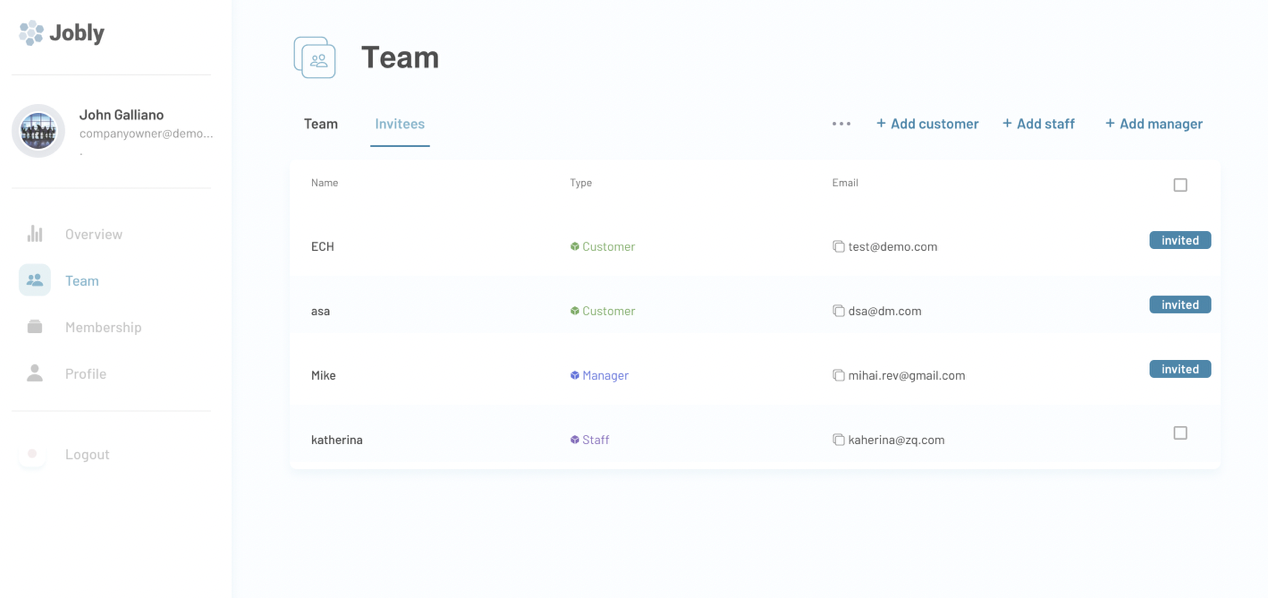
Tip: Company owners are able to invite new team members in the Invitees tab. They can add either a customer, staff member, or a manager type of user.
Users can be added manually, or in bulk by uploading a CSV file. First users are added to the invitees' list and then you can send them invites either individually or in bulk, by selecting one, a few, or a lot of invitees at a time.
Membership
This section is displaying the membership information and saved cards for easy payments.
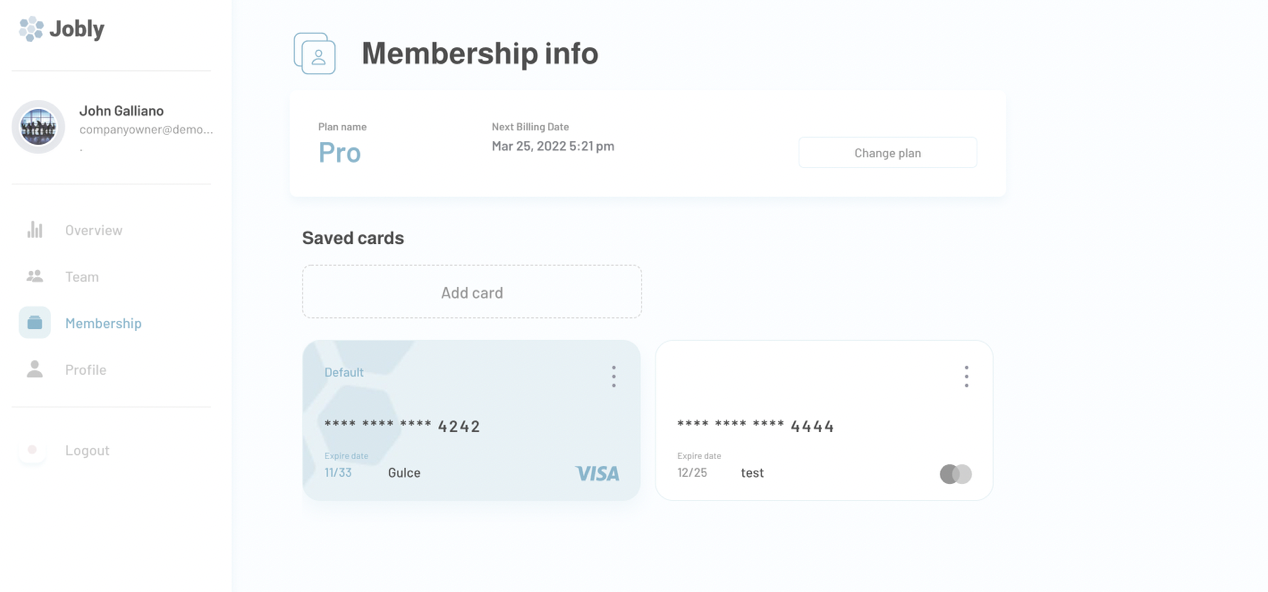
Tip: It is possible to add multiple cards and make one card your favorite.
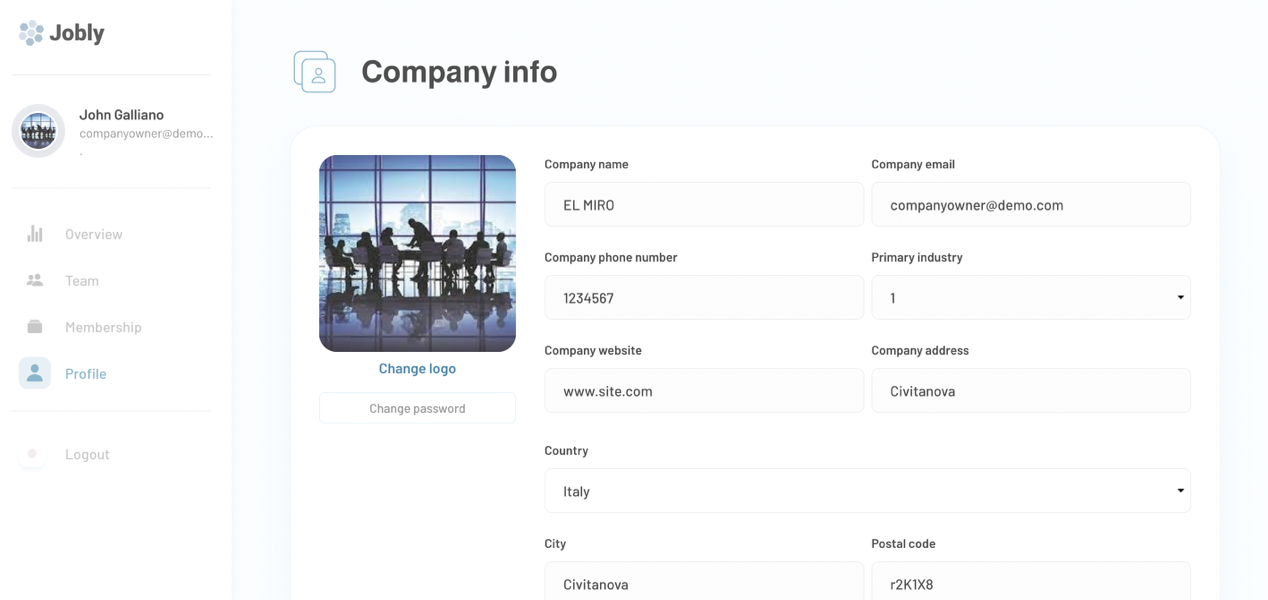
Profile
This section is displaying the company information like name, email, phone number, country, postal code, etc. All these entries can be changed and saved.
customer_dashboard
This page is where customer-type users are landing after logging in. Here, they are able to view their tasks and create new ones, check tickets, and update the profile information.
Note:
Tax and Discount fields in Invoice popup are set only for demonstrations purposes, with no reference to the database.
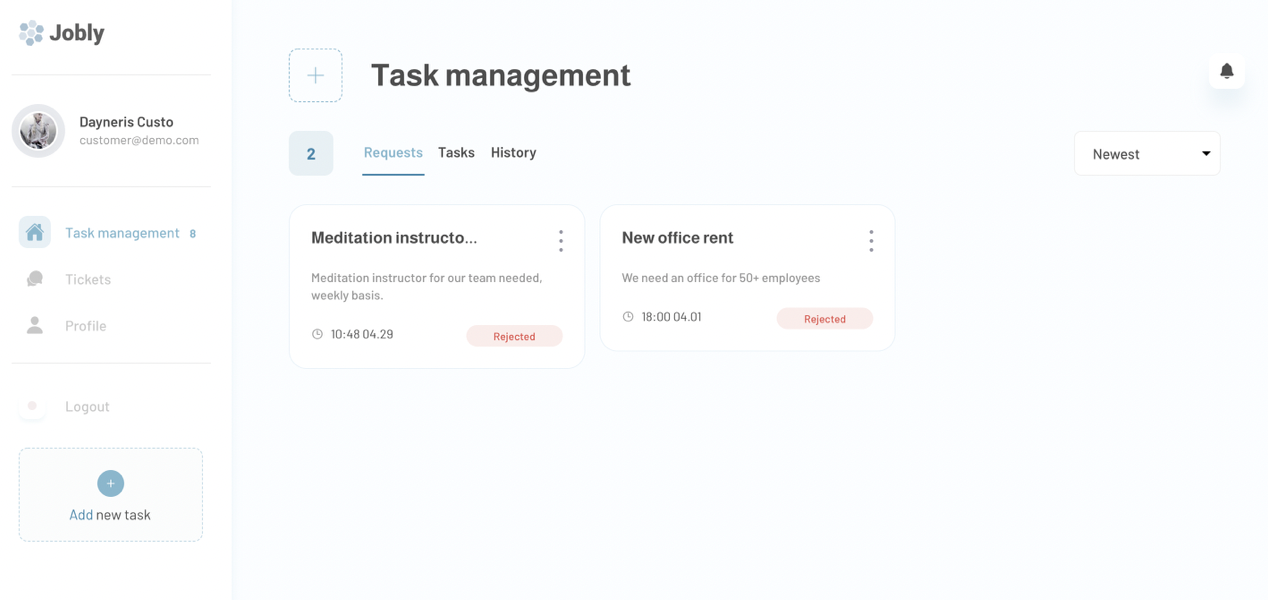
In case these fields are required for invoice total value calculation, a manual adjustment of the setup is required. Task management
In this section, the customers can view all their requests, their own tasks, as well as the history of completed tasks. First, the customer sends a request to the manager.
He can edit any information in the request until the manager sets a price for it. When the request gets to the manager, he can read its description, assign it to the staff member and set a price for it. Afterward, it's returned customer as a task.
All the tasks can be viewed here:
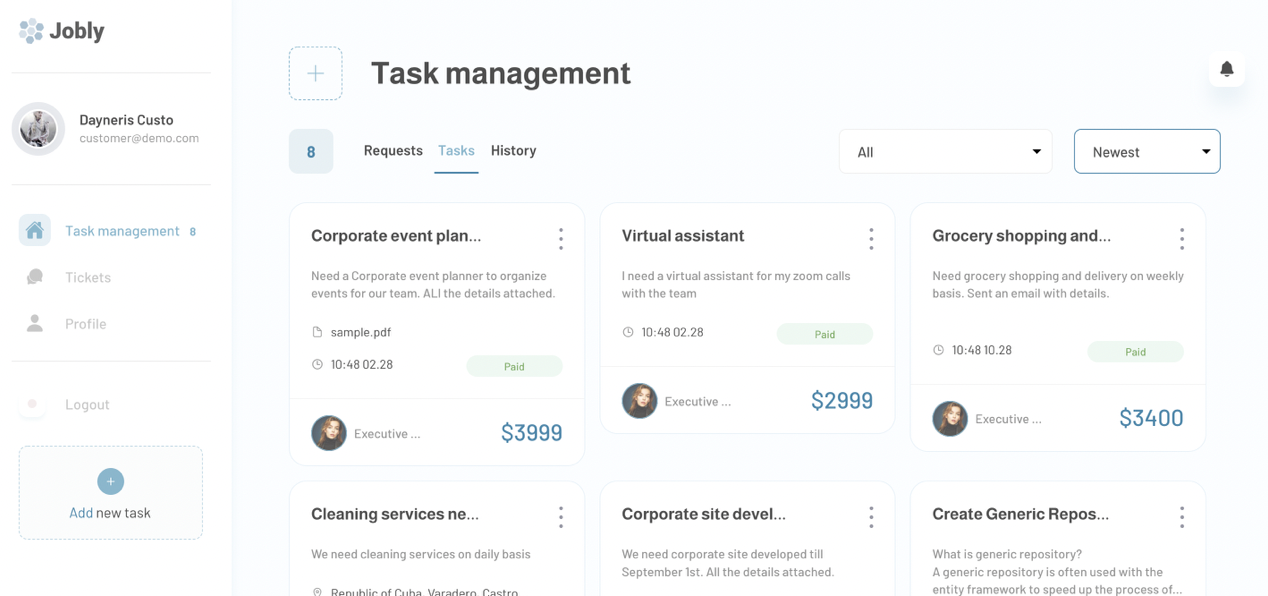
They can be sorted either by date as Newest/Oldest, or by status as:
- Accepted
- Awaits payment
- Paid
- In progress
- Done
- Dismissed
- Refunded
The customer should first pay for the task before it is sent to be performed by the staff member.
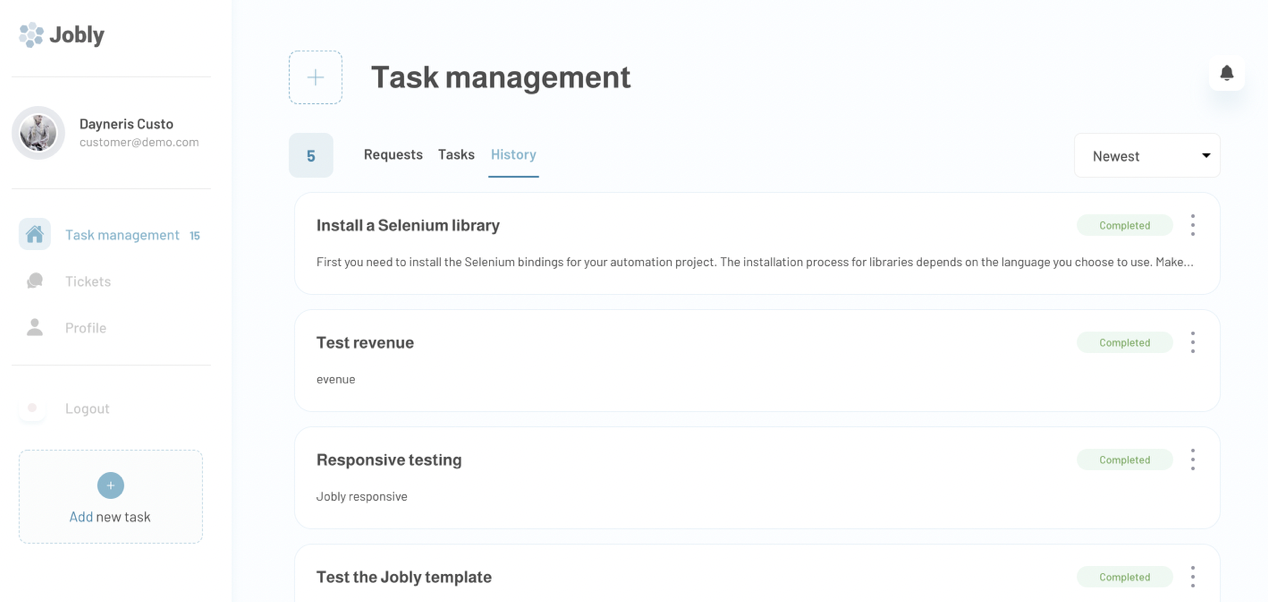
The whole history of tasks performed can be viewed here:
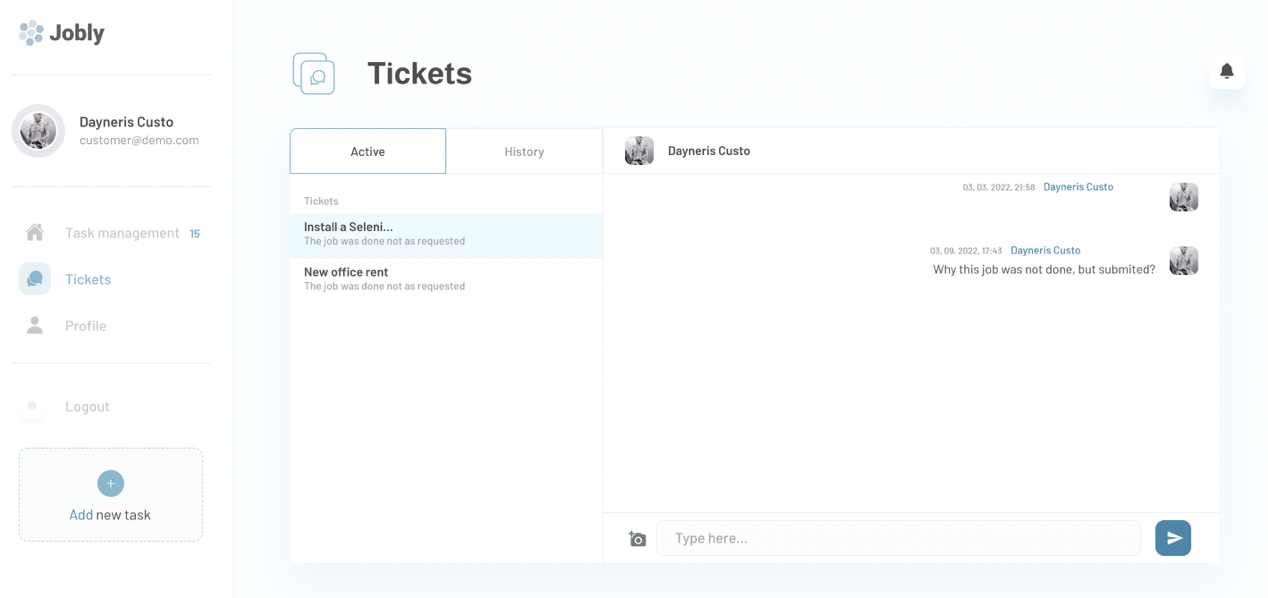
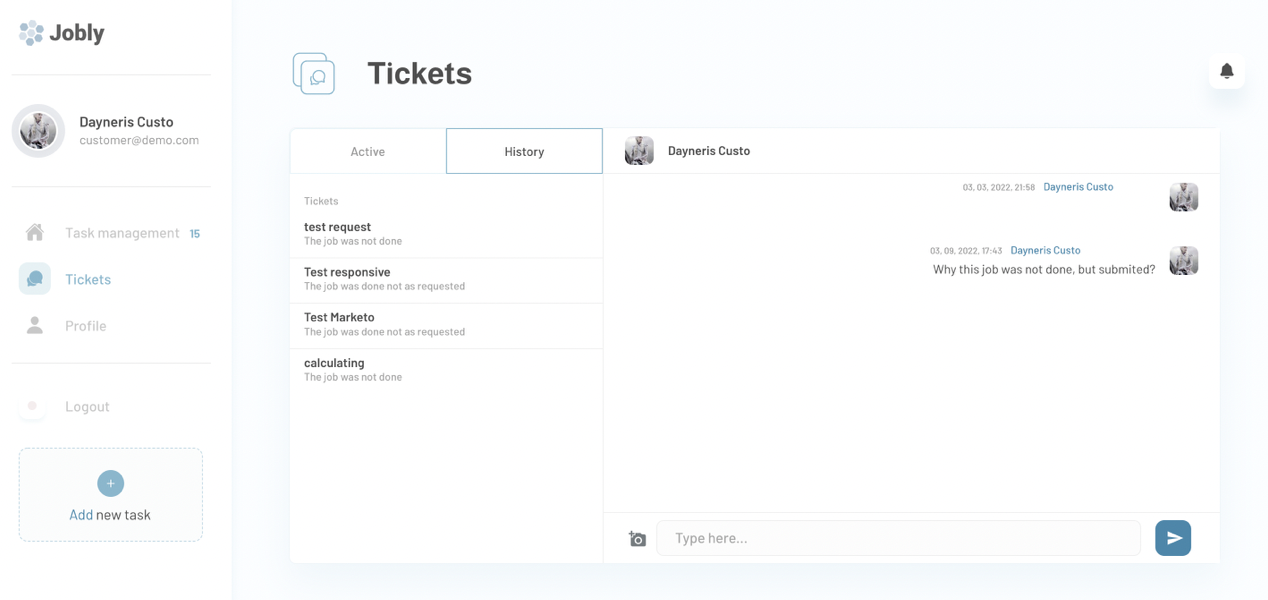
Tickets
In this tab, customers can see and submit the support tickets for jobs. They can check those in the Active tab, as well as see the history of all tickets in the History tab.
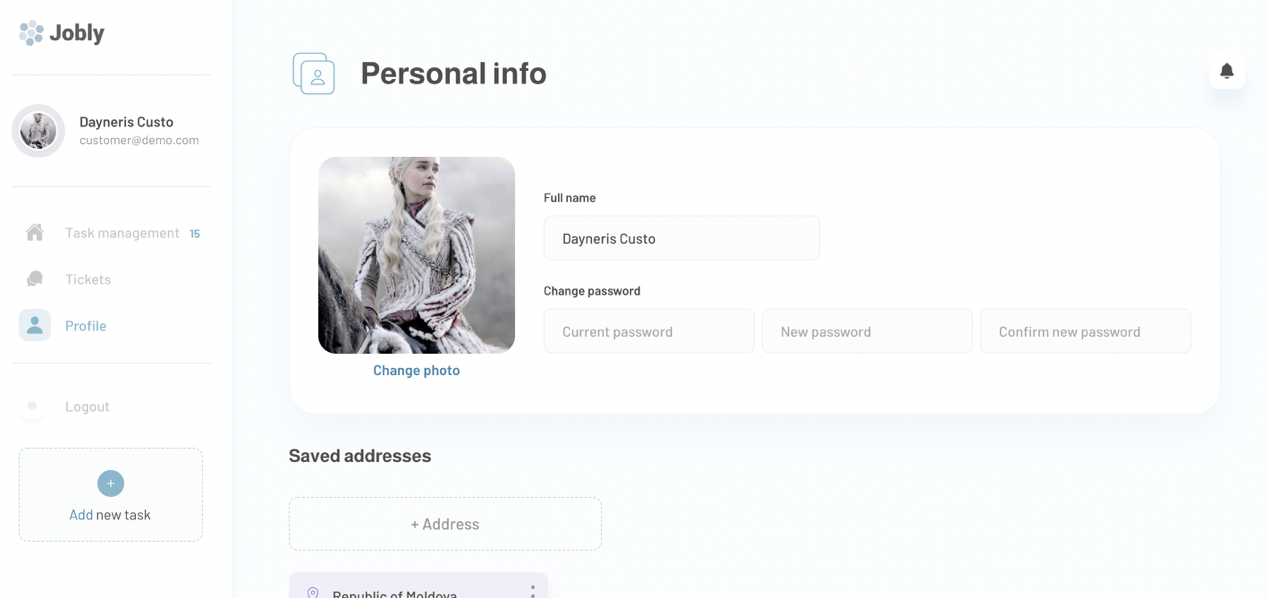
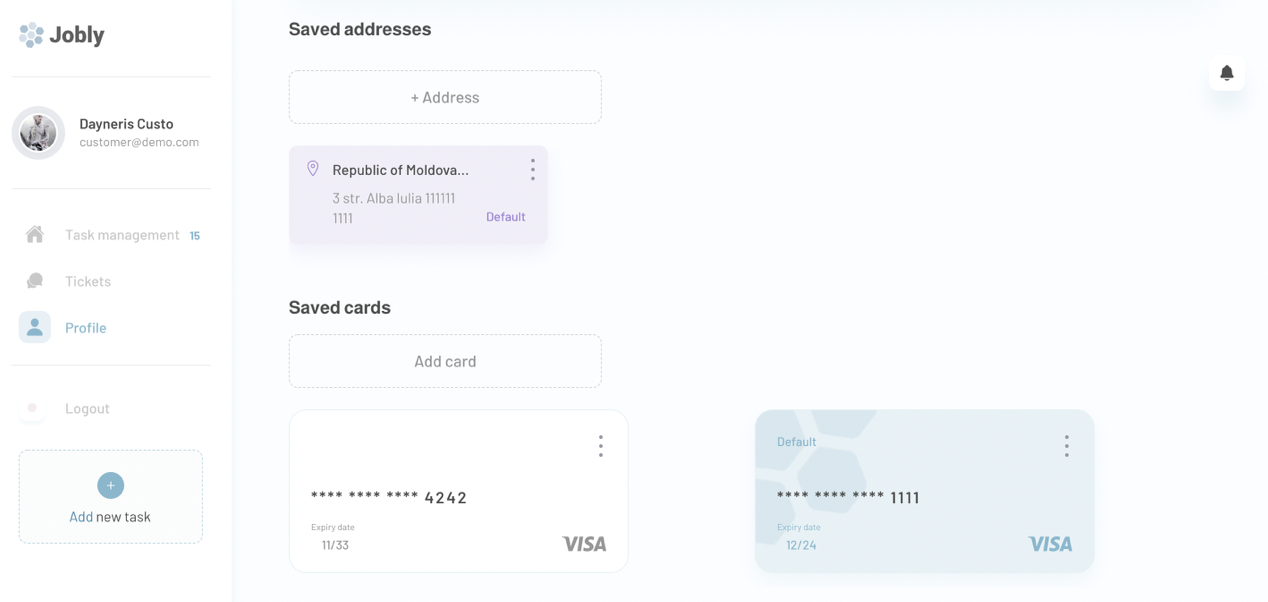
Profile
This section is where the personal info of the customer is. It contains inputs for name, changing the password, saved addresses and saved credit cards.
login
The login page is where platform users are invited to log in with their email and password or via Log in with Google.
The available options for demo testing are all possible User Types. At disposal are the following accounts:
- Demo Company Owner
- Demo Manager
- Demo Staff
- Demo Customer
- Demo Admin

manager_dashboard
This page is the dashboard for company managers that handle all the task requests, support tickets, manage the team, etc.
The manager dashboard contains the following sections: Task management, Team, Invitees, Tickets and Profile.
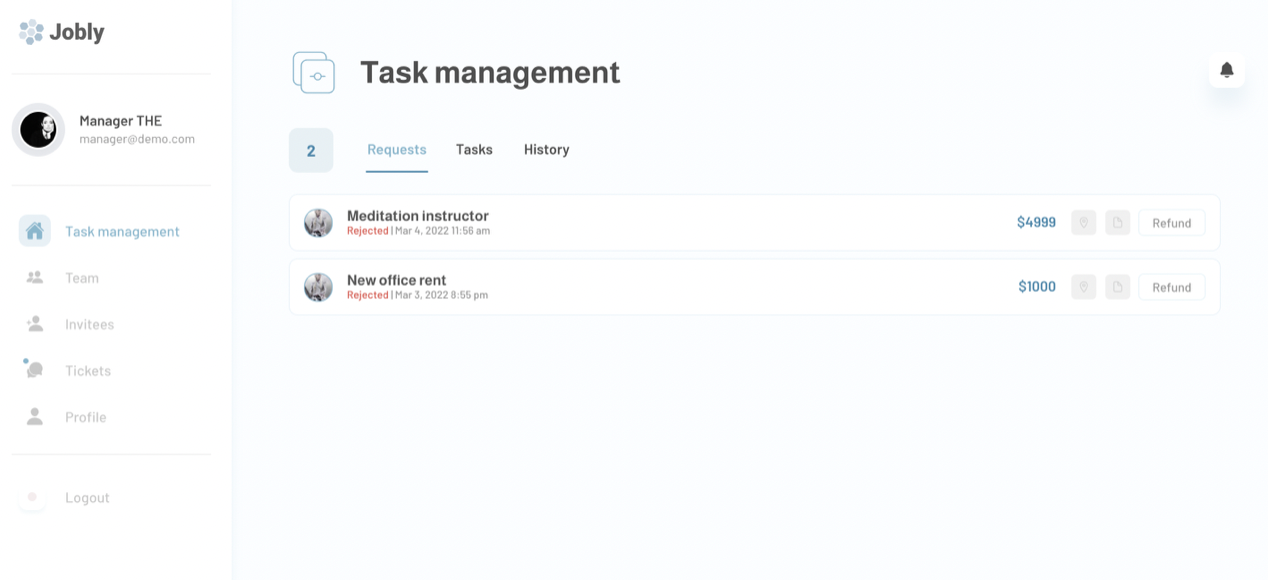
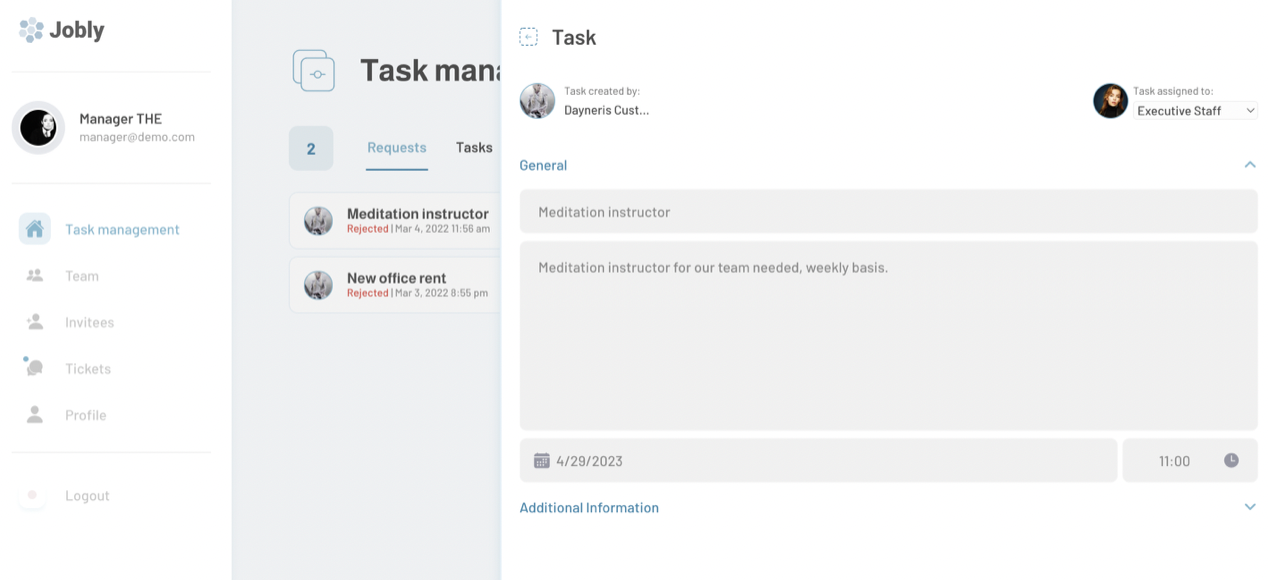
Task management
This is where managers take care of all the customer requests. When the manager gets a request he can view it, assign it to one of the staff members, and set a price for it. It's returned to the customer for payment as a task. After the customer has paid for the request, the task goes to the staff member assigned to this task automatically for fulfillment.
Tip: Here, the managers can handle refunds if needed.
Team
Here, the managers are able to preview all their staff members and also invite new people to their team.
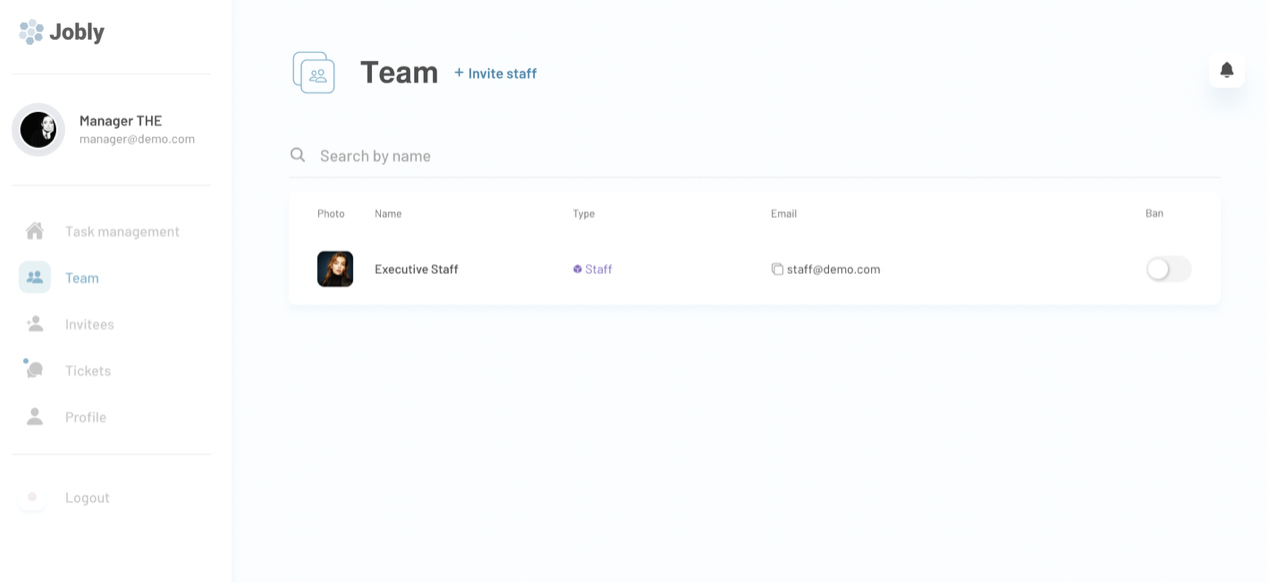
Tip: The managers are able to ban certain team members if needed.
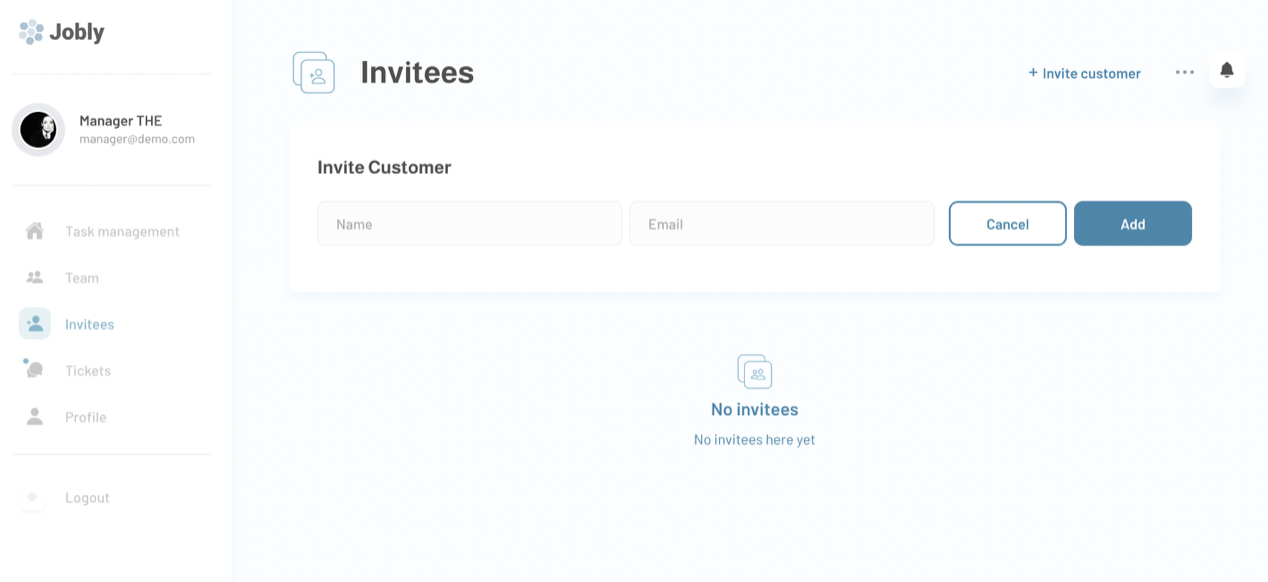
Invitees
In this section, the new invitees are created and waiting for their response for joining the team.
The customers are added by their name and email.
Users can be added manually, or in bulk by uploading a CSV file. First users are added to the invitees' list and then you can send them invites either individually or in bulk, by selecting one, a few, or a lot of invitees at a time.
Tickets
Here, the managers read all the support tickets and are also able to respond to customers' requests.
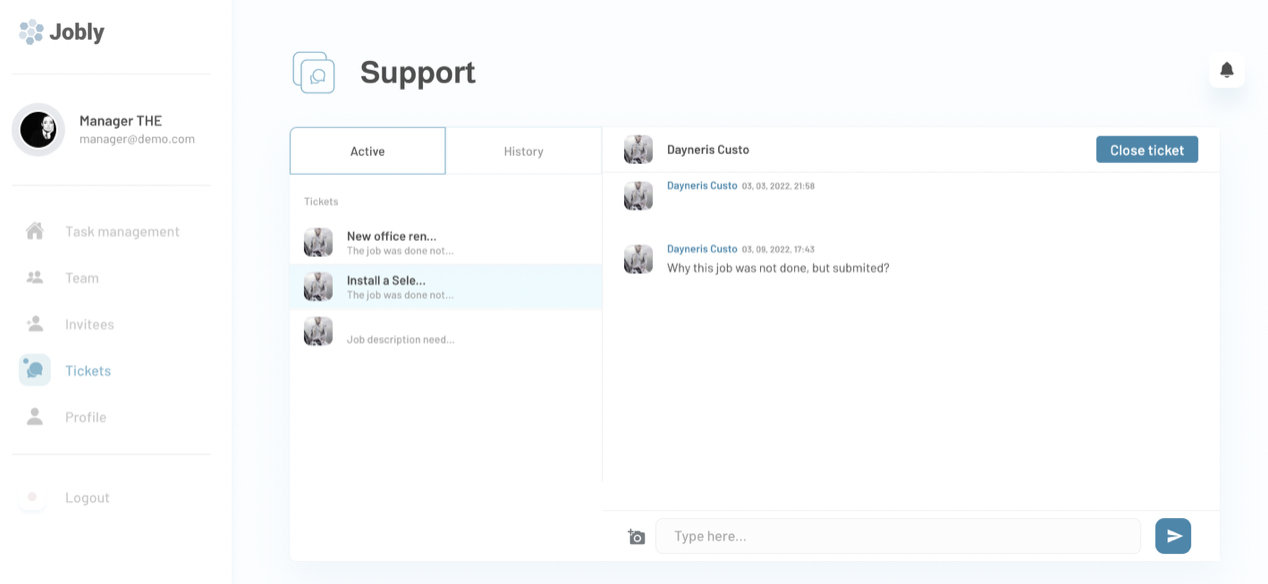
Tip: Here, managers are able to close the ticket.
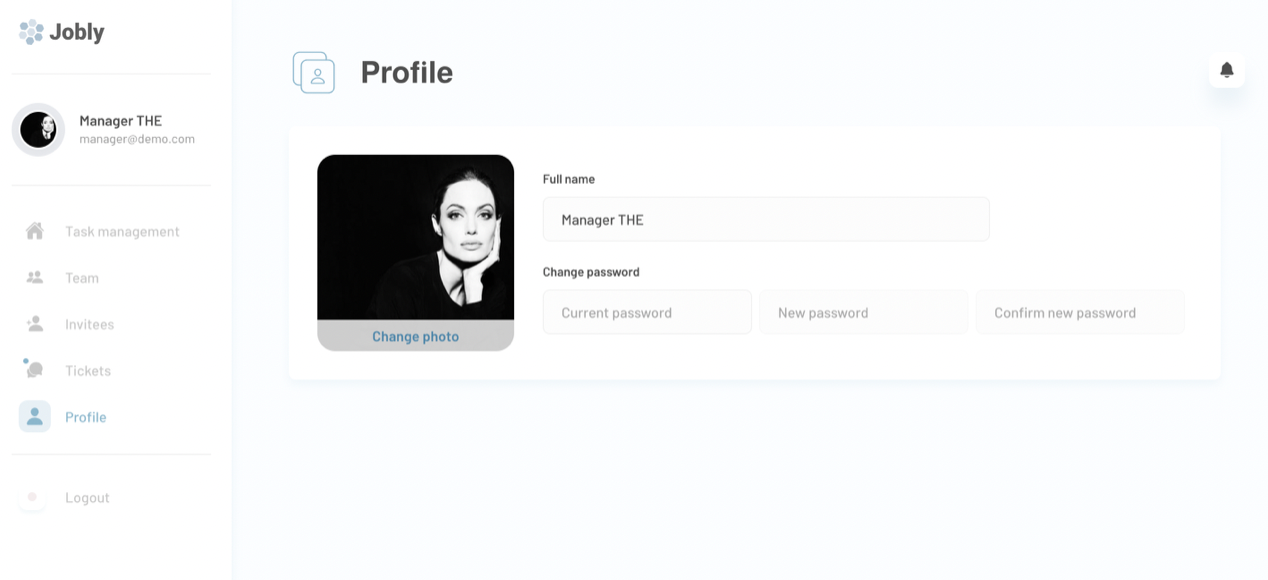
Profile
This section is where managers change their own profile information like name, photo, or password.
privacy
This is the page where users see the legal statement that specifies how the company manages the collected user data.
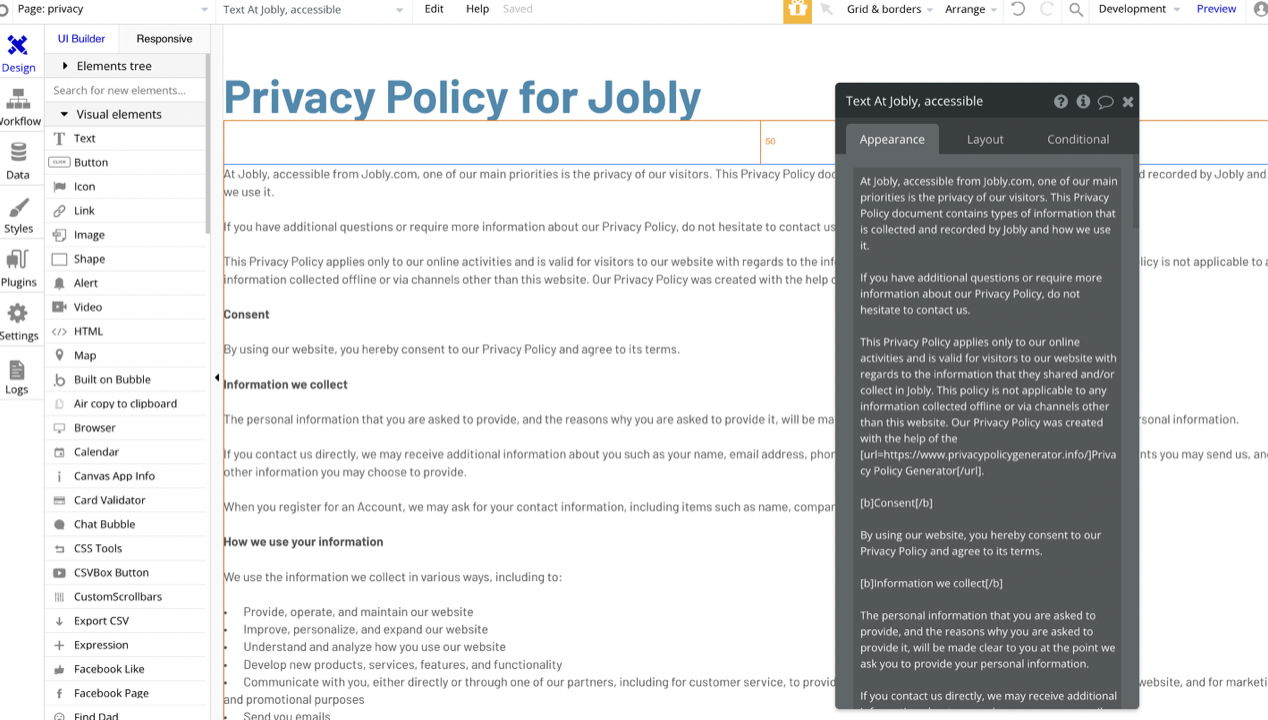
Tip: The text on this page is a placeholder and should be modified according to your own privacy policy.
Tip: Also, make sure you have Terms page in your app. This will help you go through App Store and Google Play approval procedures, in case you decide to convert your Bubble app into native iOS and Android apps. These links are also important for Facebook login.
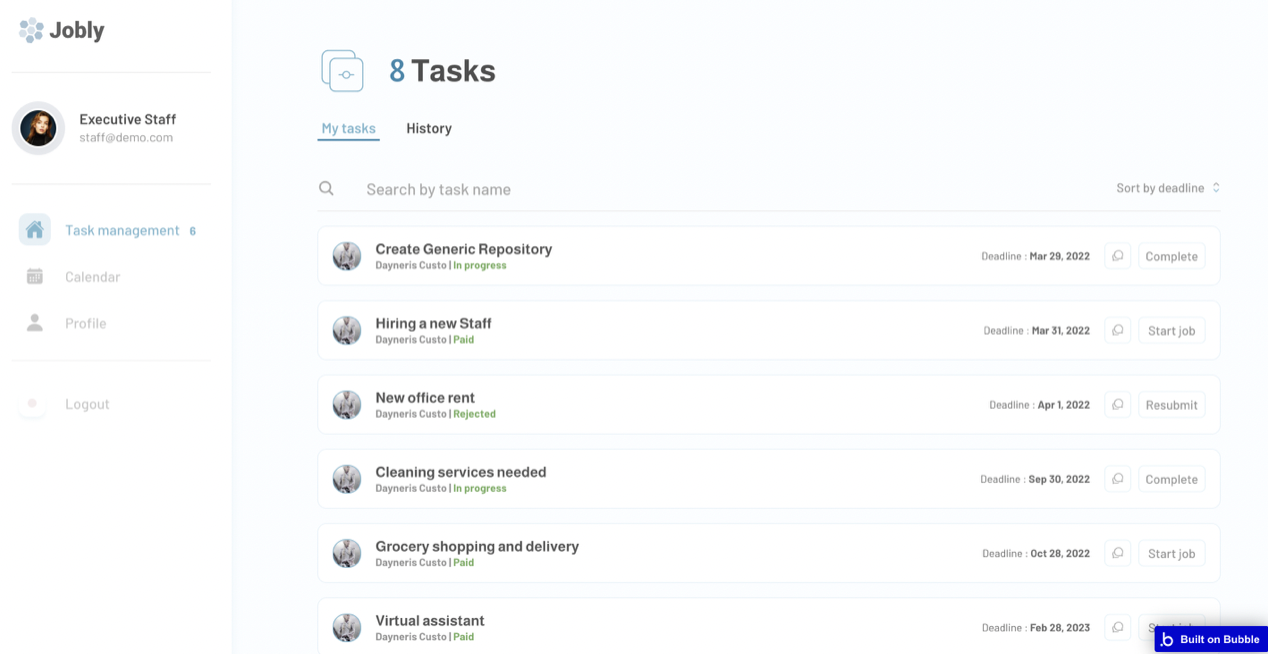
staff_dashboard
This page allows staff members to manage their jobs or start new ones. All the assigned tasks are listed in the My tasks tab.
Tasks management
The tasks that are In Progress - can be completed; the tasks that are Paid - can be started as a new job; the tasks that are Rejected - can be resubmitted.
Also the Staff member can leave a comment on the task that will be visible to his Manager only.
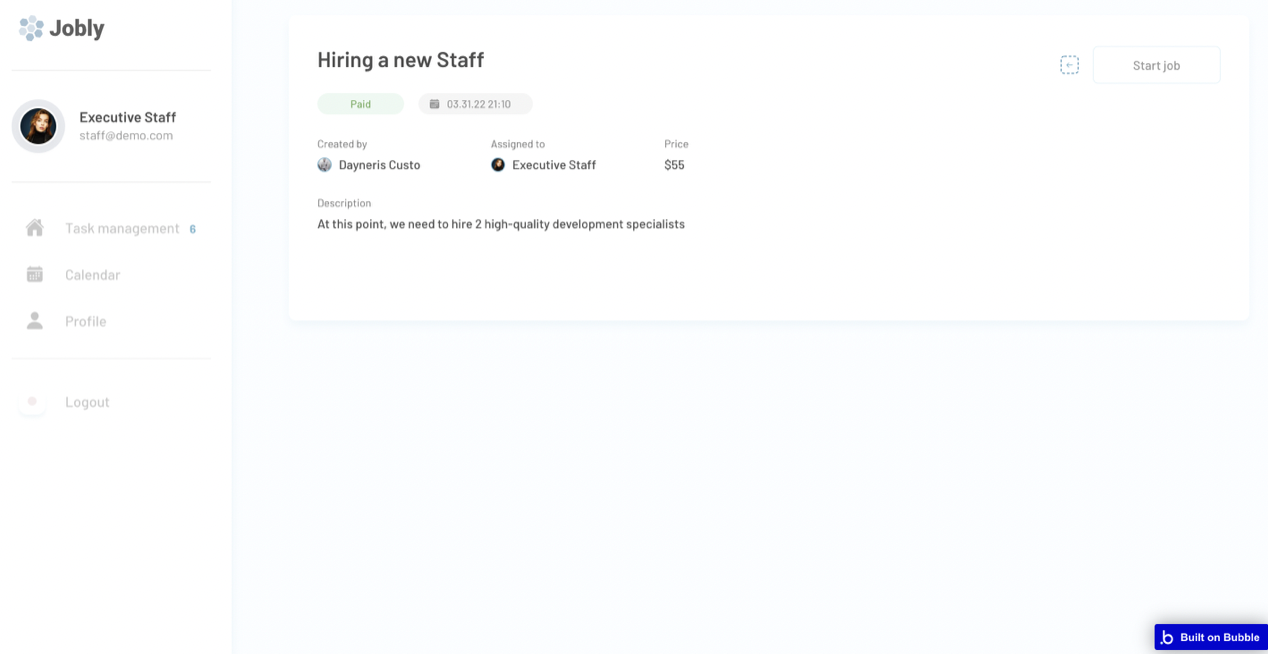
Calendar
Here, the staff members can view the calendar and their tasks deadlines, to have a better understanding of their personal time management.
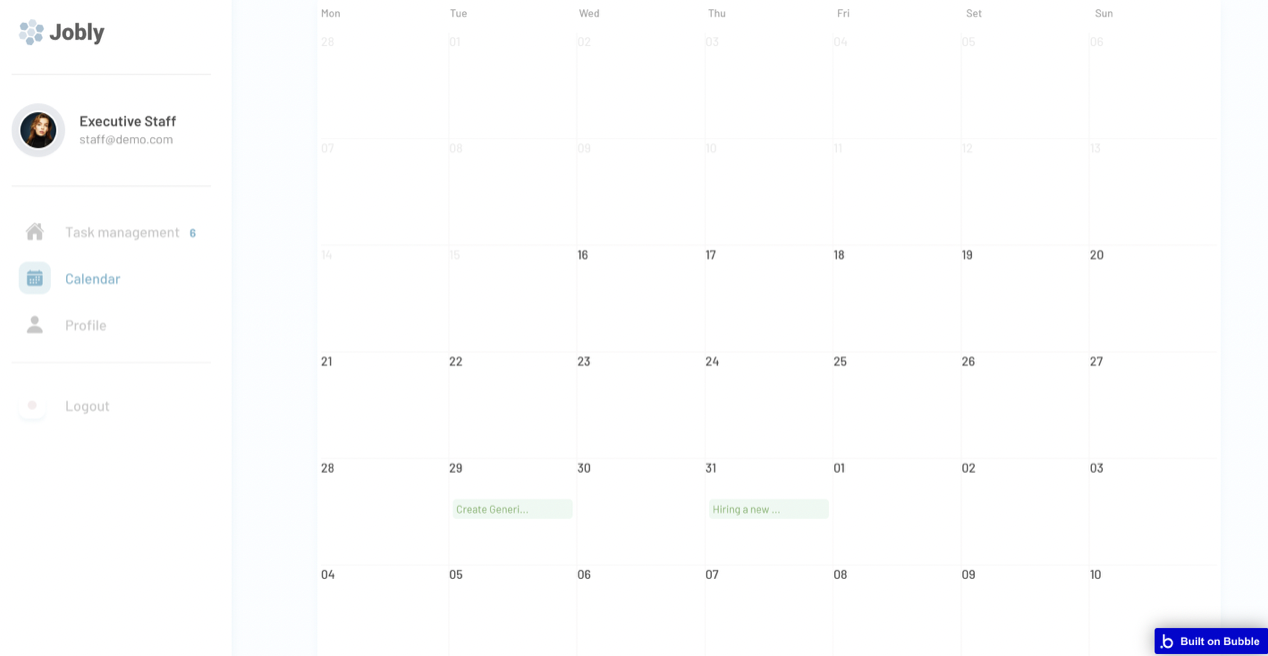
The specific cell can be clicked to open the details of the task in a separate group:
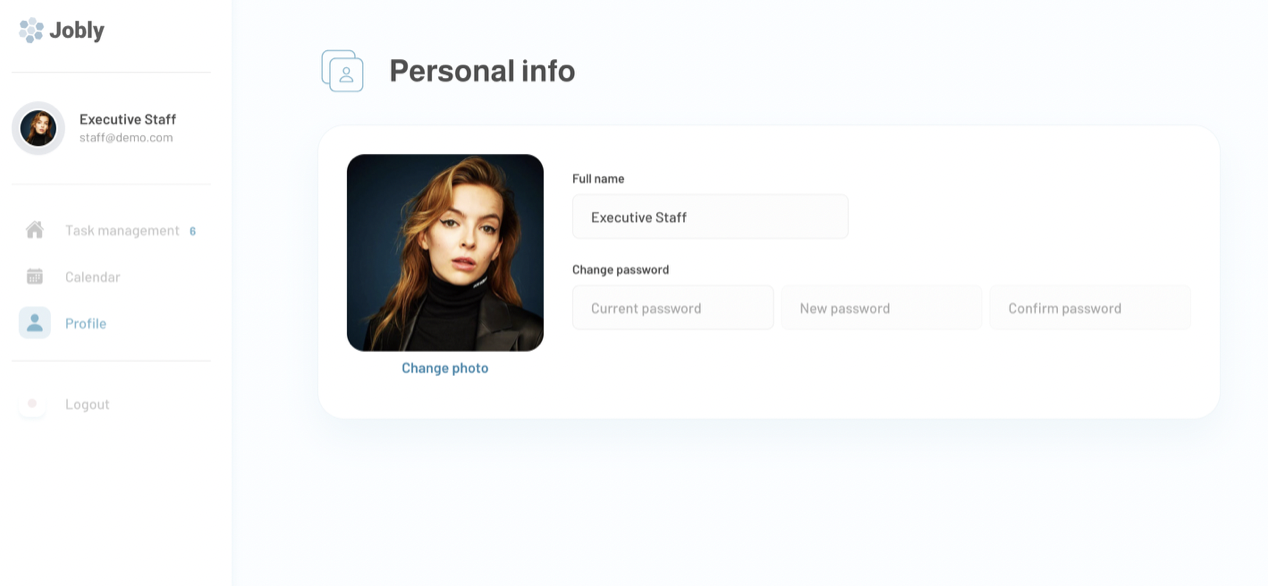
Profile
This section allows staff members to change their profile information like name, photo or password.
terms
This is the page where users see the agreement act between both sides: the company that has the web application and users who access the web application.
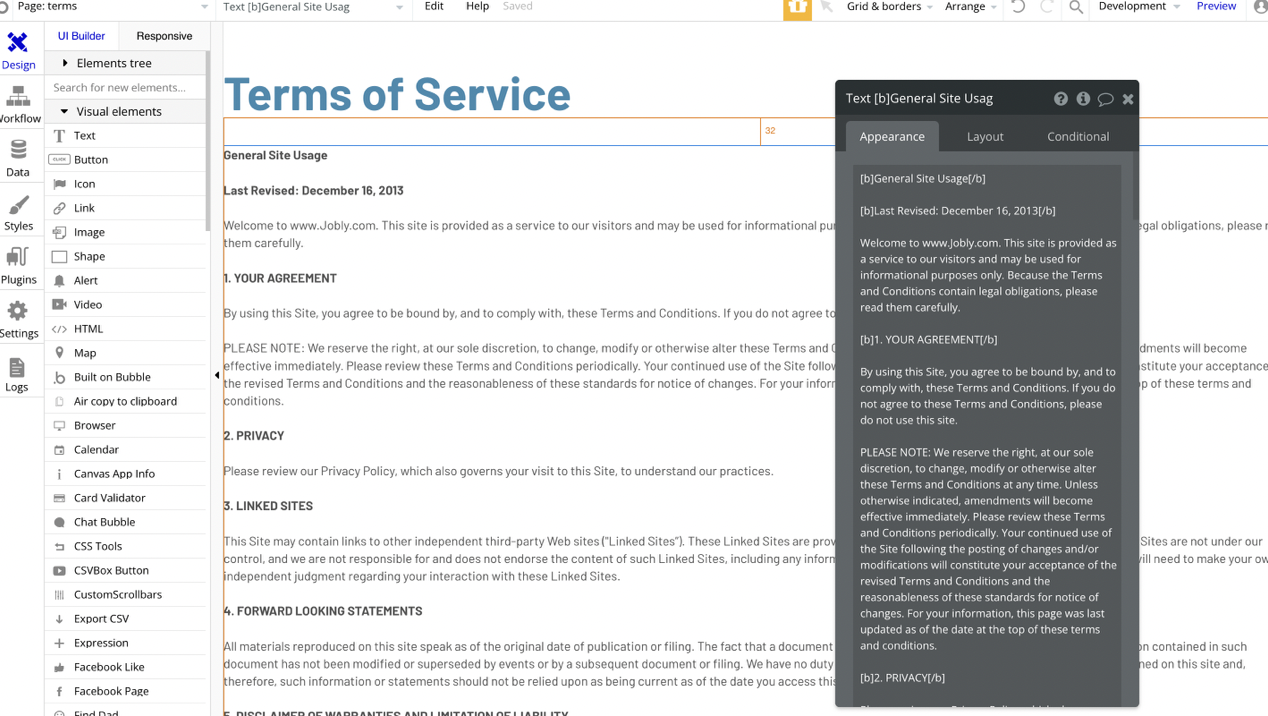
Tip: The text on this page is a placeholder and should be modified according to your own terms of service.
Tip: Also, make sure you have Privacy page in your app. This will help you go through App Store and Google Play approval procedures, in case you decide to convert your Bubble app into native iOS and Android apps. These links are also important for Facebook login.
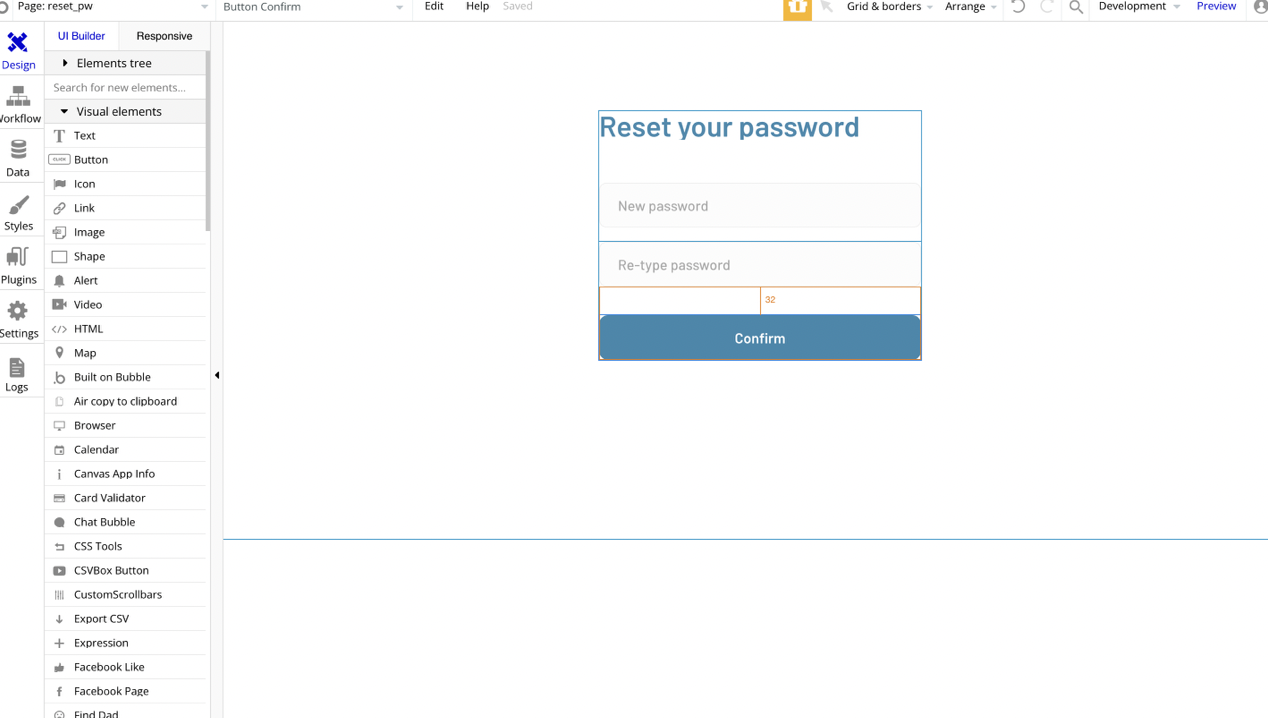
reset_pw
This page is used for resetting the password.
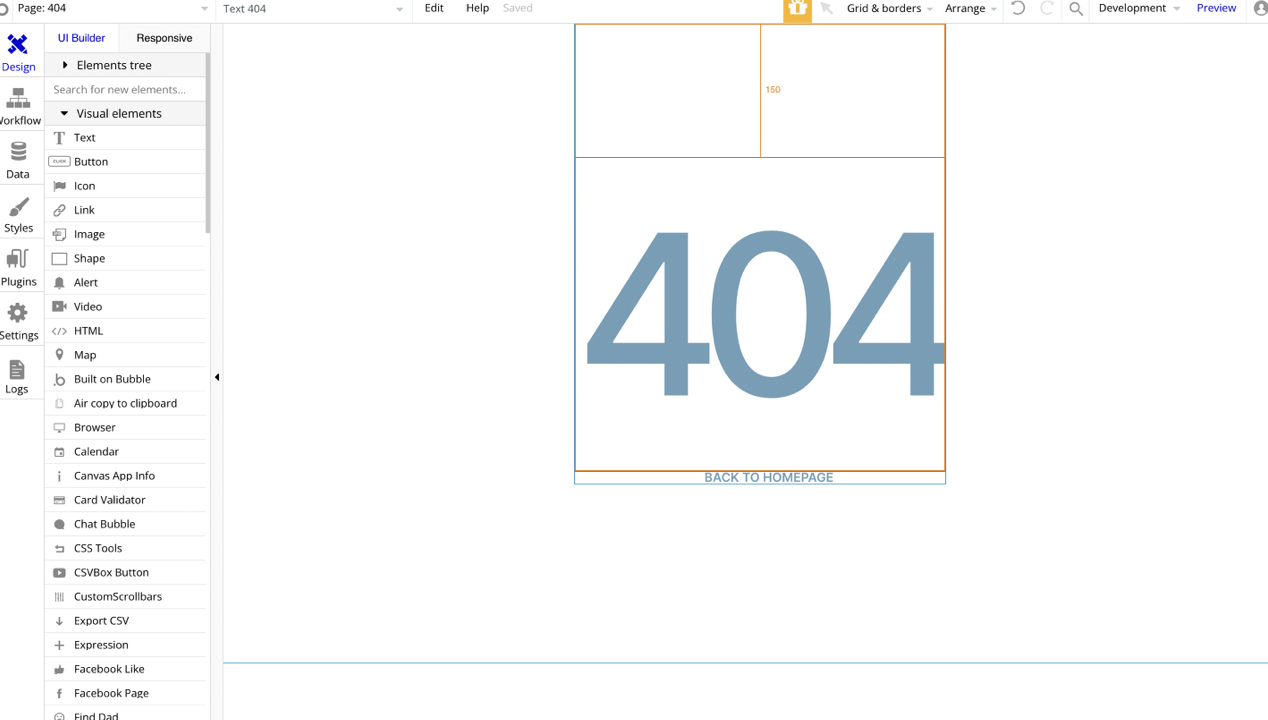
404
This is a custom-designed page for 404 redirect errors, informing a user that the requested web page cannot be found, or it doesn't exist.