This section states the purpose of each page.
Introduction
In this summary, we will describe each page and its content. The Page Element is the fundamental one that contains all the other elements.
Tip: See Bubble Reference for more information about Pages element https://bubble.io/reference#Elements.Page 🙂
Pages
index
This is the main page typically encountered first on the web app that usually contains links to the other pages of the site. A homepage includes a variety of menus that make it easy for users to find the information they need.
Also, this page is used as a login/signup form. This page is used for creating an account or logging in to an existing one. To access it, users will click on “Signin” button in the header. Besides standard registration, users can also use their social media accounts (e.g. Google or Facebook) to register or log in.
On this page, users are offered a demo user to log in and test all the template features. For detailed information on how to remove this button, see the Remove Demo Login section.
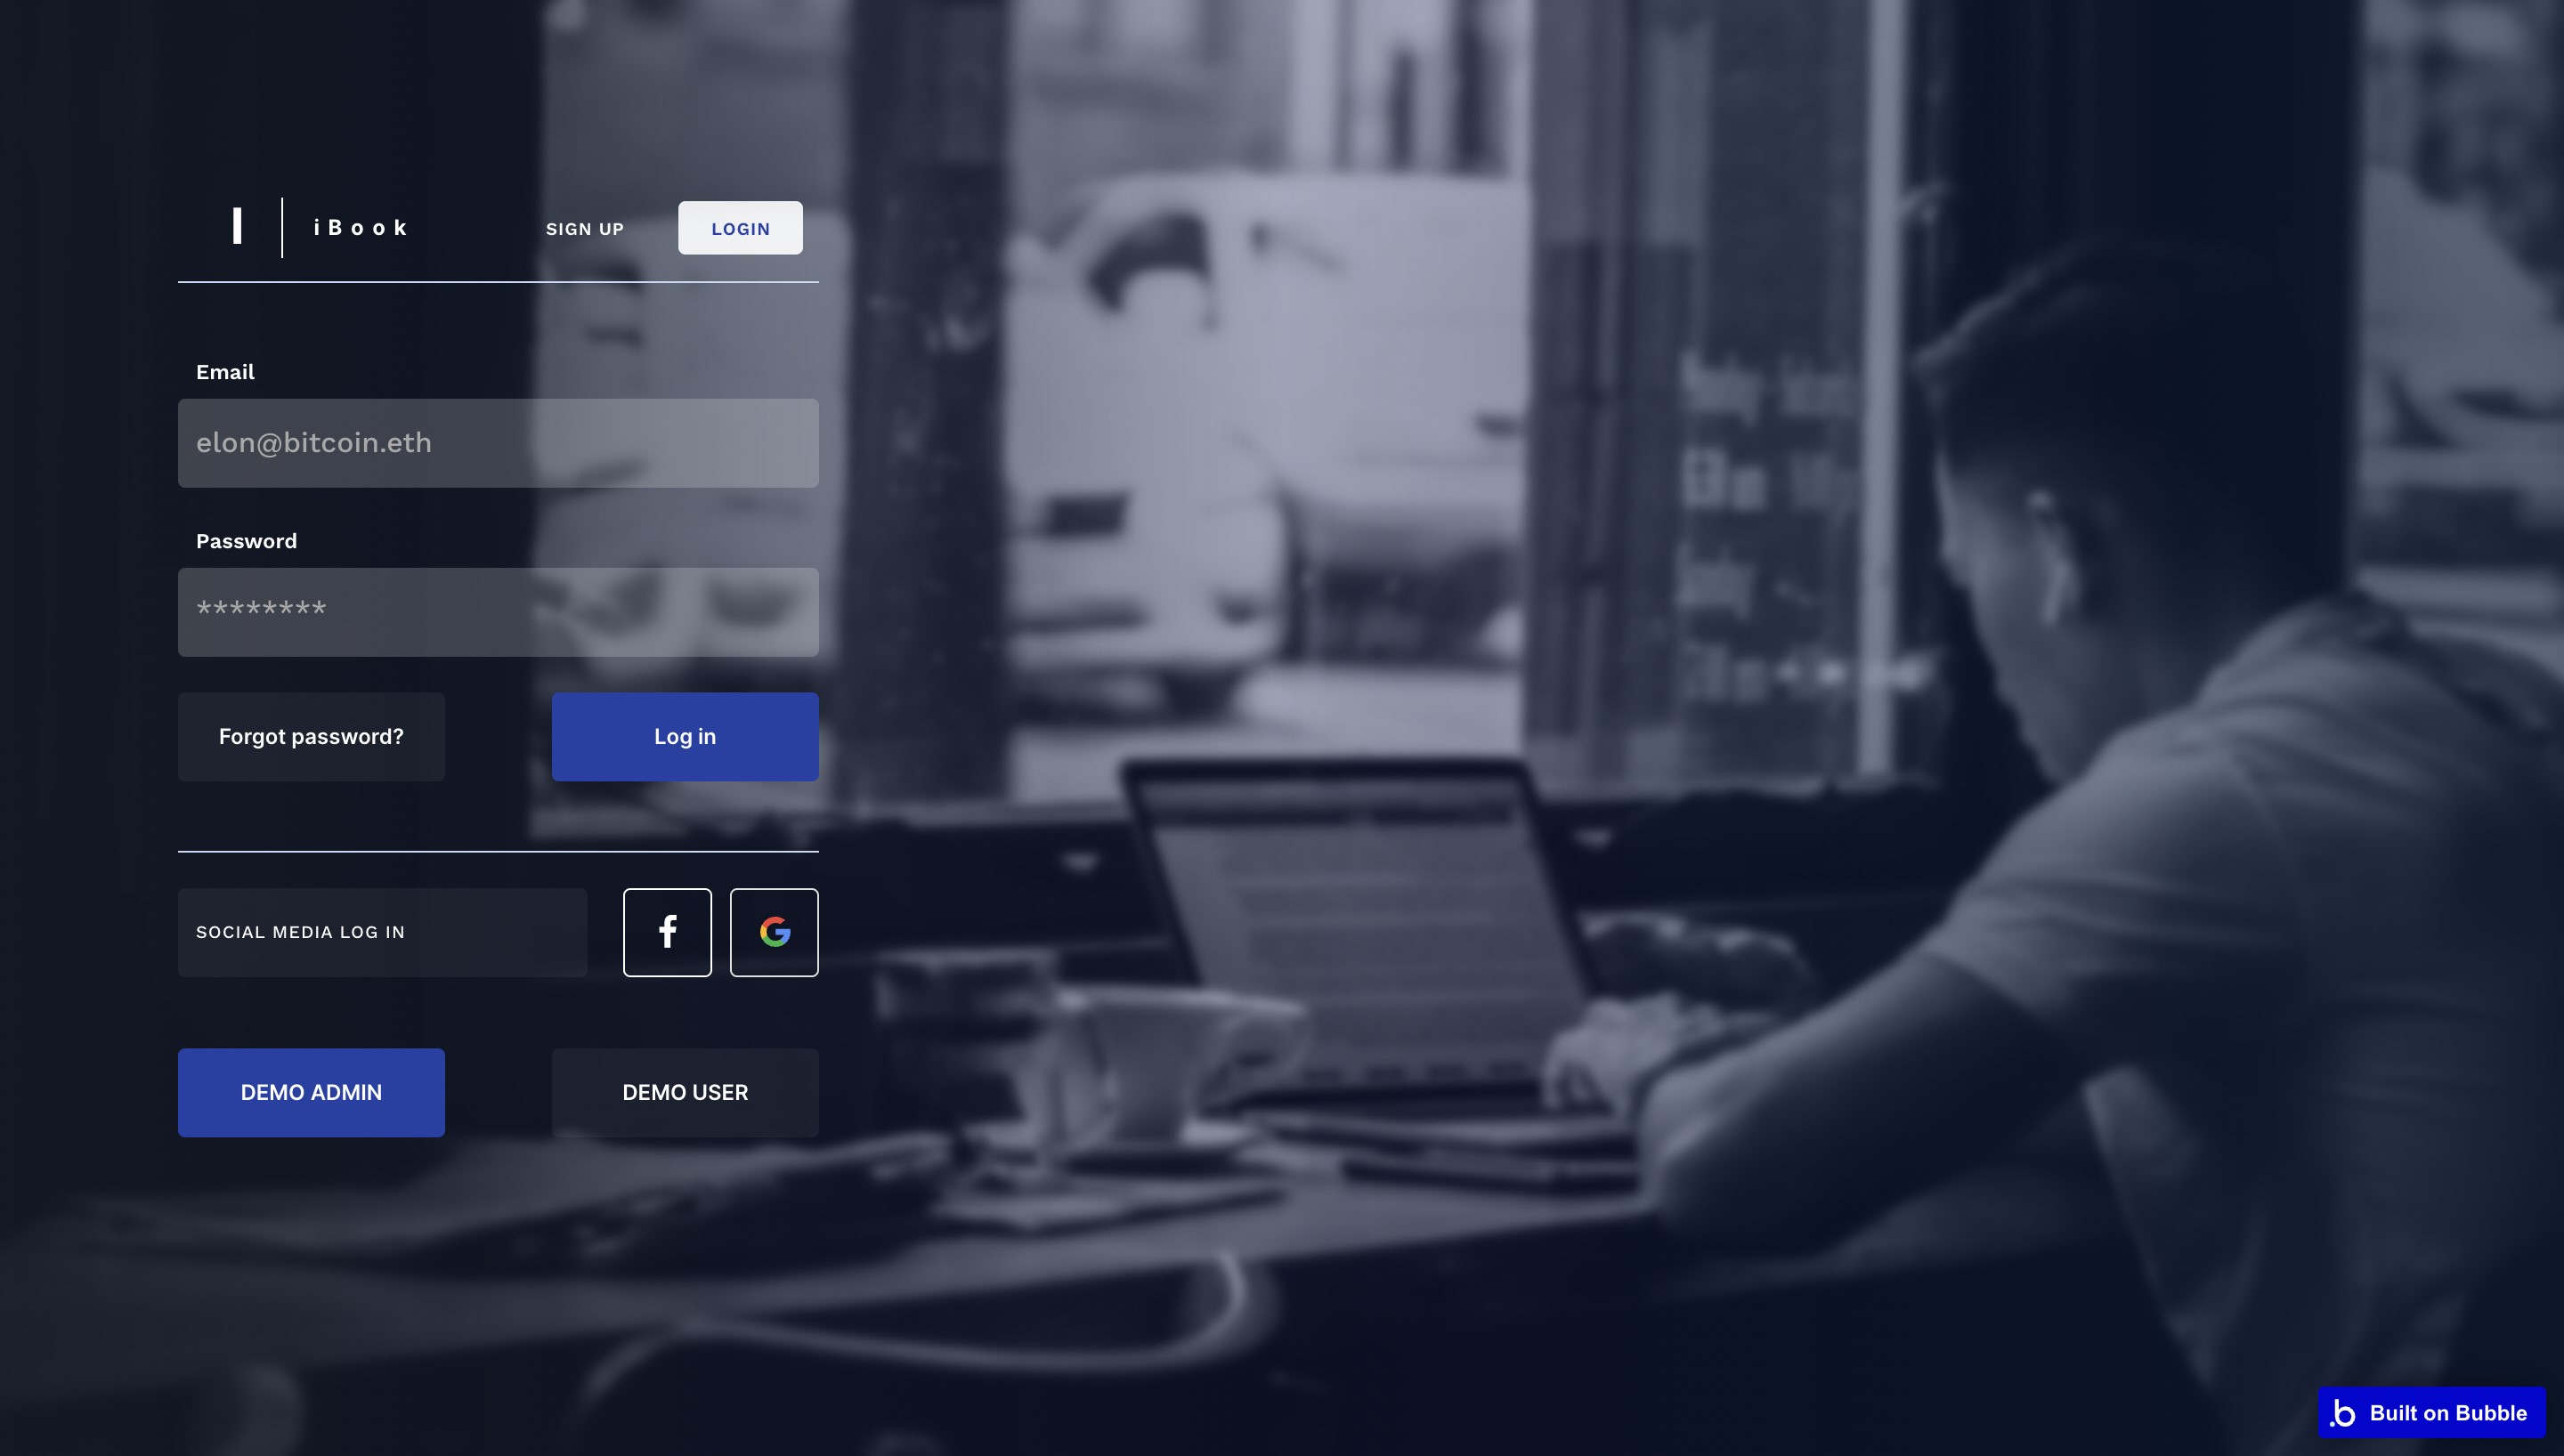
Users are able to enter their email and password to log in, or having both options with social media logins through Facebook/Google. The demo accounts skip this part and navigate directly to the app itself.
admin_dashboard
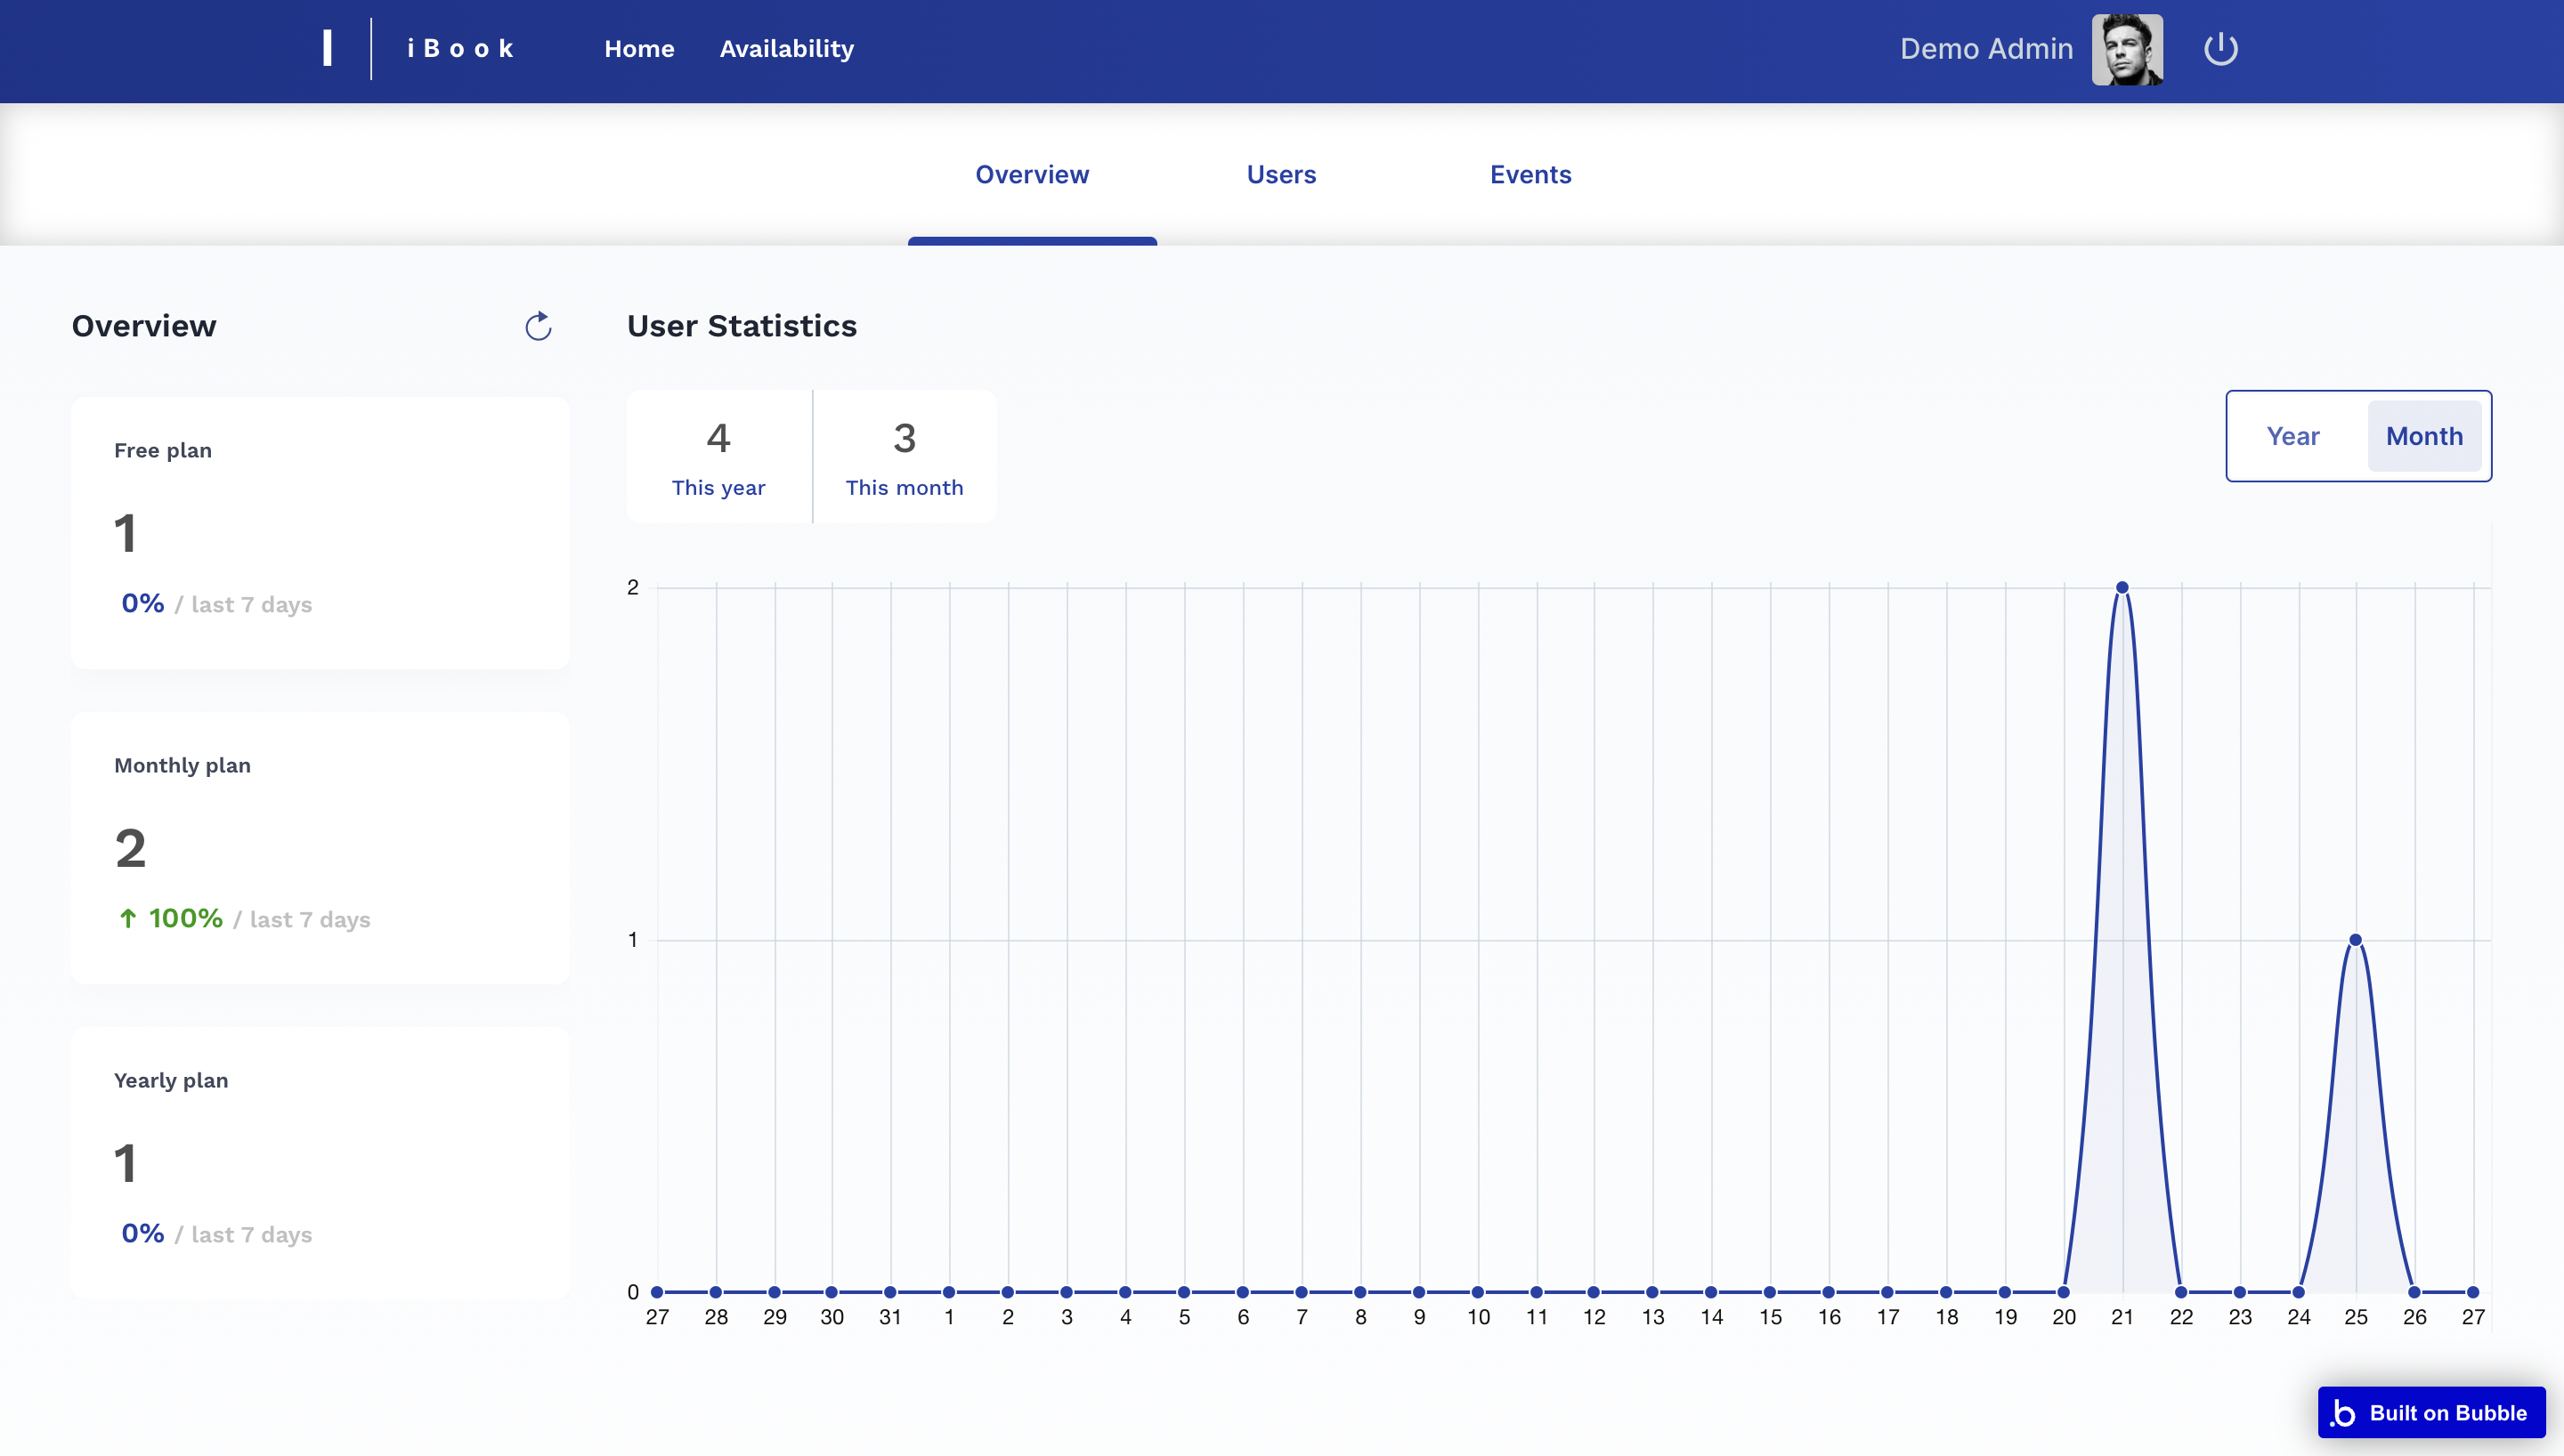
This page is designed to manage platform data, e.g. Users, Items, Payments… and others. Only users with admin rights are able to access this page (in read-only mode), and those users who have access rights can edit or delete anything here.
There are 3 tabs in the admin panel: Overview, Users and Events.
Overview
In this tab, admins can preview the overall stats about the number of purchased plans and users registered on the platform:
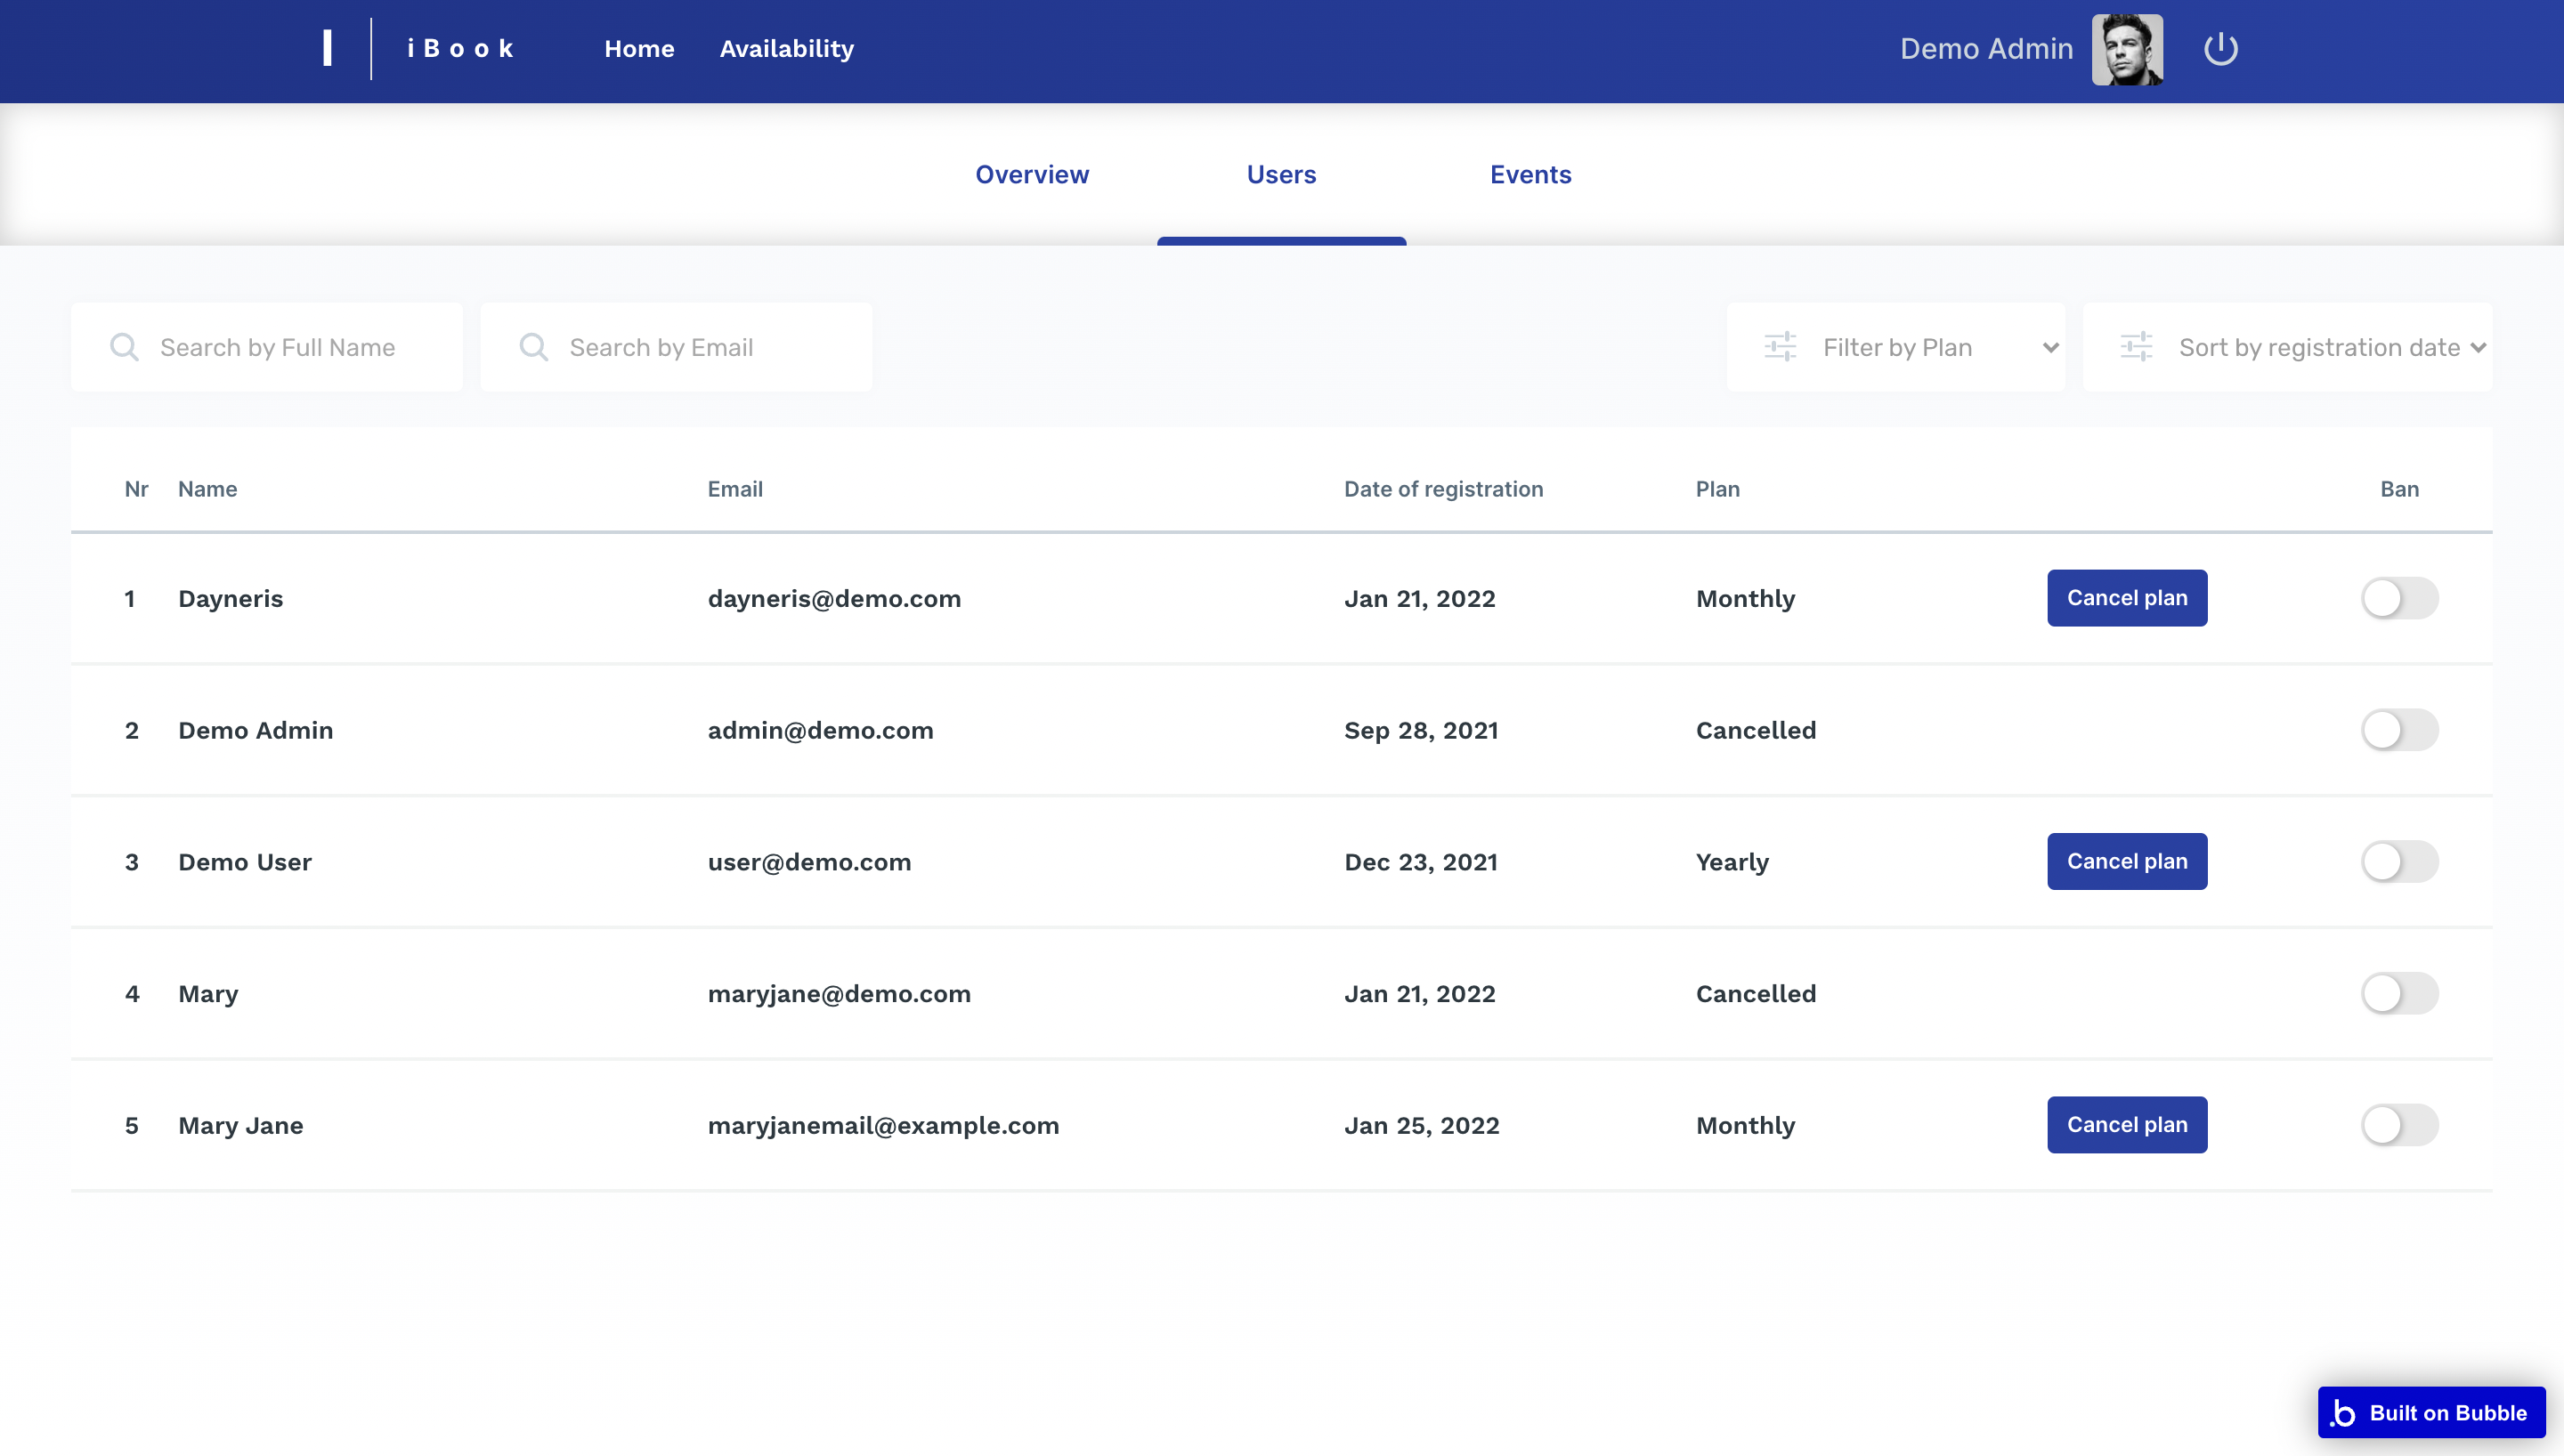
Users
In this tab, admins are able to manage the user data. It is possible to perform the following actions:
- cancel the subscription plan
- ban the user
- search a user by full name or email
- filter by plan: All plans/Free/Monthly/Yearly
- sort by registration date: New/Old
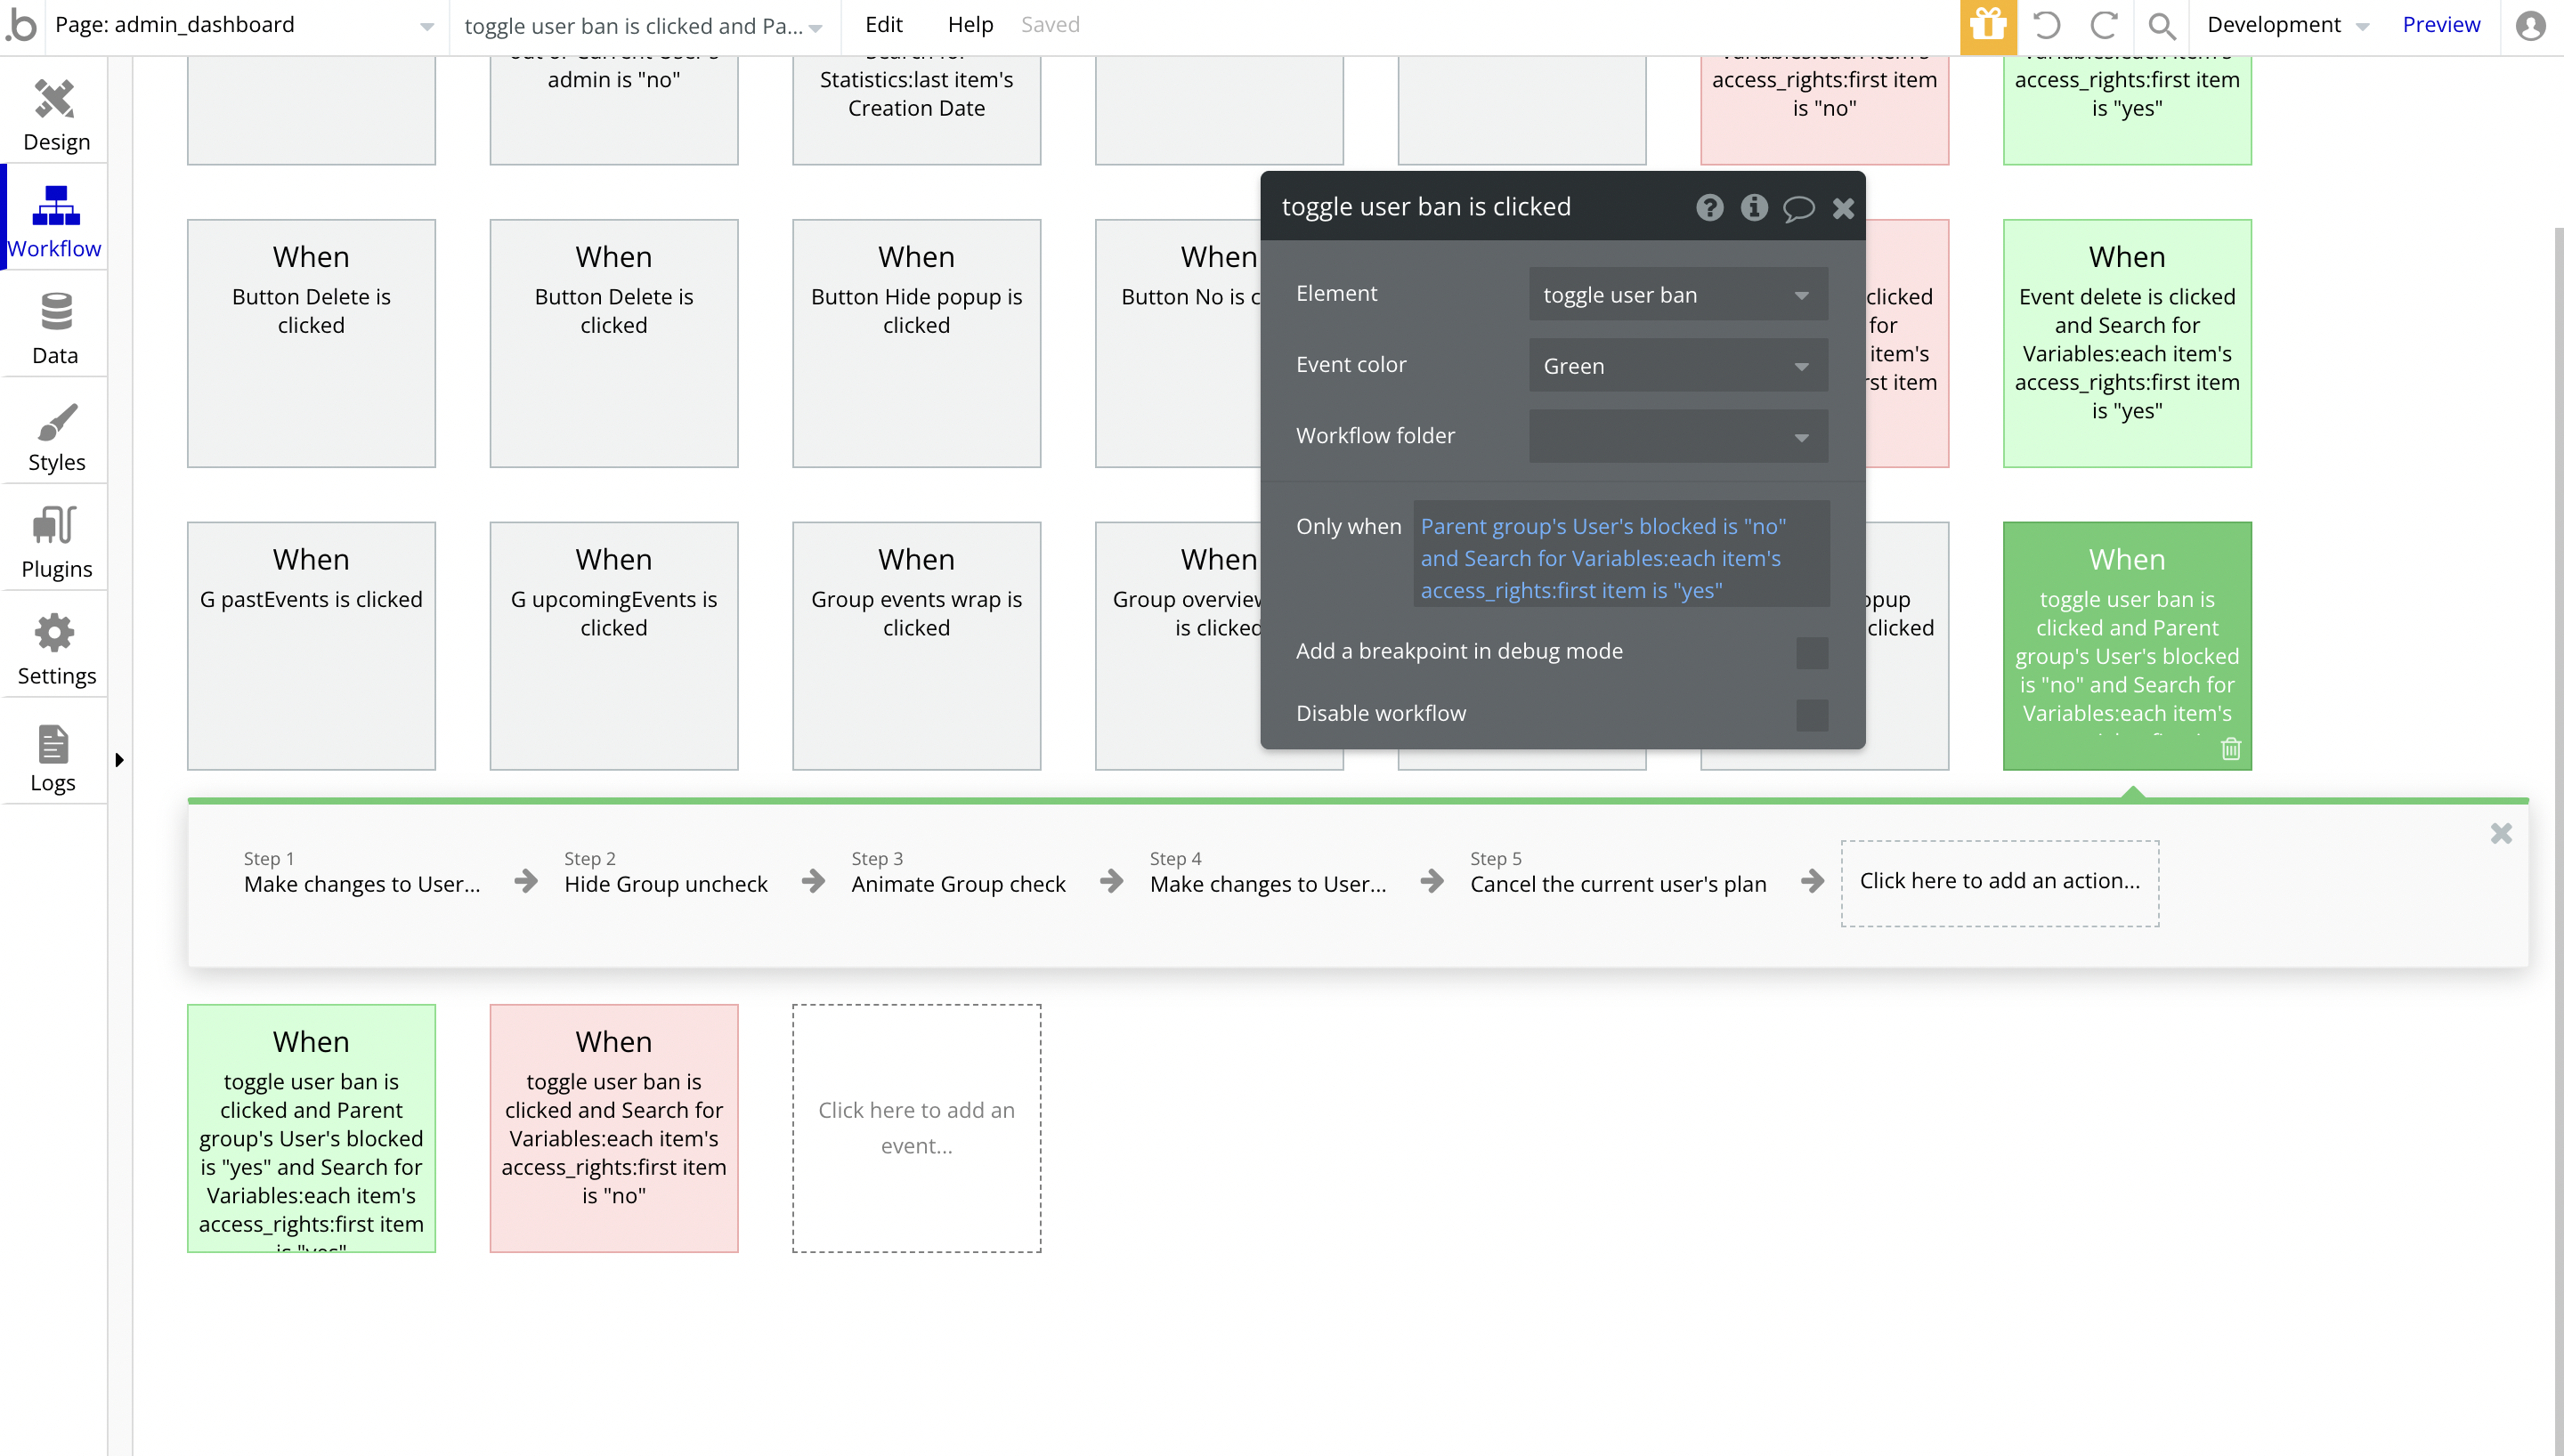
The toggle button workflows can be found here:
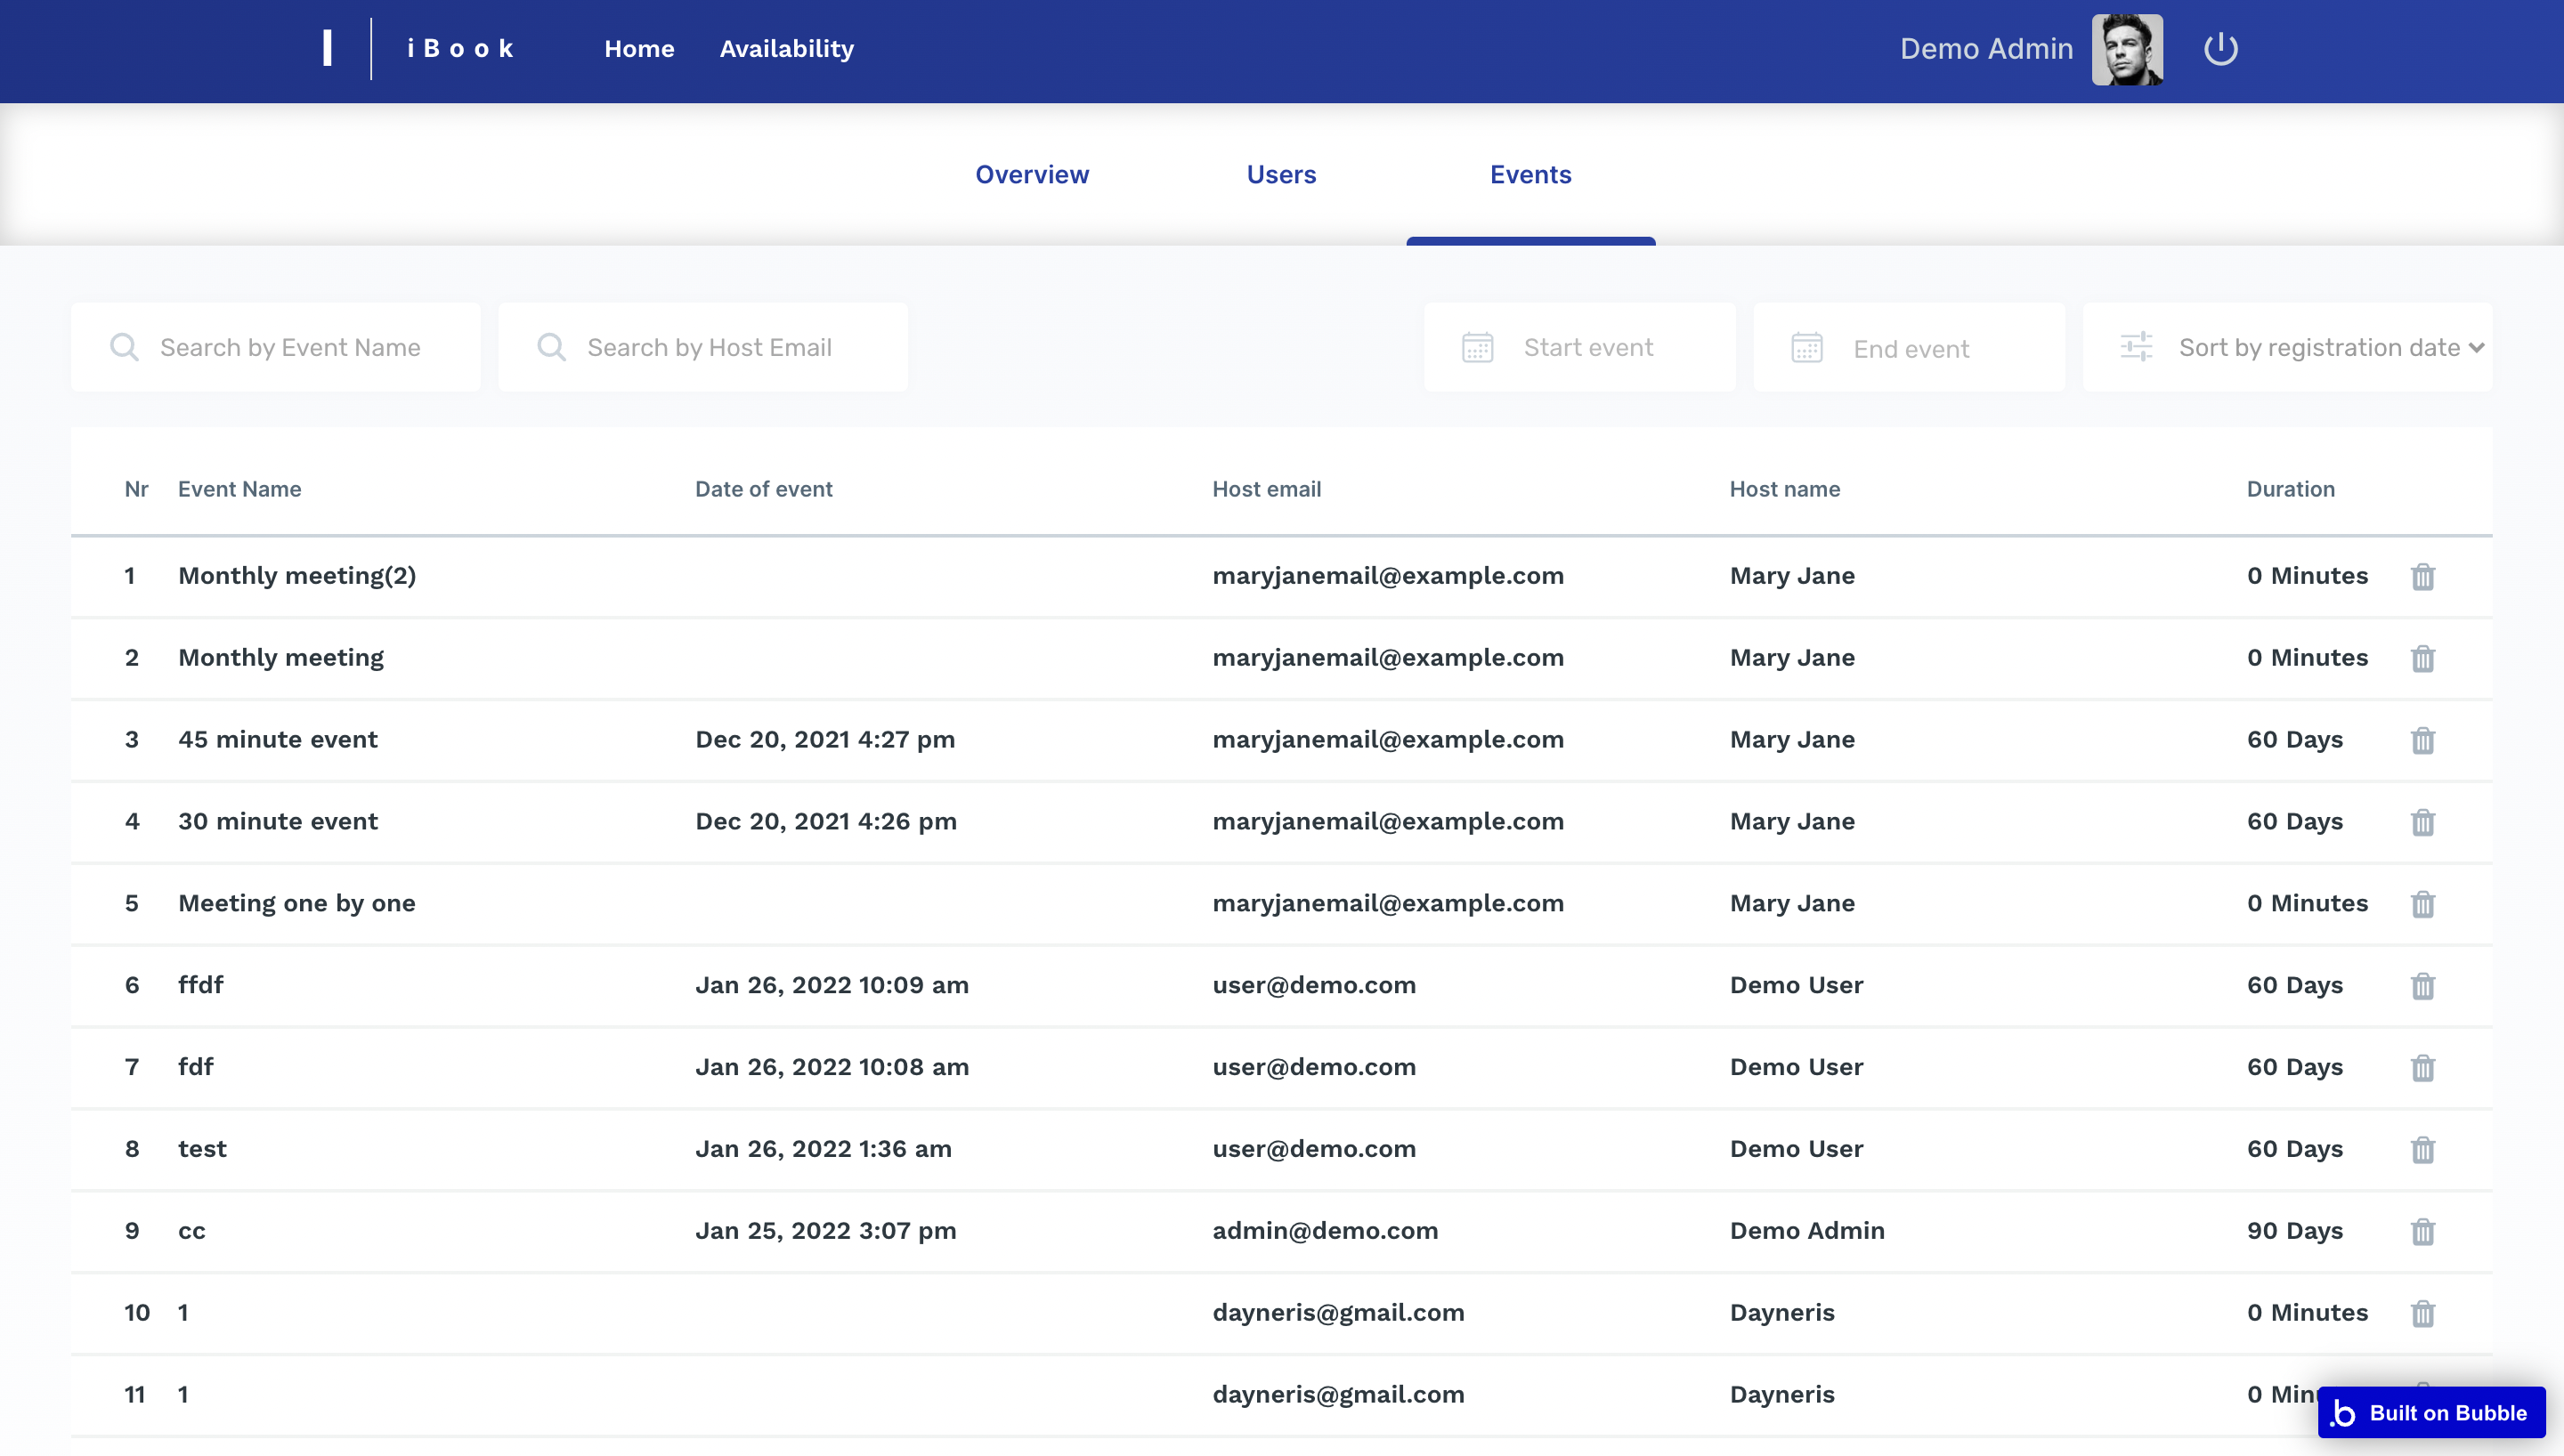
Events
In this tab, admins are able to manage the event data. It is possible to perform the following actions:
- search by event name or host email
- filter by start date and end date
- sort by registration date: Start/End
- delete event
The delete button can be found here:
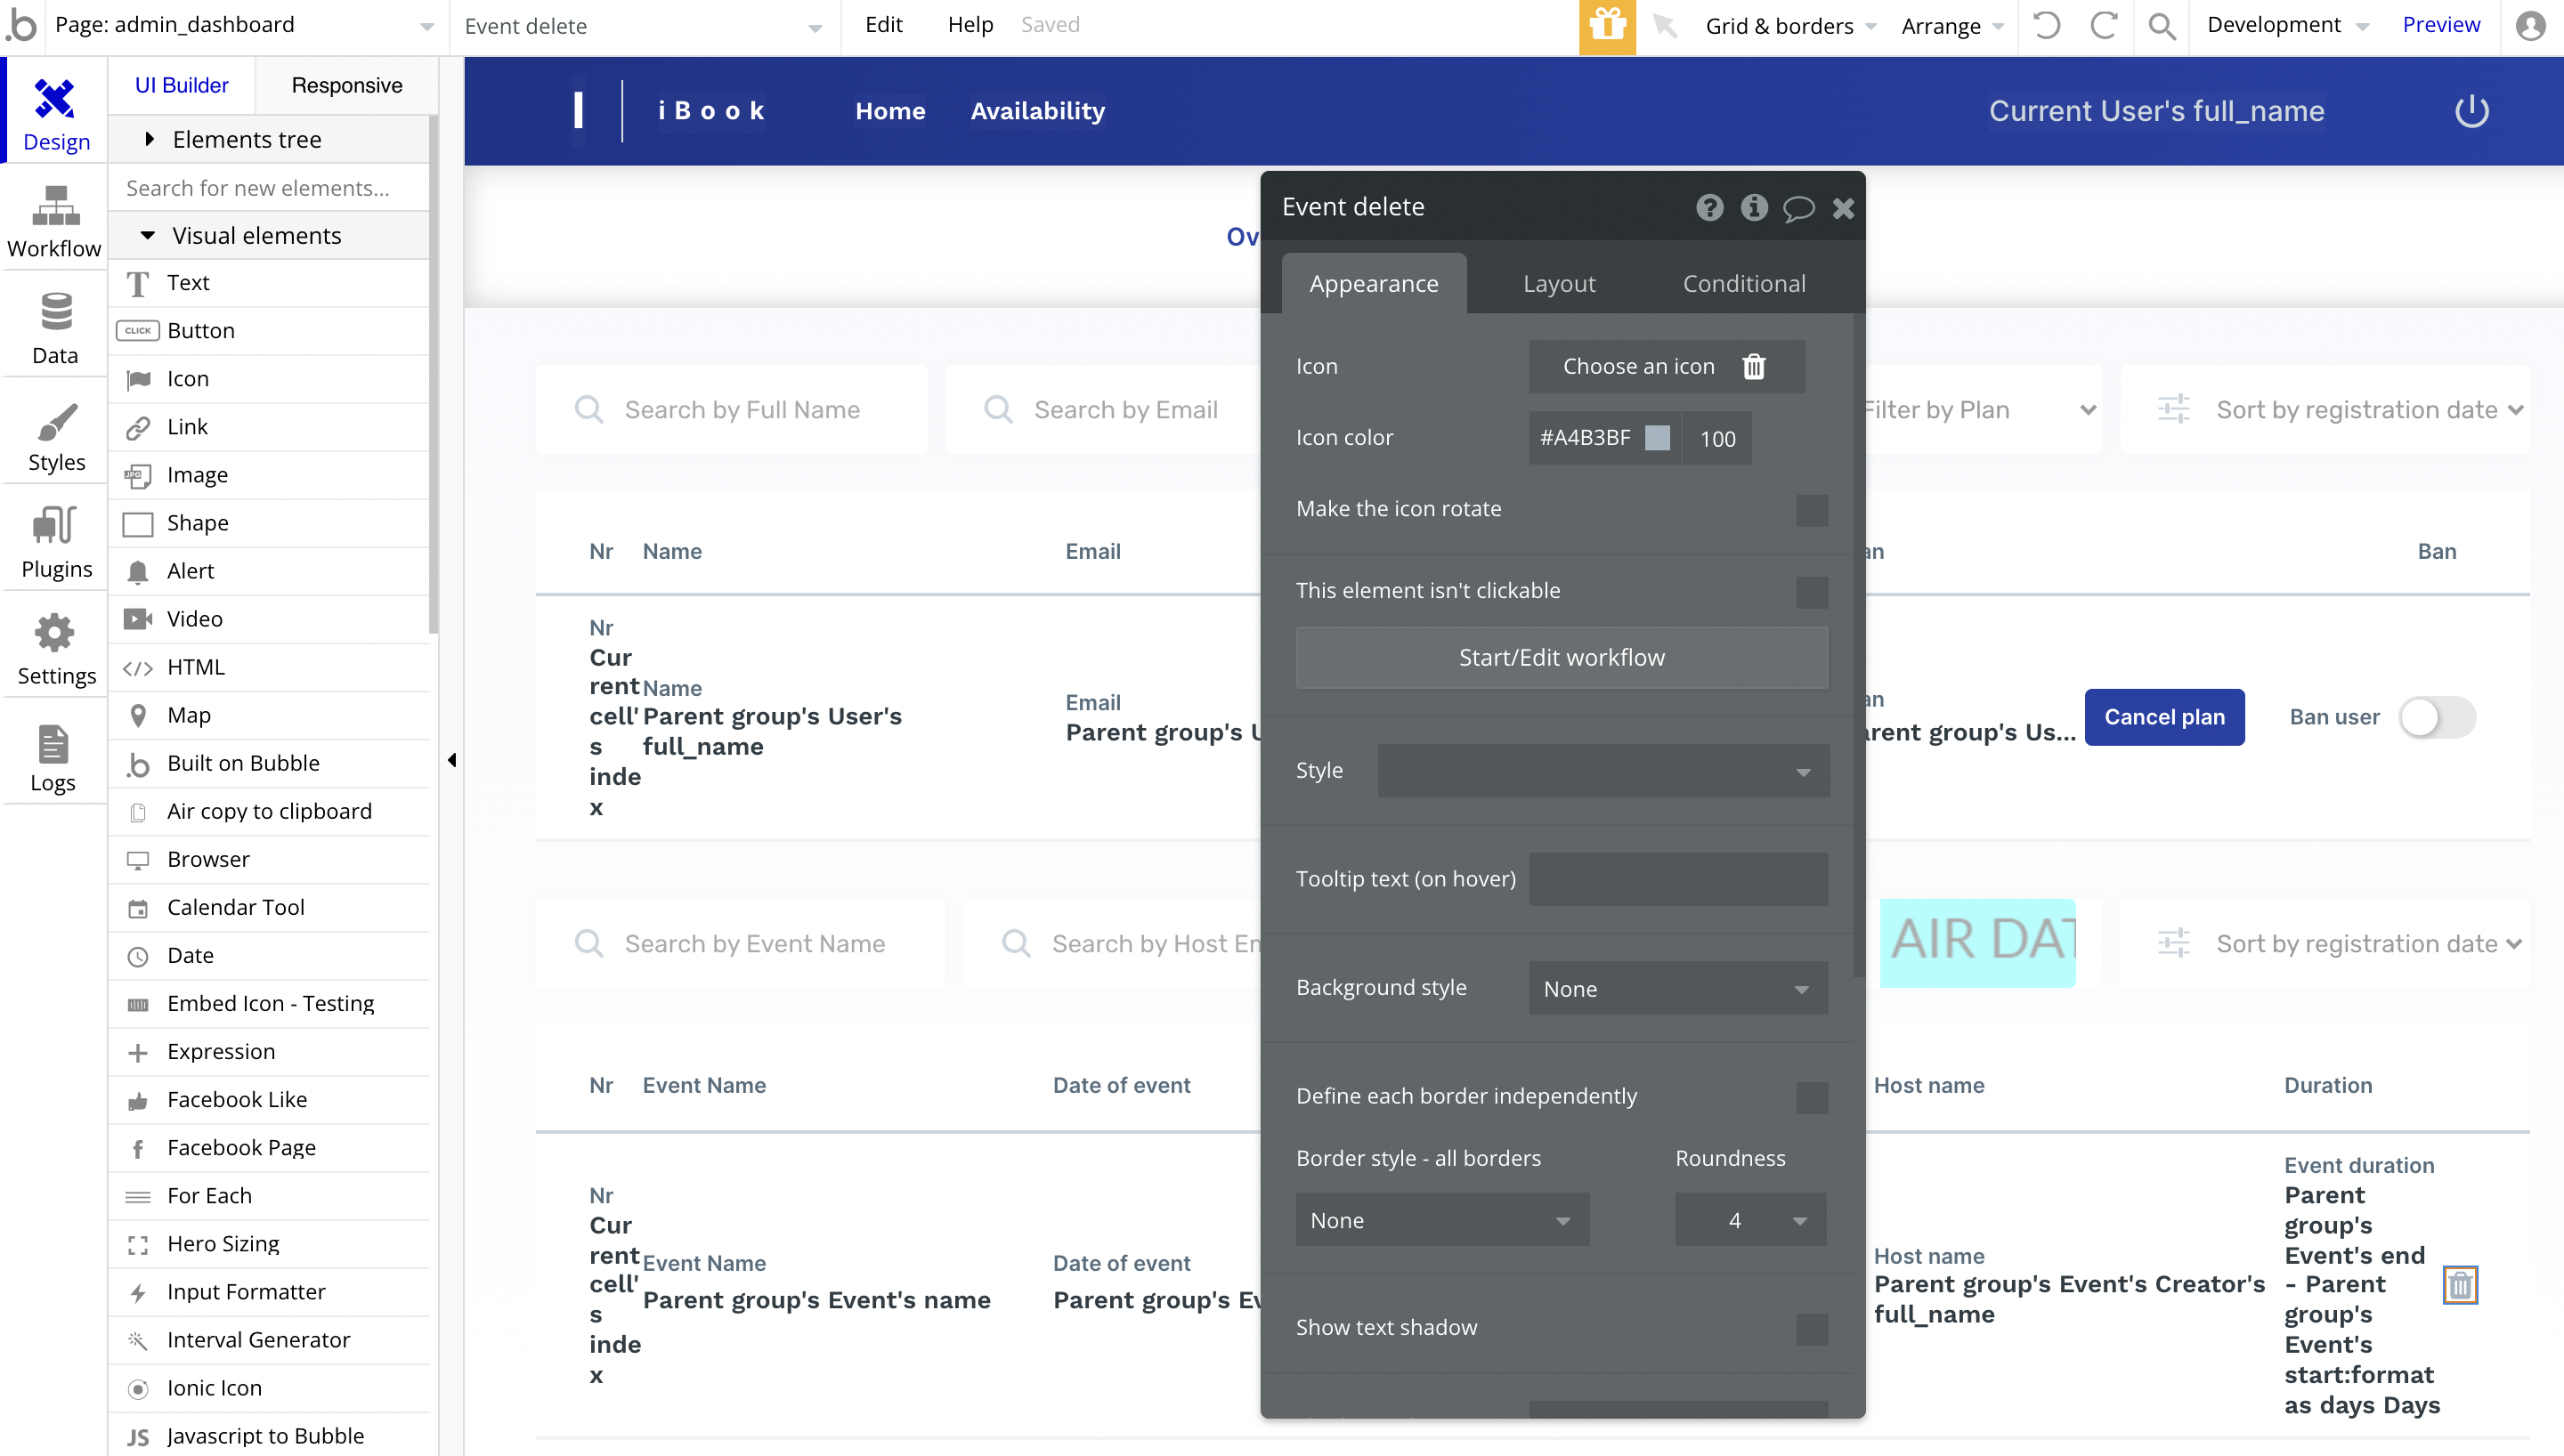
Its workflow triggers the following actions:
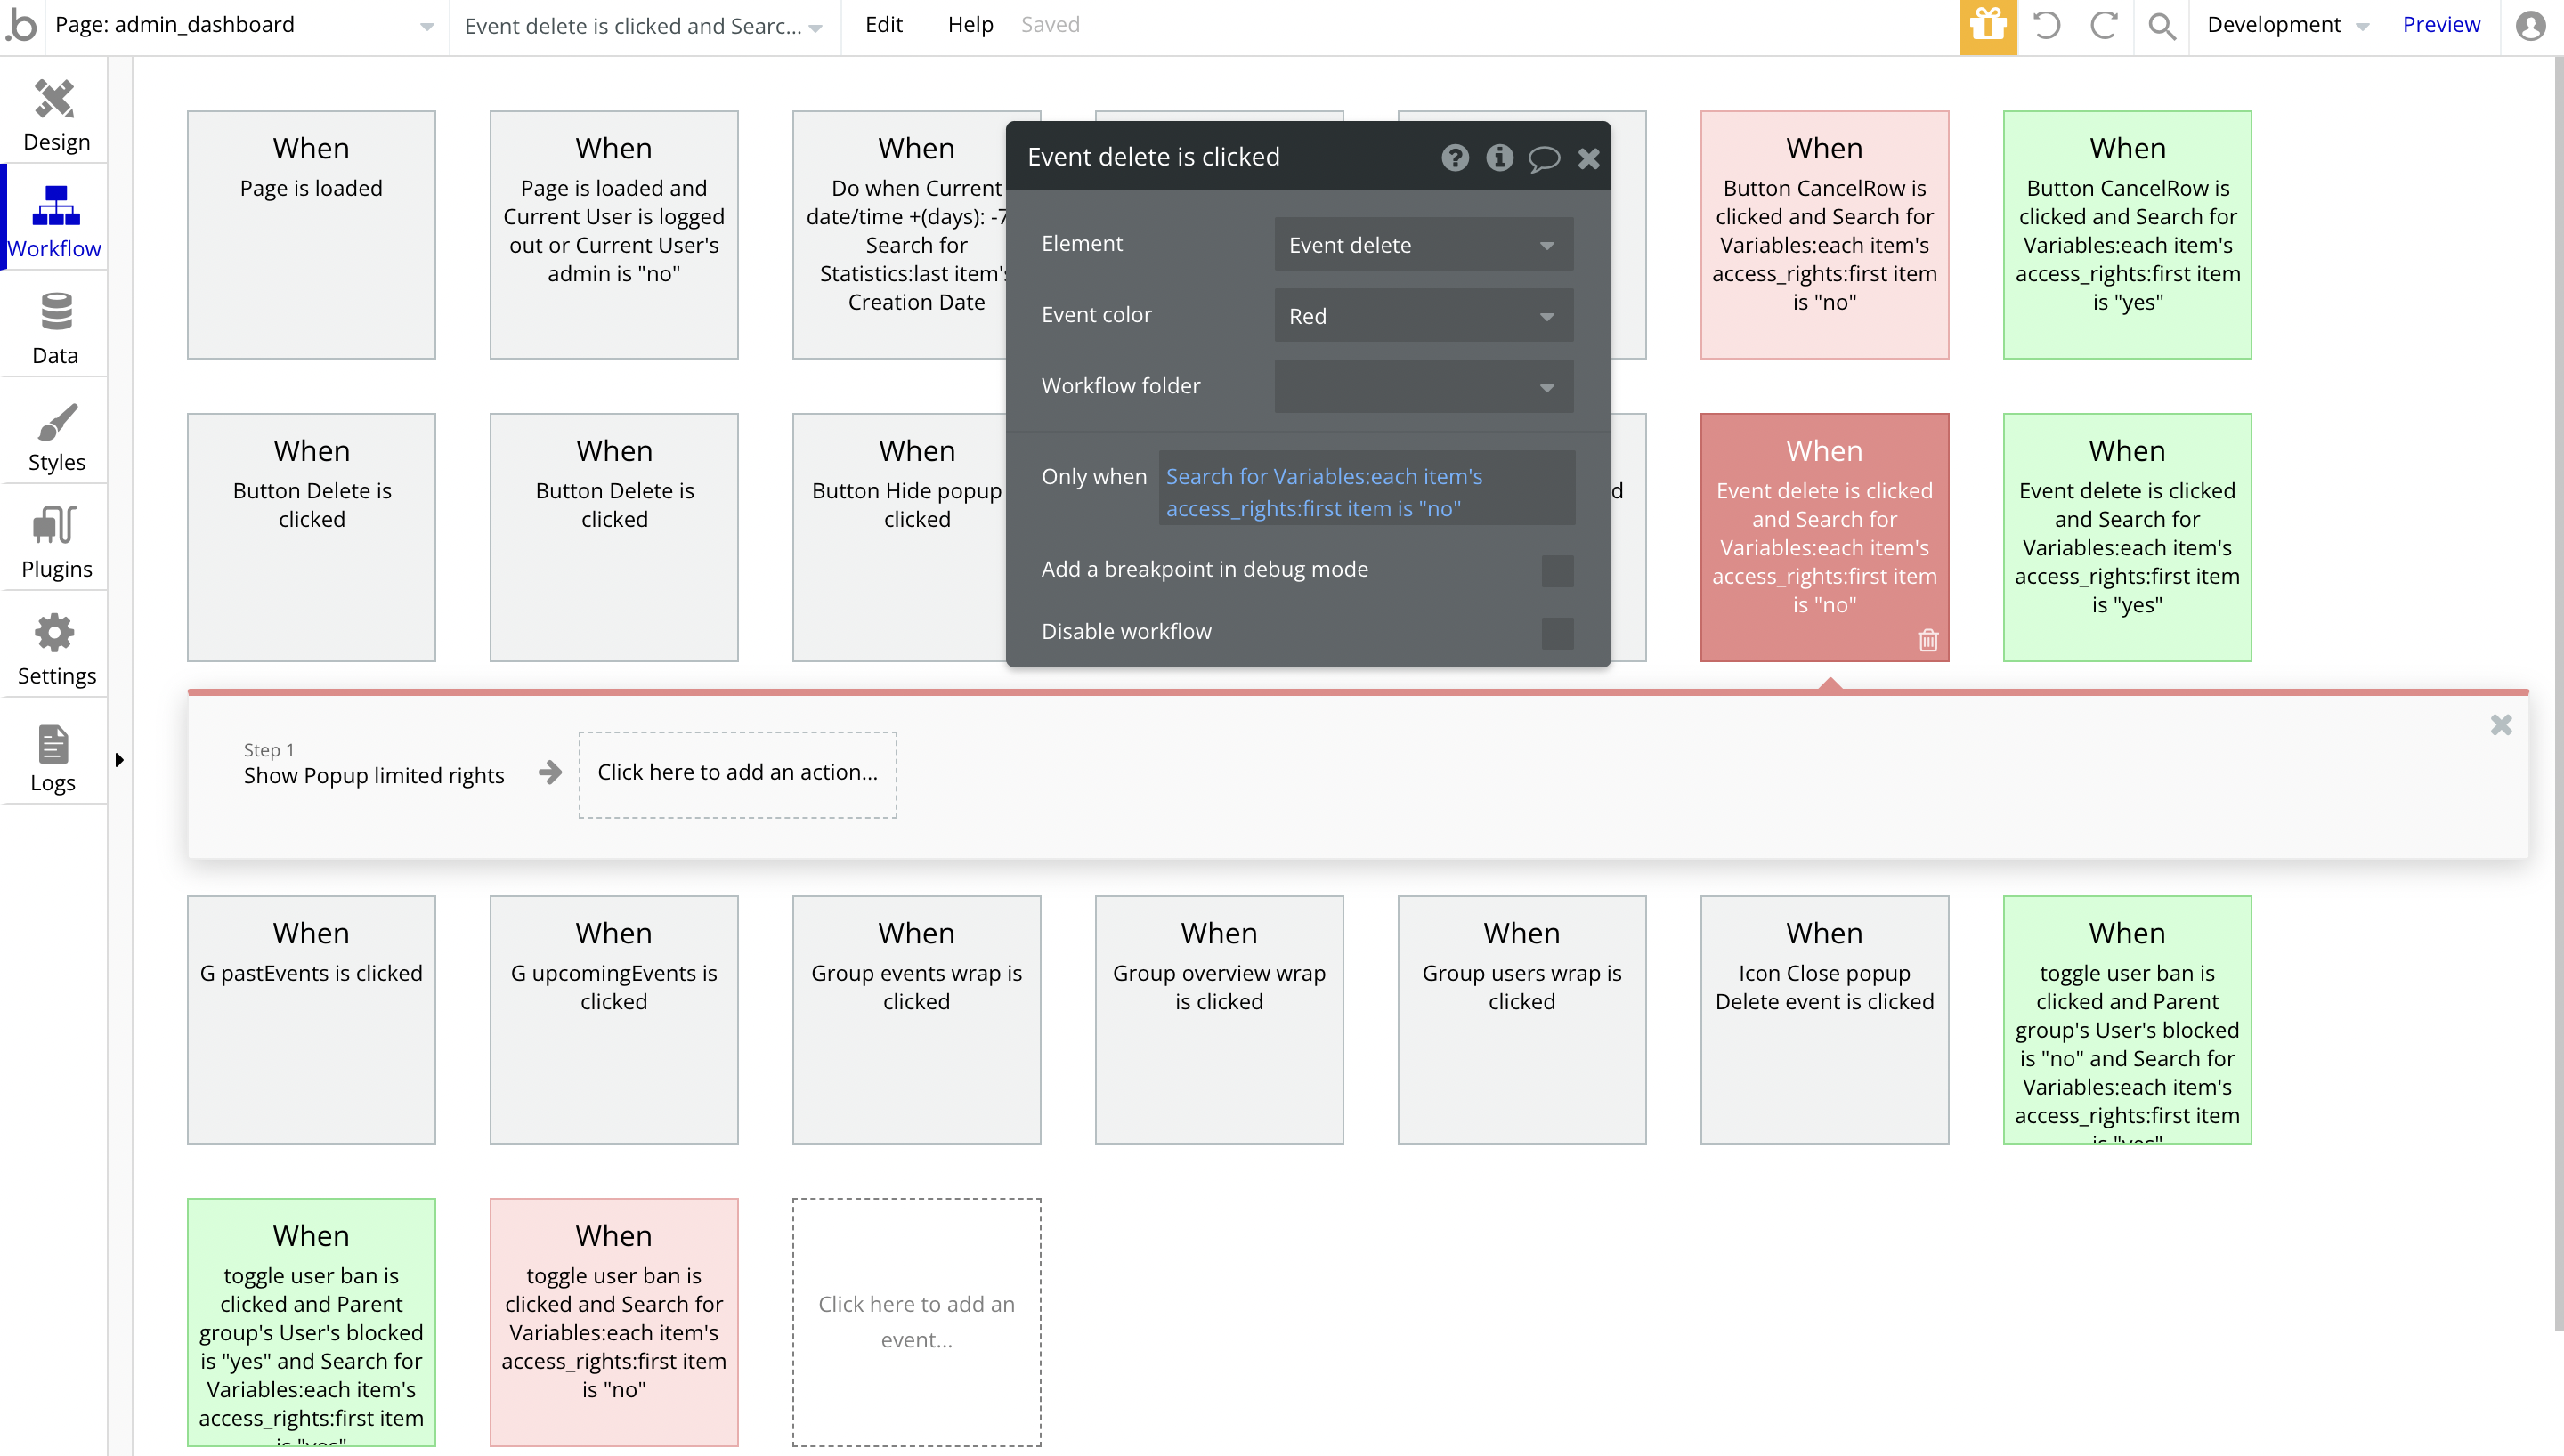
In case the
access_rights field is set to "no", the warning popup will show up to inform about limited rights on the platform. In case the value is set to "yes", it will prompt the admin to delete that record: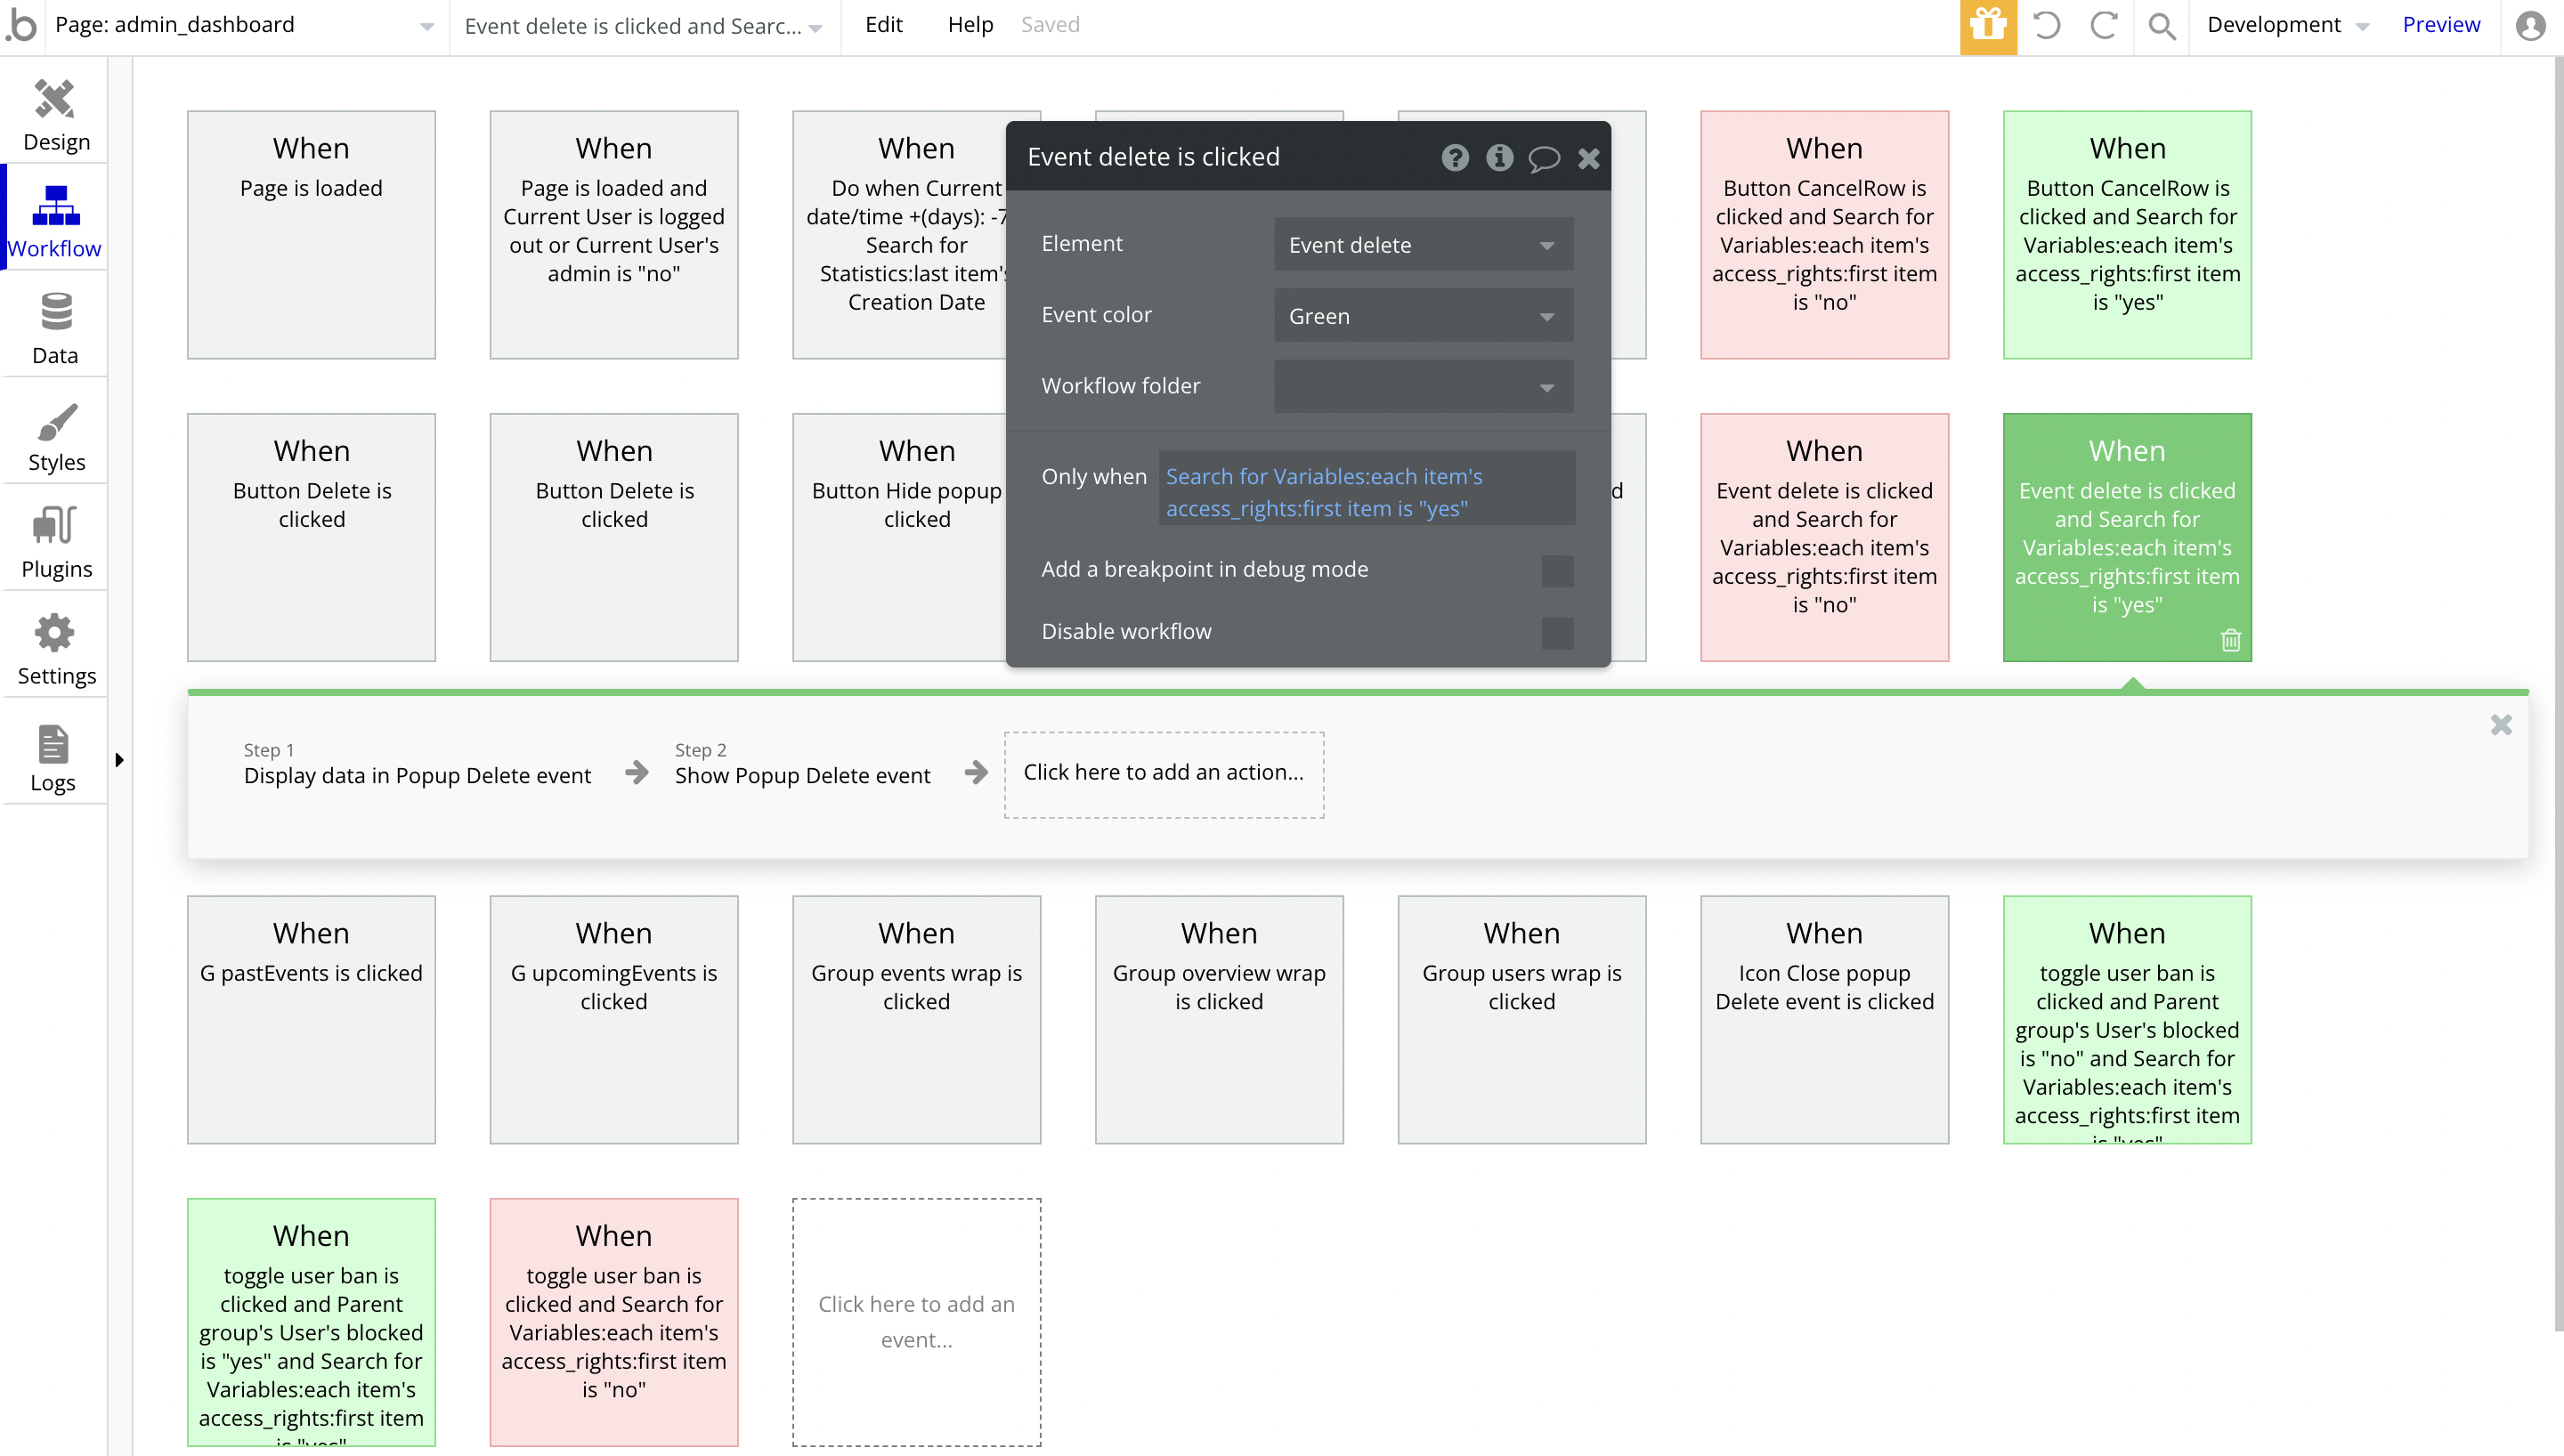
availability
On this page, host can check their availability and schedules or set a new schedule. Setting a new schedule implies adding time slots when host is available for meetings. Each schedule can be applied to one or a few events, and there is a default one set for test purposes.
It is possible to create new events, preview the existing ones, set the available working hours, as well as add overrides.
If your available hours are recurring, and some days require a special schedule, use Override. Update or add any available hours on specific dates by selecting Add date overrides. Adding a date override is useful for when you have exceptions to your weekly hours.
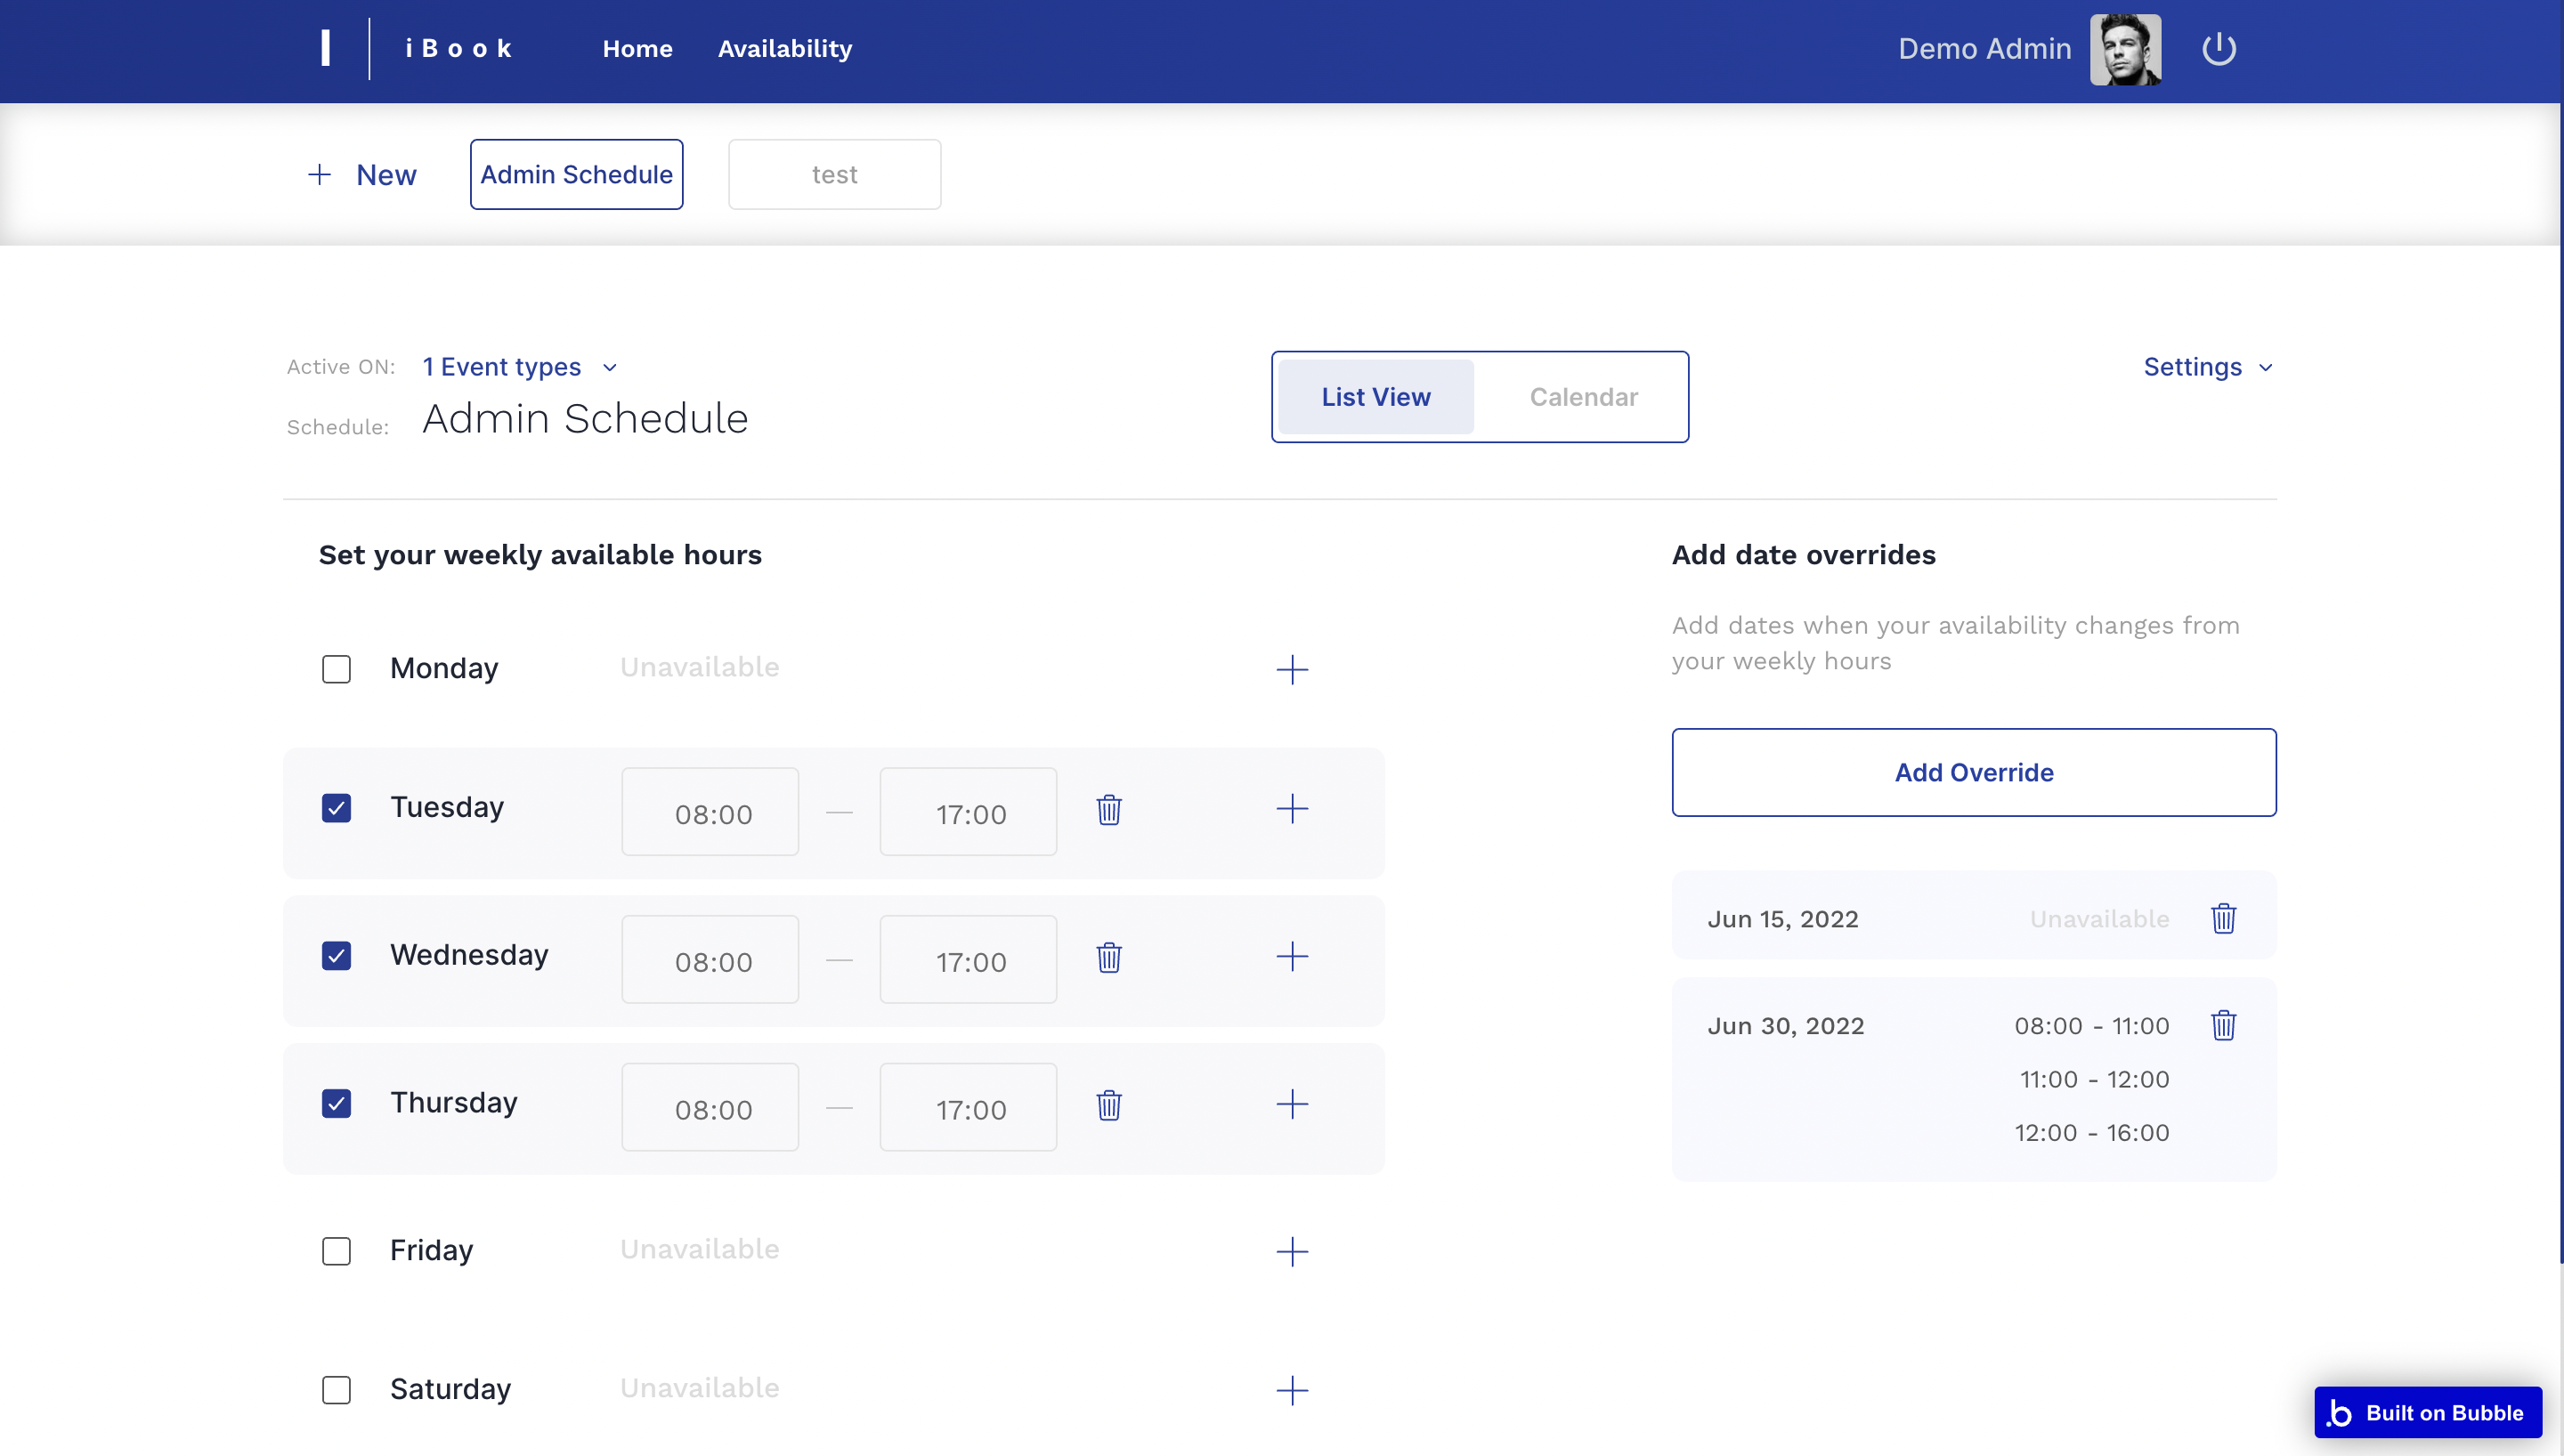
This page comes with two main tabs: List View and Calendar, per each schedule.
For example, this is the List View of a schedule created for the Admin:
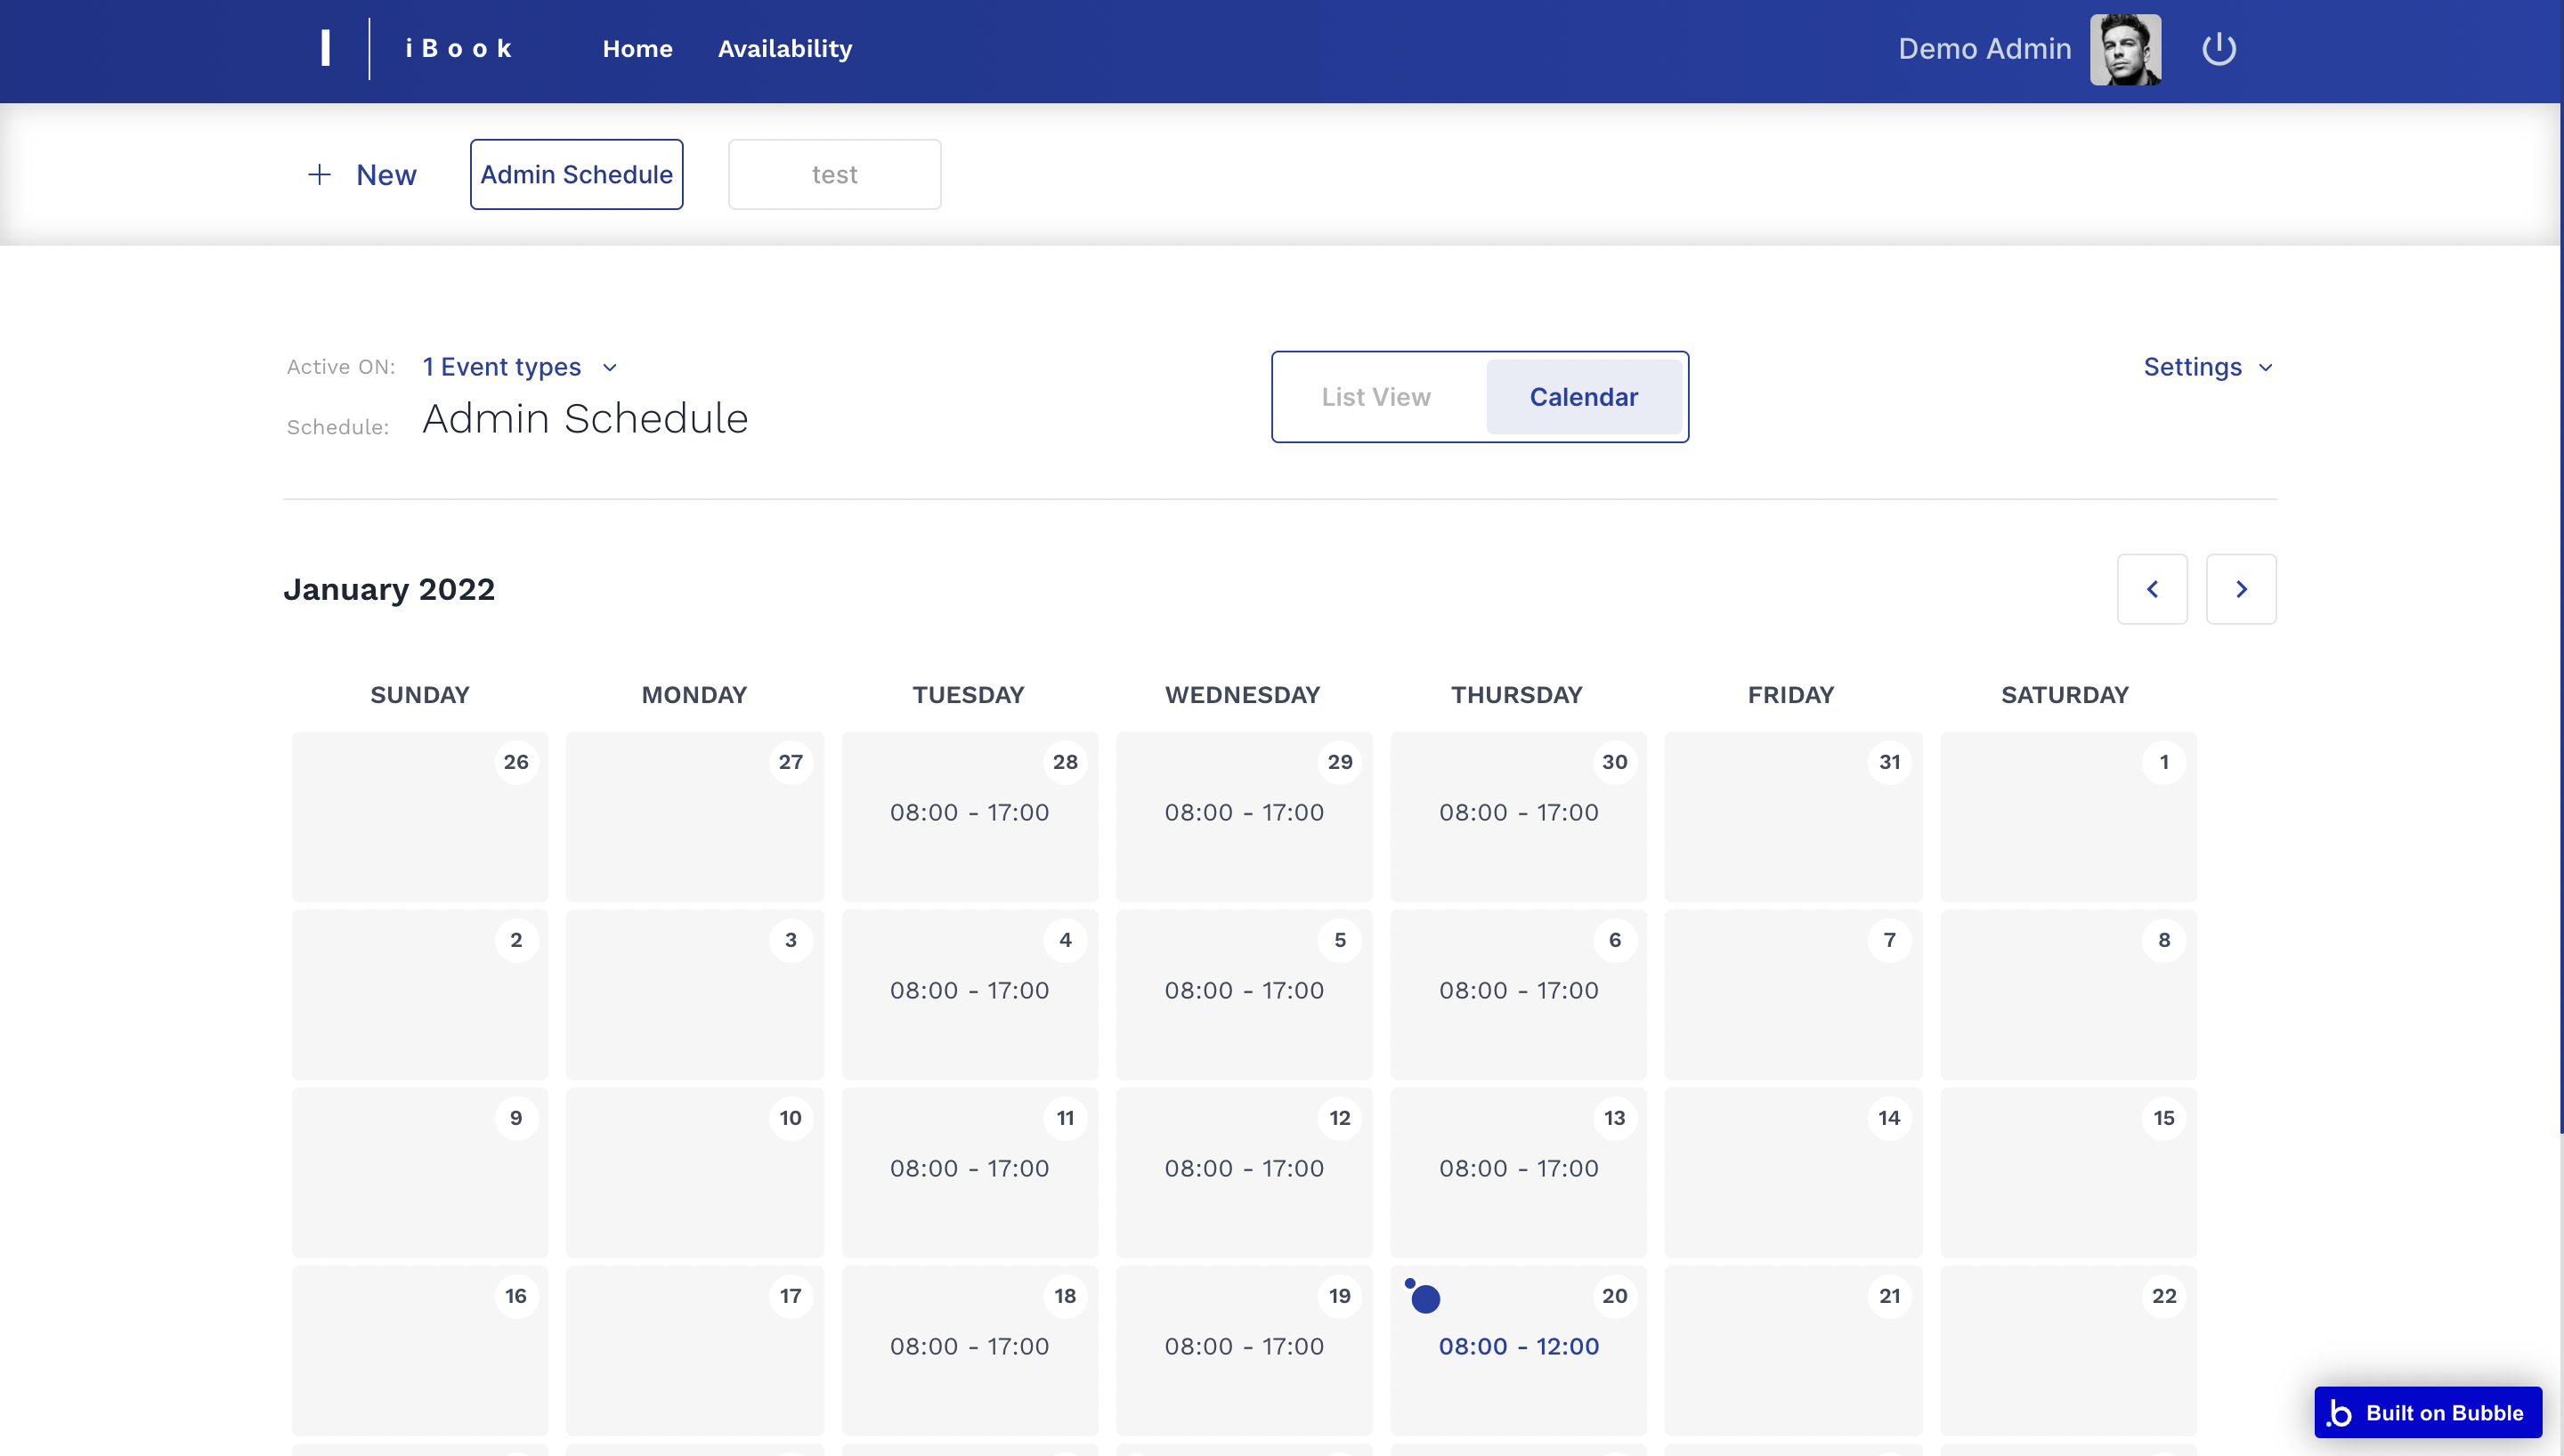
The Calendar tab is displaying the schedule itself with overrides if there are any:
booking
On this page, users are able to schedule a timeframe with the event host.
Tip: The booking link can be copied from the
event_type page, or using the QR code to book.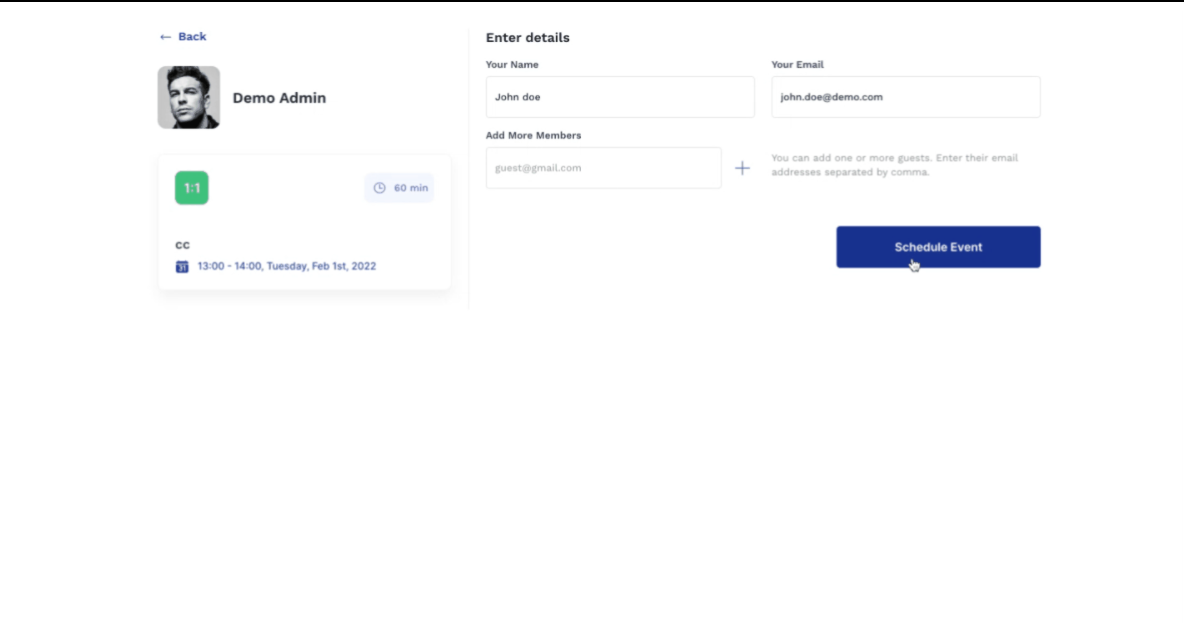
The listed events are being pulled from the database,
Event object, into the RepeatingGroup called "RG Event":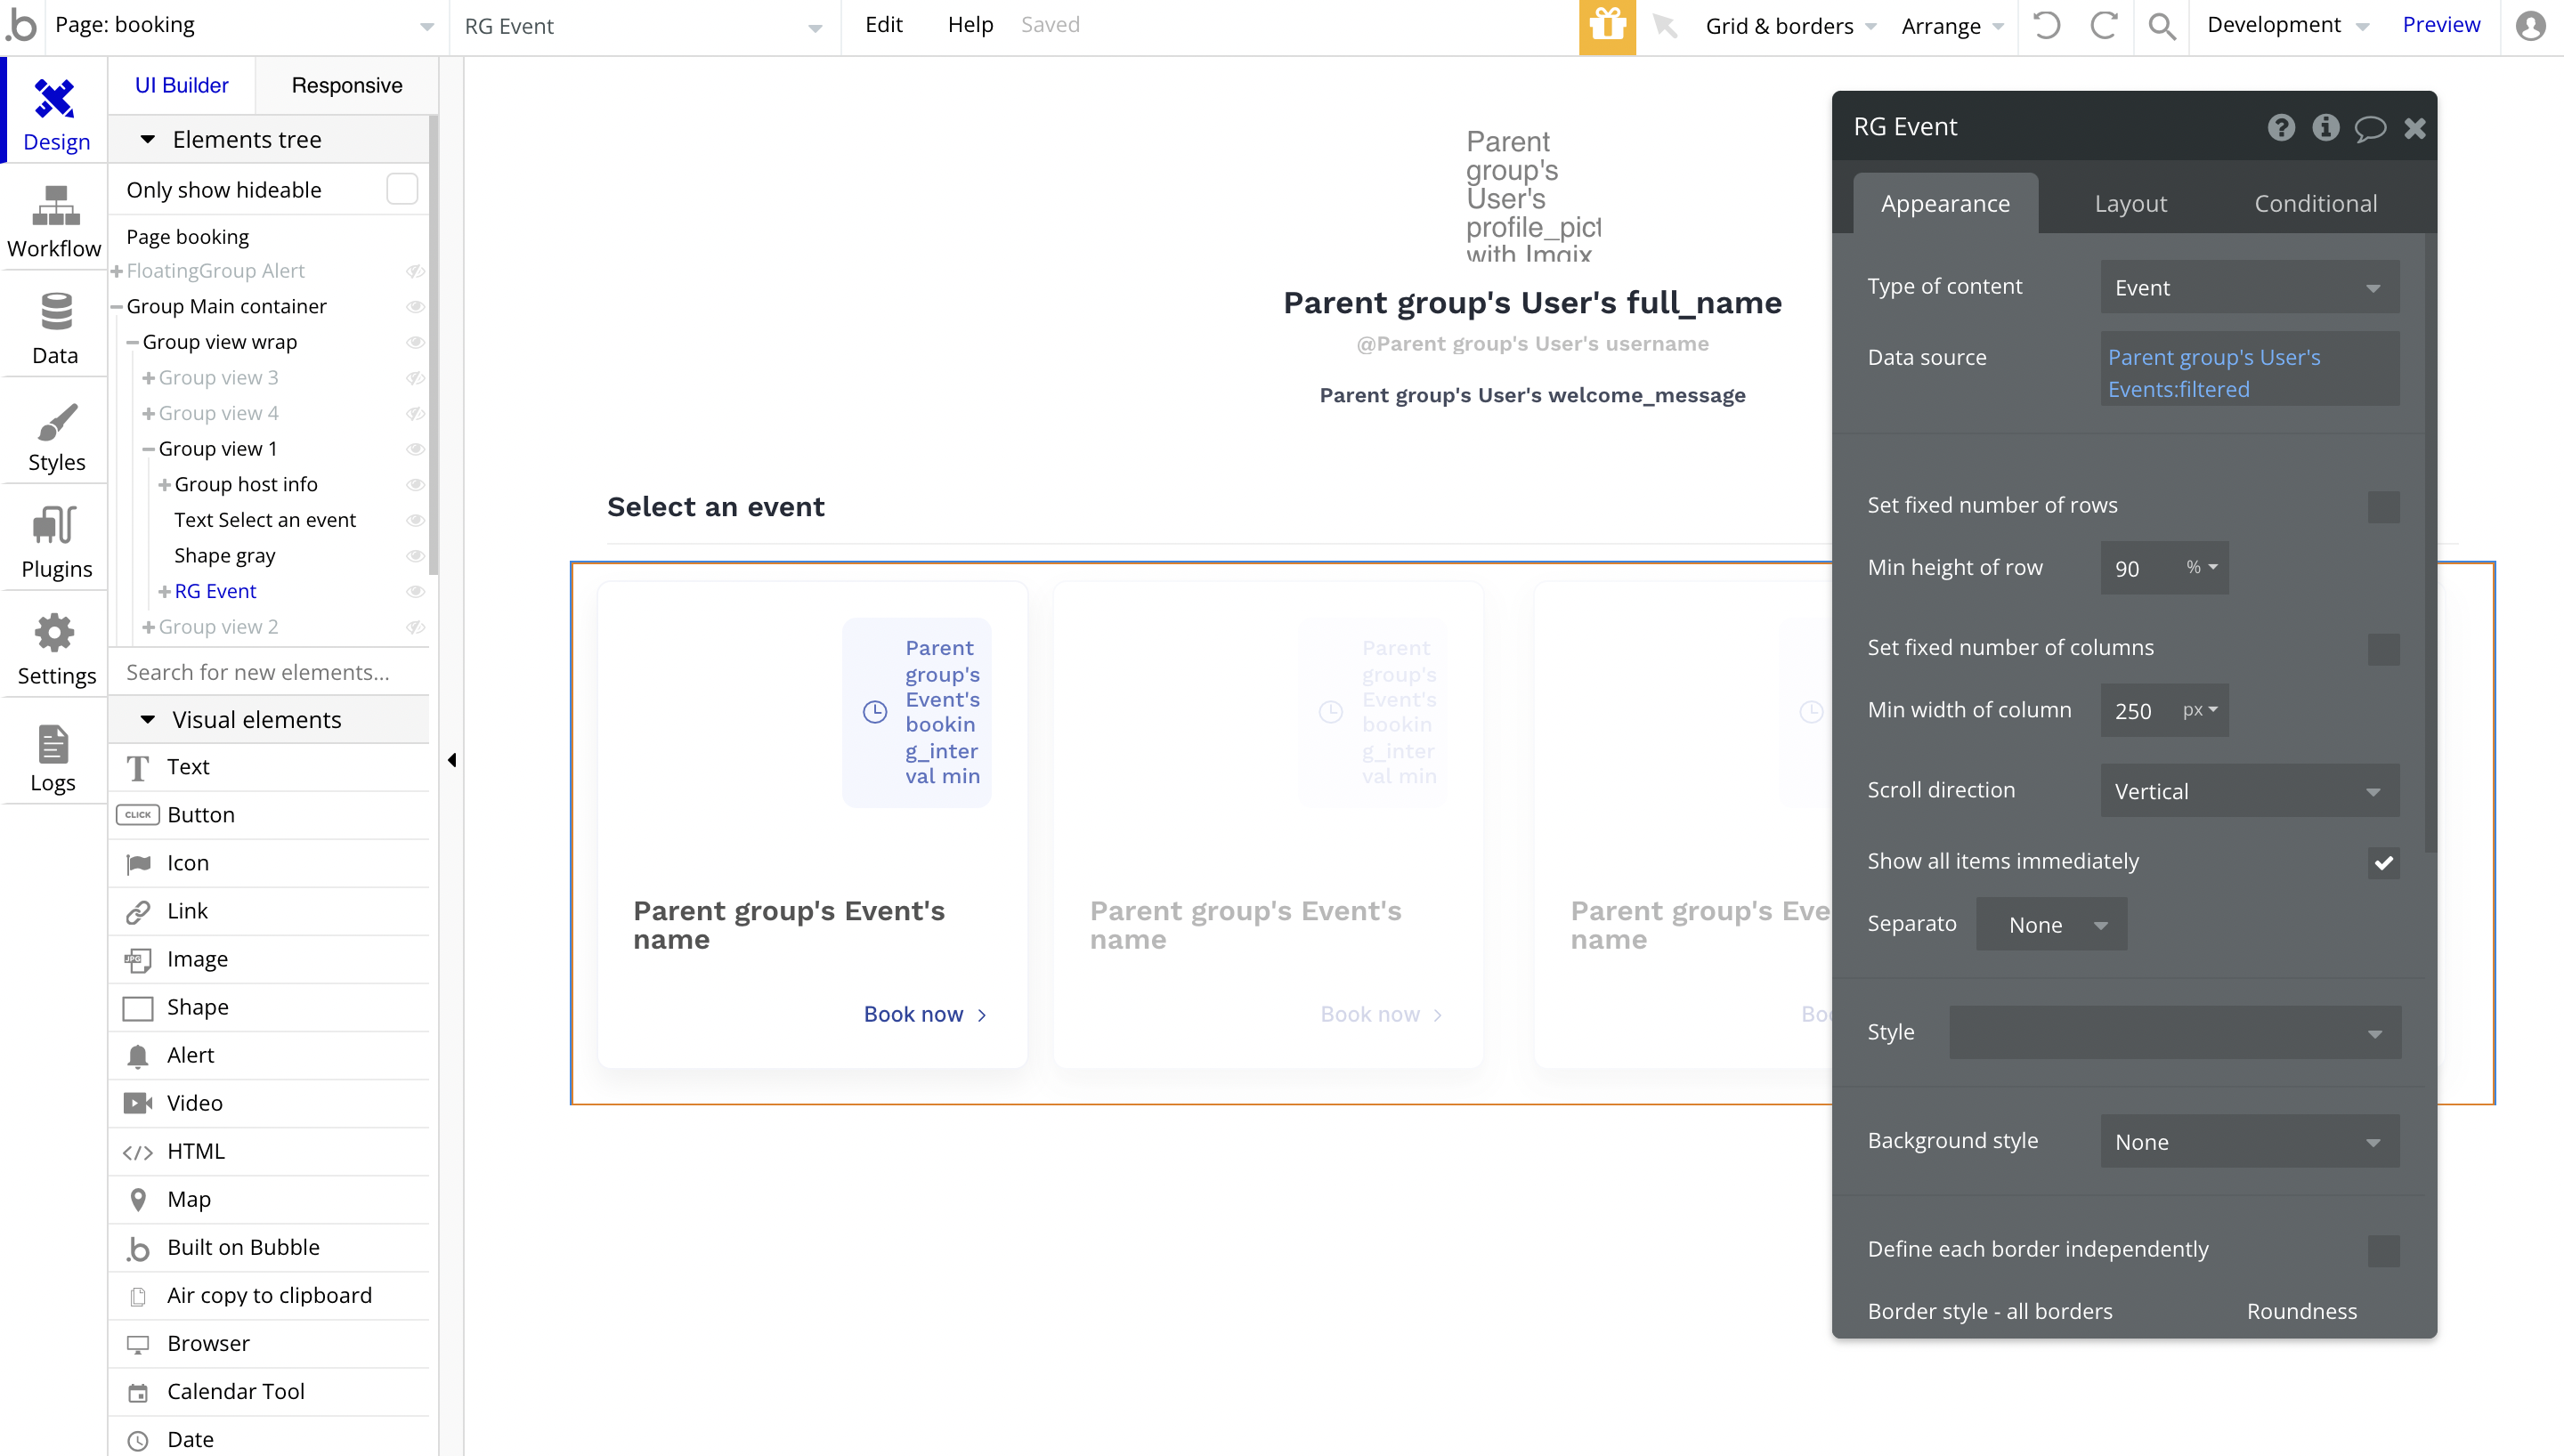
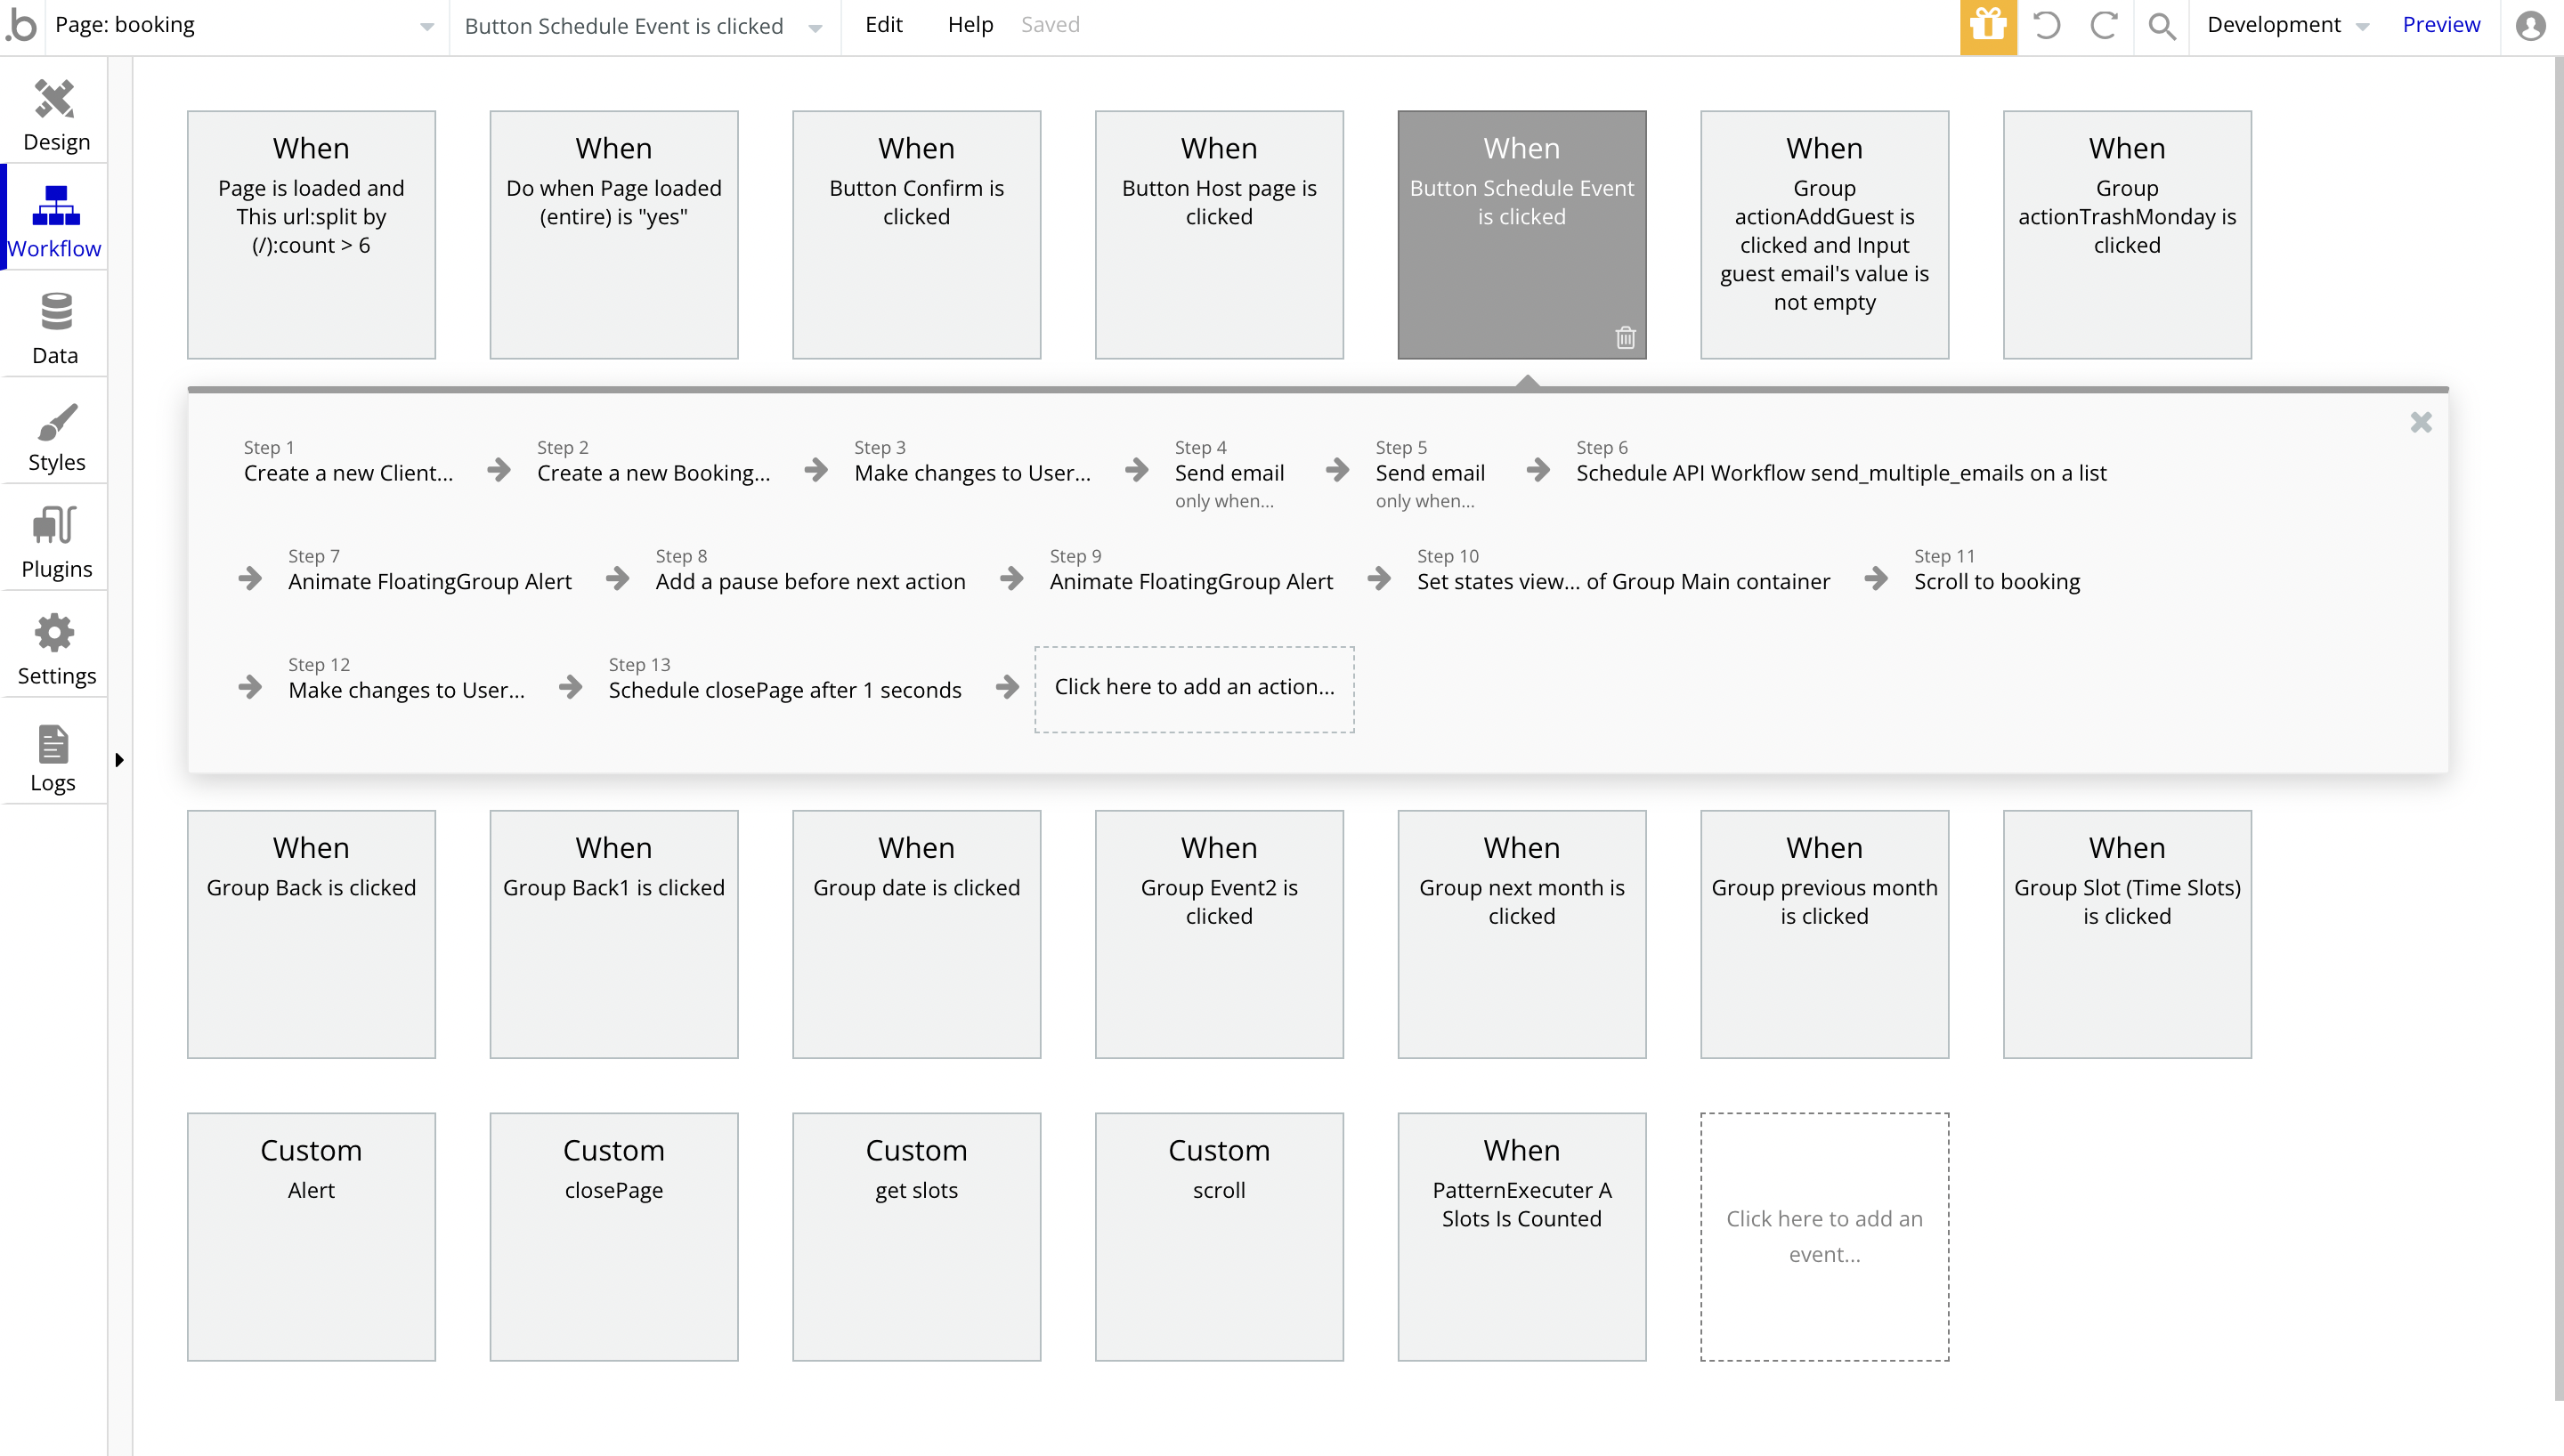
The booking functionality can be found in the following workflow (it is powered by the Calendar Time Slots plugin, so for setup guidance please check the Setup Guide):
booking_cancel
The user receives the link to this page when he gets a booking confirmation email. On this page, it is possible to confirm the booking cancelation:

The workflow is simply deleting the
Booking object: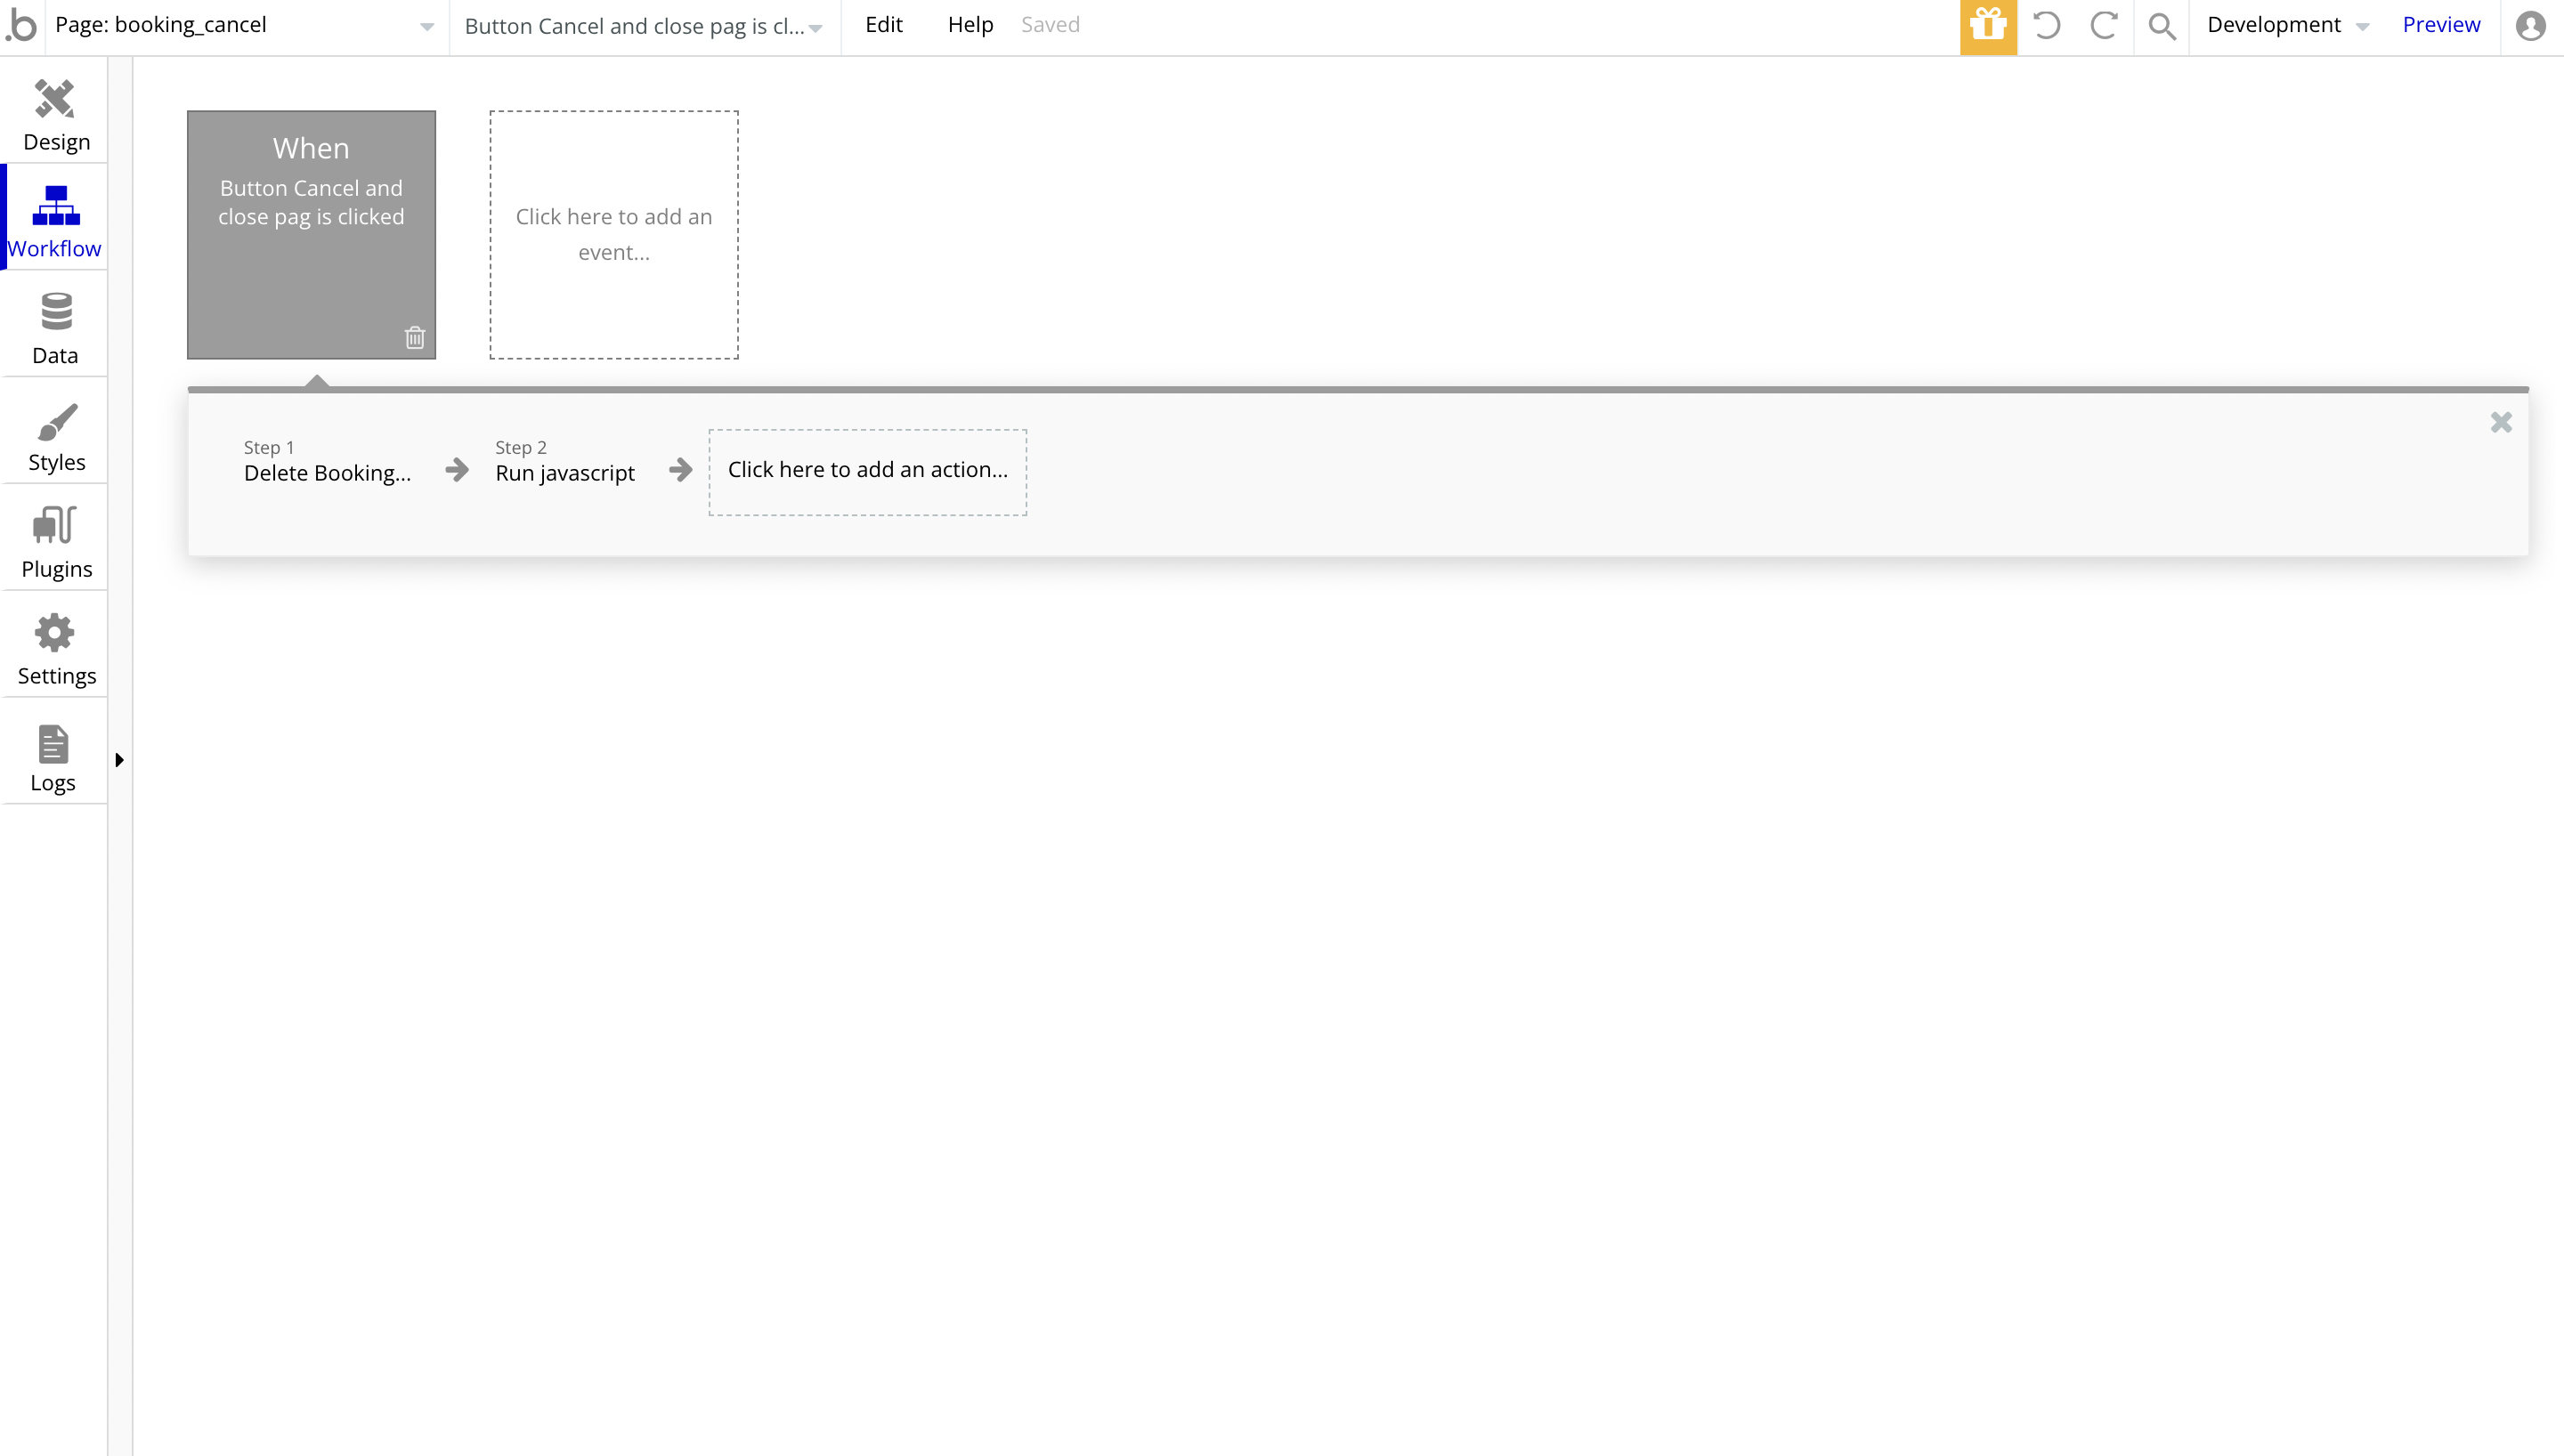
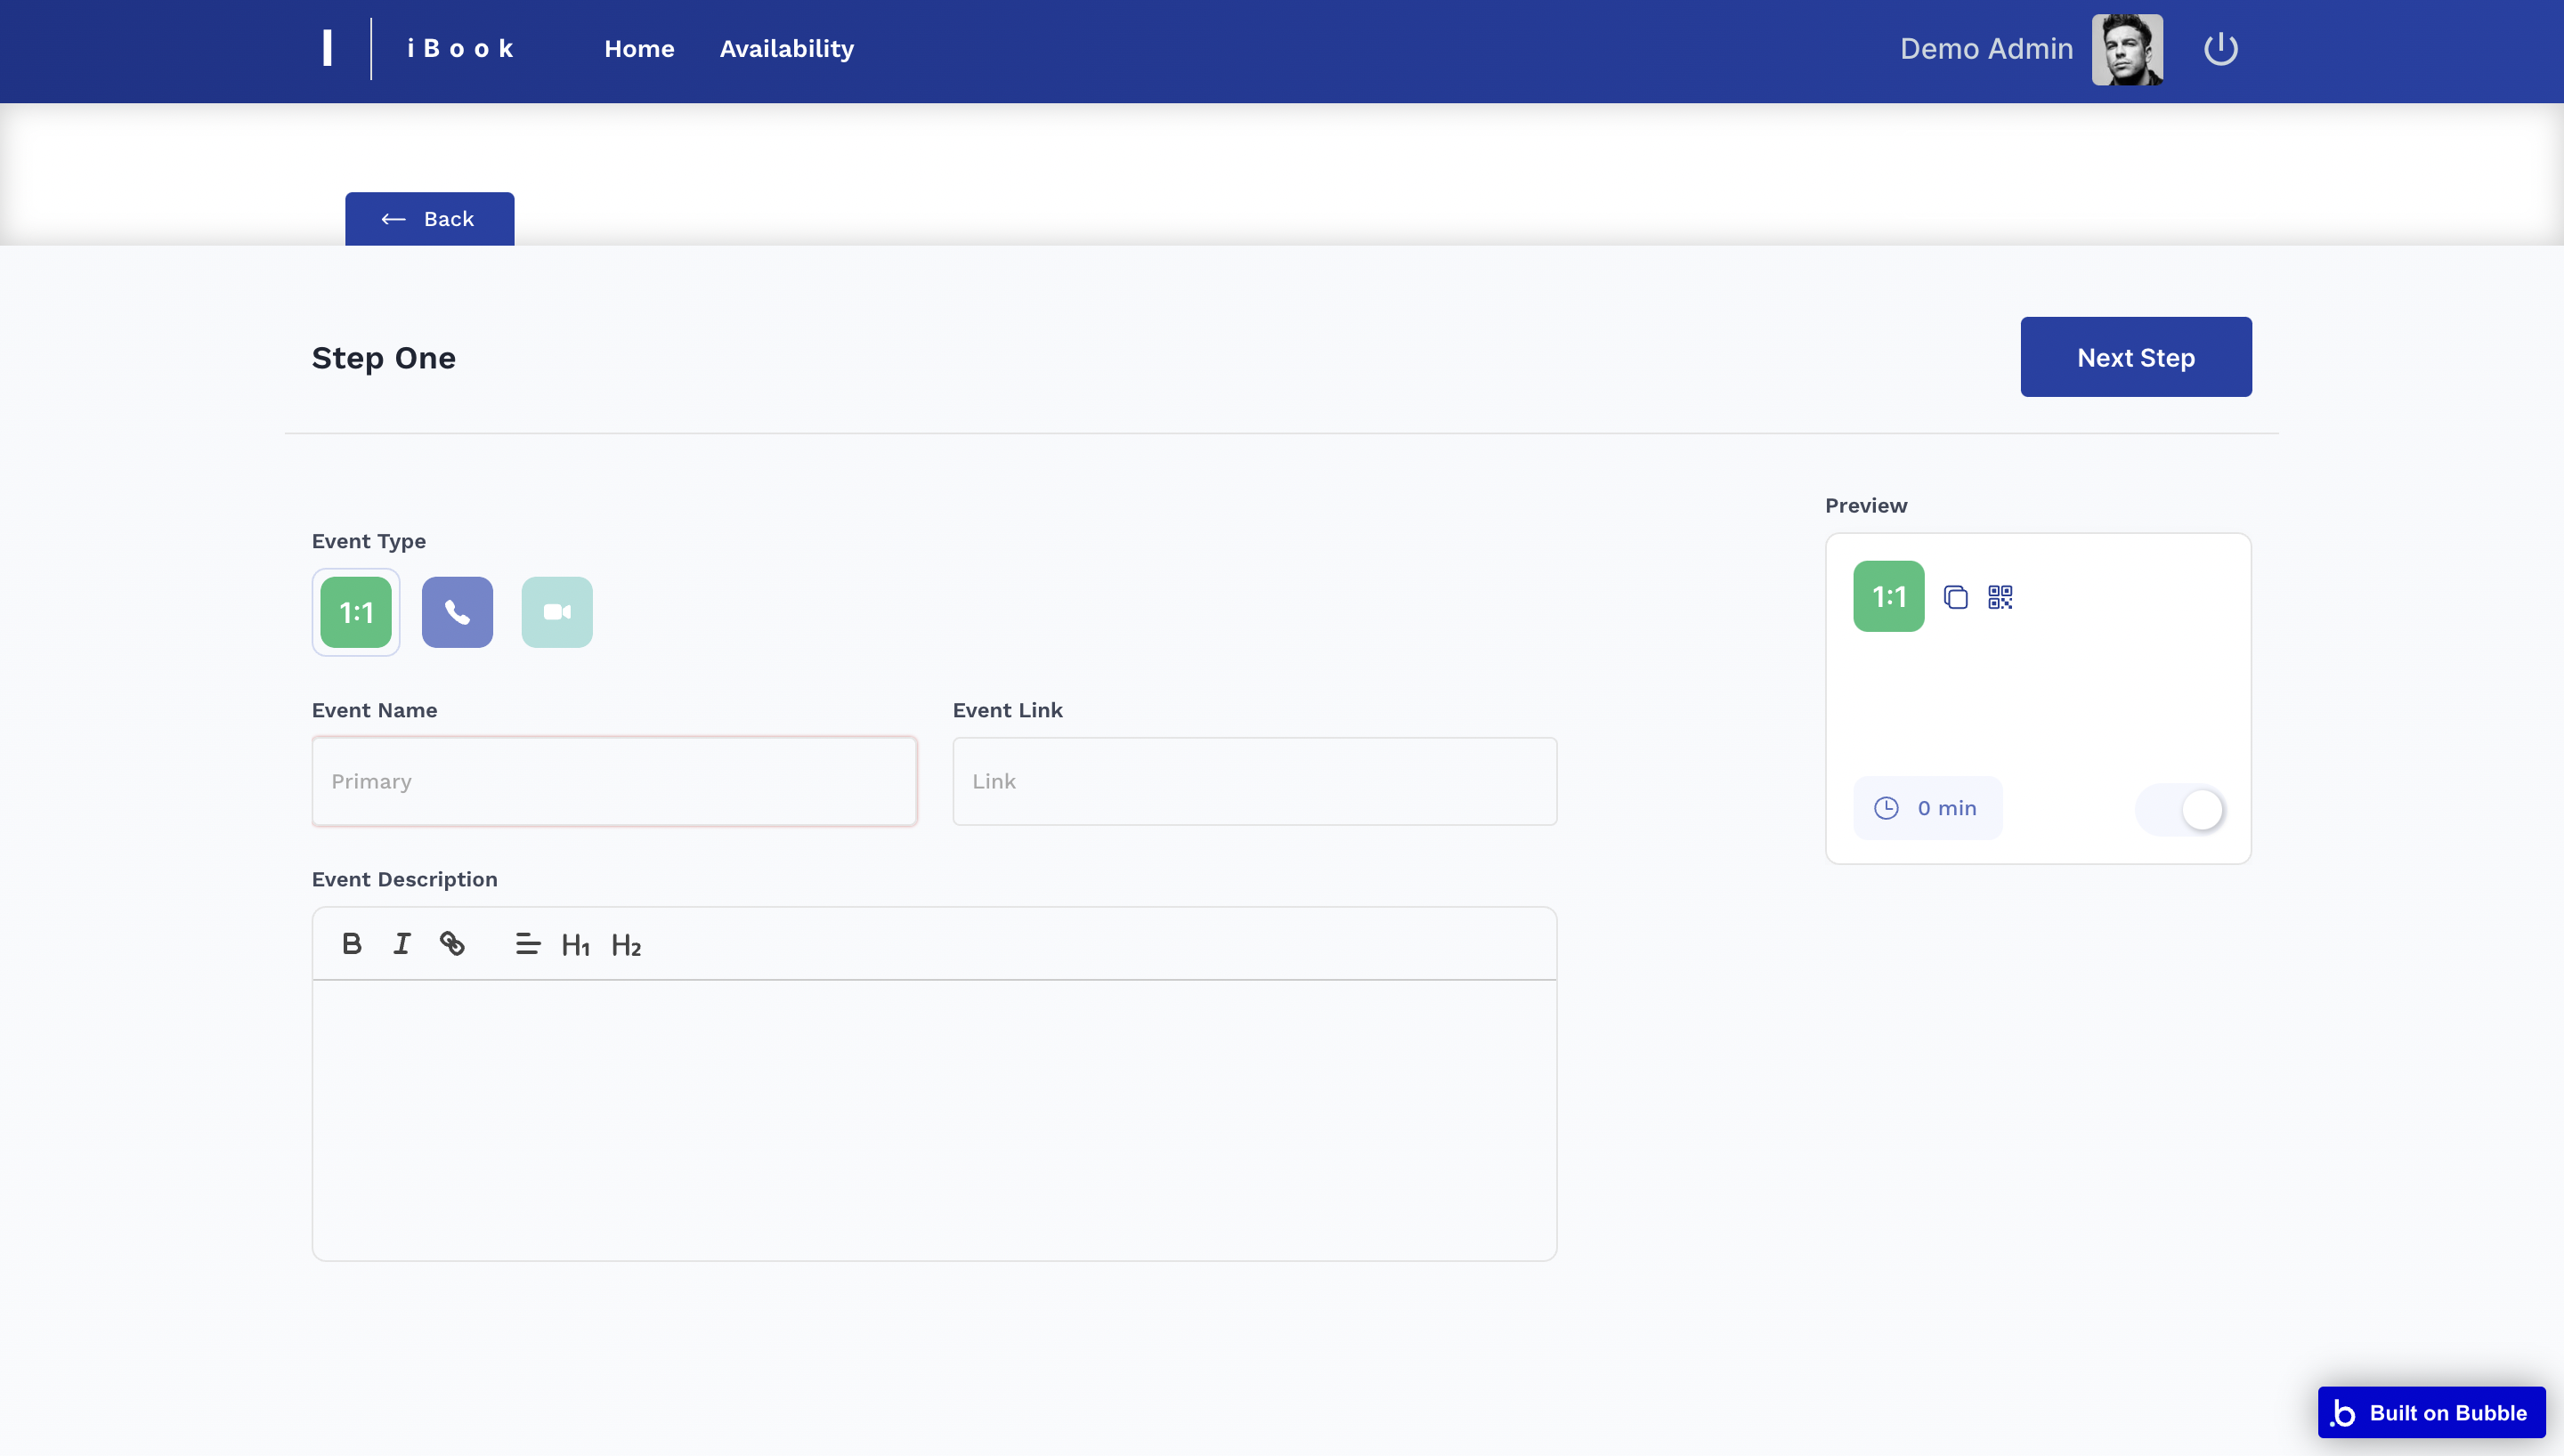
event
On this page, users are creating a new event by selecting the Event Type, first of all. The first event type is a 1-on-1 meeting:
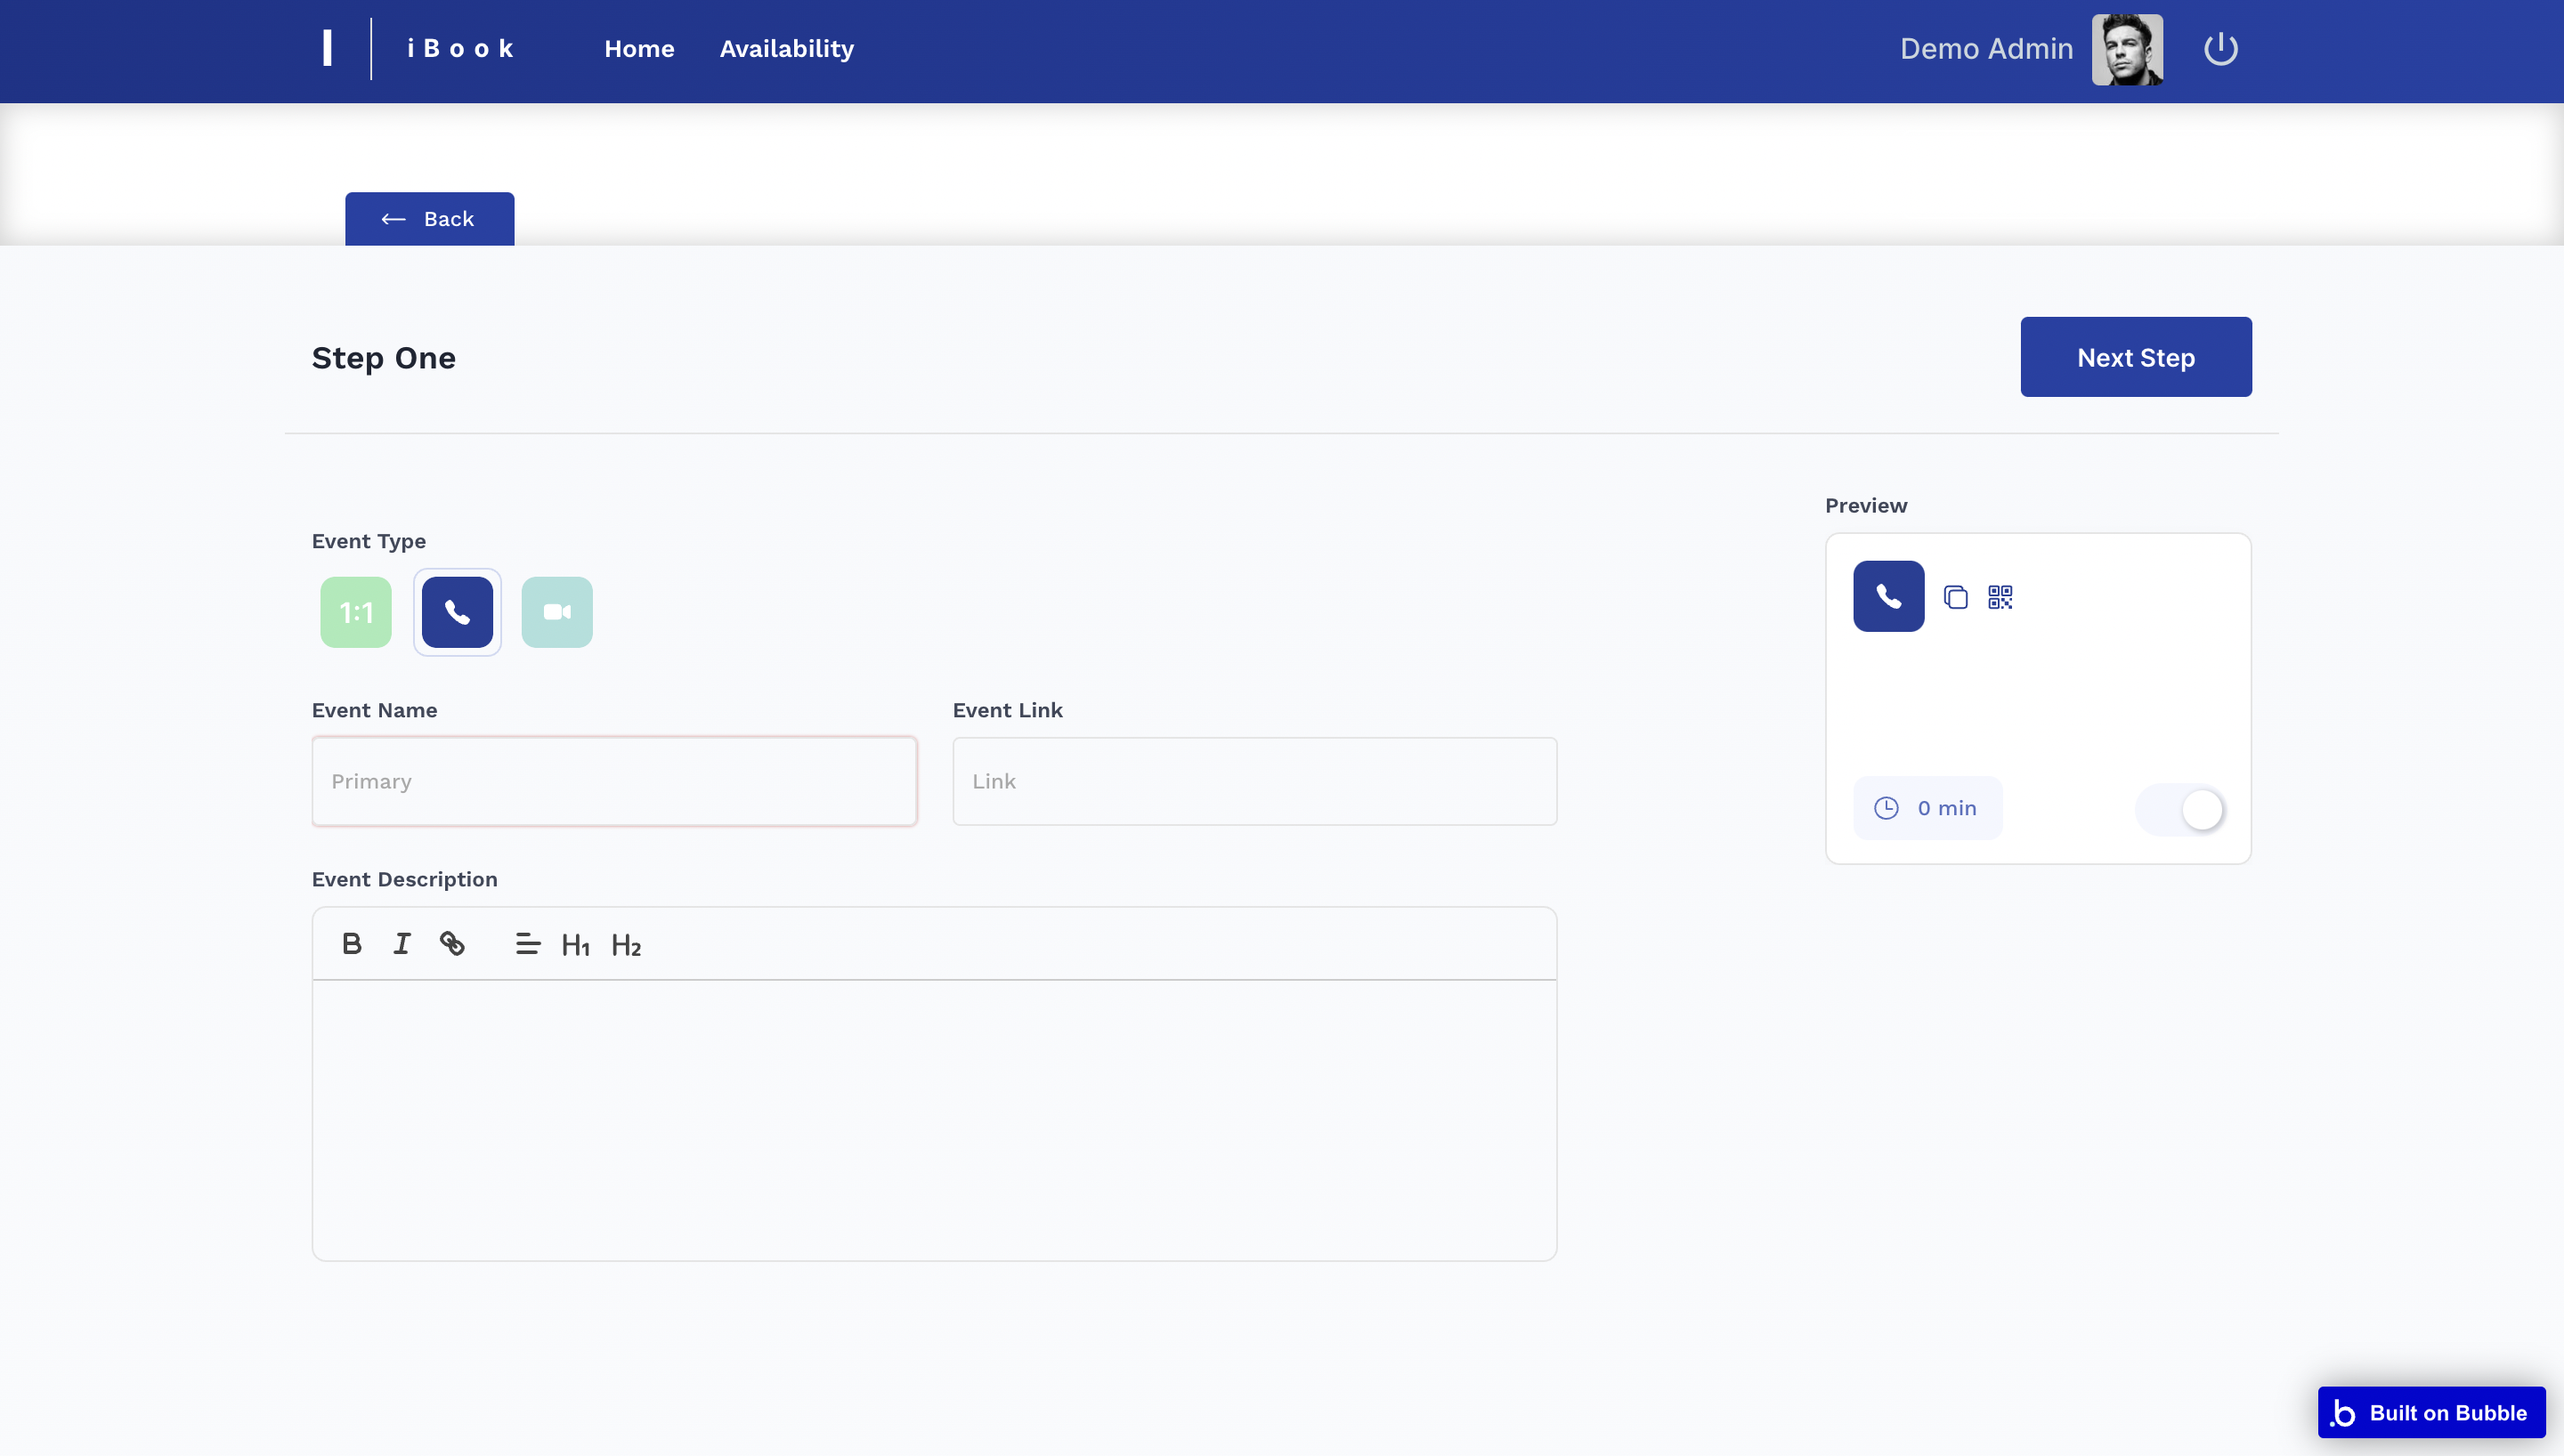
The second event type is a regular call:
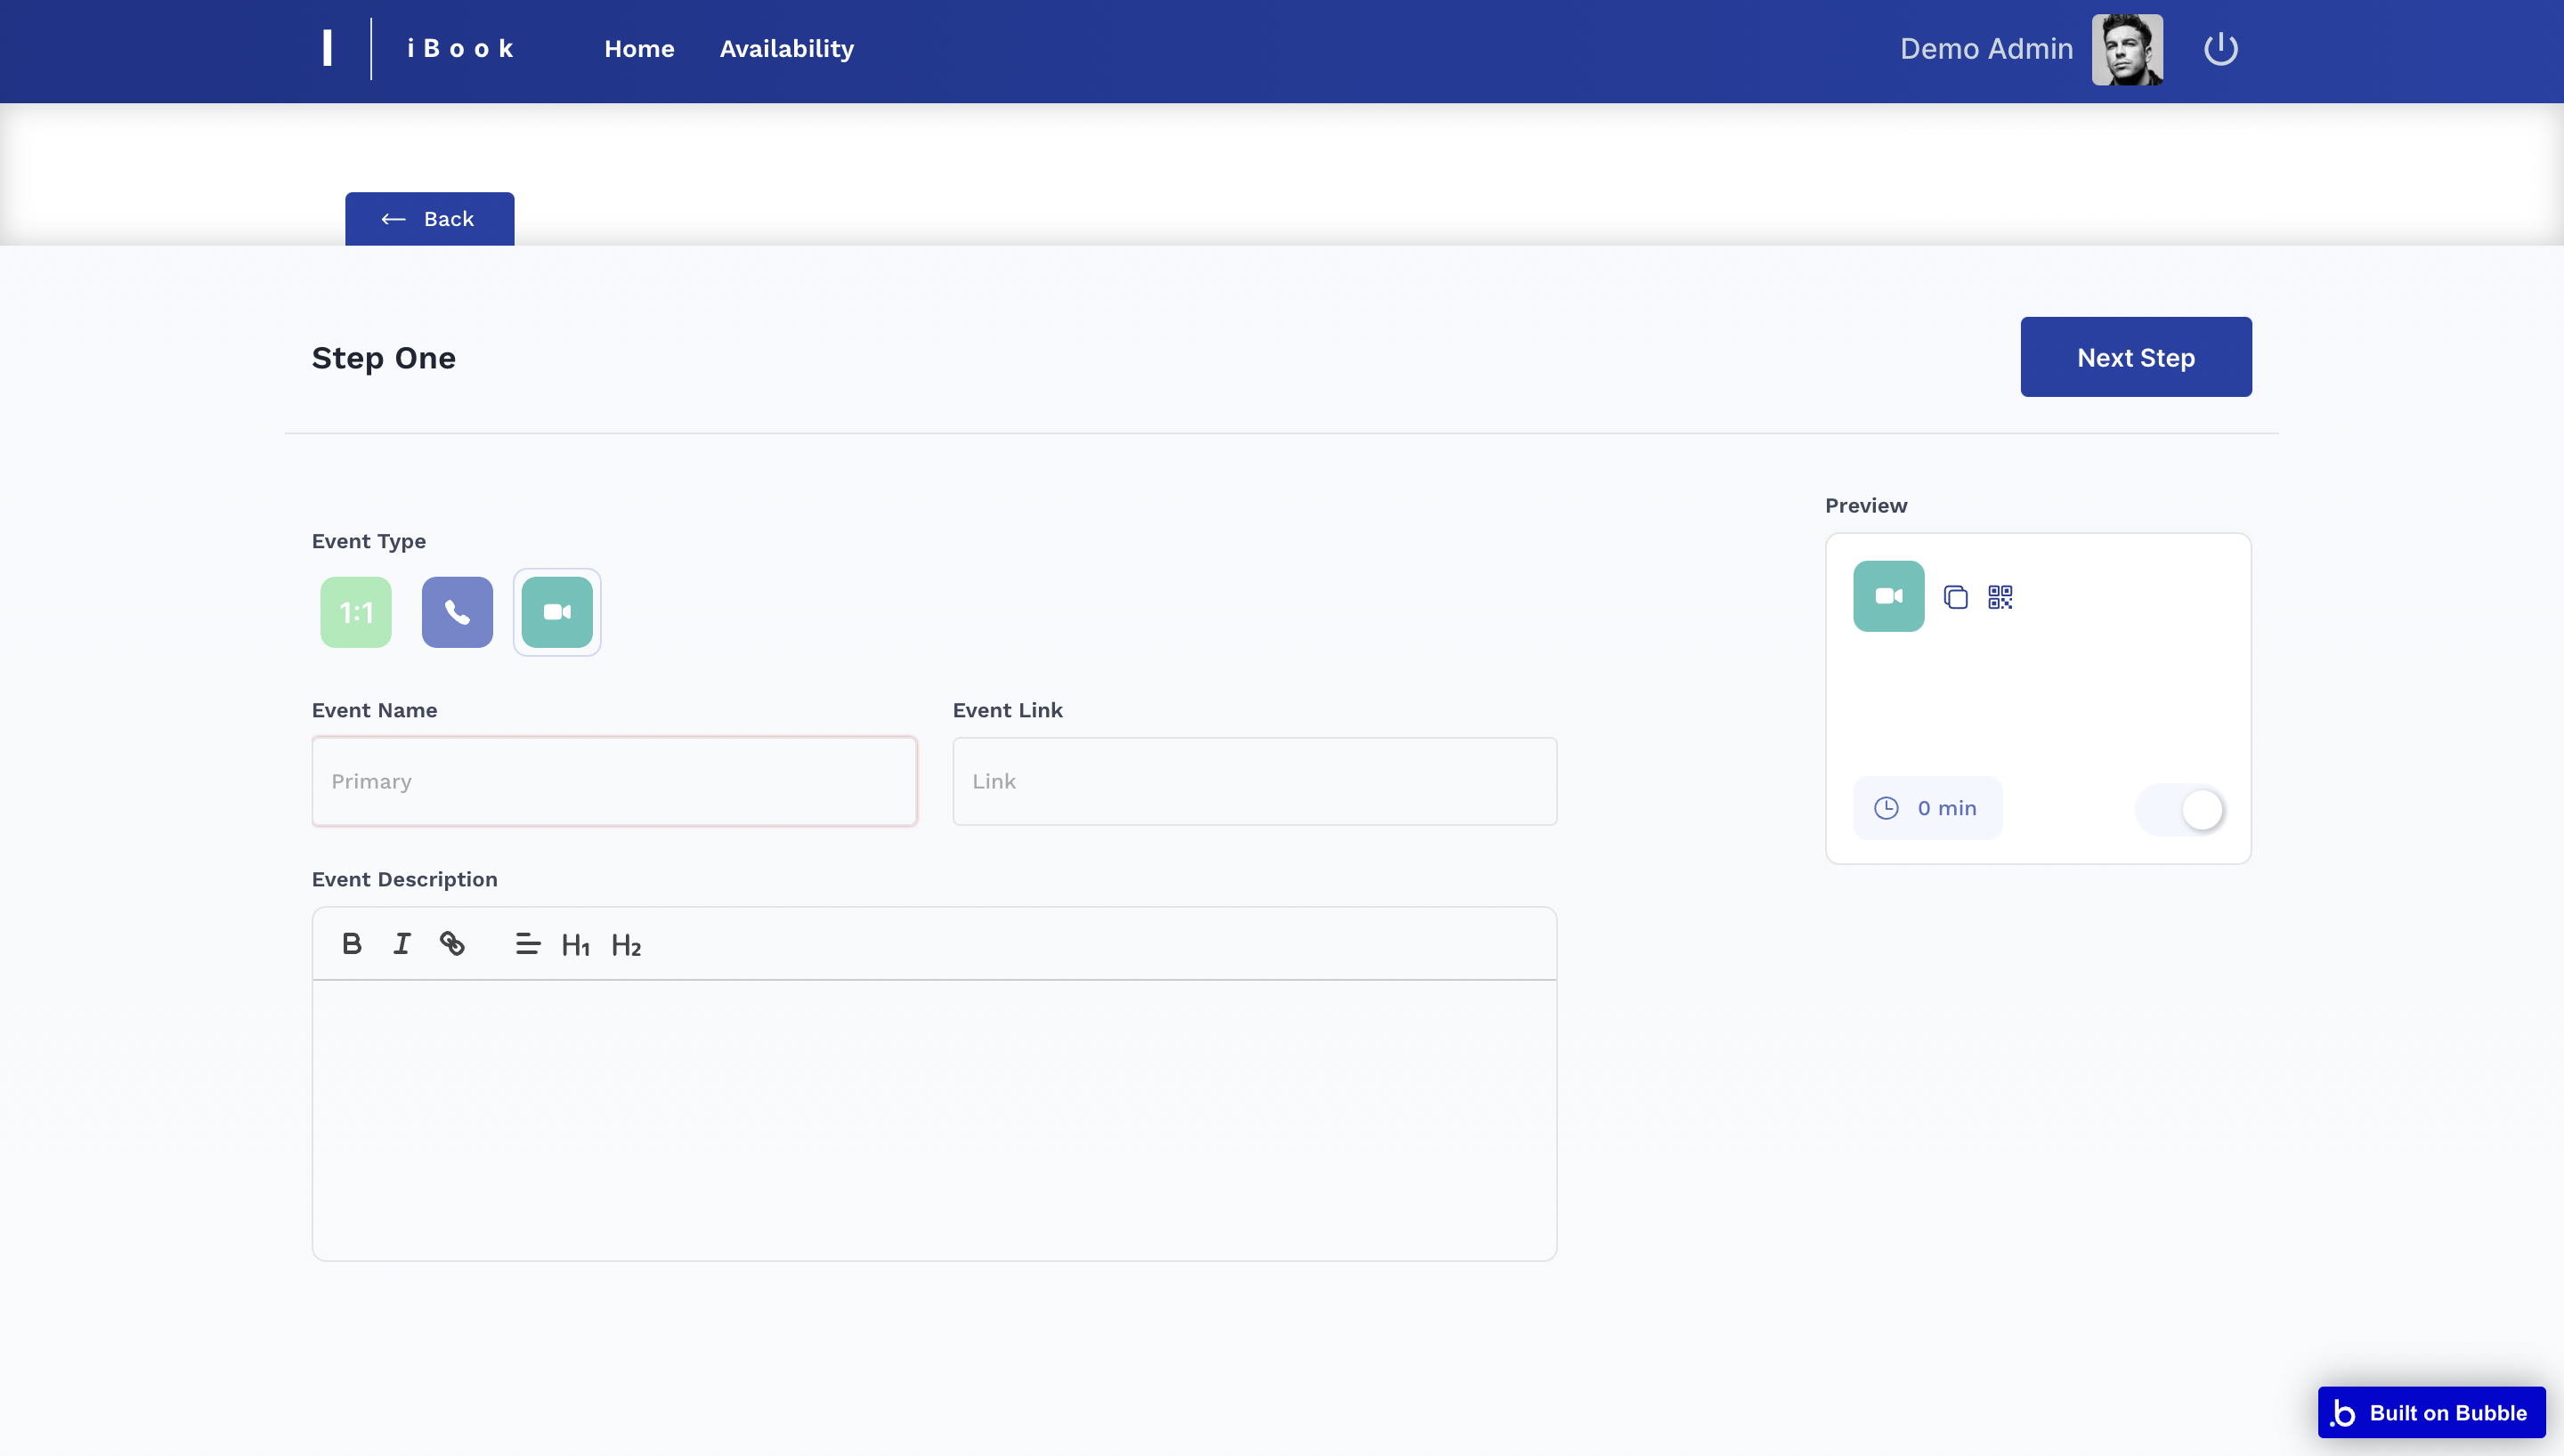
And the last one is a video conference:
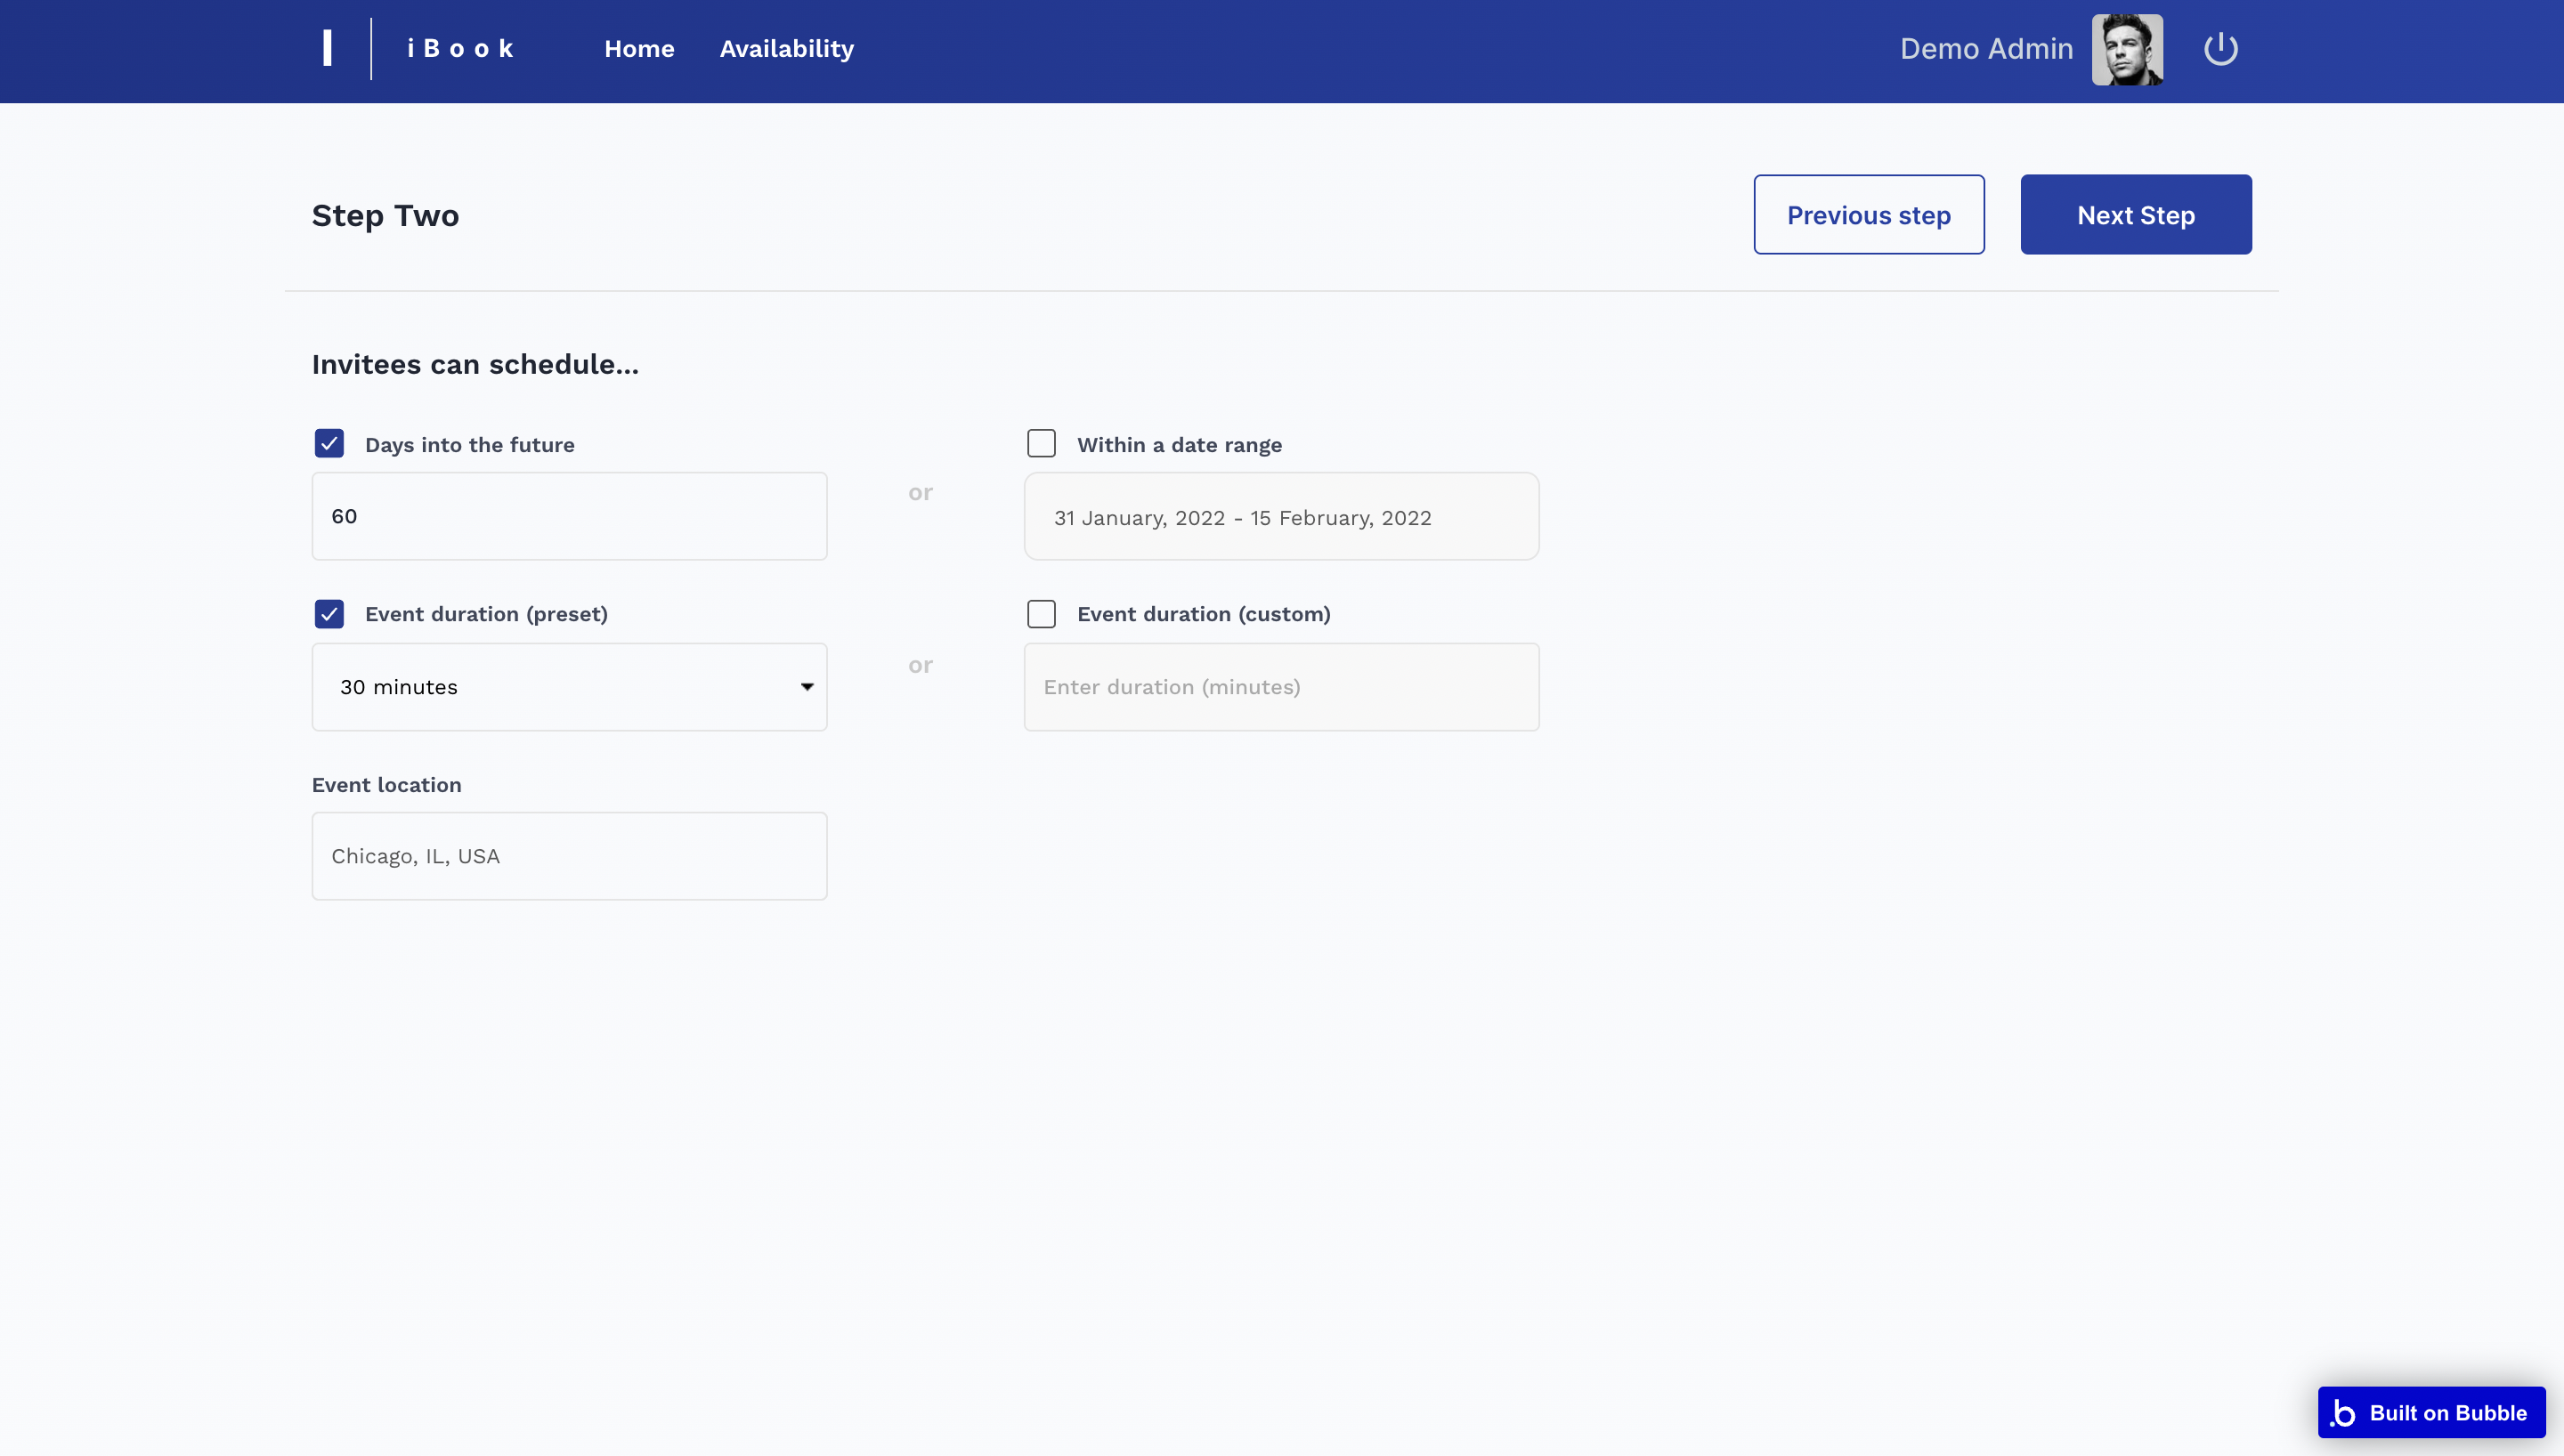
The next step of the event creation process is providing details about the scheduling.
Please note that 'Custom event duration' feature is available just for paid plans:
The third step is to add the time availability by setting up the weekly available hours, as well as adding overrides:
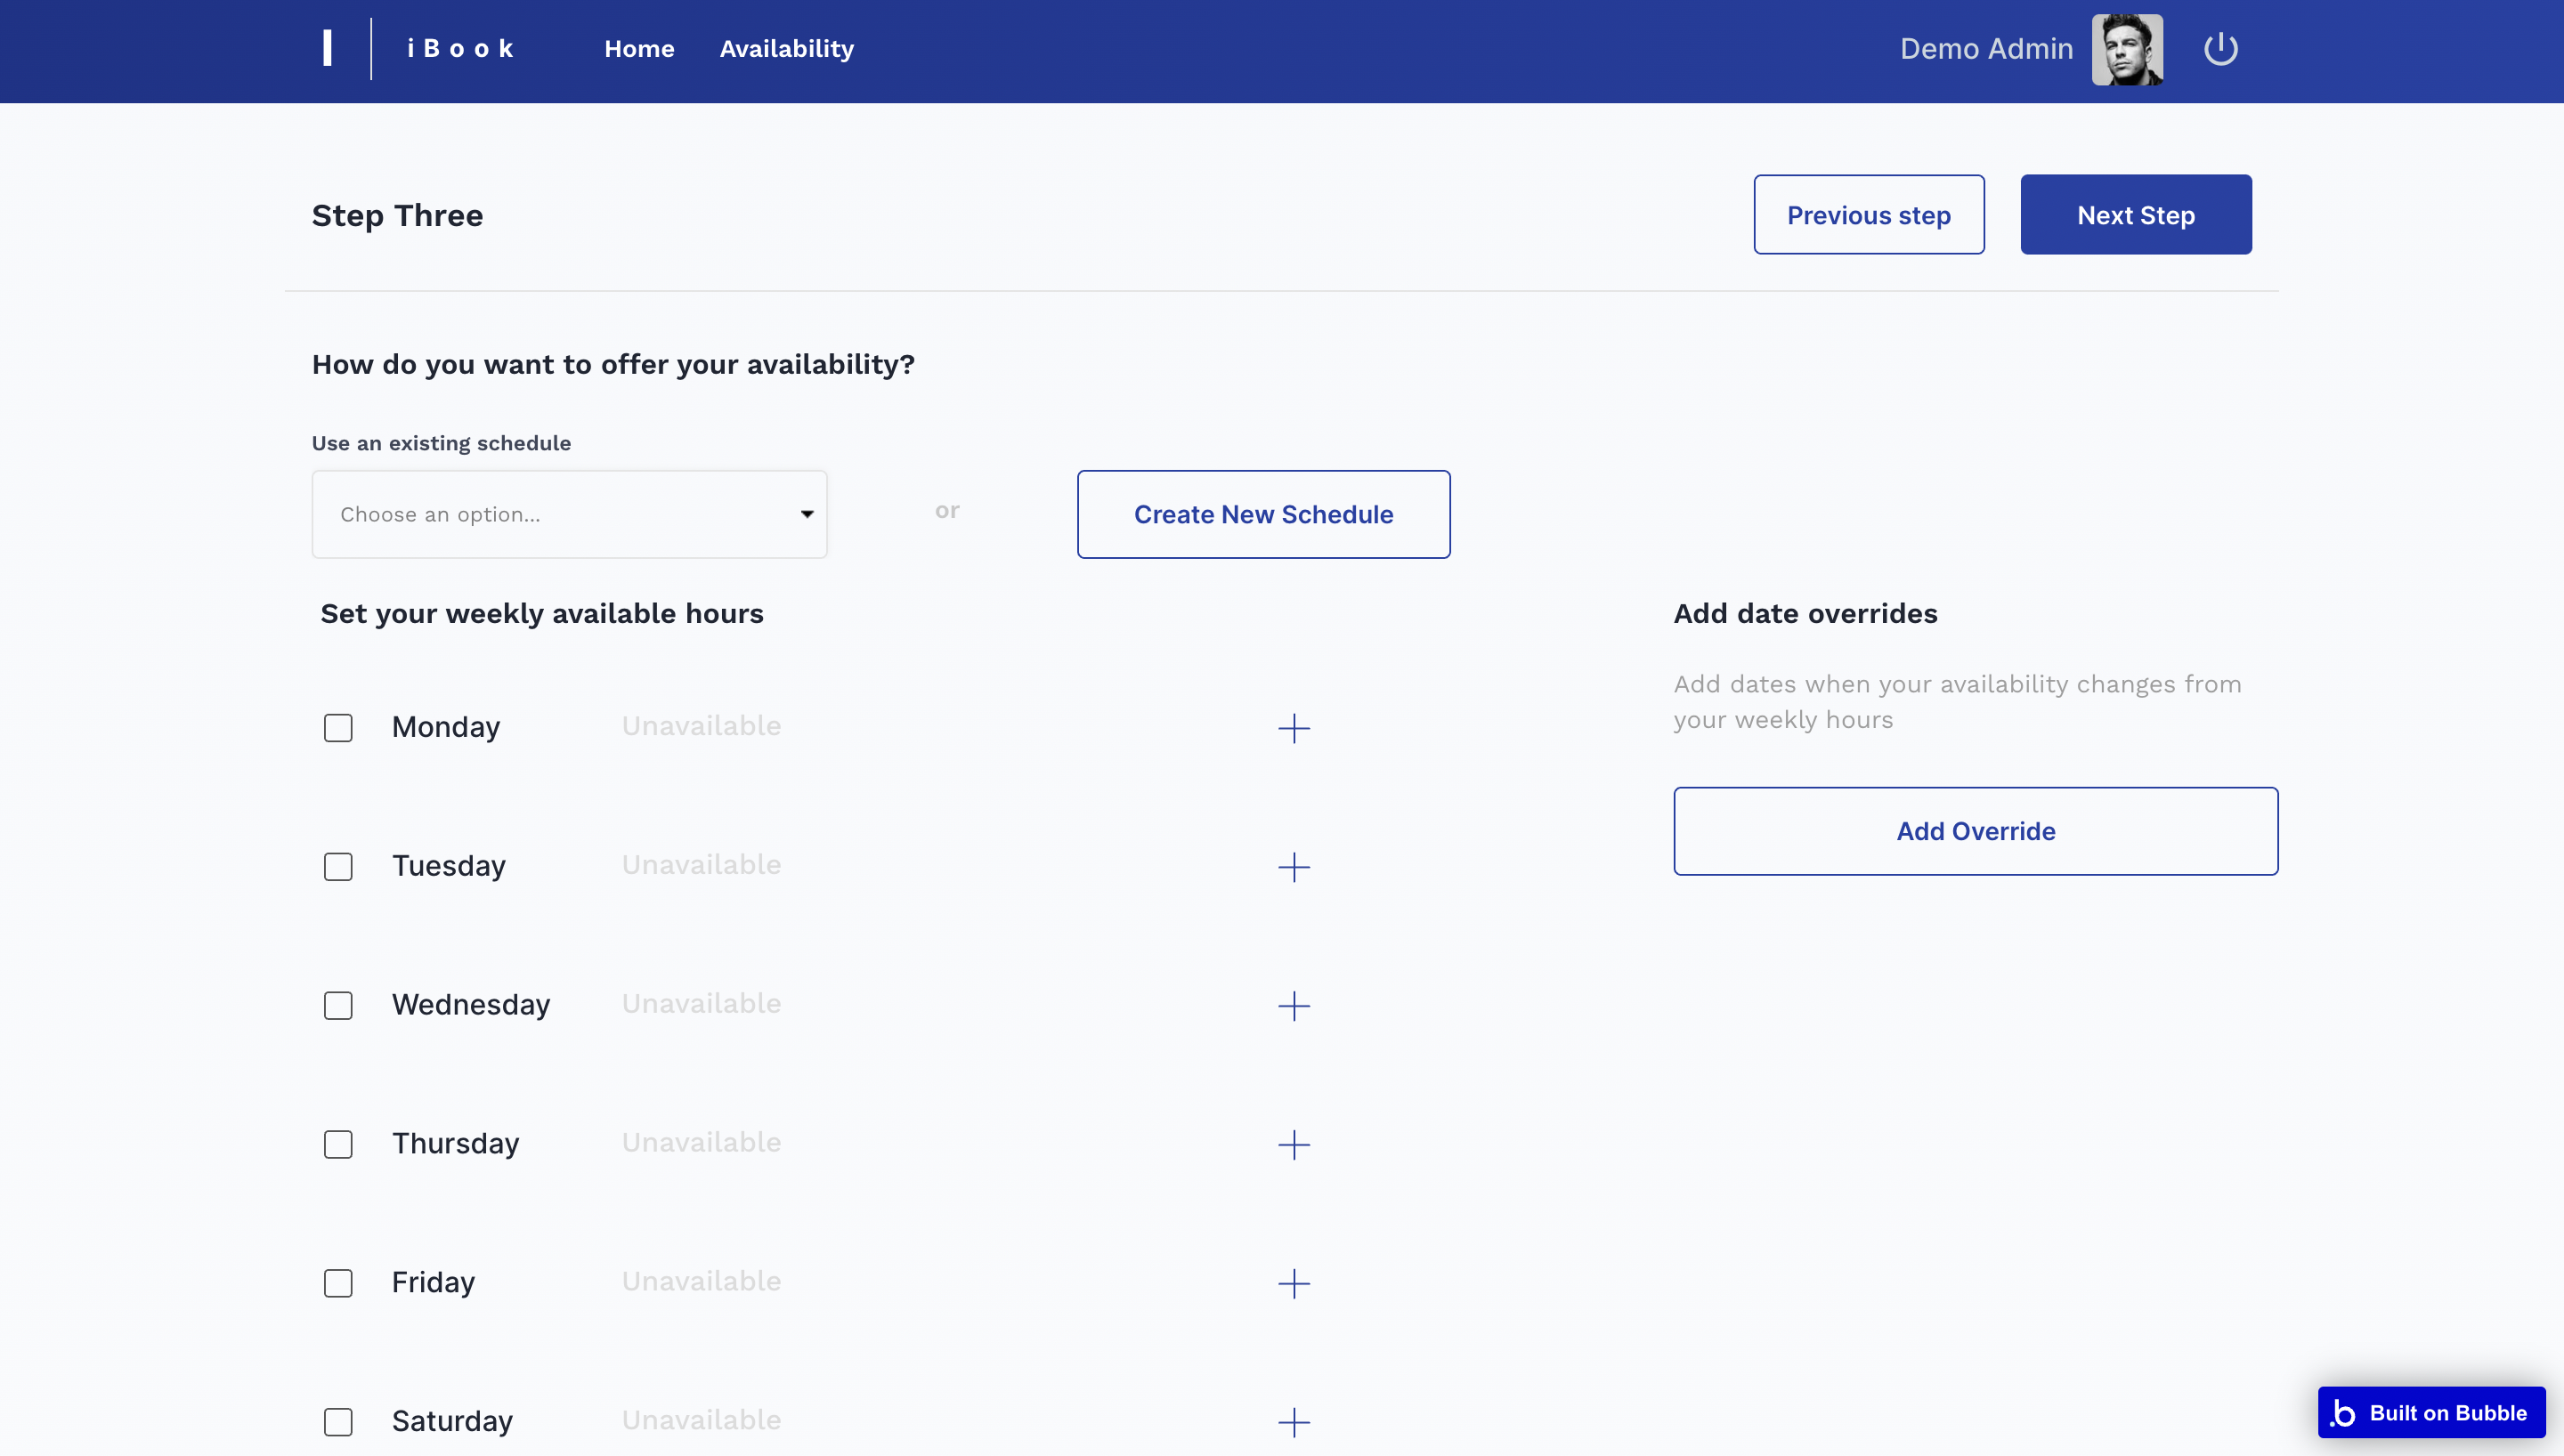
Tip: It is possible to select an existing schedule or create a new one.
The last step is adding some restrictions for invitees when they create a booking, e.g. within 30min before the timeframe it is not possible to schedule a booking.
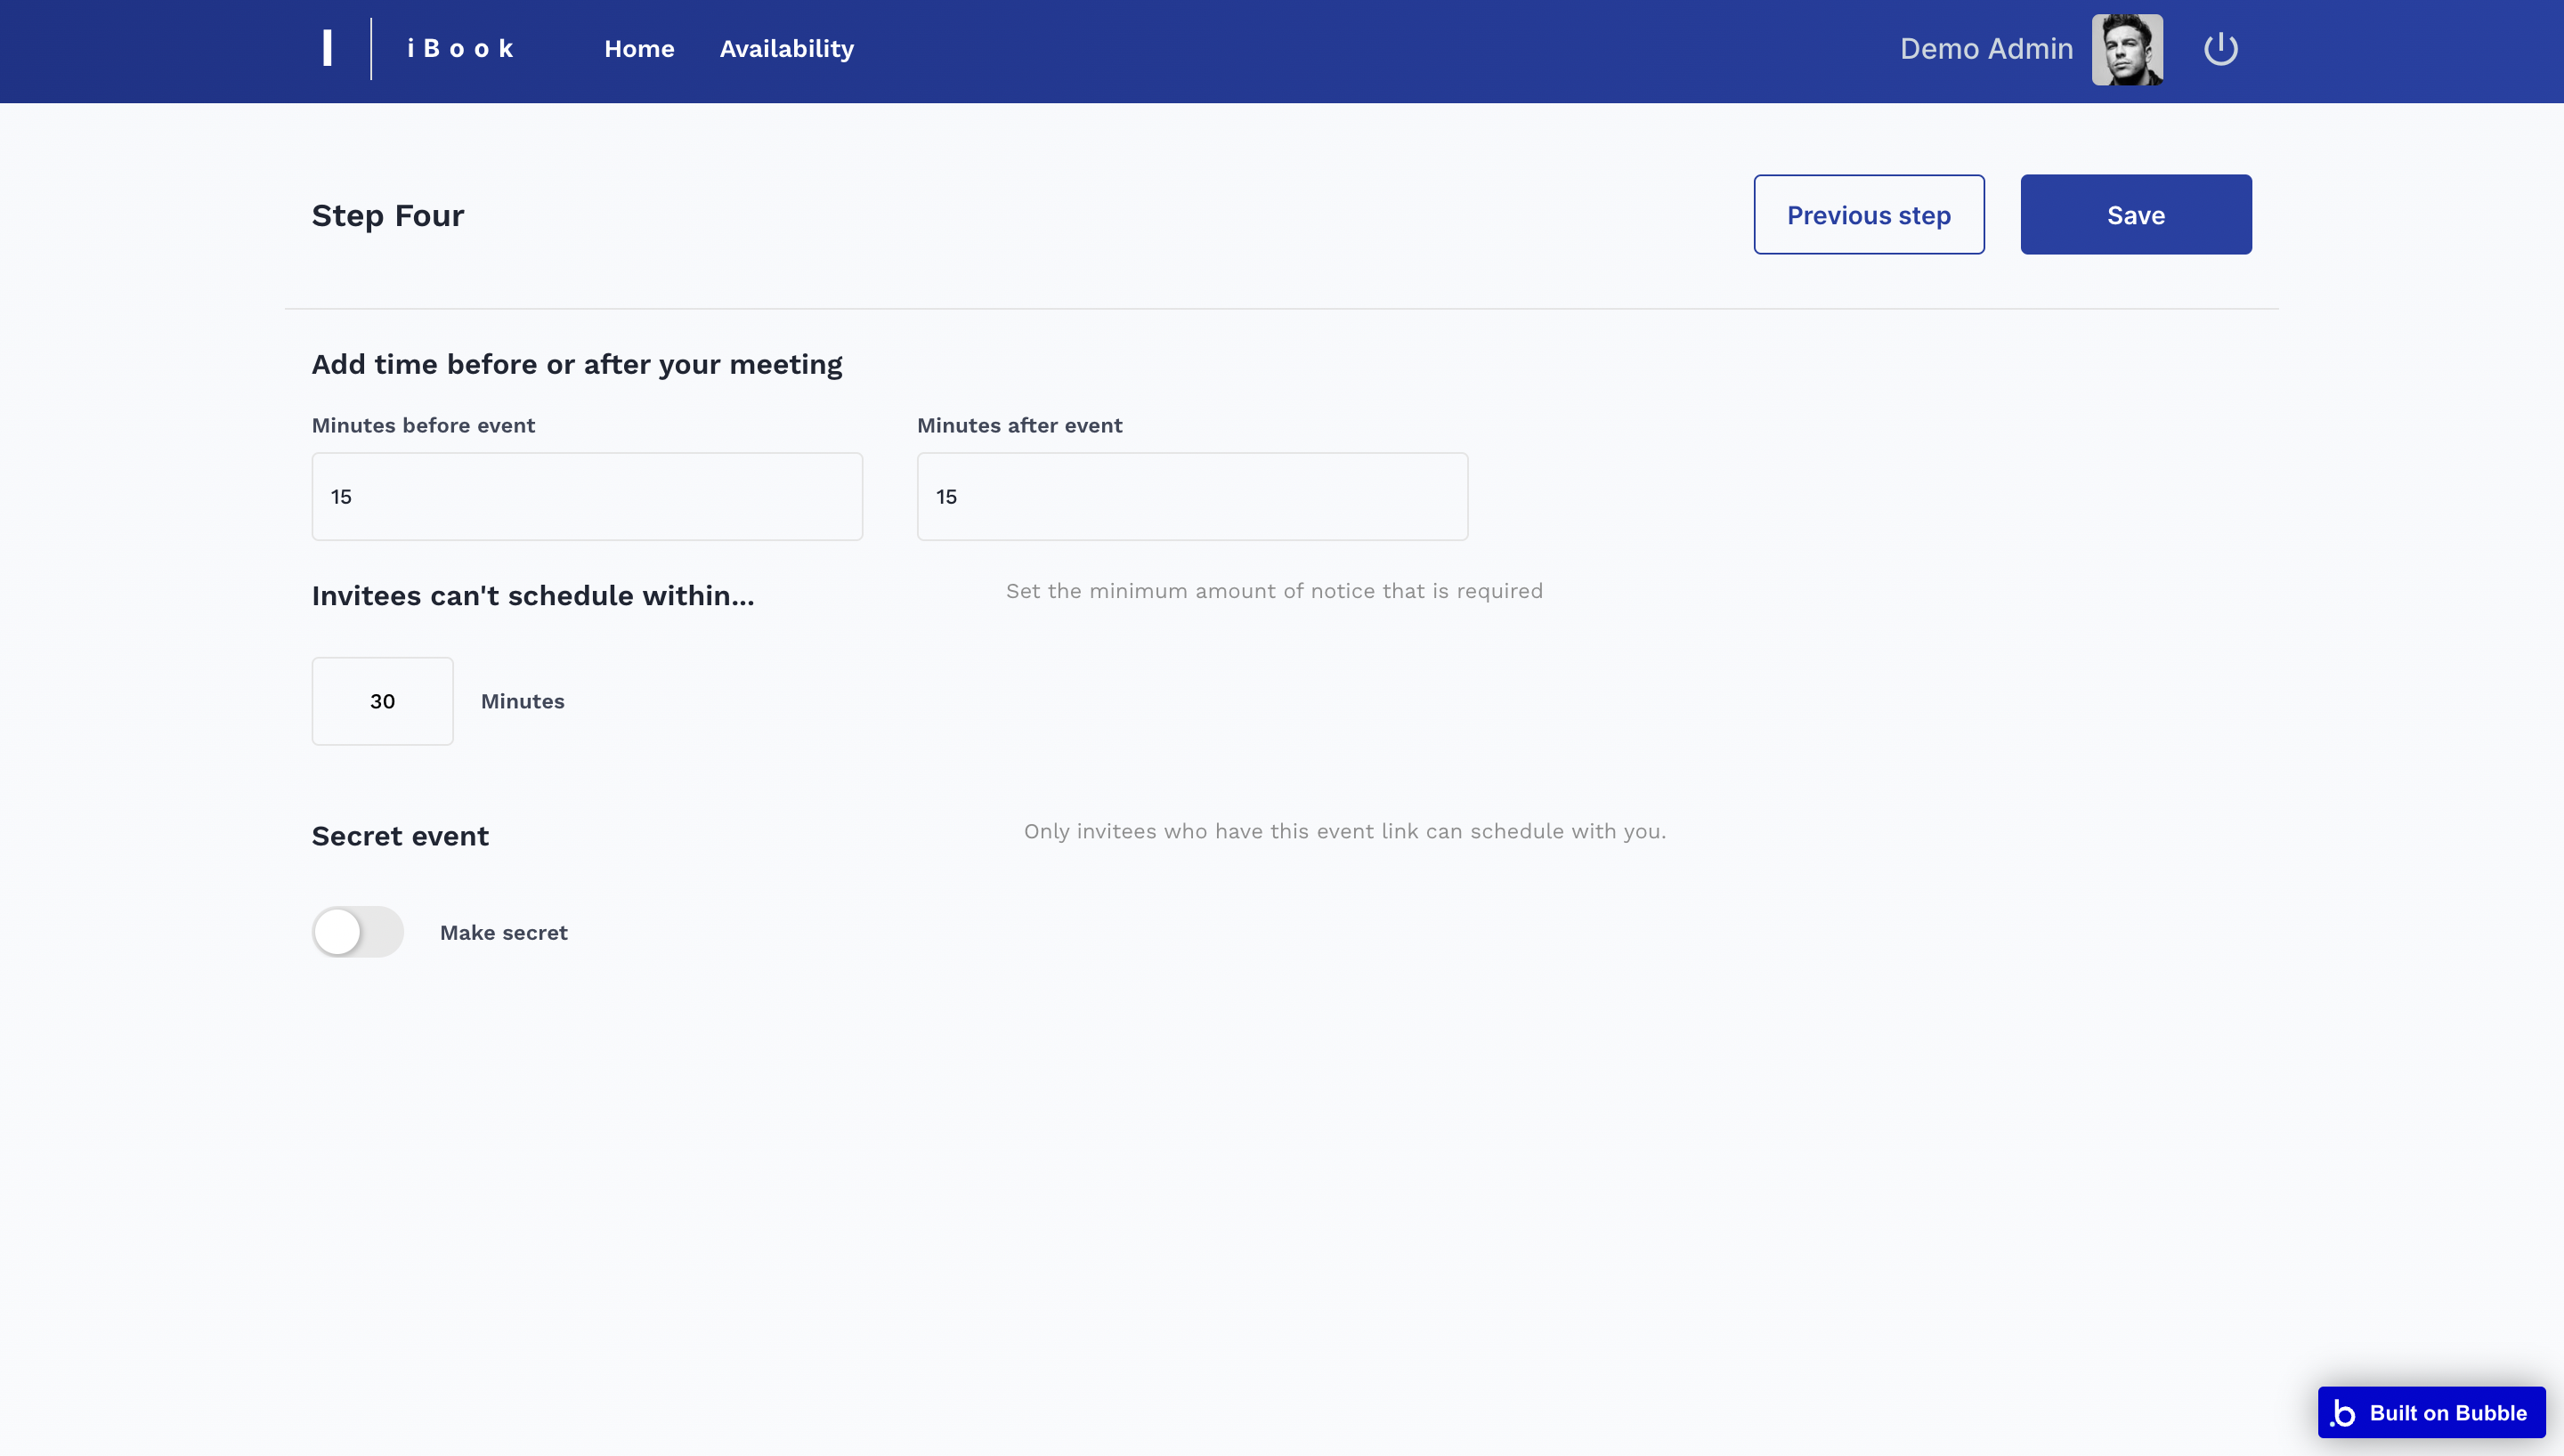
Tip: It is possible to make the booking a secret event. Meaning, only invitees with the event link will be able to access it.
event_type
On this page, hosts are able to preview the created event types and their scheduled events or add a new one:
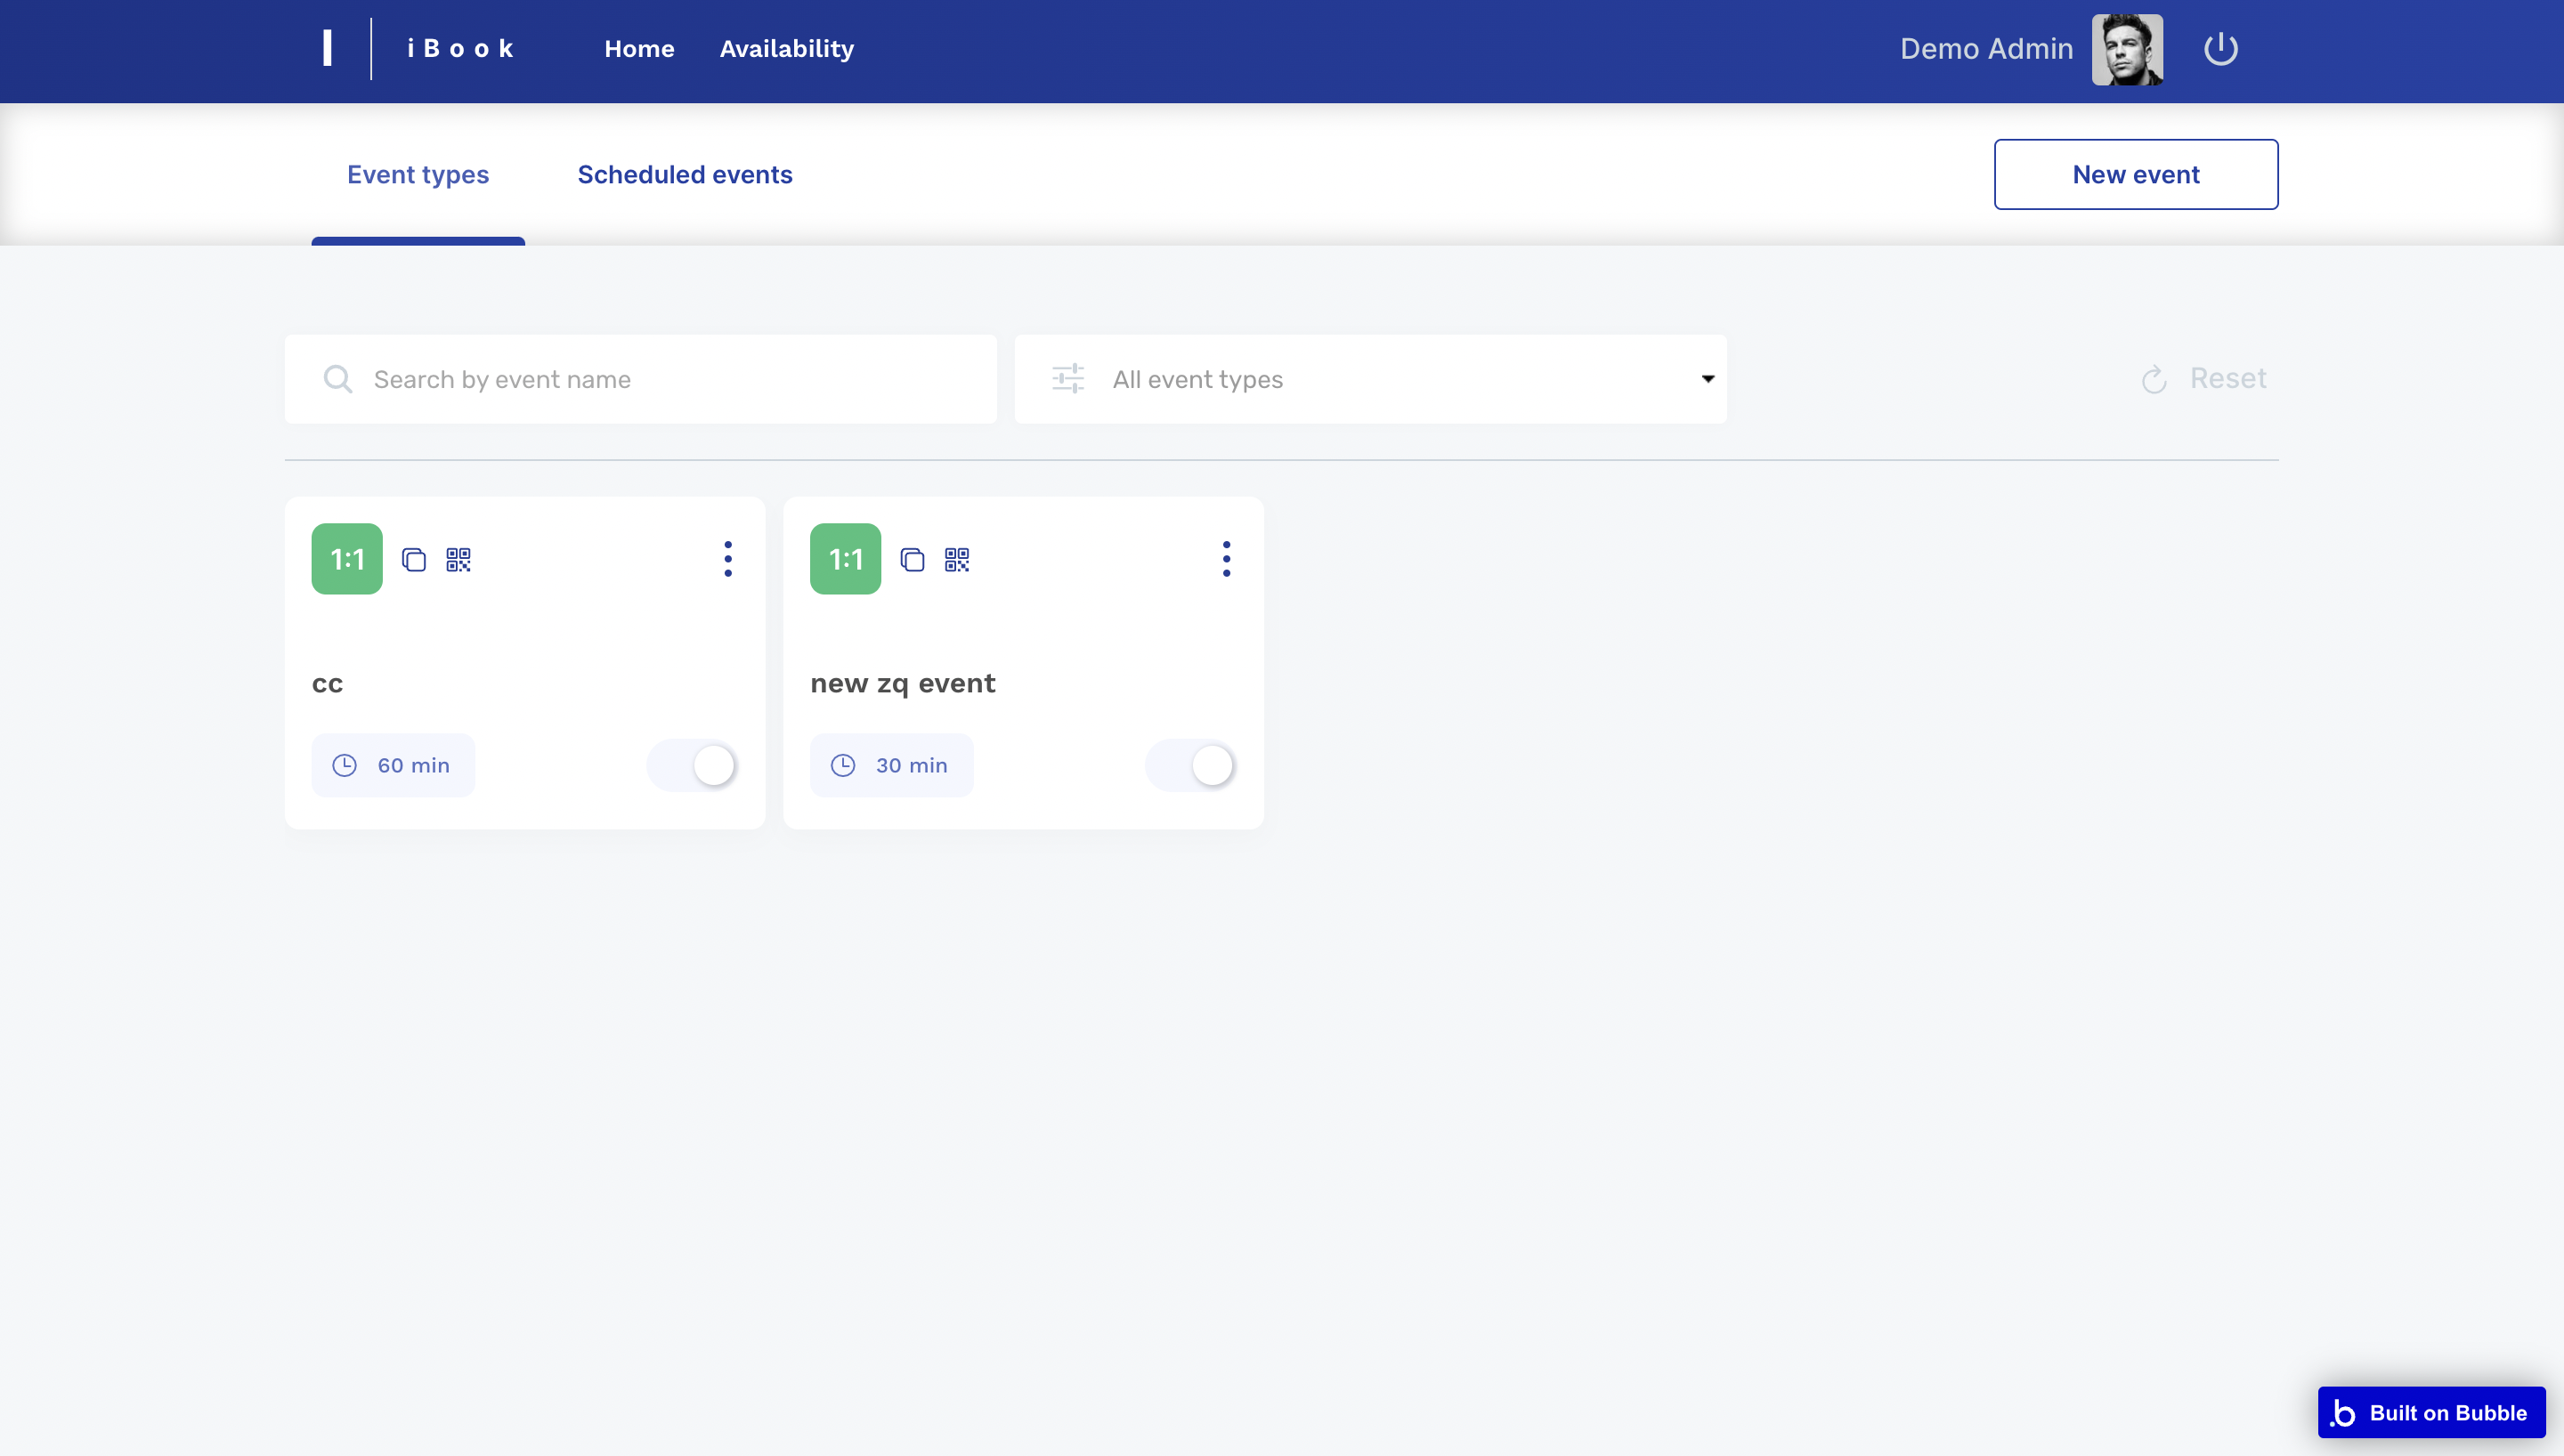
Hosts can copy the event link or QR, in order to share them with peers, as well as edit the event information if needed.
The events can be searched by name or filtered by their type: One on one meeting, Phone call, or Video conference.
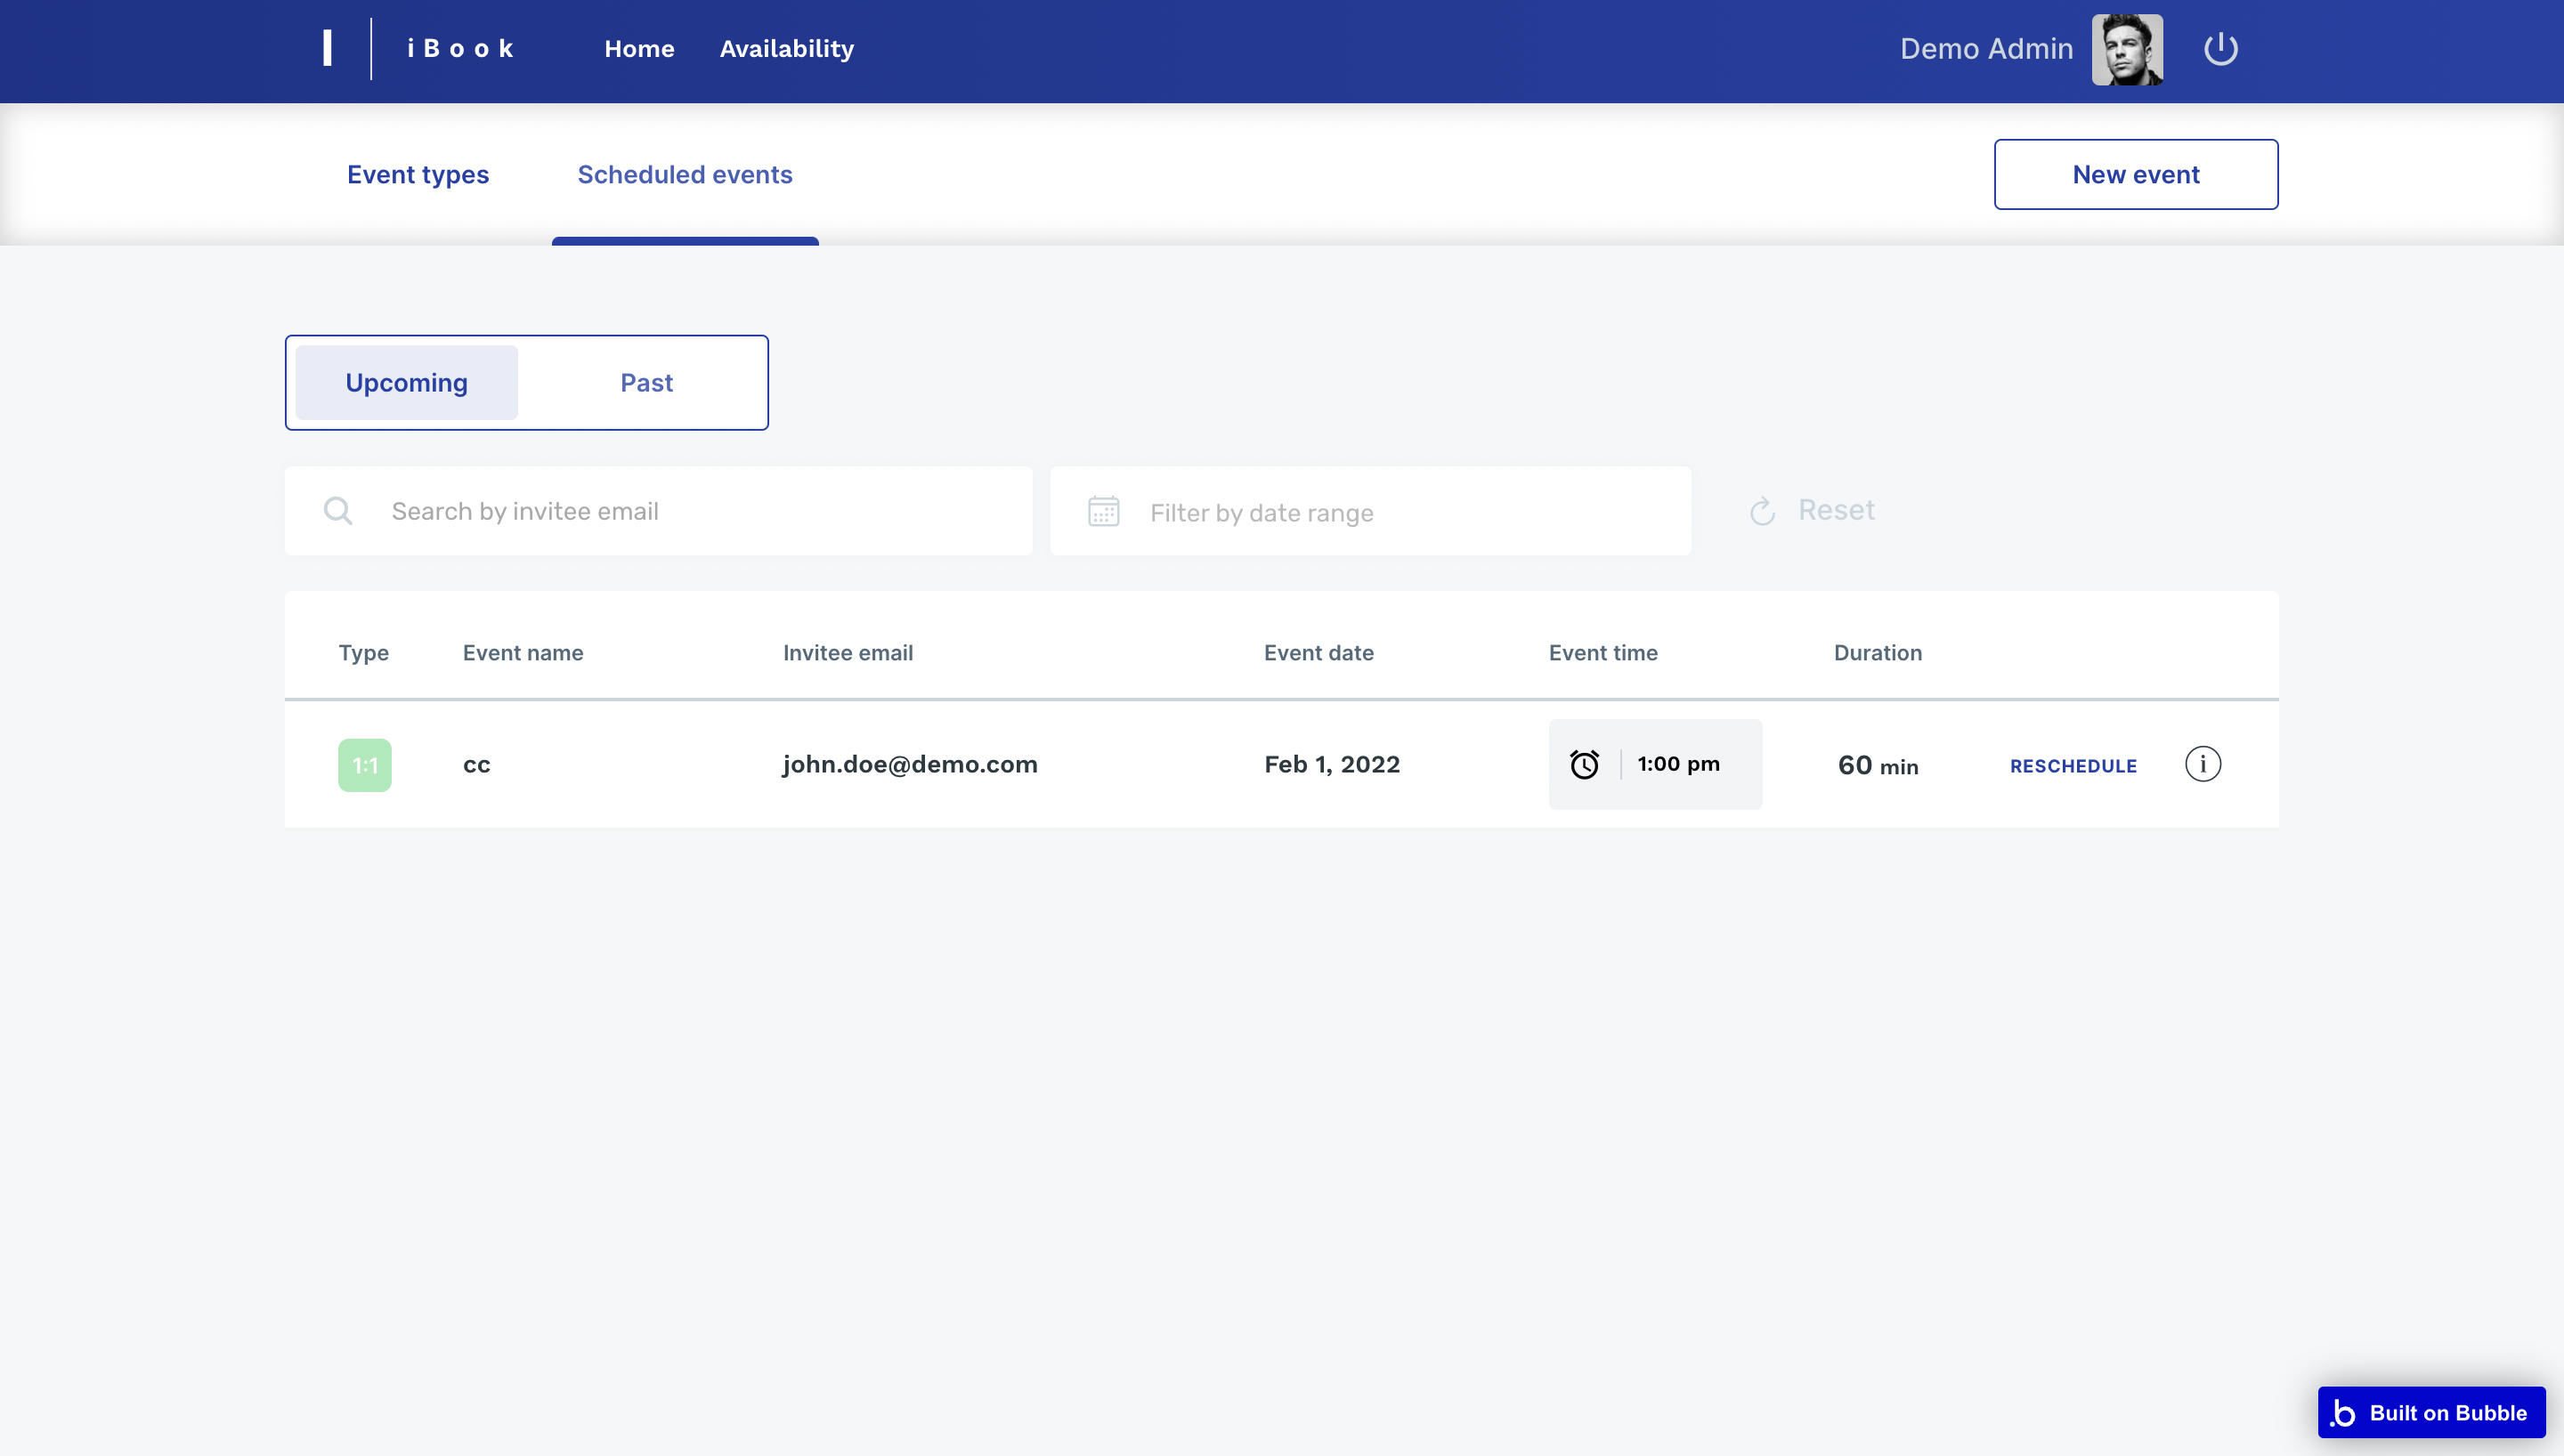
The "Scheduled events" tab is displaying the upcoming and past events information, that can be rescheduled as well:
The reschedule feature can be found in the following workflow:
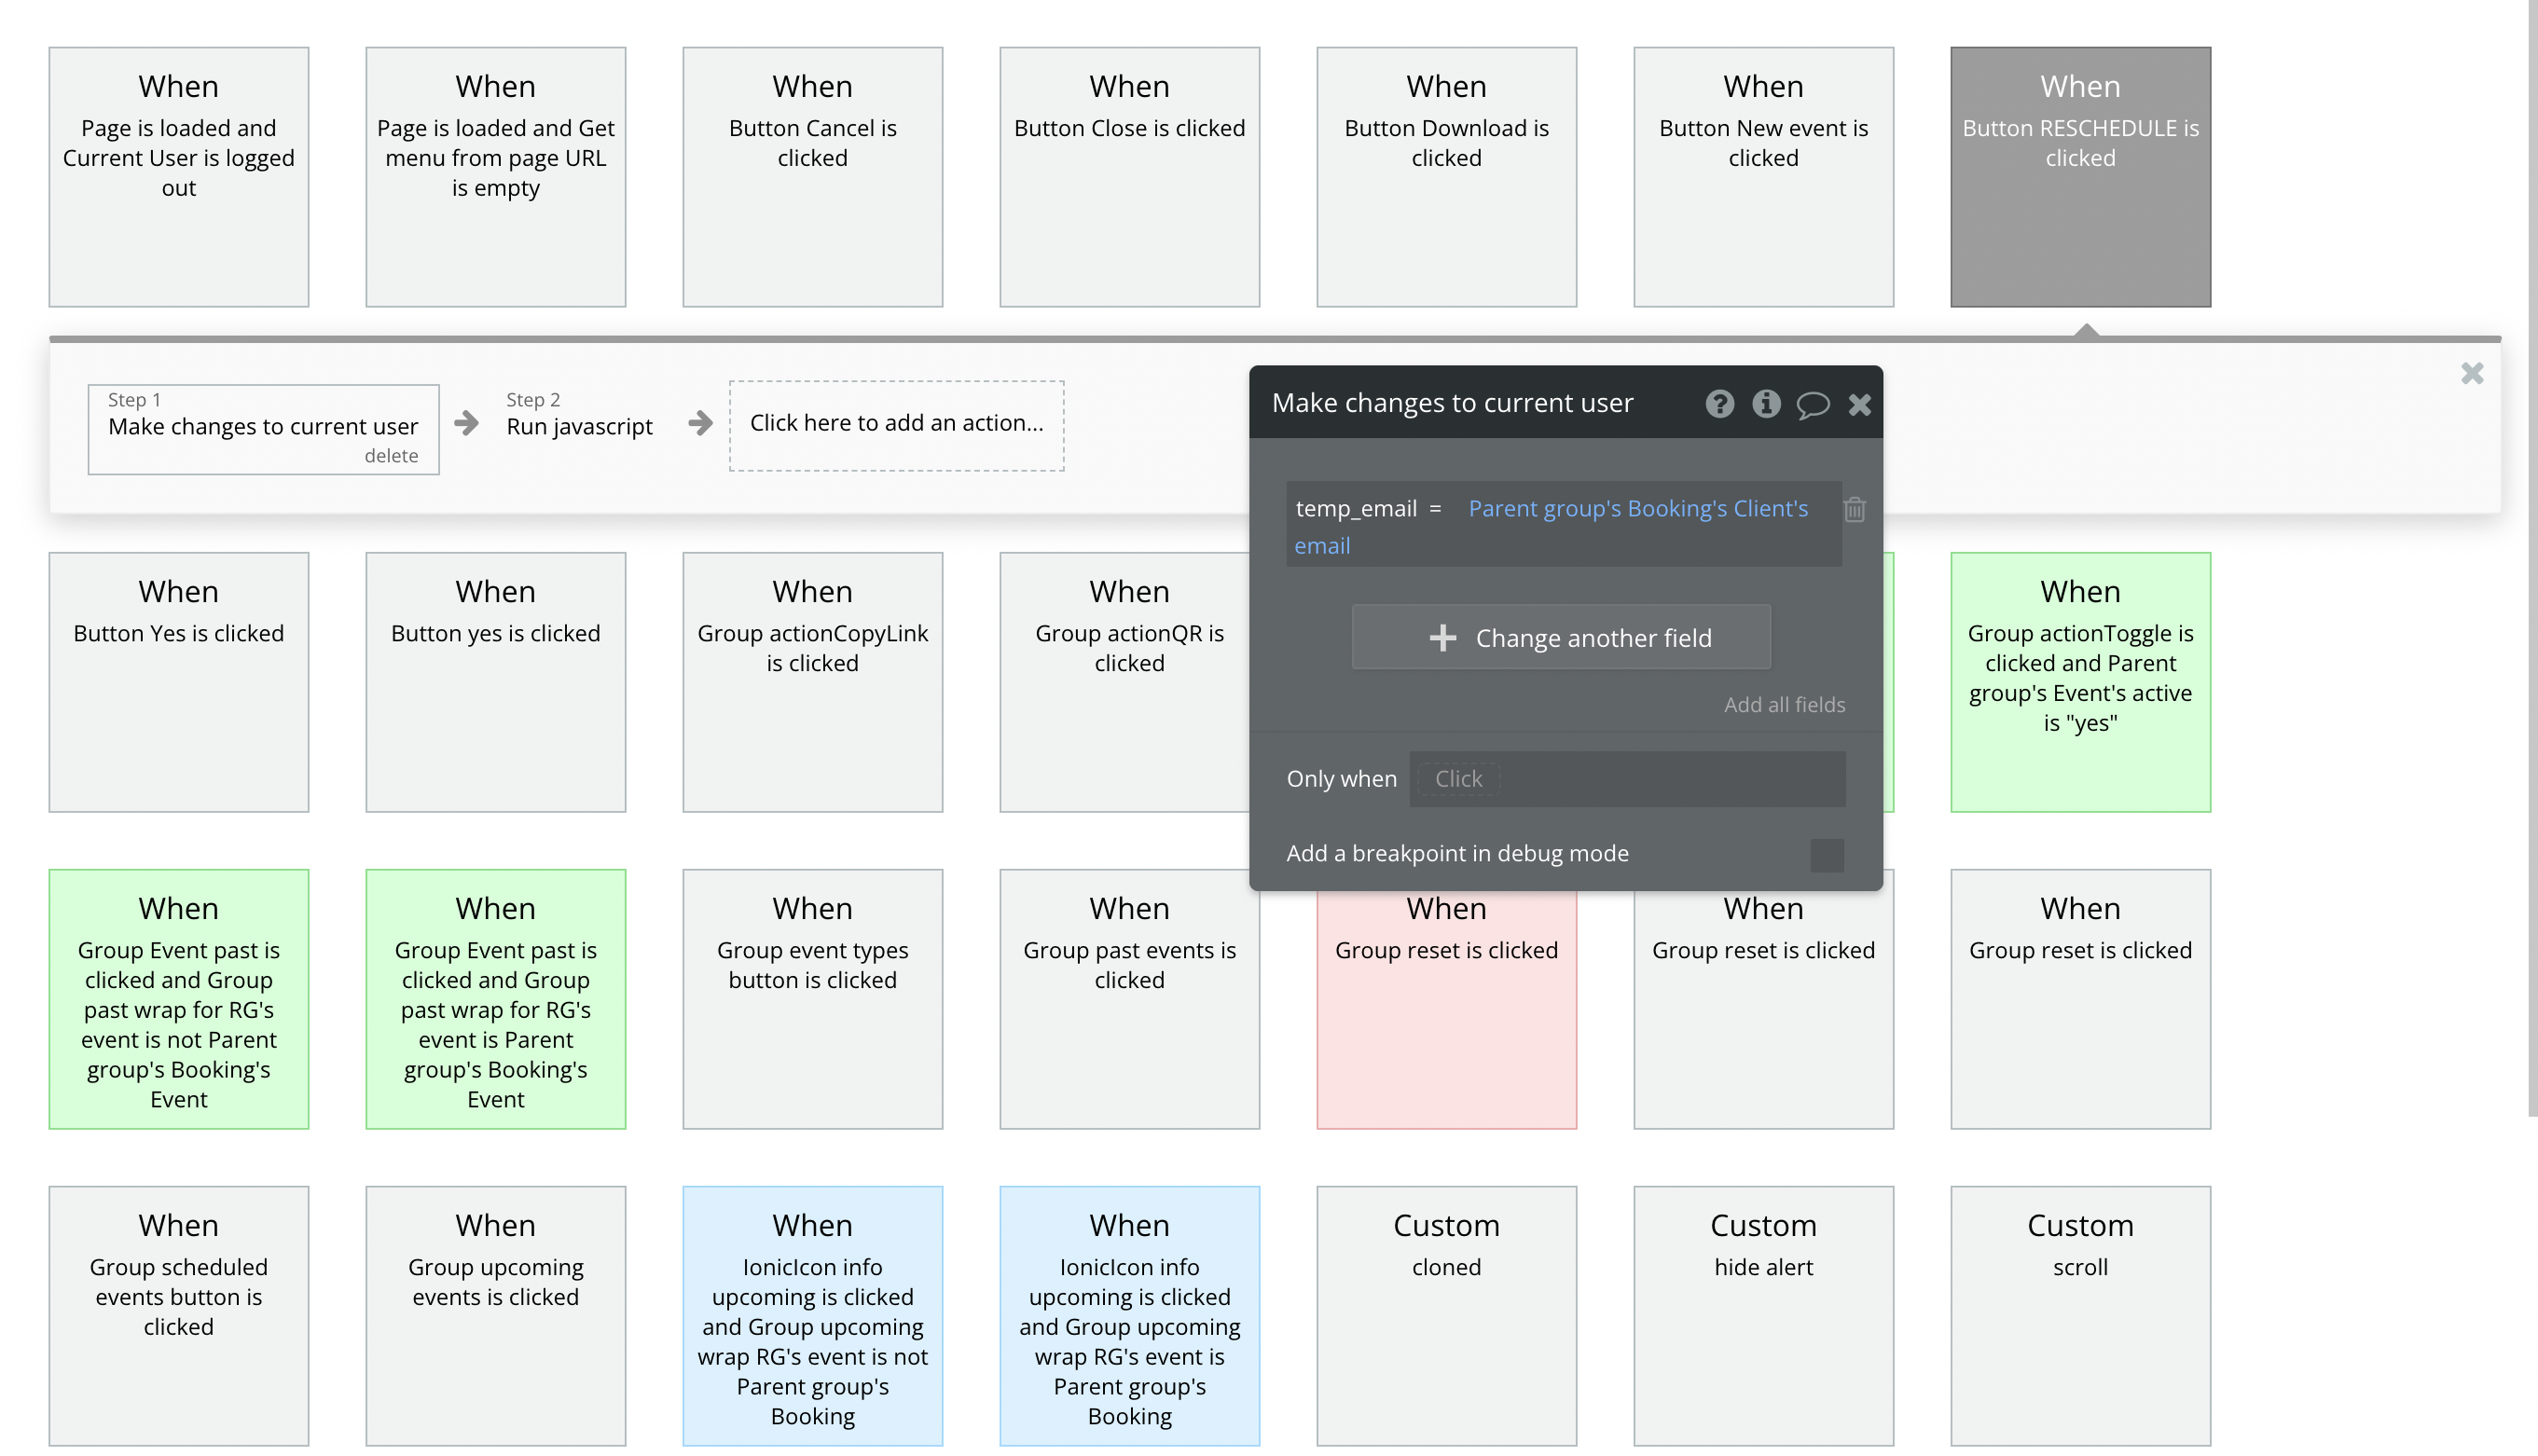
The
temp_emailfield is being updated with the new value of the client's email, then opening a new tab of the booking page to display the host information schedule for another booking: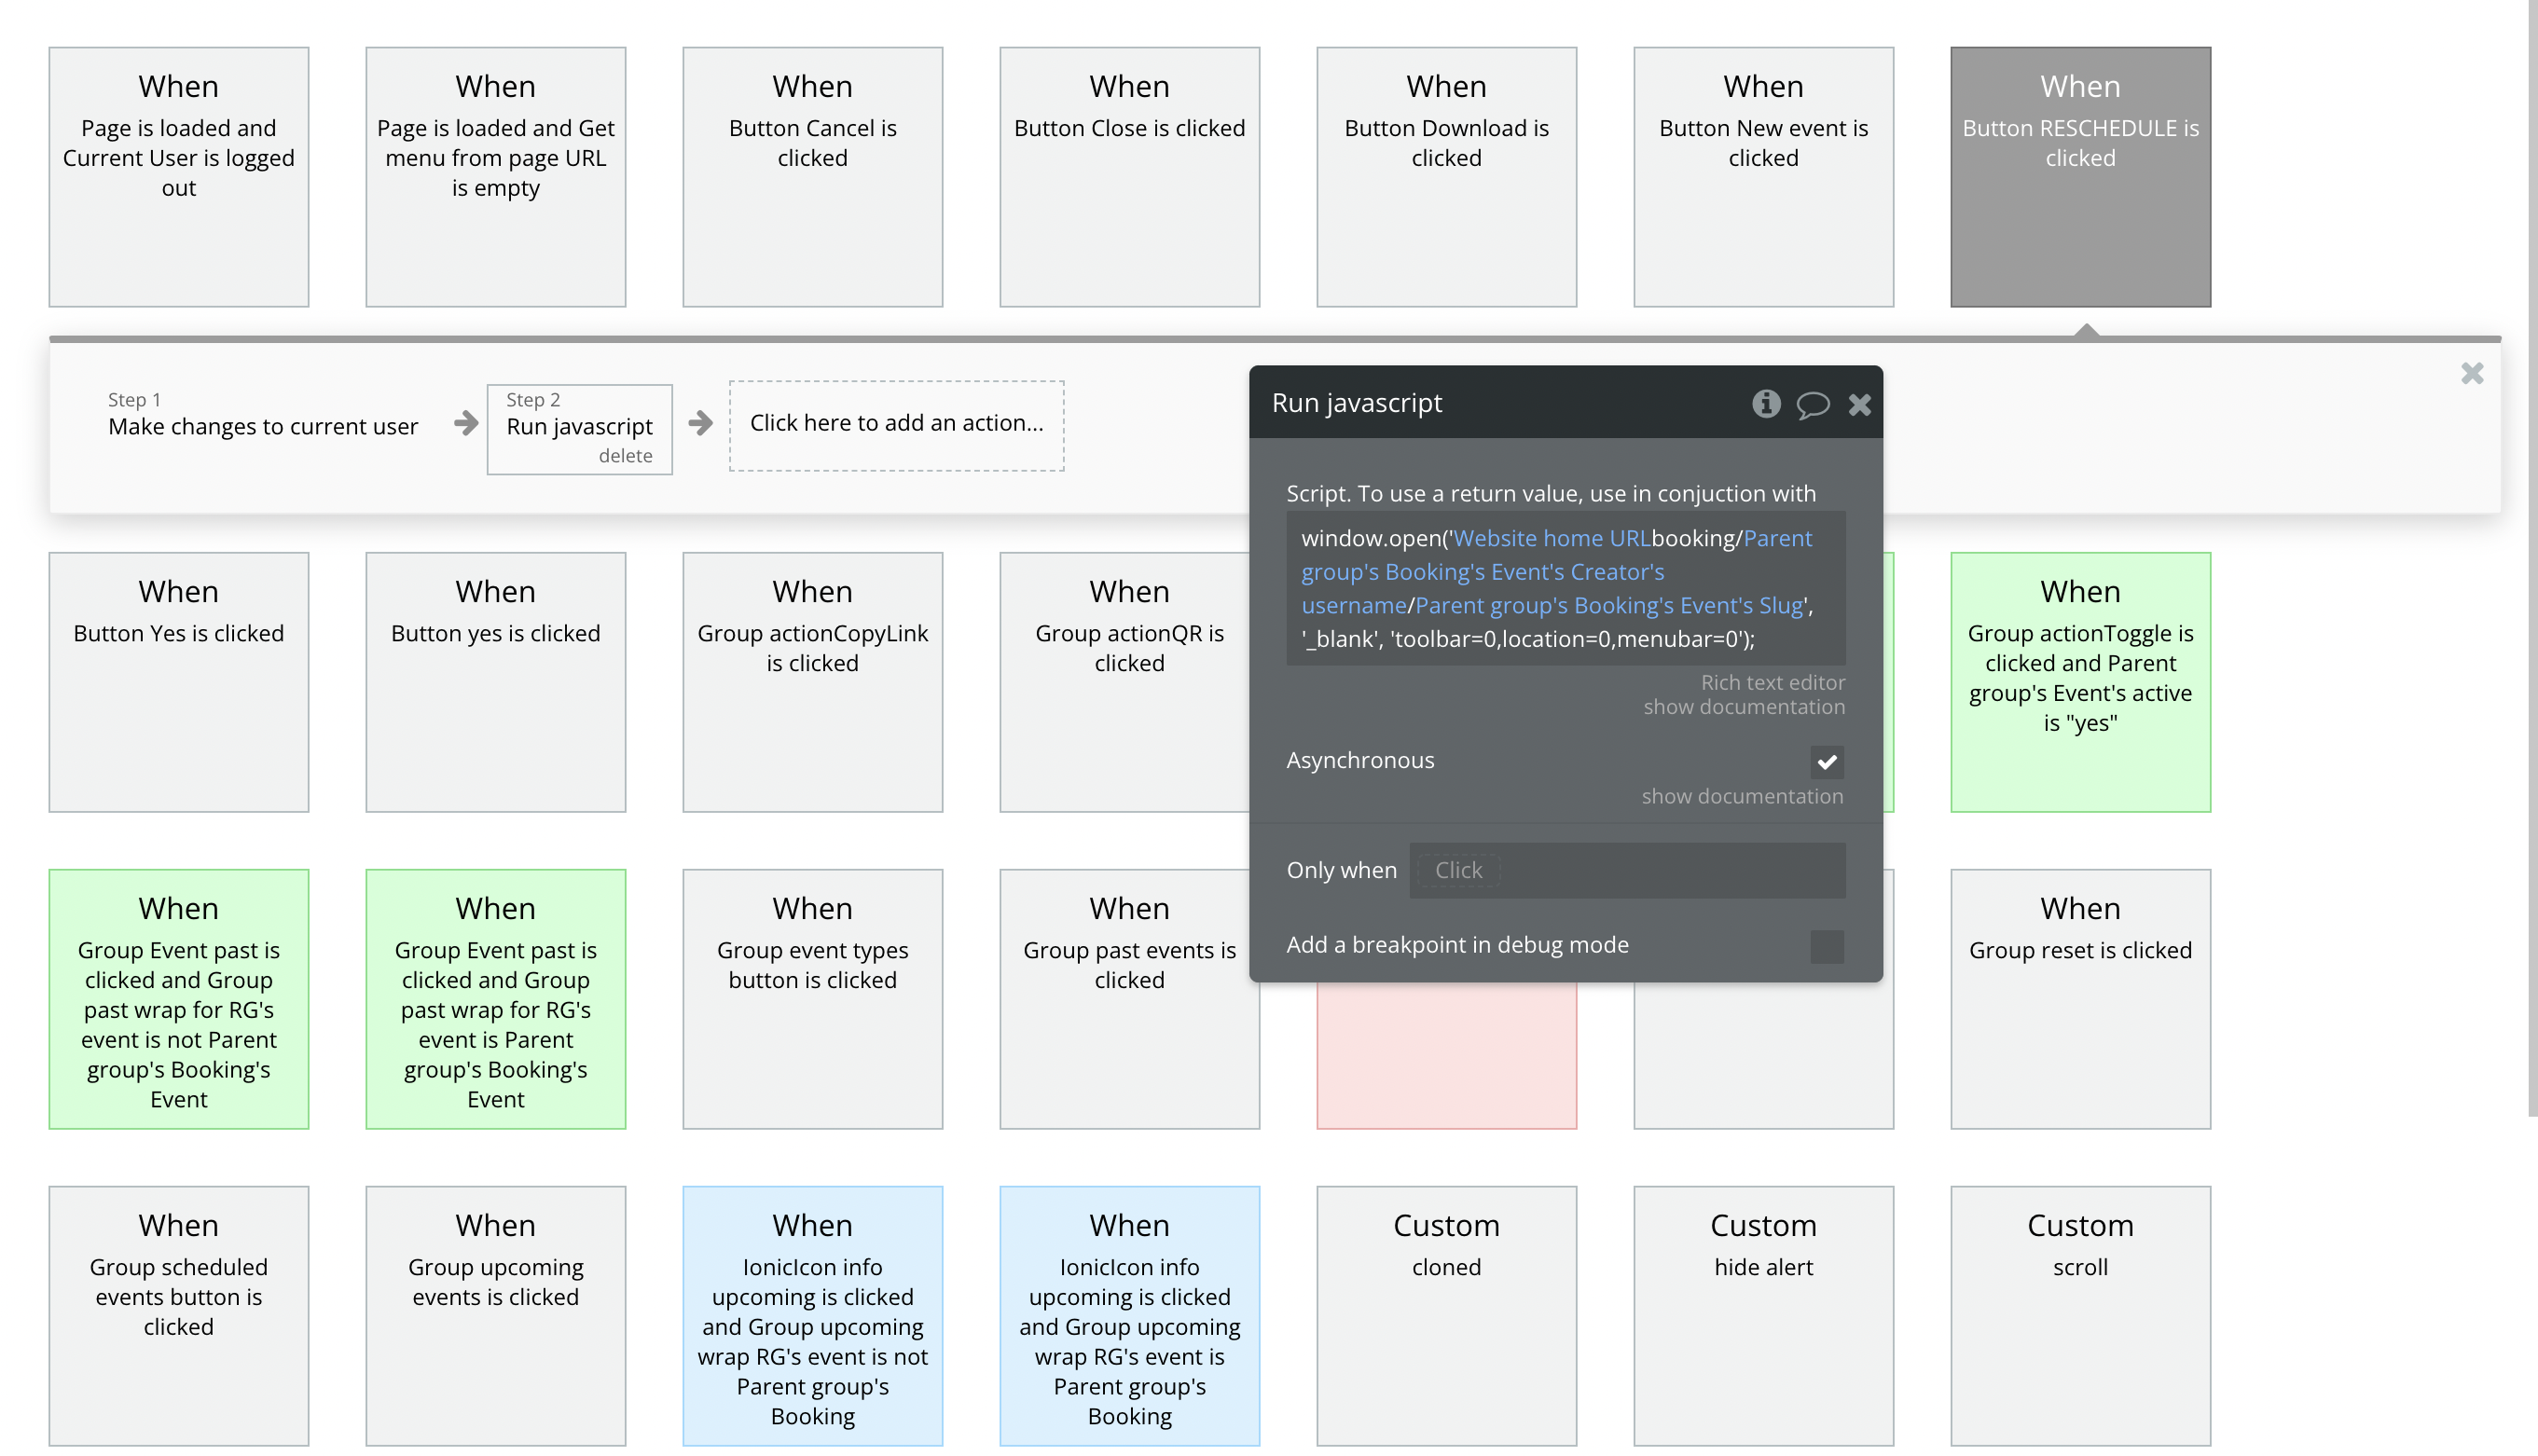
profile
On this page, users are able to change their profile information like name, username, password, subscription, etc.
The page is separated into 3 tabs: Personal, Subscriptions and Settings.
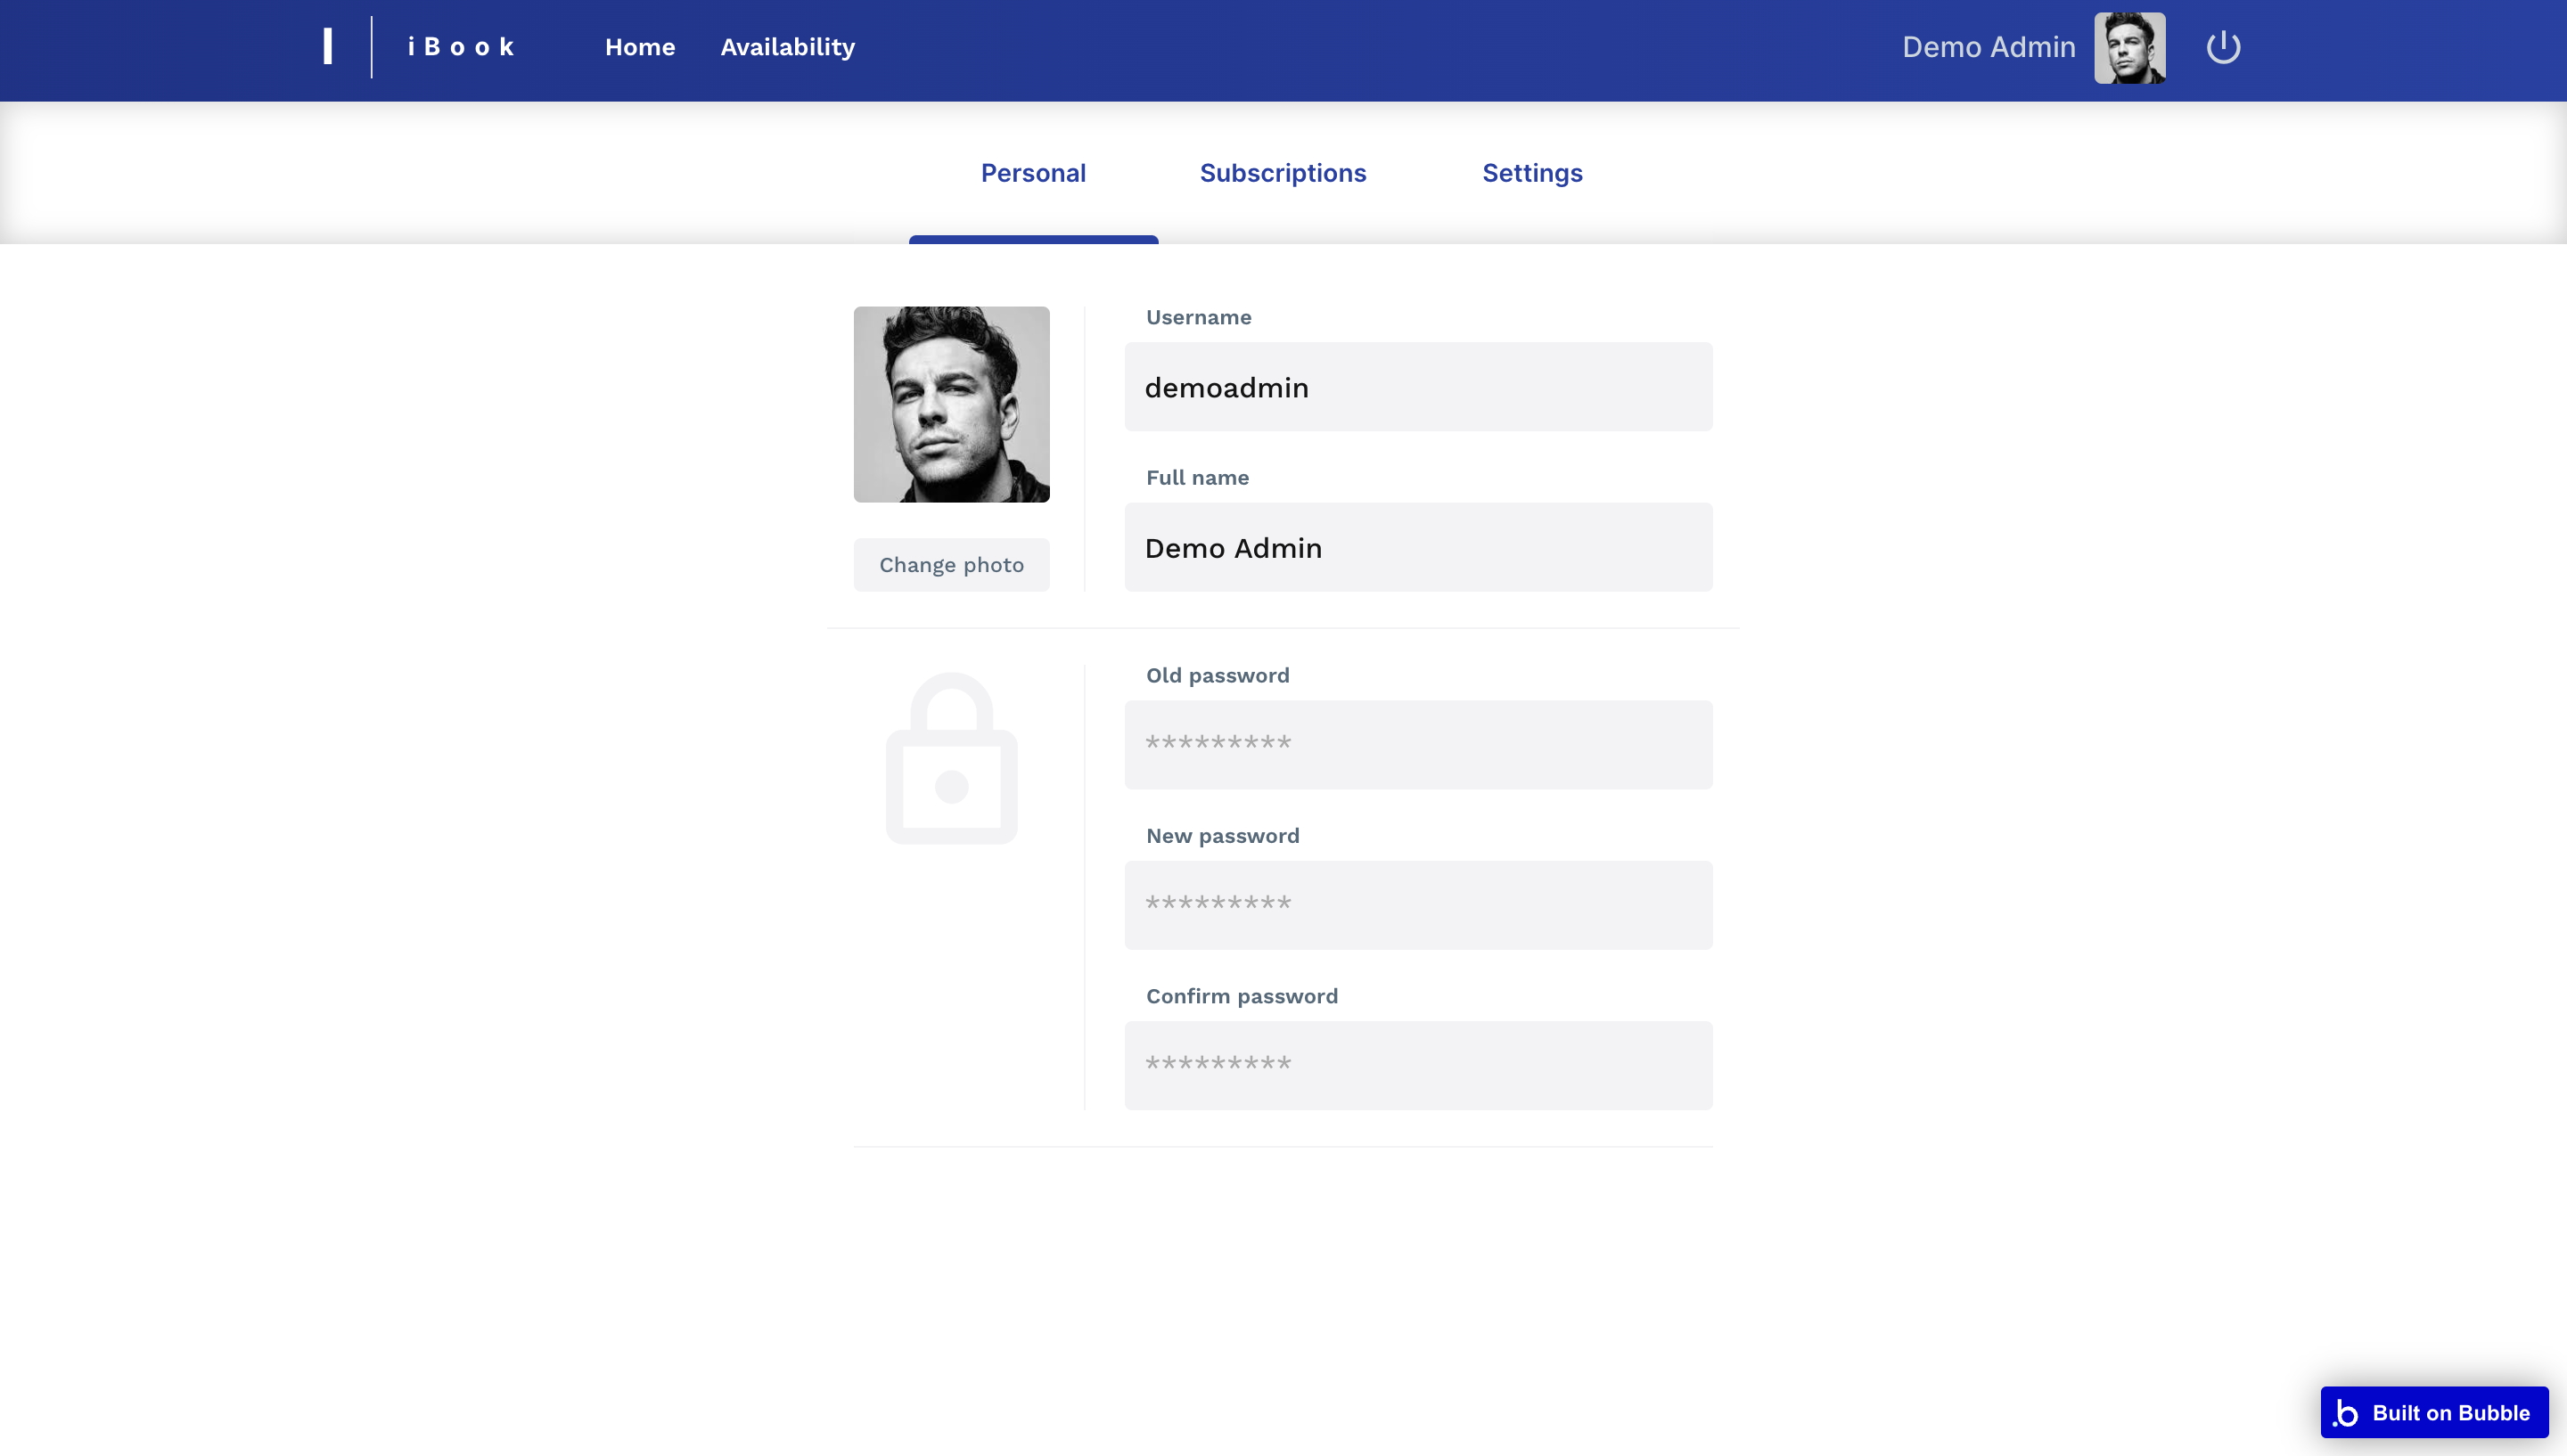
Personal
In this tab, users can change their username, full name and password:
Subscriptions
In this tab, users can change their subscription plan.
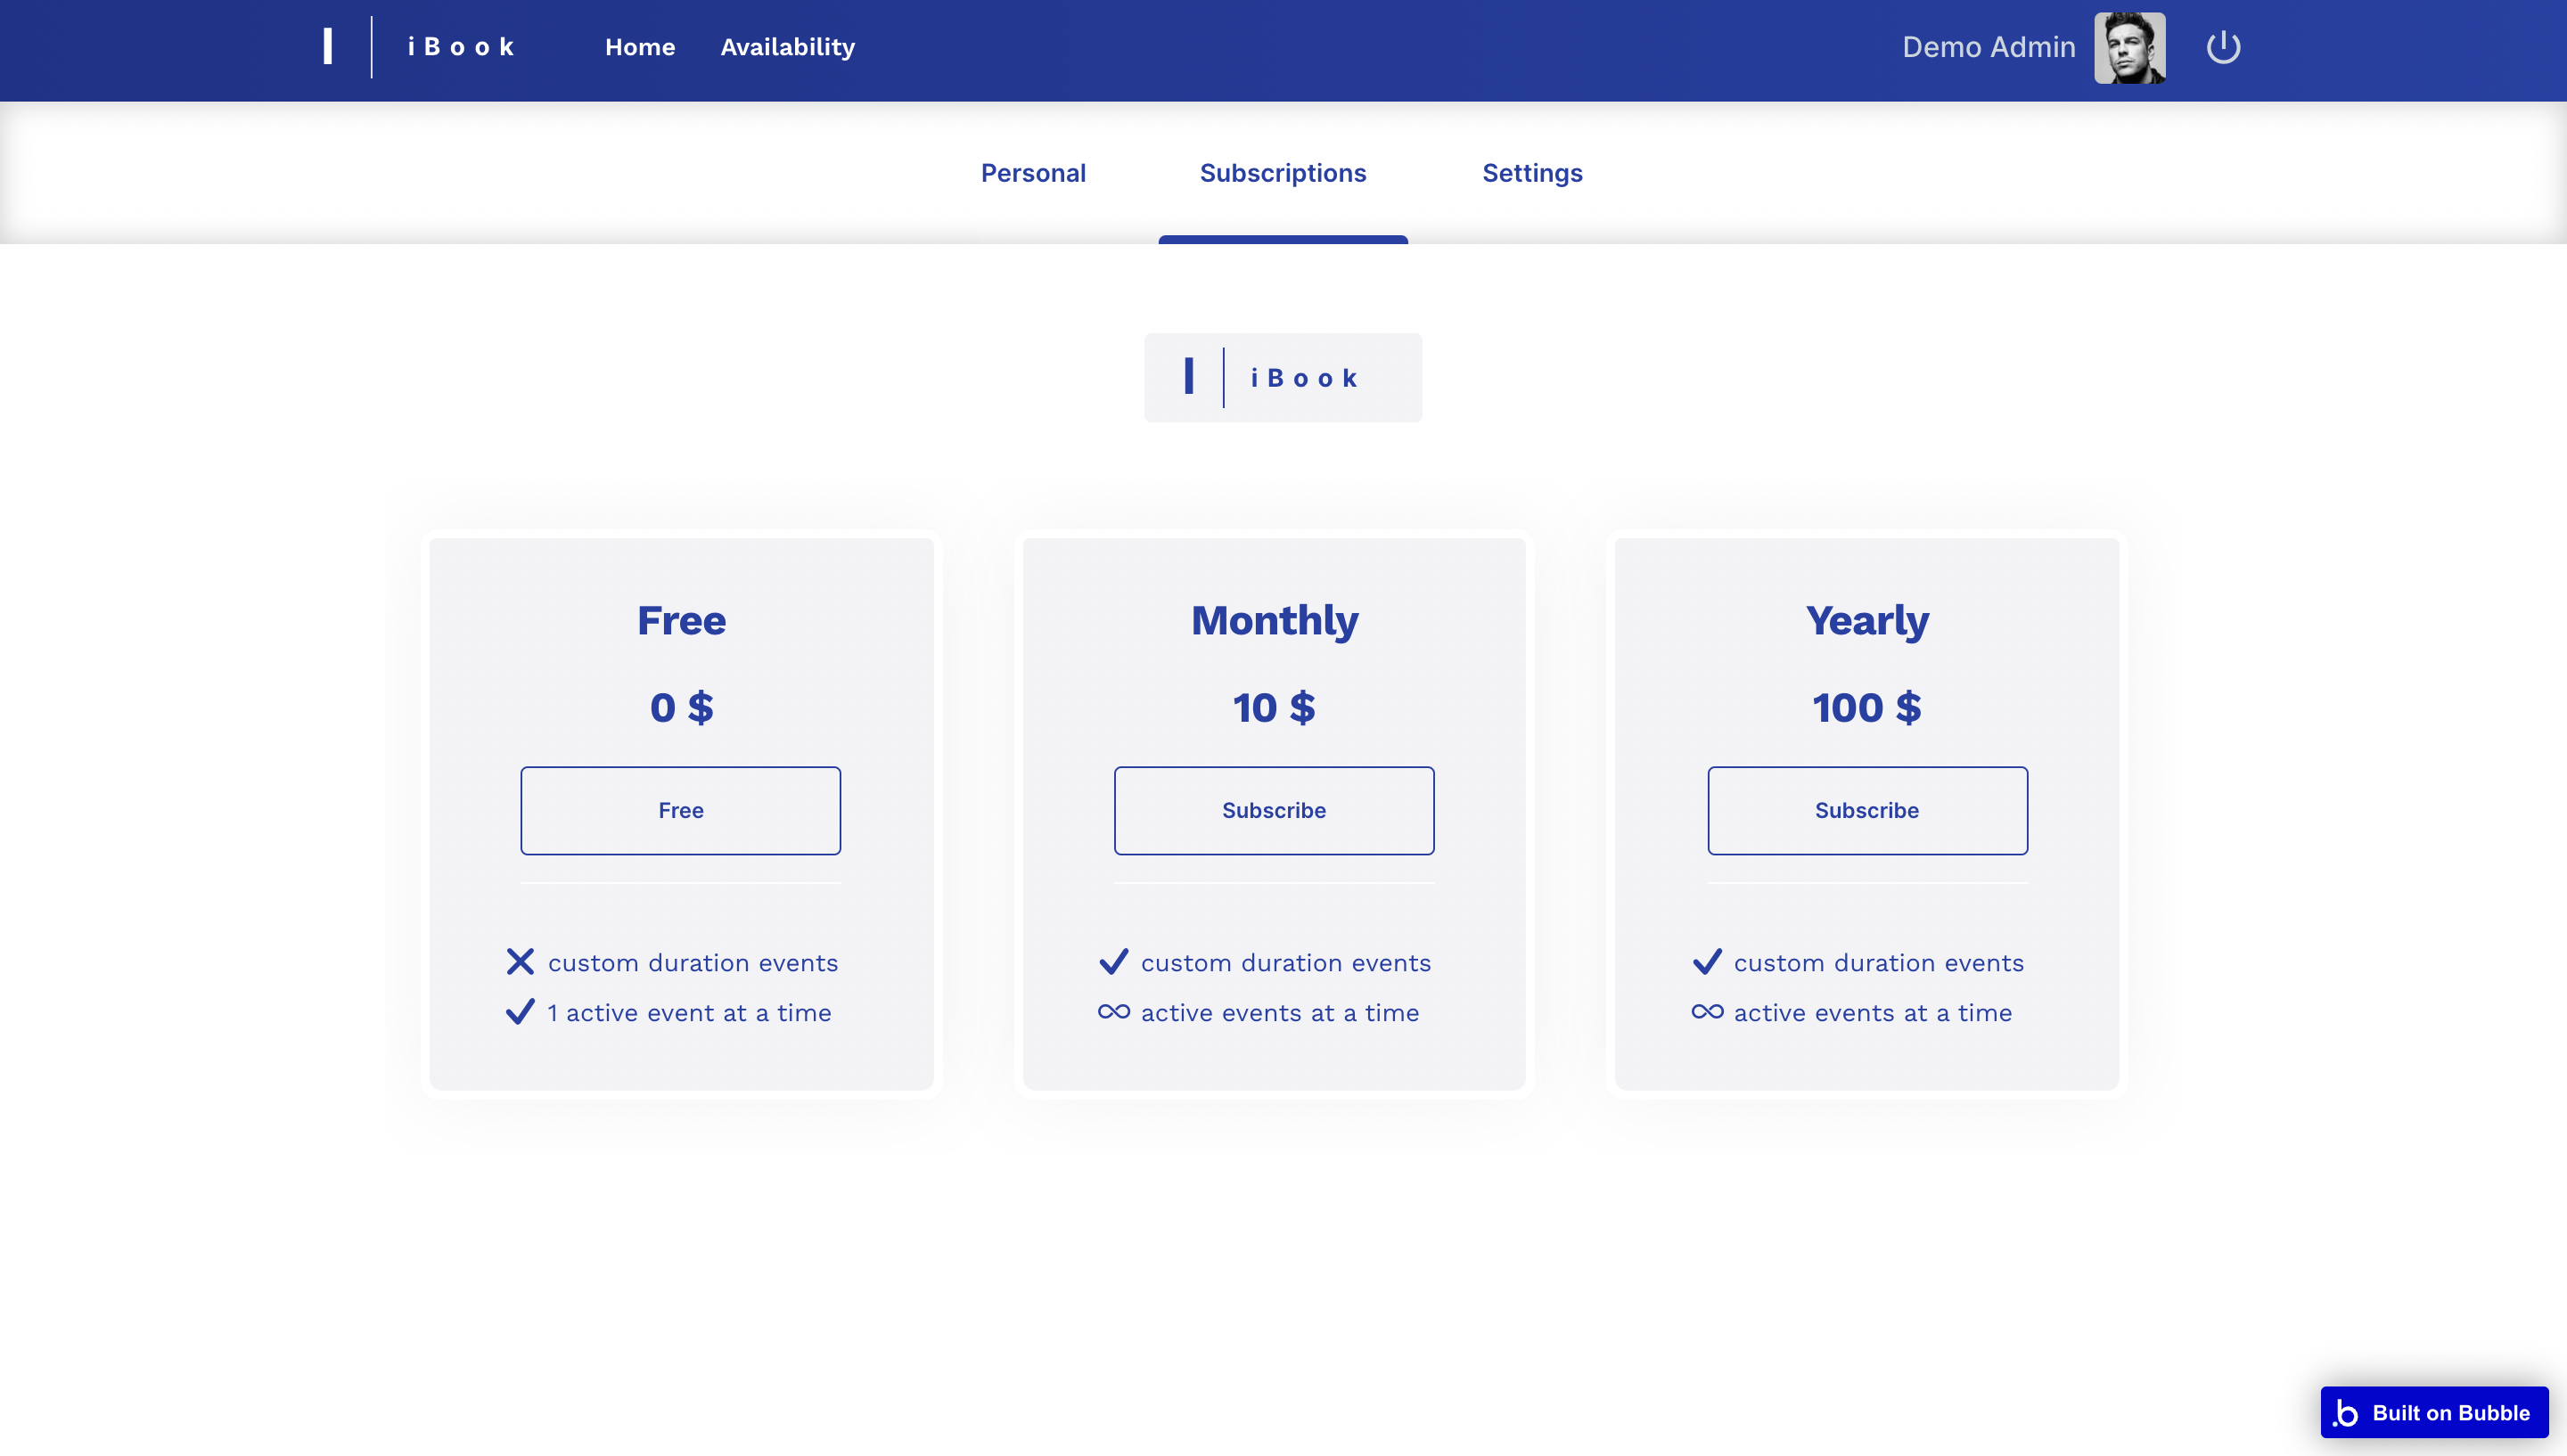
Tip: There are 3 subscription plans available in this template: Free, Monthly and Yearly.
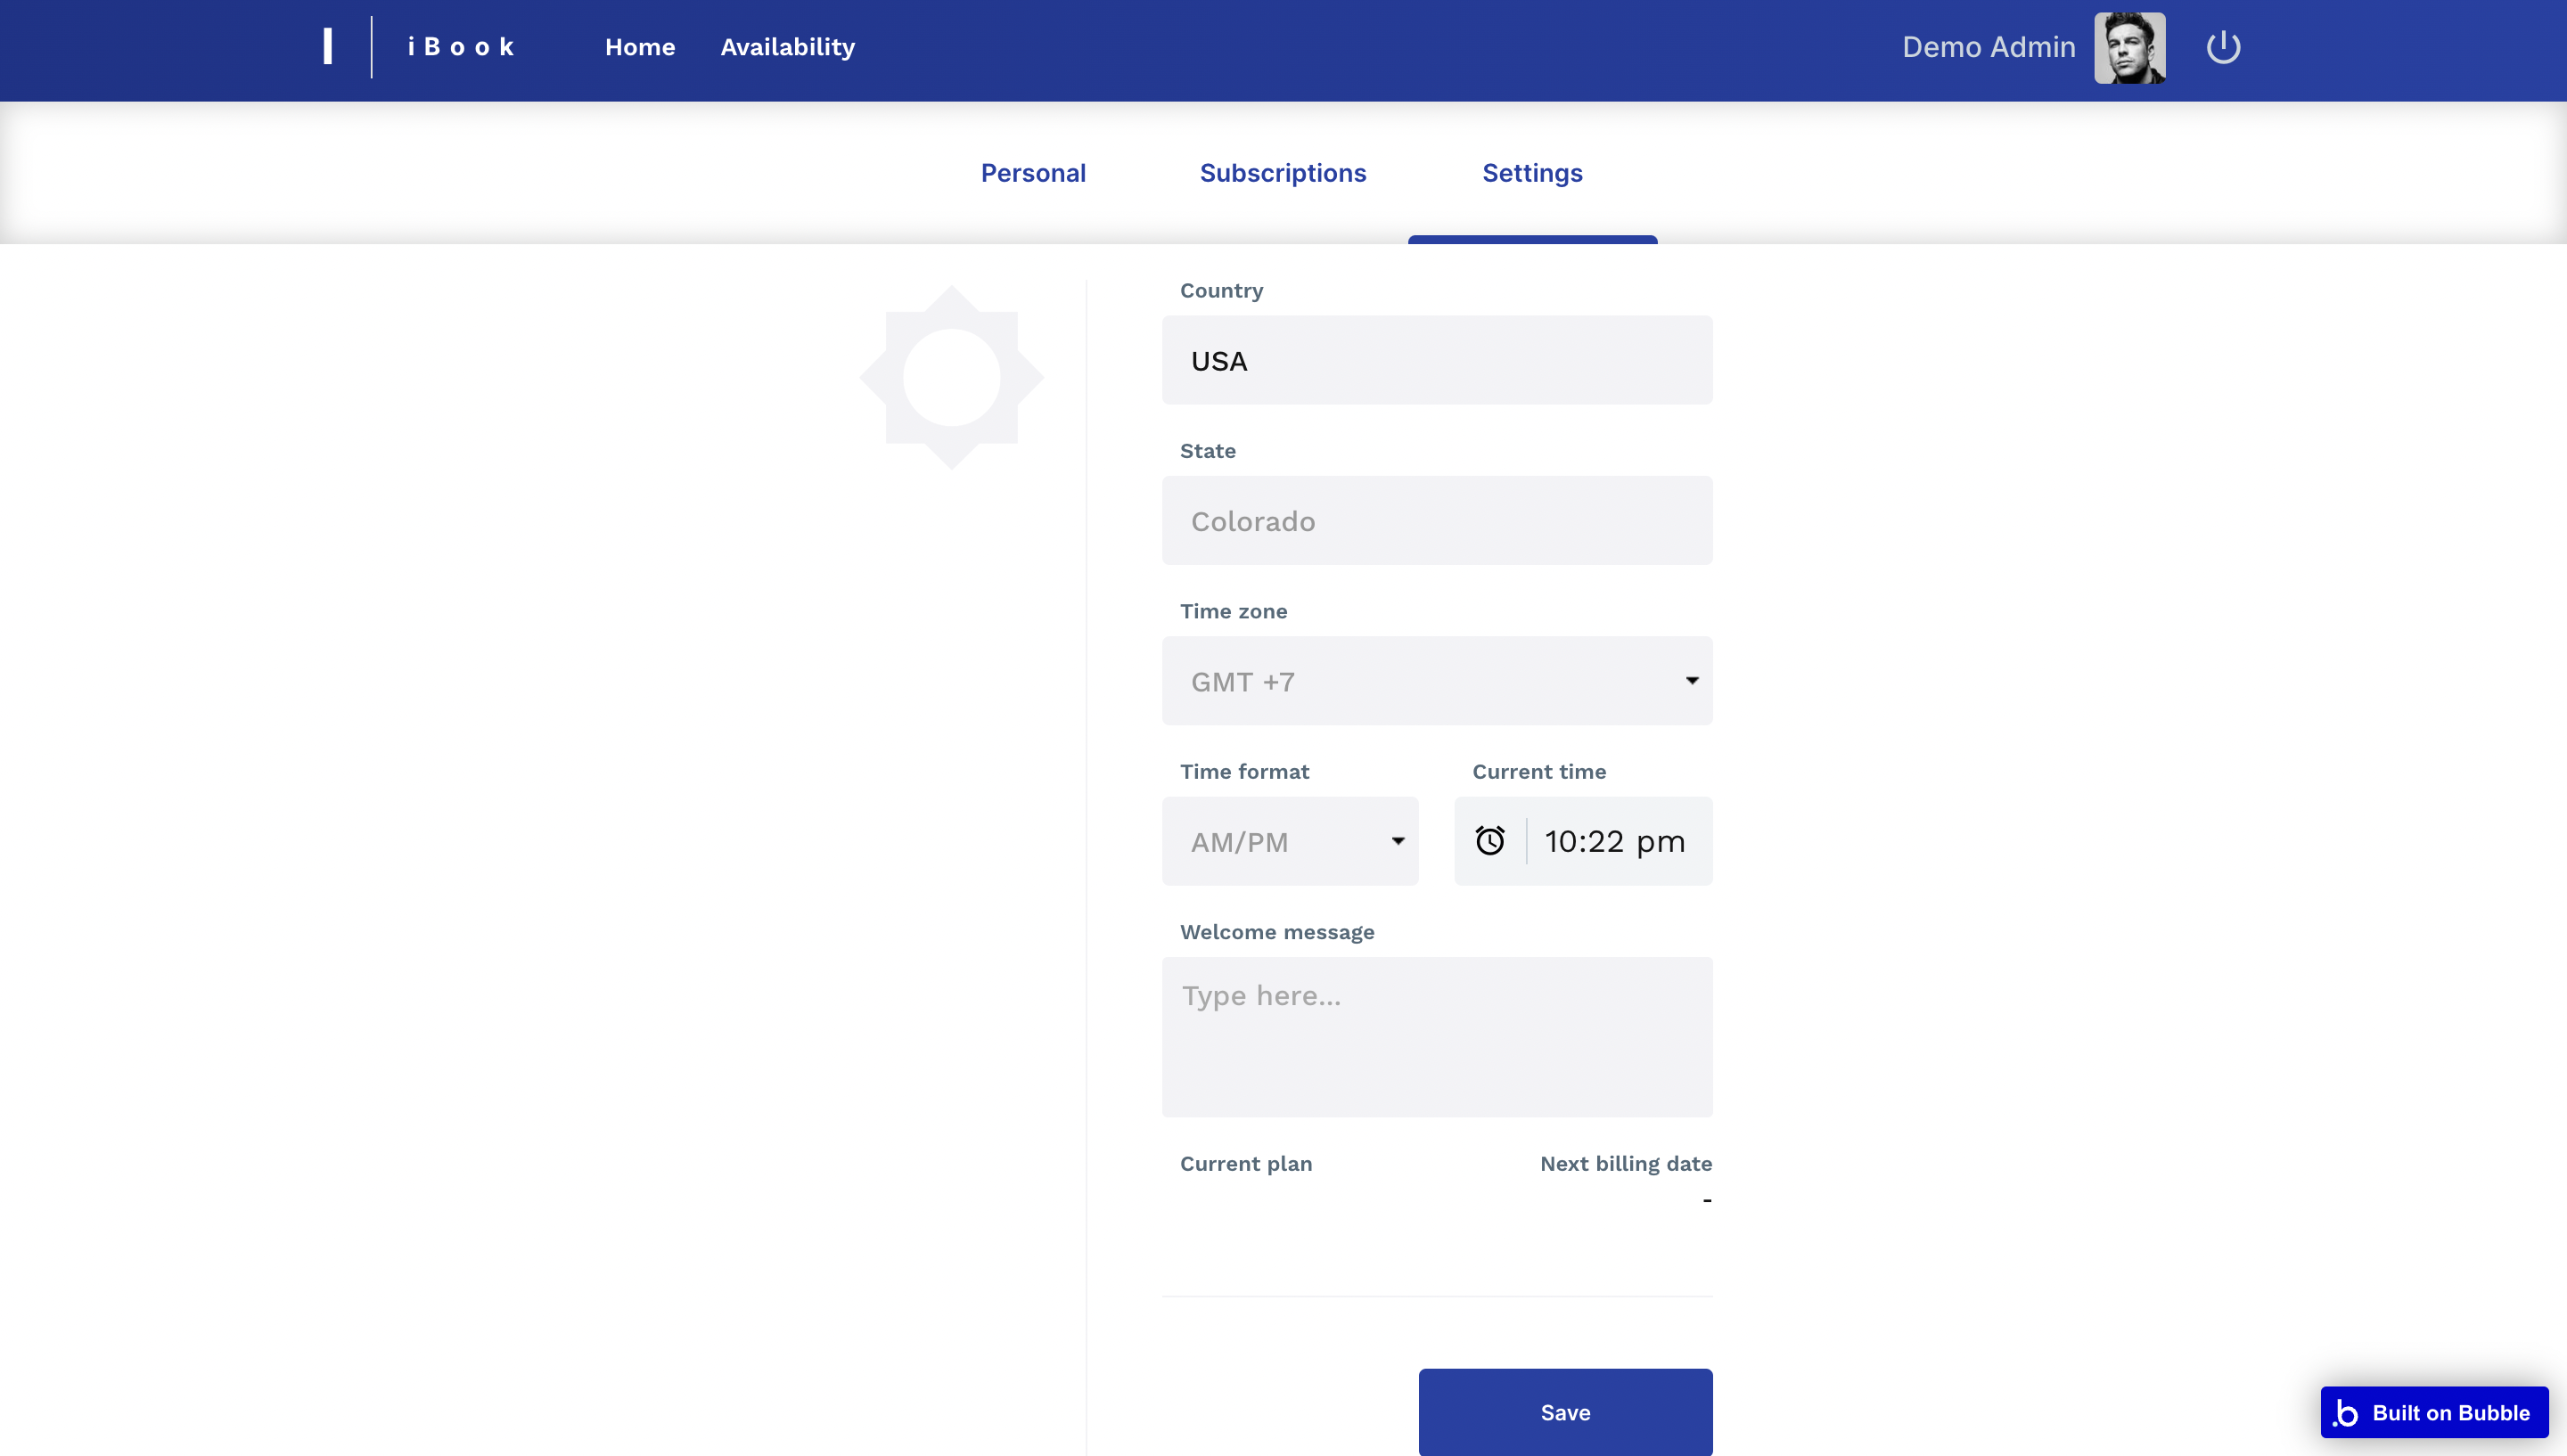
Settings
In this tab, users can change their settings information like country, state, time zone and the welcoming message that appears on their booking page.
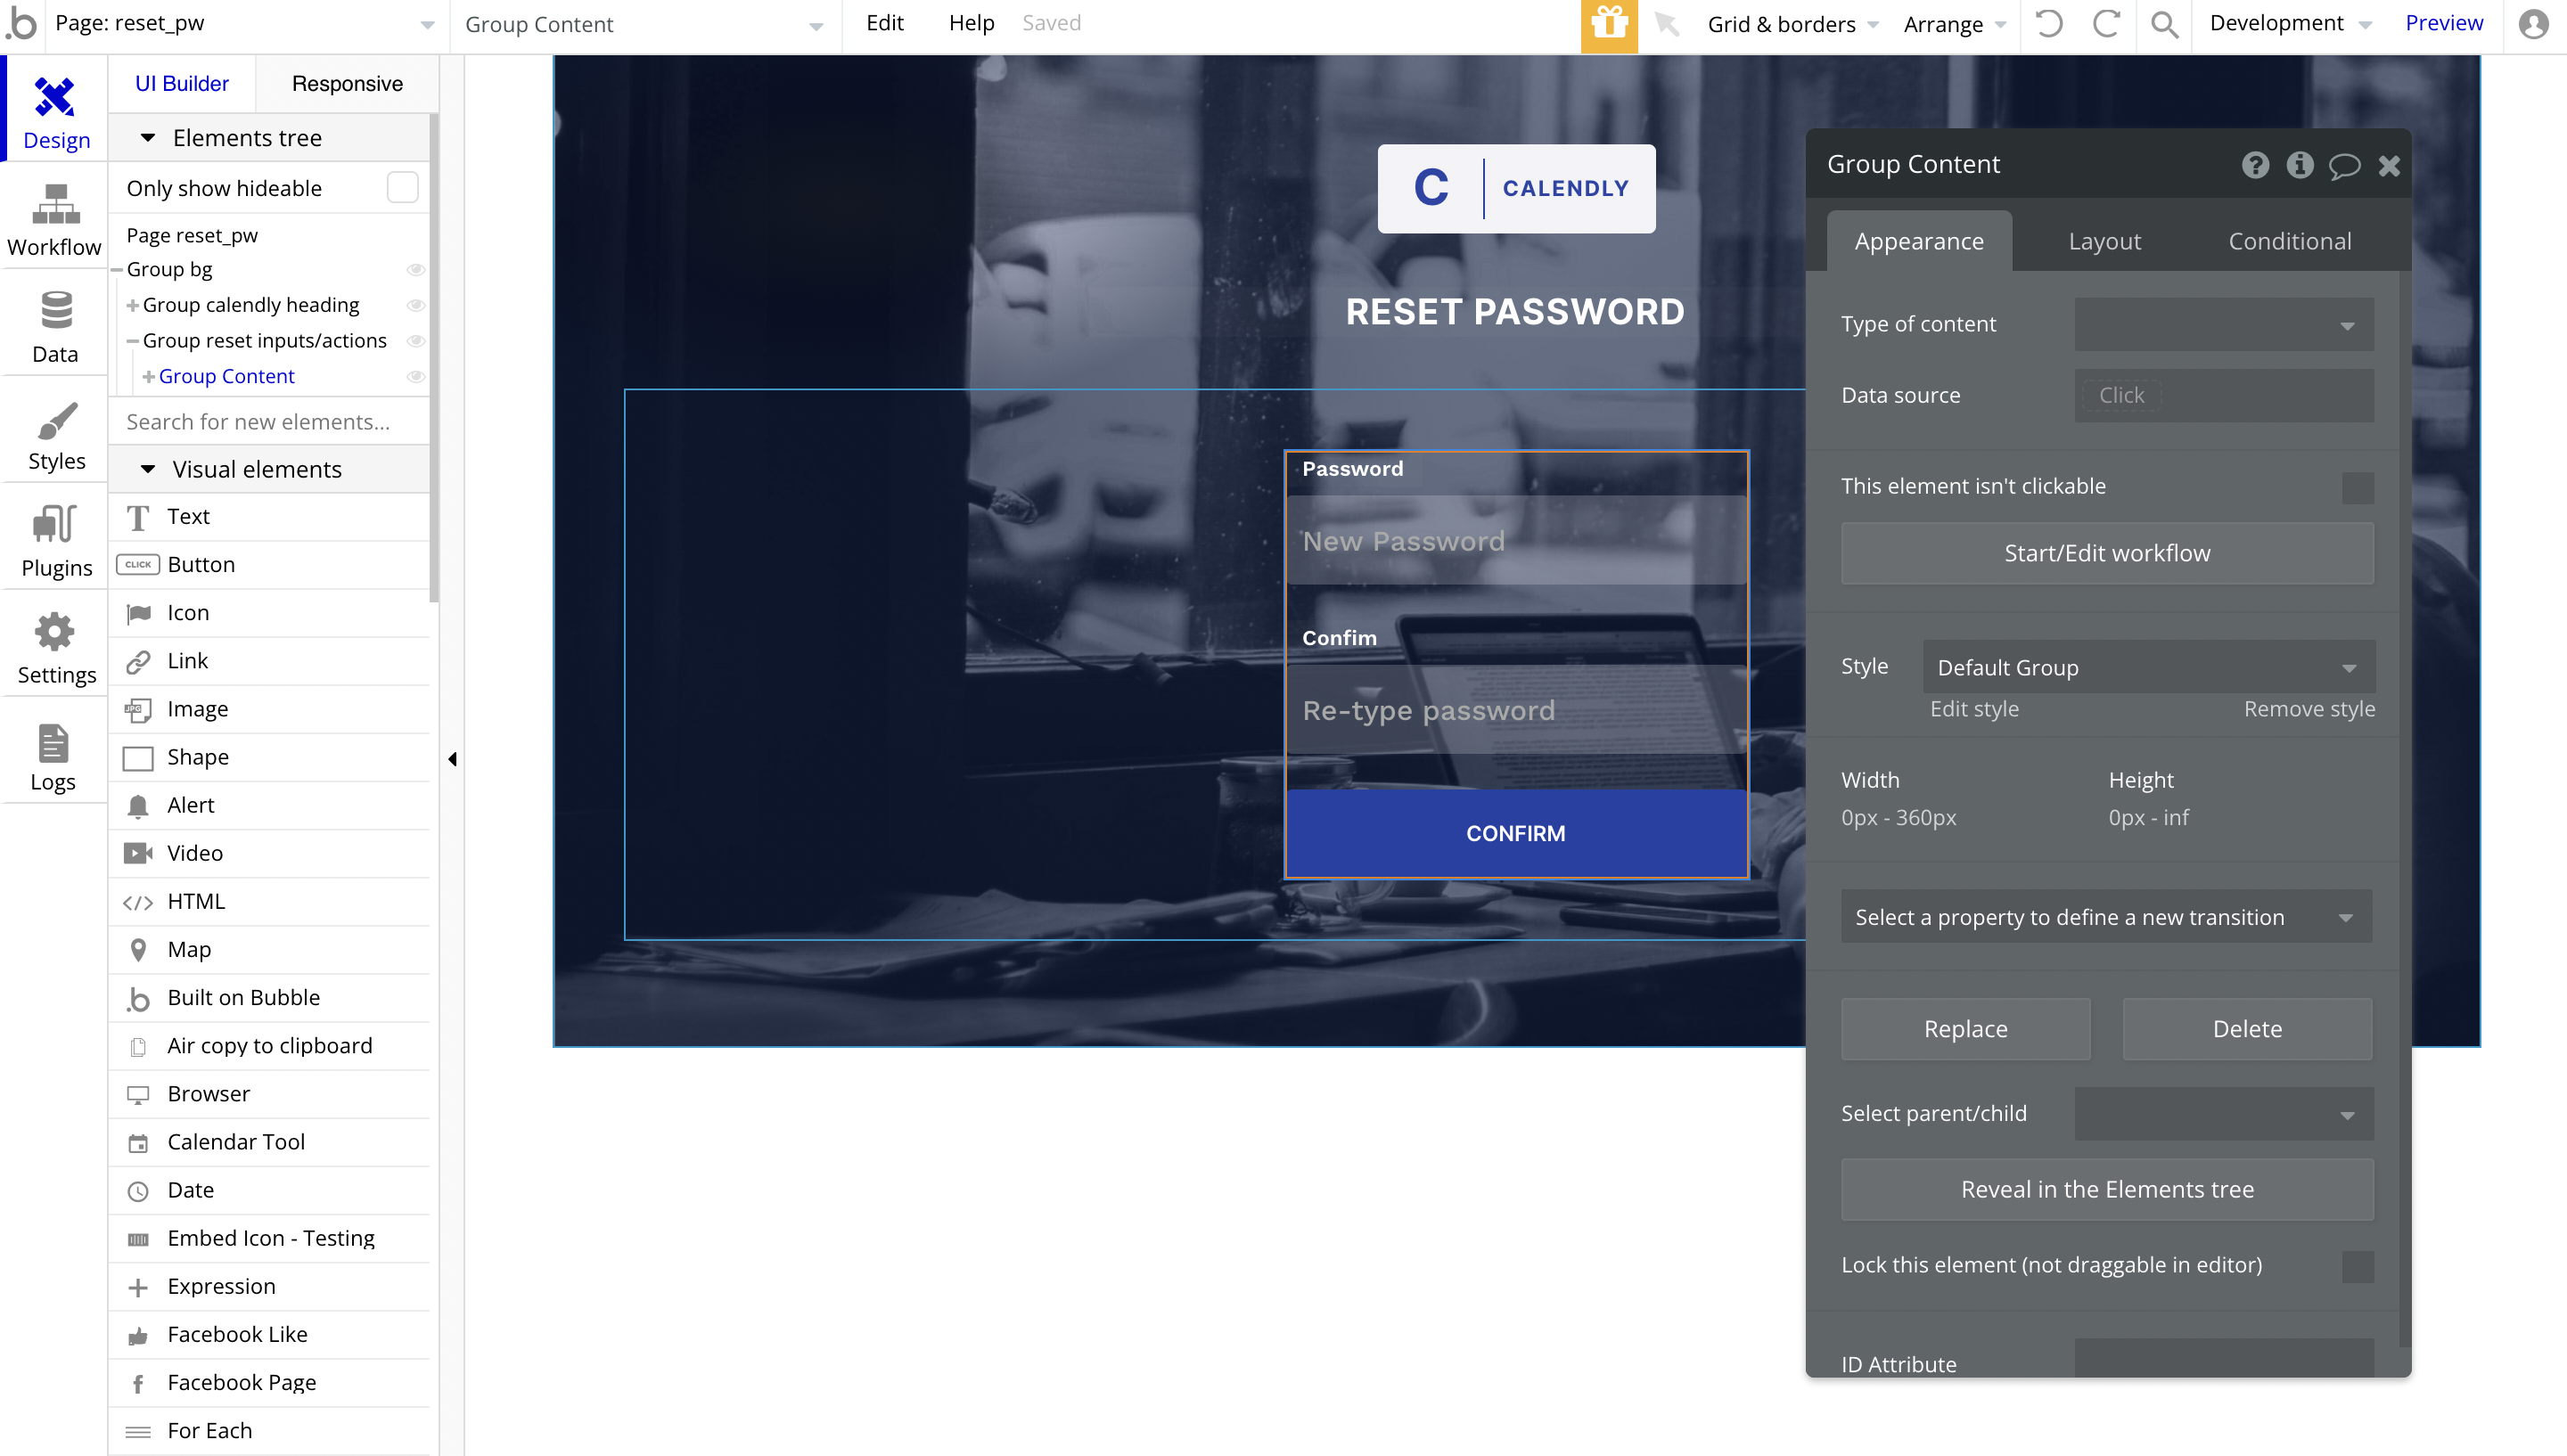
reset_pw
This page is for resetting the password.
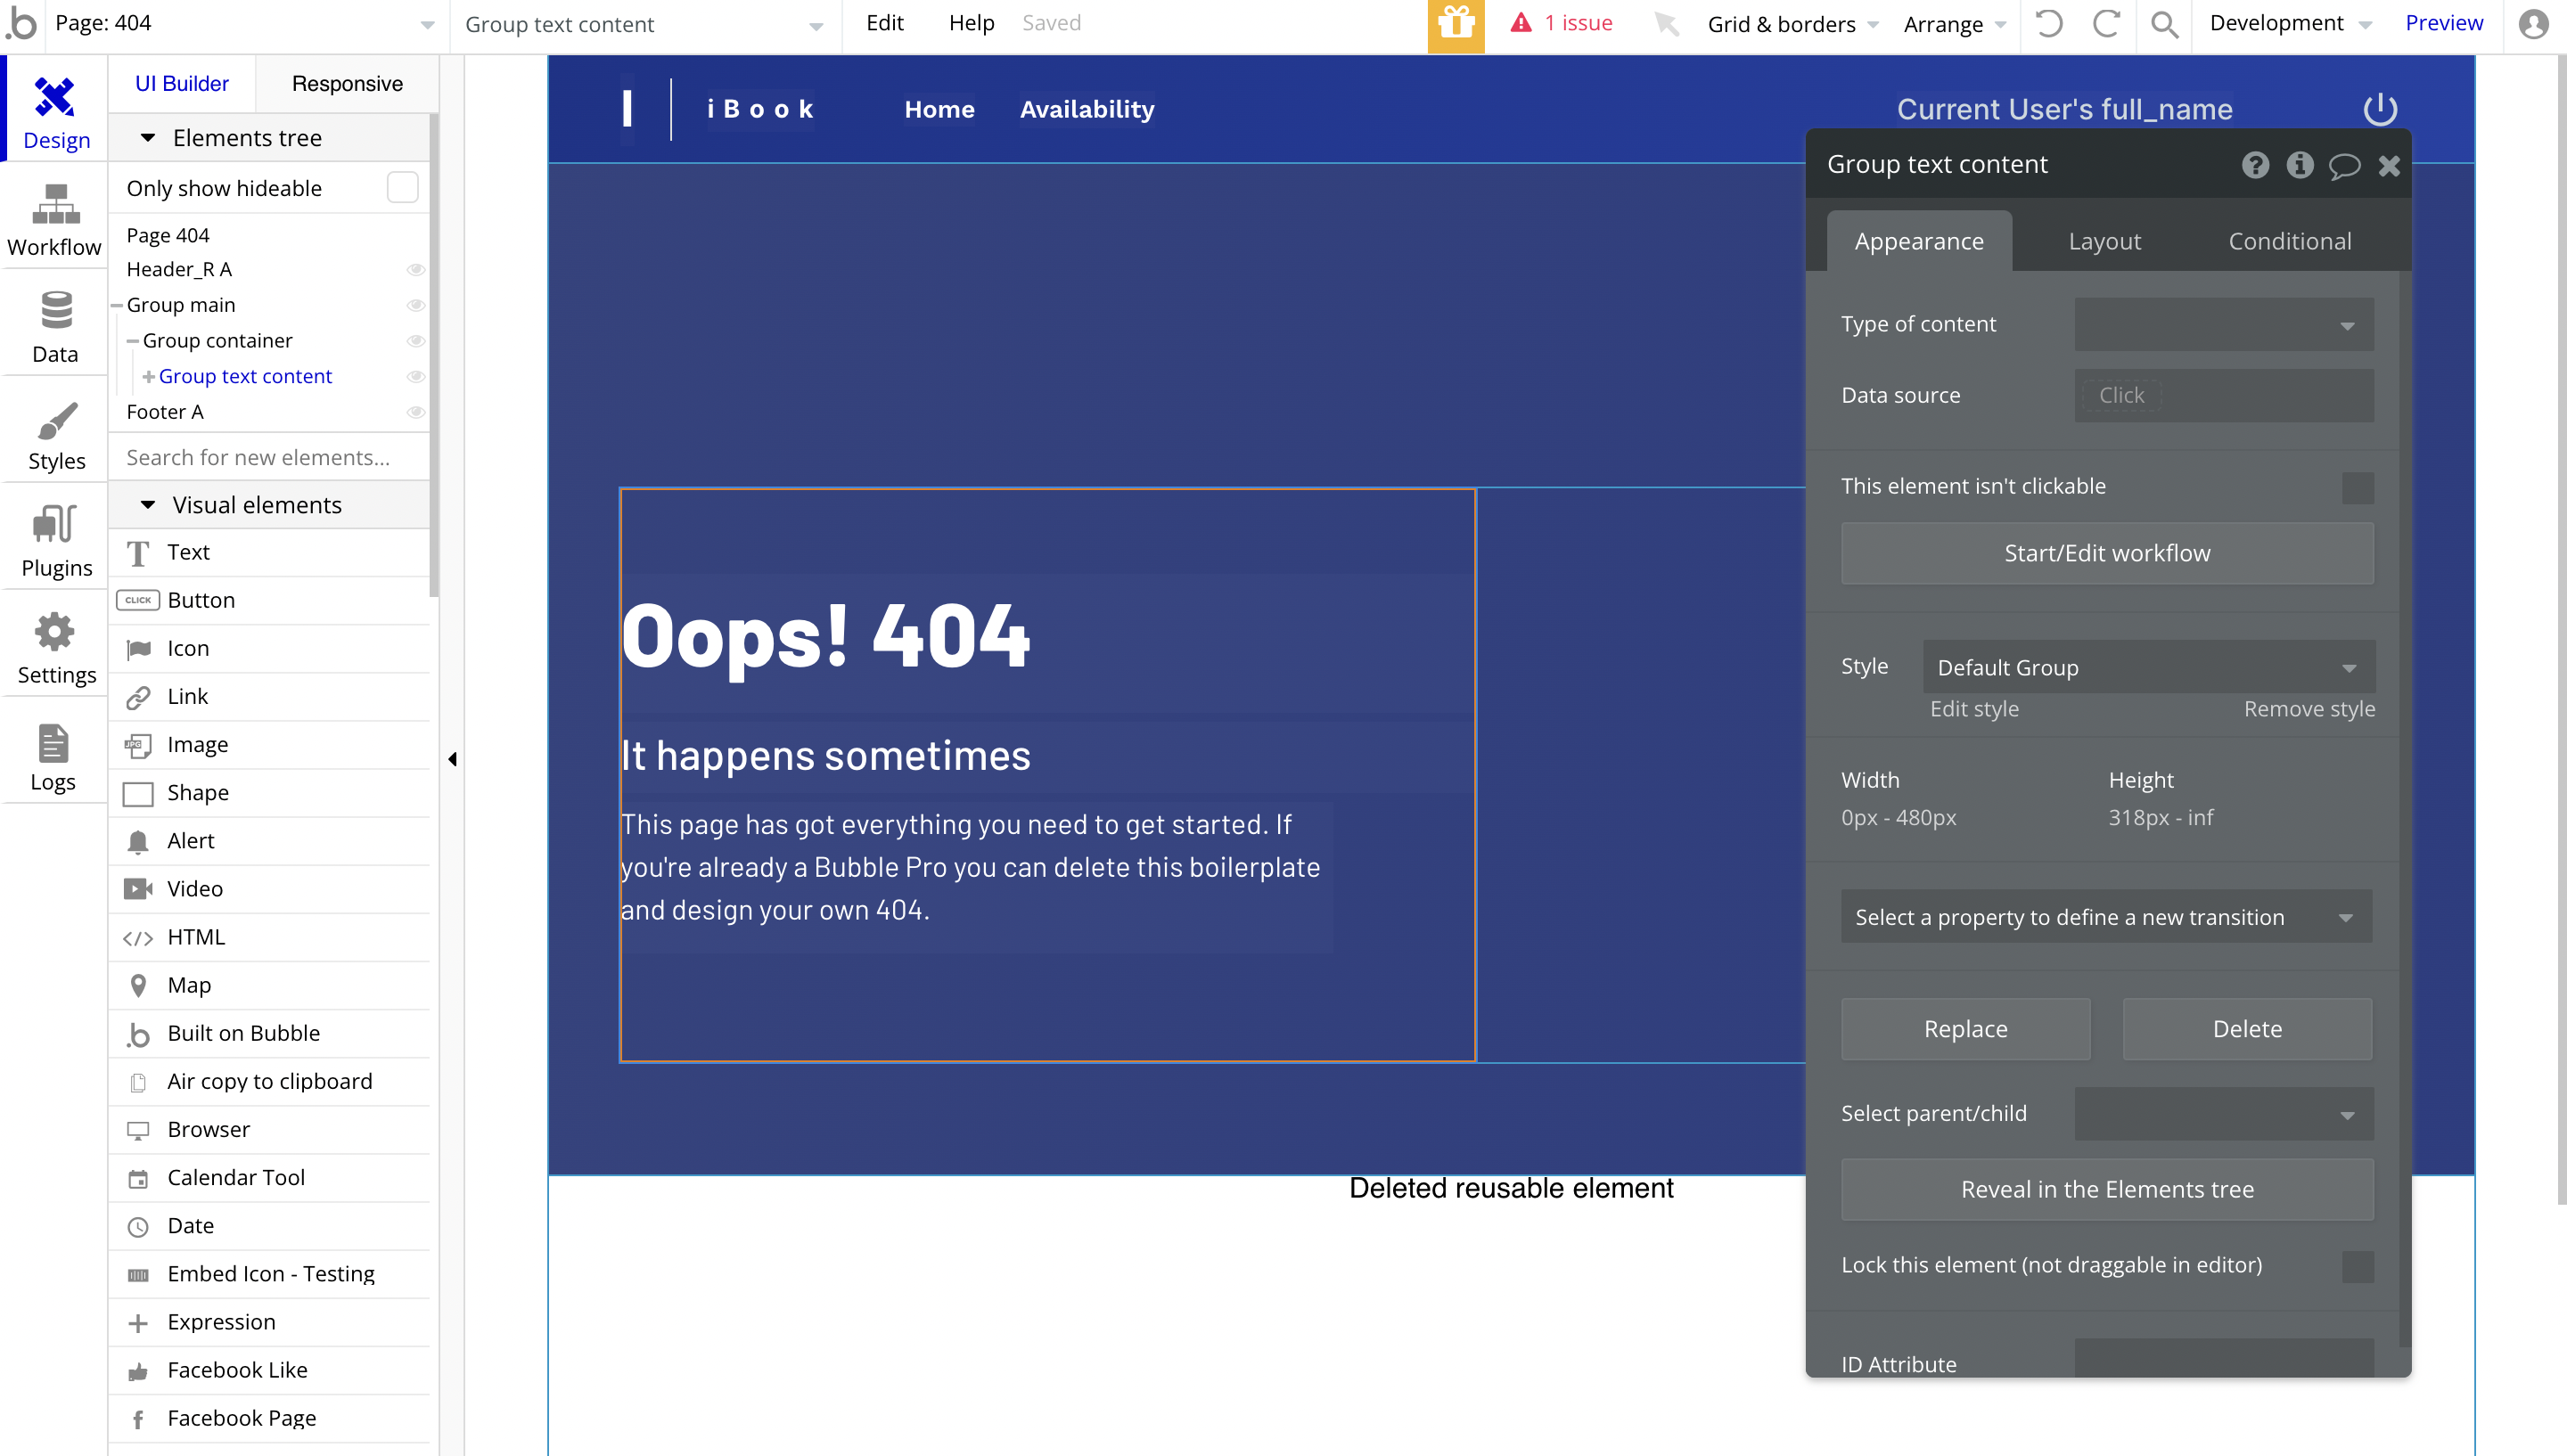
404
This is a custom-designed page for 404 redirect errors, informing a user that the requested web page cannot be found, or it doesn't exist.