This section states the purpose of each page.
Introduction
In this summary, we will describe each page and its content. The Page Element is the fundamental one that contains all the other elements.
Tip: See Bubble Reference for more information about Pages element https://bubble.io/reference#Elements.Page 🙂
Pages
index
This is the main page typically encountered first on the web app that usually contains links to the other pages of the site. A homepage includes a variety of menus that make it easy for users to find the information they need.

We have a couple of blocks that briefly describe what the template can do, also we have a testimonial block and two CTA blocks, one in the beginning and one at the bottom of the page.
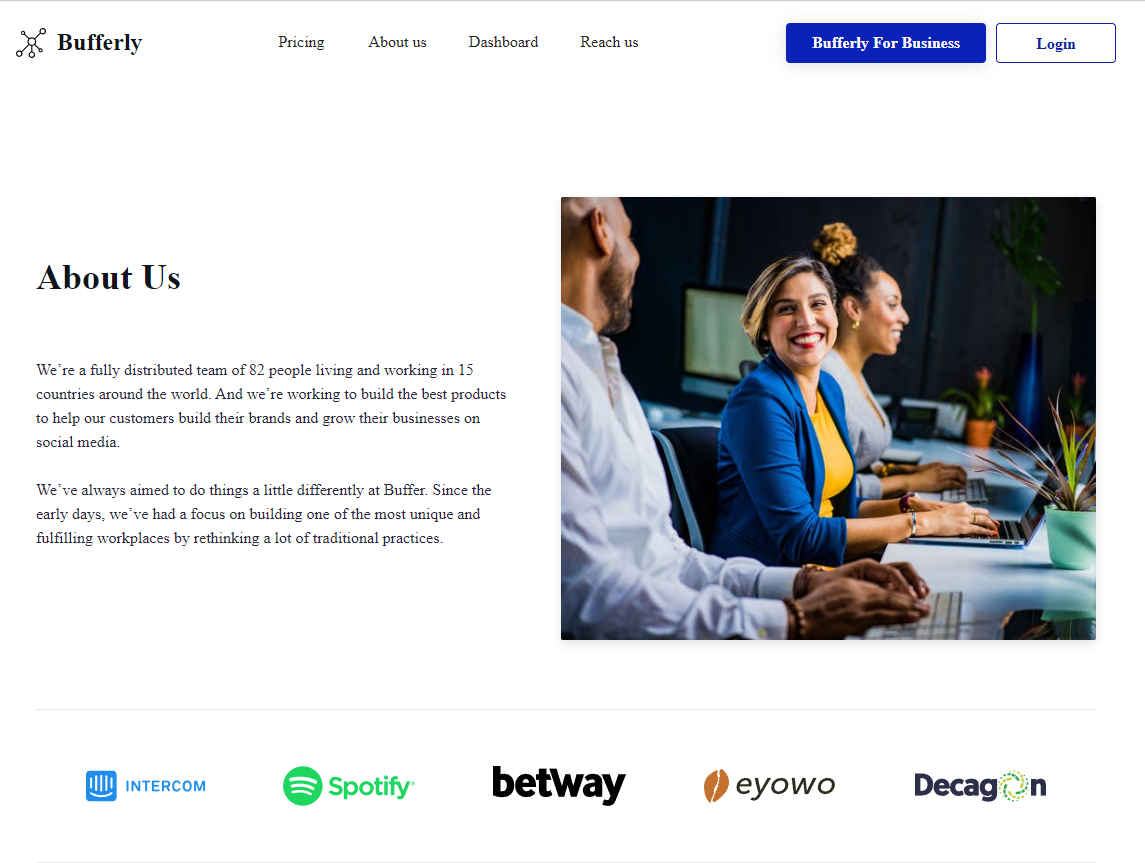
about_us
This page is pretty straightforward, it is describing the culture and values of the bufferly's team, followed by a CTA block below.
admin
This page is designed to manage platform data, e.g. Users, Items, Payments… and others. Only users with admin rights are able to access this page (in read-only mode), and those users who have access rights can edit or delete anything here.
It consists of 4 tabs:
- Overview - display overall statistics for the app (number of users, social accounts, subscribed users, posts, and Twitter posts)
- Users - displays a list of registered users, showing the number of accounts, posts, and subscription status for each. Here, the users account can be edited or deleted.
- Messages - displays all messages received from quests and registered users
- Admin - displays the list of users with admin rights, allowing also to remove or add a new user to it.
Tip: Initially, the design elements might be hidden in the editor.
Here is how to unhide 👀 them:
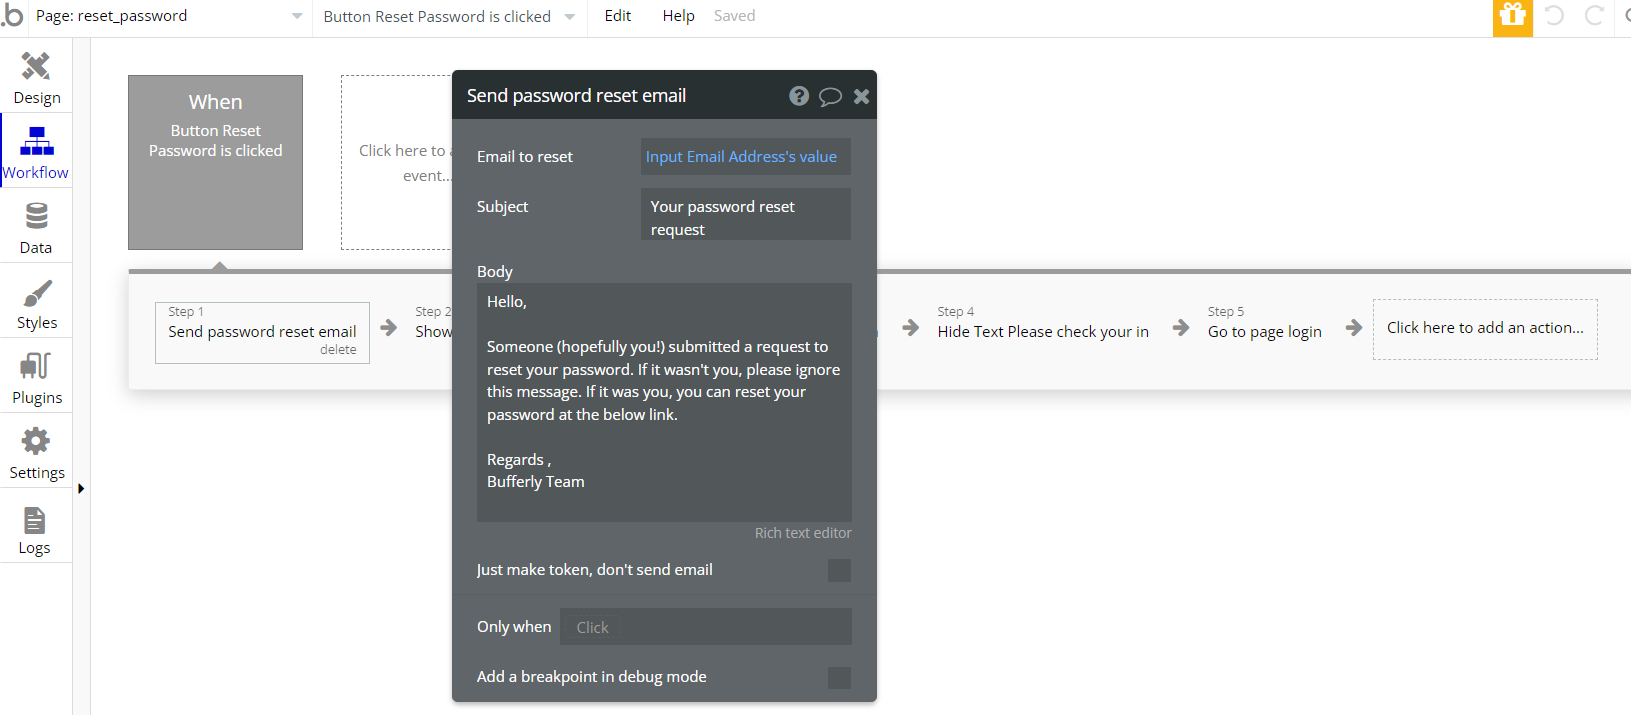
To modify the text of the mail that is sent on triggered workflows, find the "Send email" action:
home
Homepage represents Bufferly's dashboard. Here users can add social media accounts and manage their posts. In addition to that, they has the possibility to contact the platform's admin.
Besides the posts tab, also, the following ones are available:
- analytics, a tab where you can watch your platform's tweets, replies, likes, and mentions.
- drafts tab, where you can prepare your posts for publishing which you can later on post.
- settings tab, where the publishing time can be set up.
- account tab displays information such as your email, with the possibility to change your email/password. Here you have information about your Subscription plan with the ability to either cancel it or upgrade.
The two most important tabs on the page (posts & analytics) use the data calls and actions provided by the Advanced Twitter API plugin, which enables tweet posting on behalf of any user and retrieving statistics.
Note: Advanced Twitter API - it a paid plugin. You would need to subscribe to it (or buy it) in order to use this template
Note: To find out how to properly set up this plugin, please consult the plugin's supporting documentation: https://docs.zeroqode.com/plugins/twitter-oauth-1.0a-plugin
Tip: Initially, the design elements might be hidden in the editor.
Here is how to unhide 👀 them:
login
Generic login page, with the possibility to log in, recover your password, or create an account in case you're new to the platform. You can also give our platform a tour using the demo button.
This page is used for creating an account or logging in to an existing one. To access it, users will click on “Signin” button in the header.
On this page, users are offered a demo user to log in and test all the template features.
pricing
This page contains general information about the pricing for subscriptions. Each subscription option has information about what it offers plus the price for those services.
All images and texts are displayed for demonstrational purposes and can be changed directly on the page.
reset_pw
The user gets to this page after pressing "Forgot password" on the
loginpage. After introducing the email for password recovery, the user receives a mail with a password recovery link. Clicking the link indicated in the mail, the user goes to the
reset_pw page. 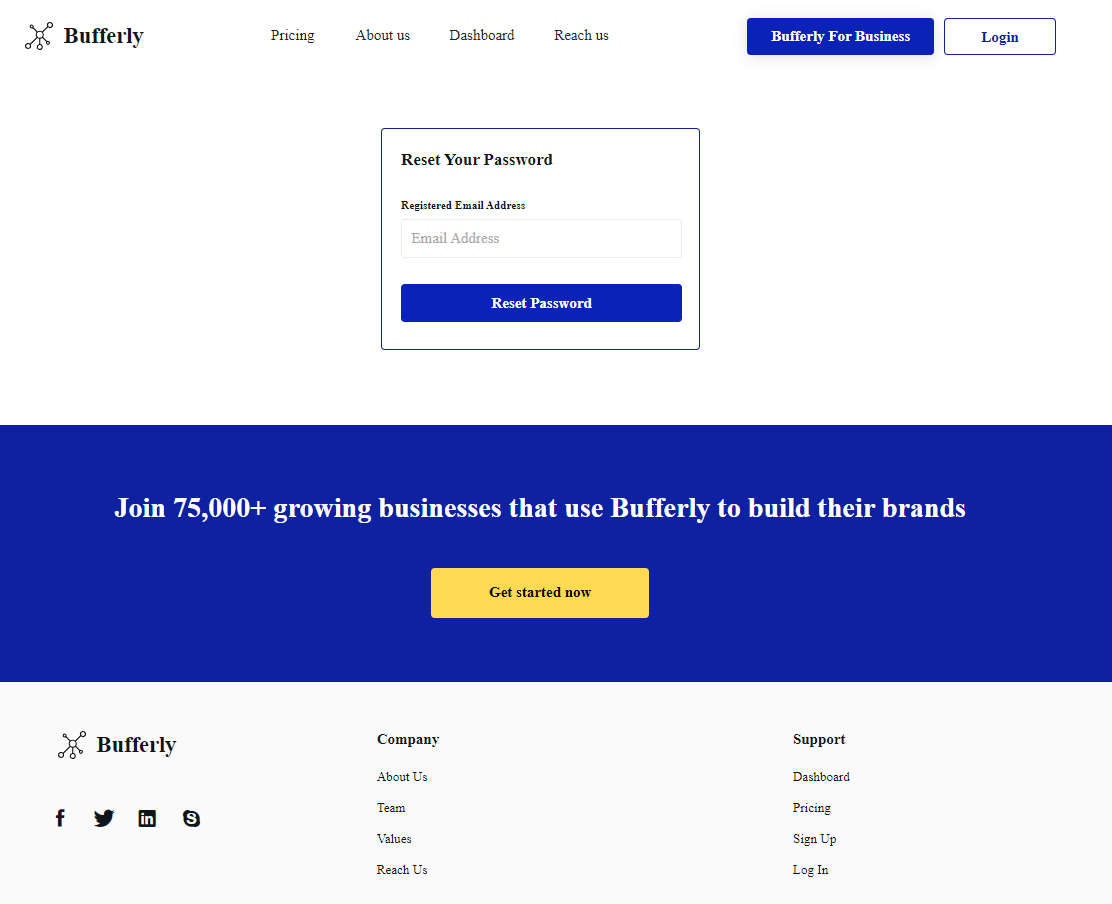
As this page has only one workflow, it is pretty simple to find the "Send mail" action, to modify the default email text:
sign_up
On this page, you have a regular page with inputs to register a new account. You also have the possibility of a free tour using our demo button.
reset_pw
On this page, the user can reset his password.

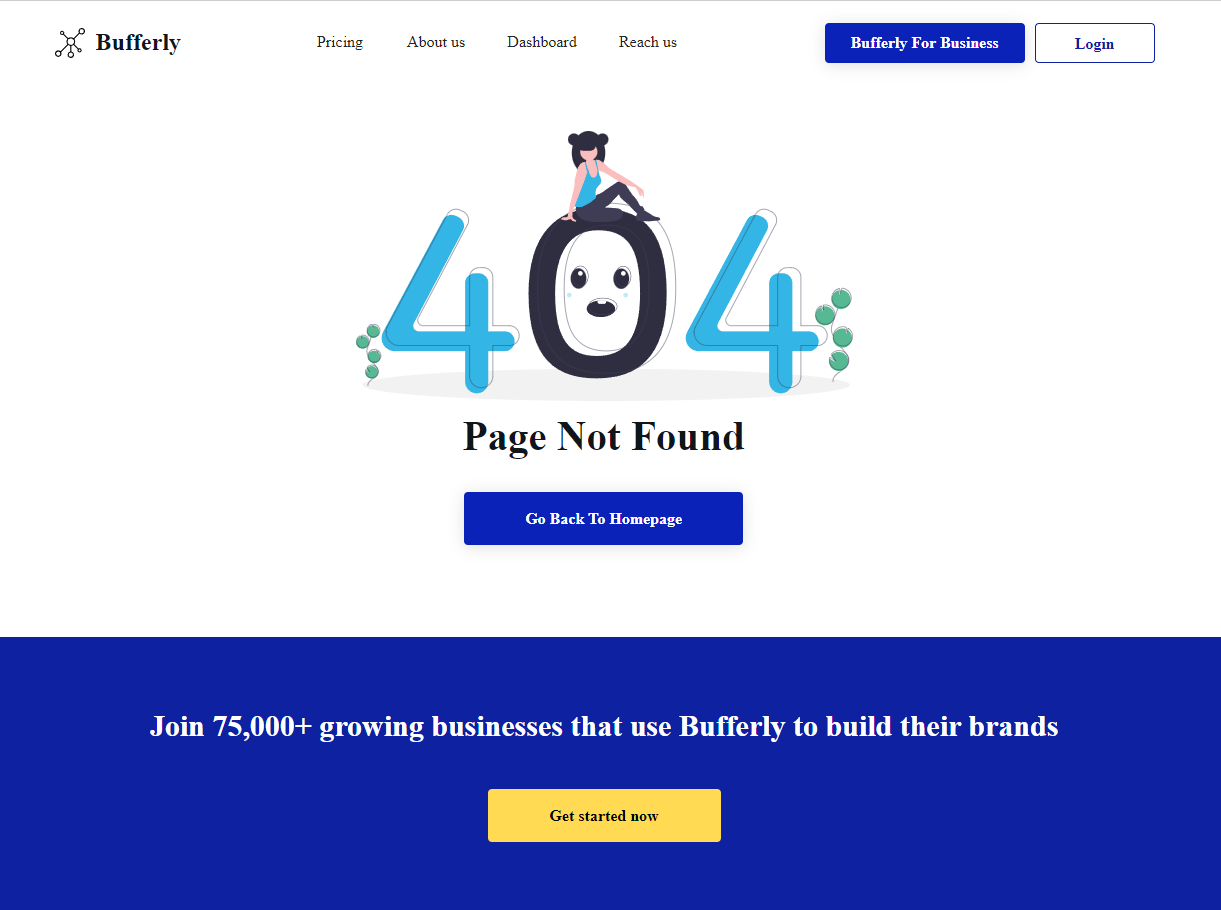
404
This is a custom-designed page for 404 redirect errors, informing a user that the requested web page cannot be found, or it doesn't exist.