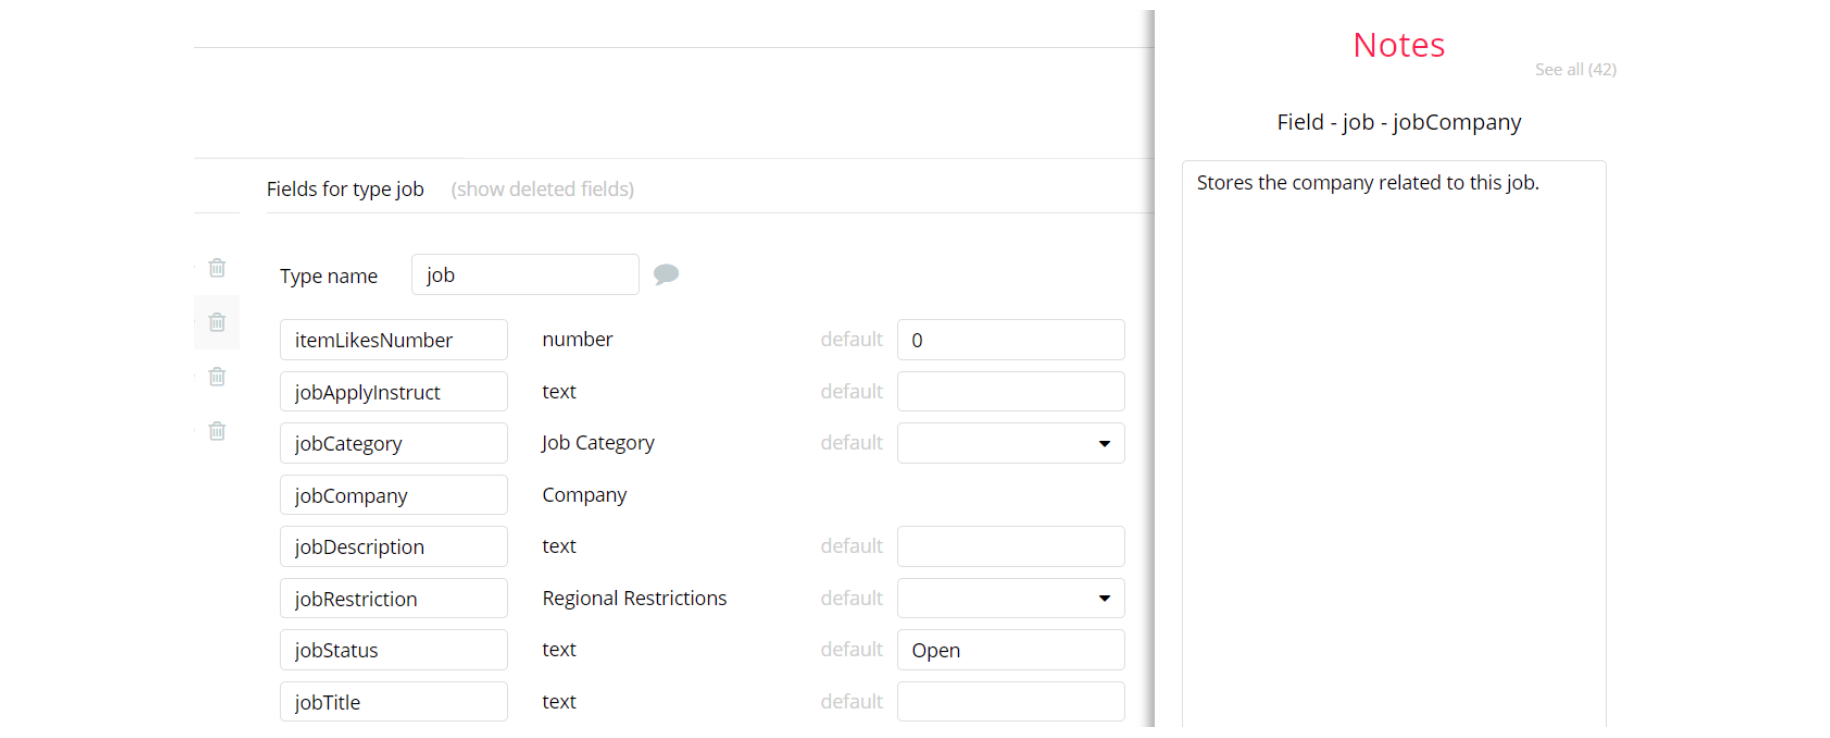
The guide states the things to note, like Admin Access, Custom Code, Notes, APIs, etc.
Admin Rights
Most of the template content is directly pulled from the database. Please do not delete an entire Data Thing unless you are sure of what you are doing. However, feel free to delete any template content you prefer.
For security purposes, this template has limited rights for potential customers. Meaning, you will not be able to use the admin features at its fullest until you purchase the template and enable admin rights.
If you want to make someone an admin, have to change the field
userAdmin within the User datatype to yes. After you do the changes above, this user becomes admin. If a non-admin user accesses the admin page, he will not be able to do any manipulations because of the conditions on edit/delete actions, when the
userAdmin field value is setnofor this particular user.Under the Data tab click the icon in the Editor, go to the Data Type User and look for
userAdmin field with Yes/No boolean type, condition for Yes is set the Admin rights for the user are enabled and user can edit and delete.
Note: Remember to hit the SAVE button.
If you have already purchased the template, you will need to enable the elements to be clickable and remove conditions:
1. On the dashboard page, find text "Edit" and "Delete" (use the simple search on the page):

2. Click on the first text element "Edit" and see its settings tab where you need to change the checkbox to make this element clickable and do the same for the second text element "Delete":
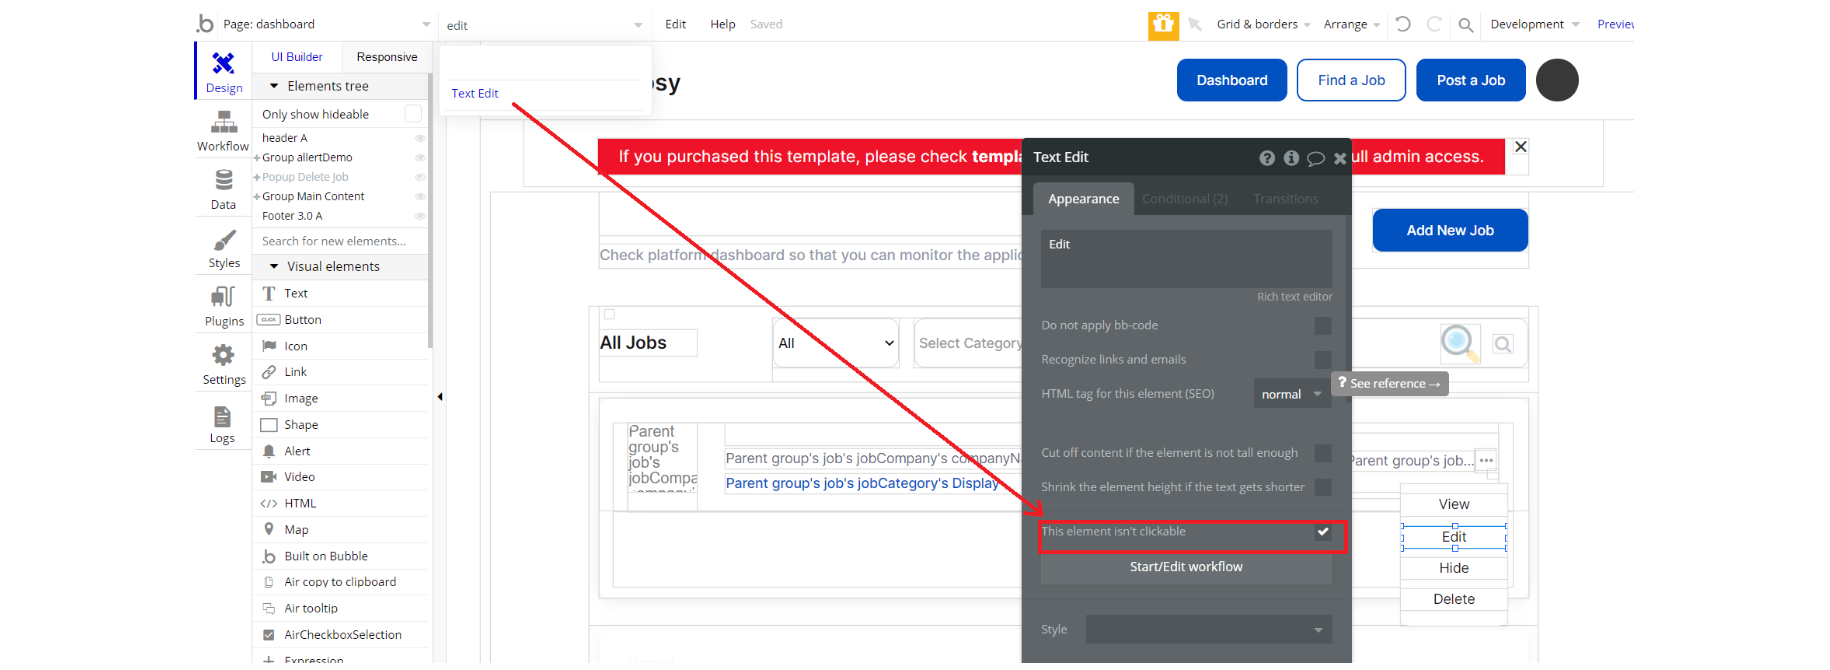
3. For both these elements from above, access the Conditional tab and remove the condition which enables the Tooltip with text.
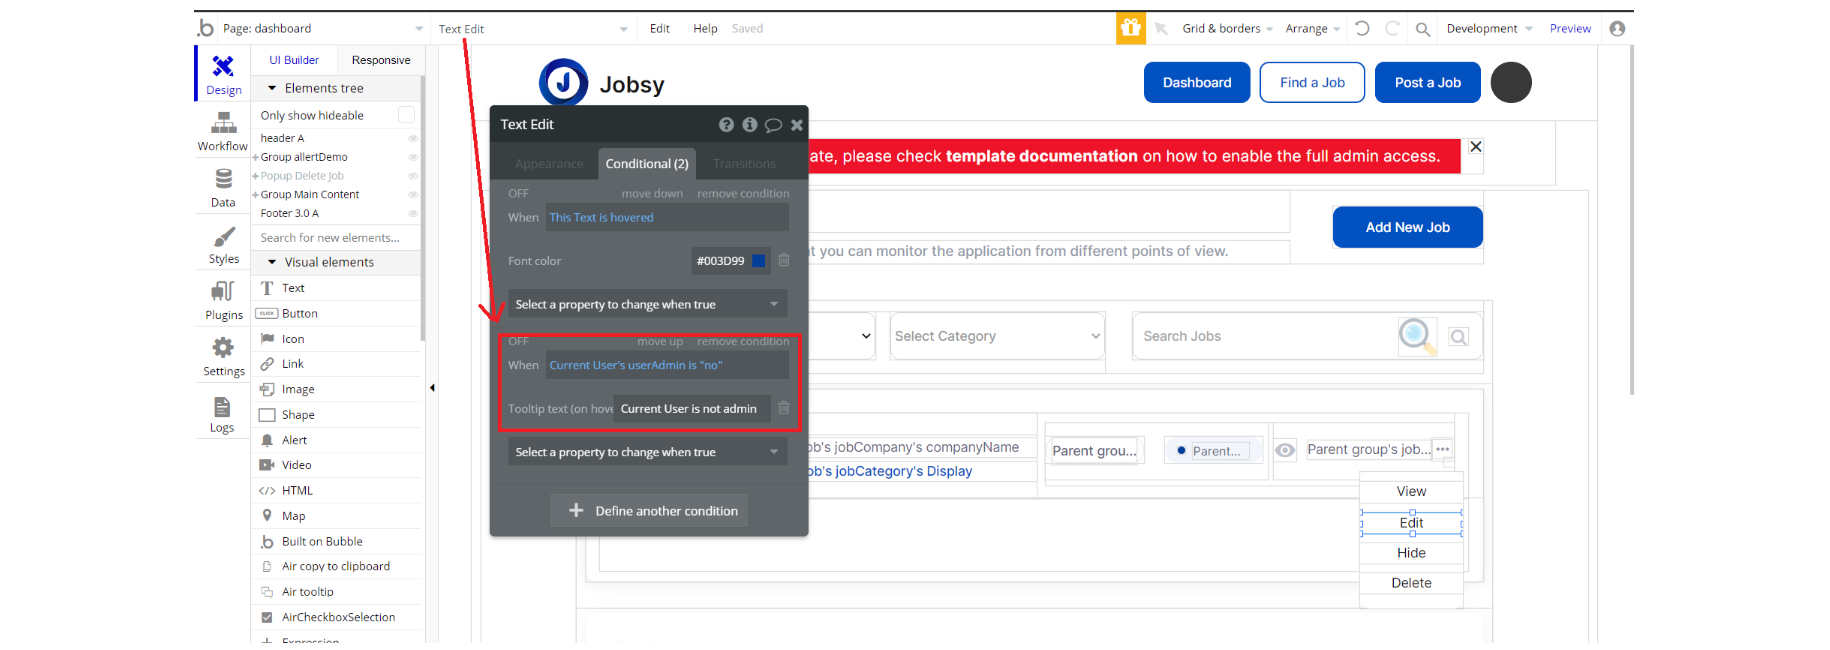
4. Complete. After these changes, you can check the on-page the respective actions.
Congrats! You have successfully granted admin rights. Now you can use all the admin page and its features as an admin user.
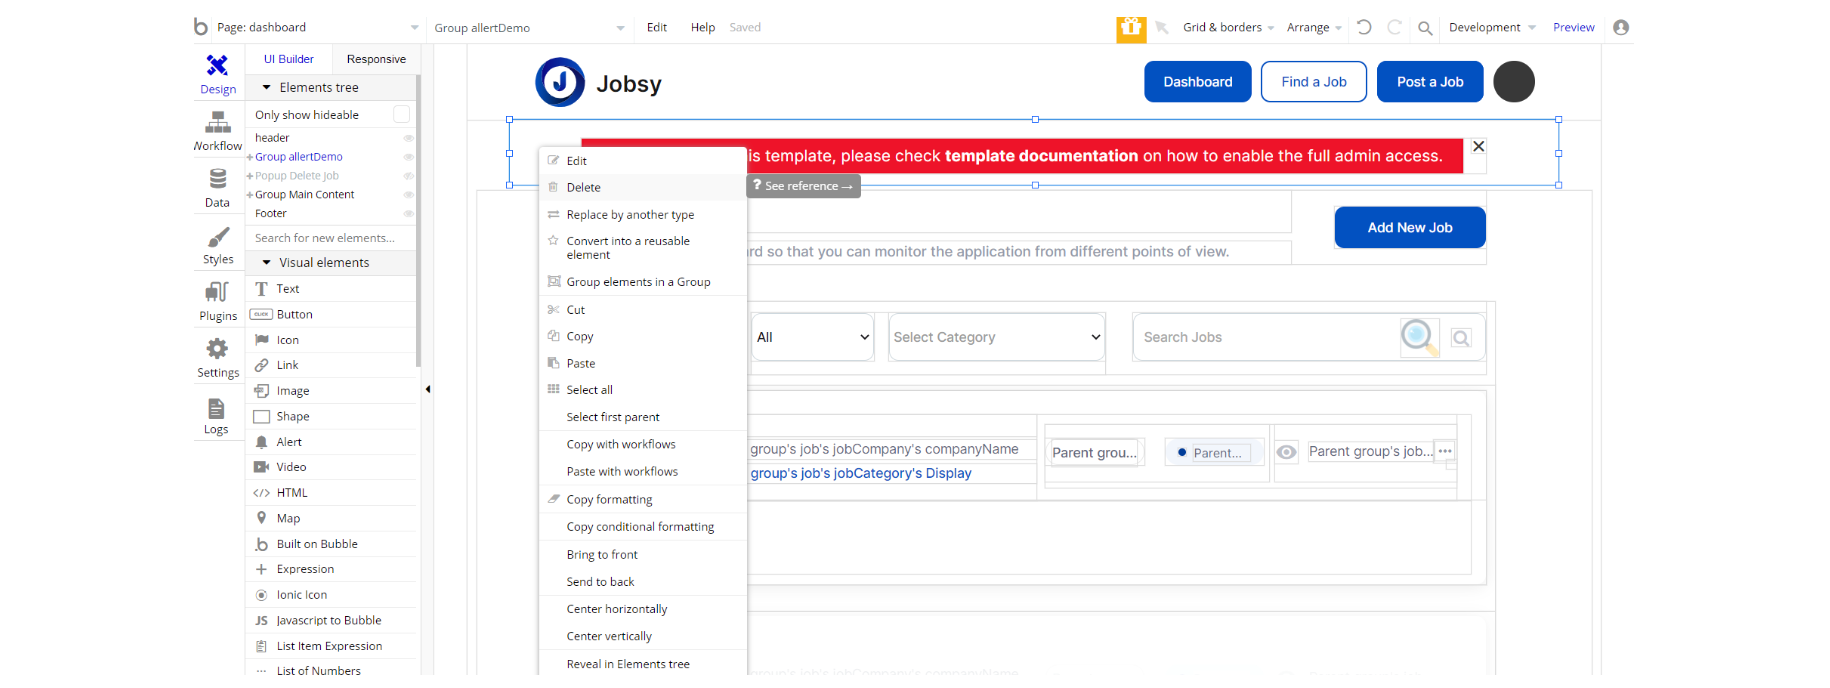
Also, delete the warning group that says to check the template's documentation:
1. Locate container "Group allertDemo"
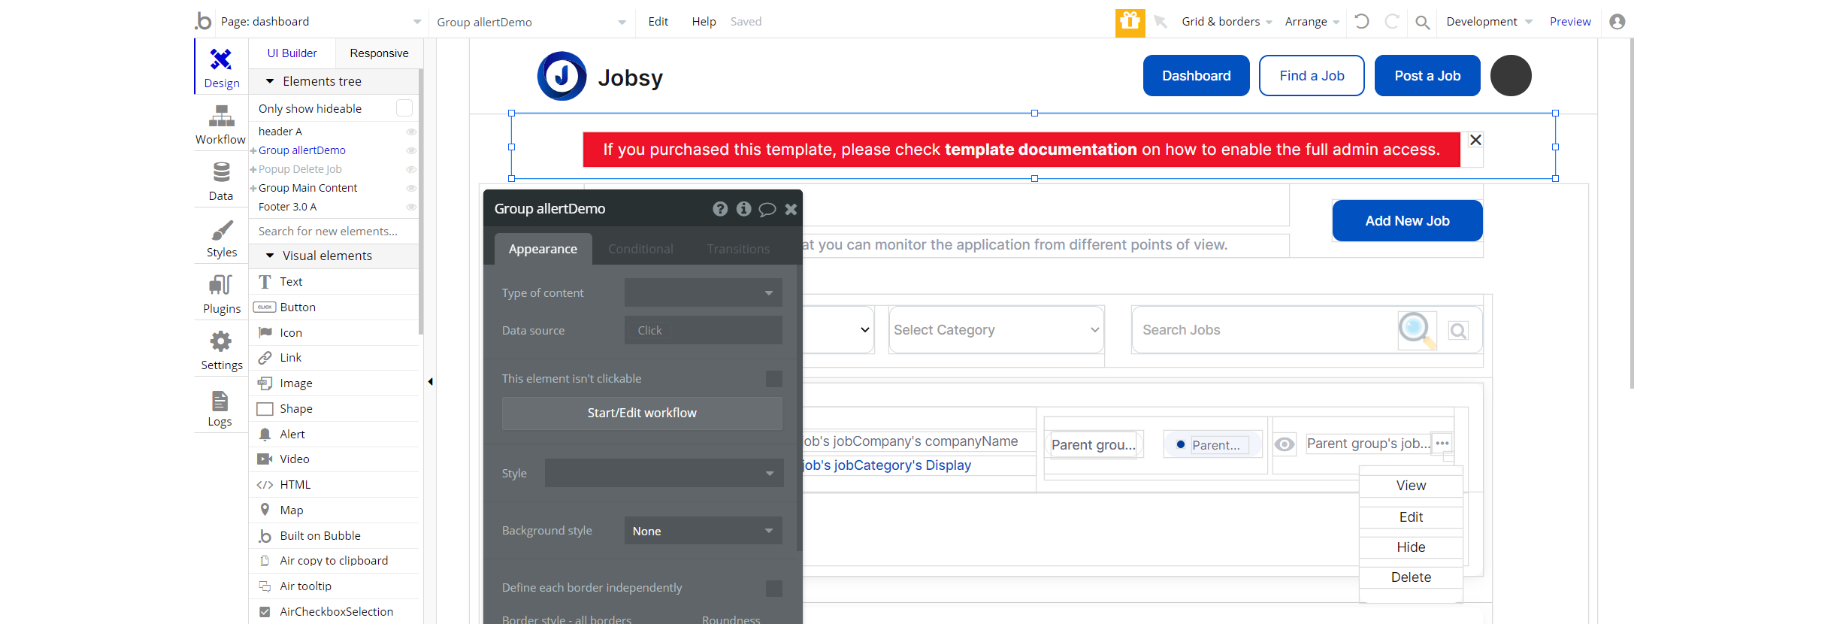
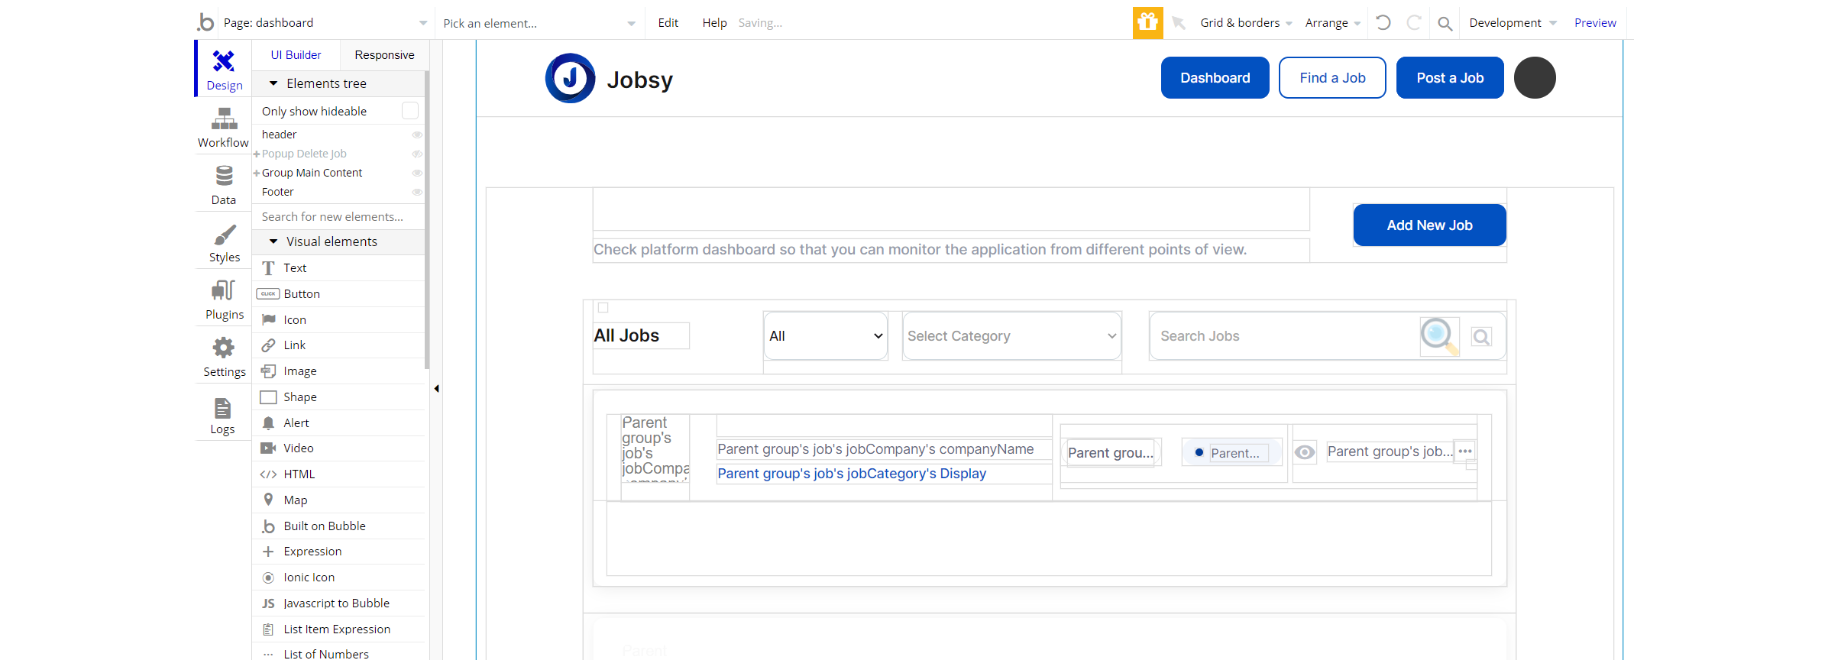
2. And delete it:
Custom Code
On certain pages, there are some HTML elements used for some solutions that are not available by default. You can find these codes on the following pages:
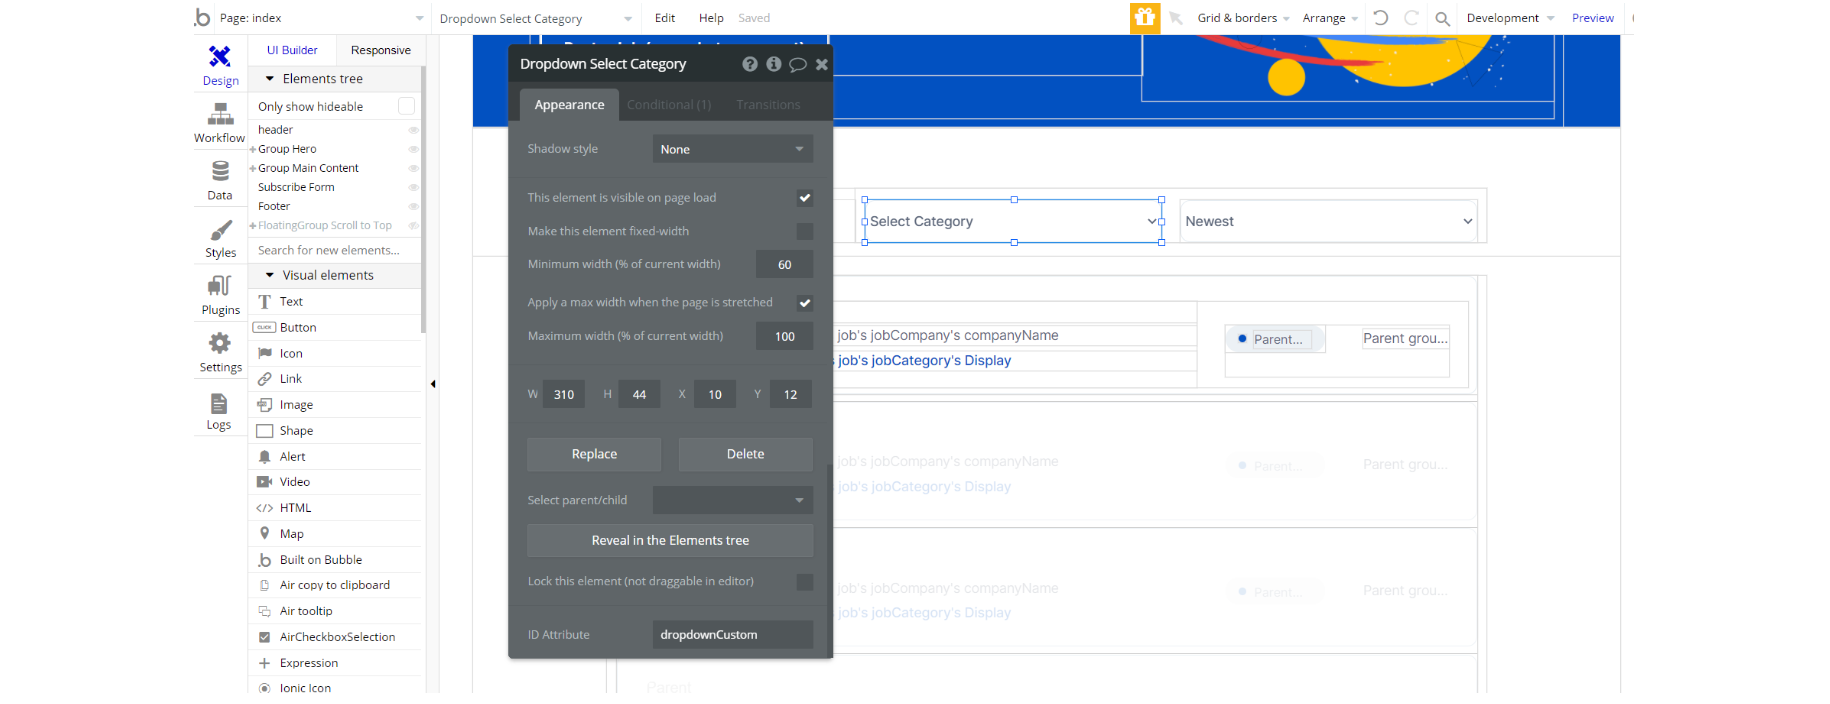
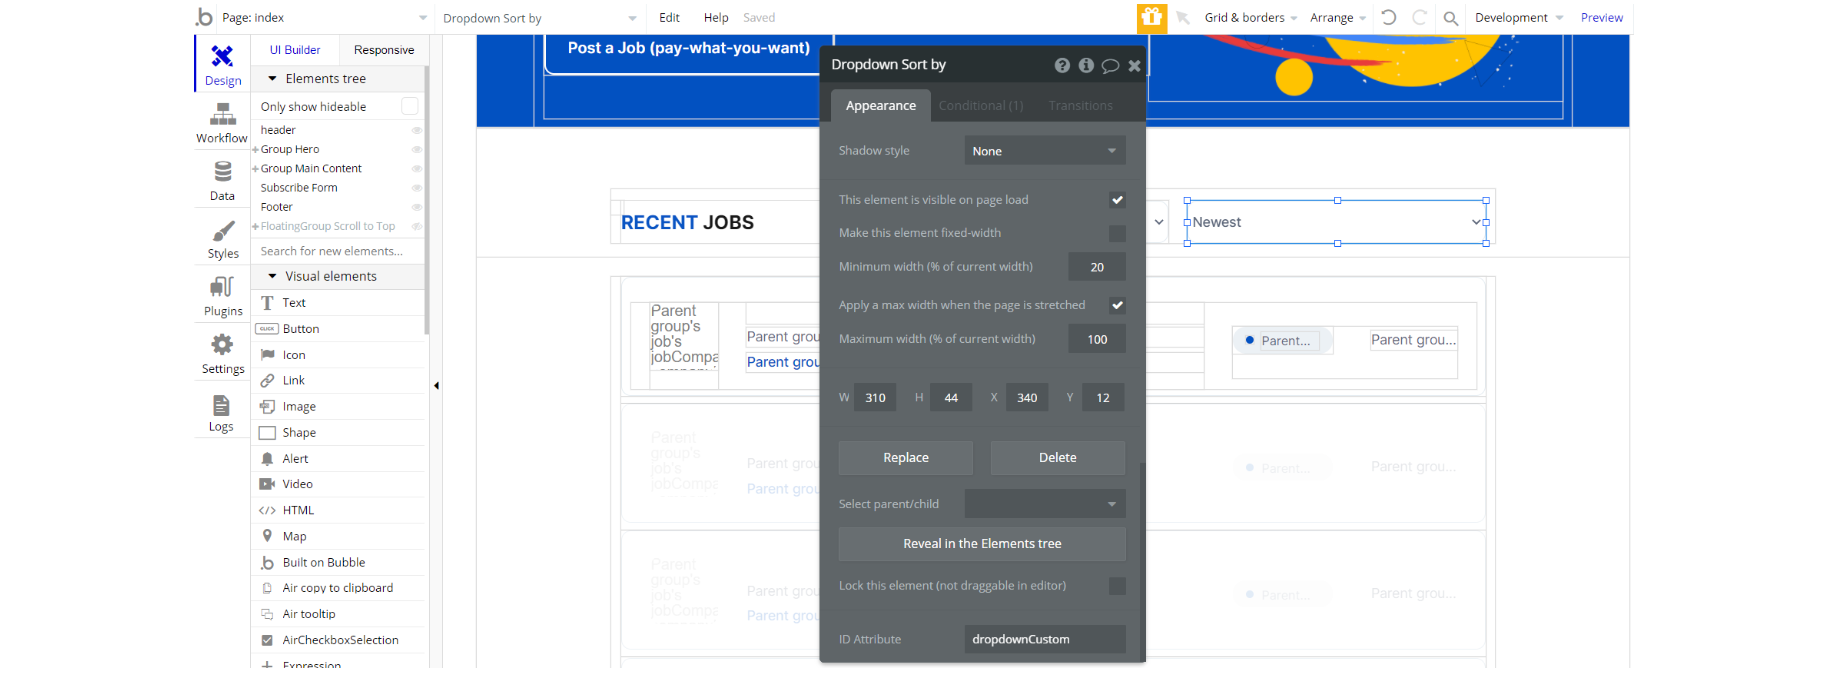
index page - you see HTML/CSS code in an HTML element on page. #customDropdown ID applies to the dropdown elements in order for them to have a pleasant cross-browser look.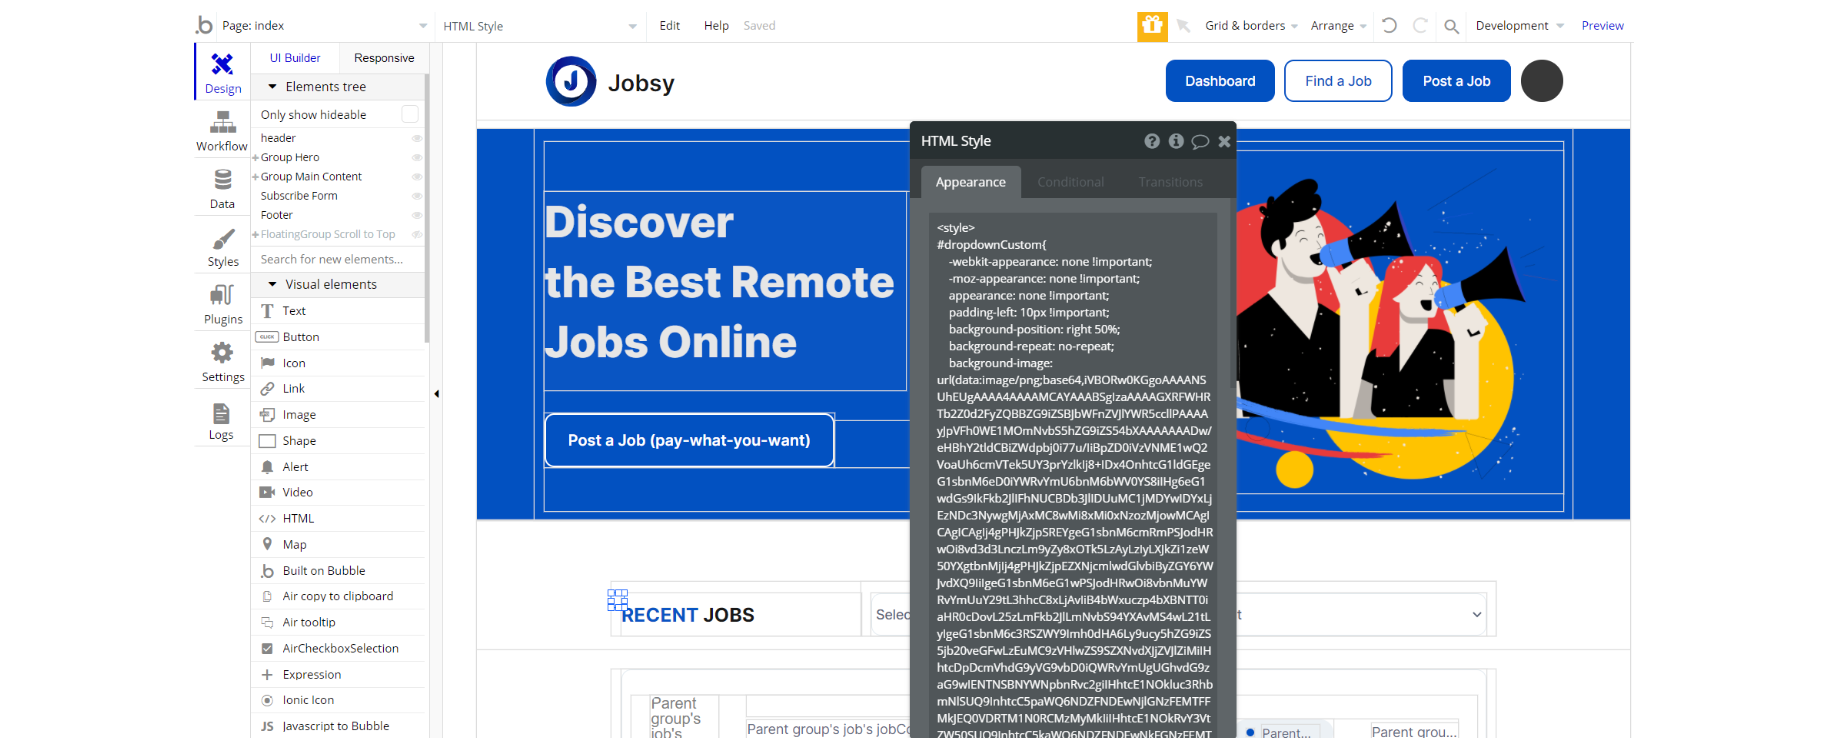
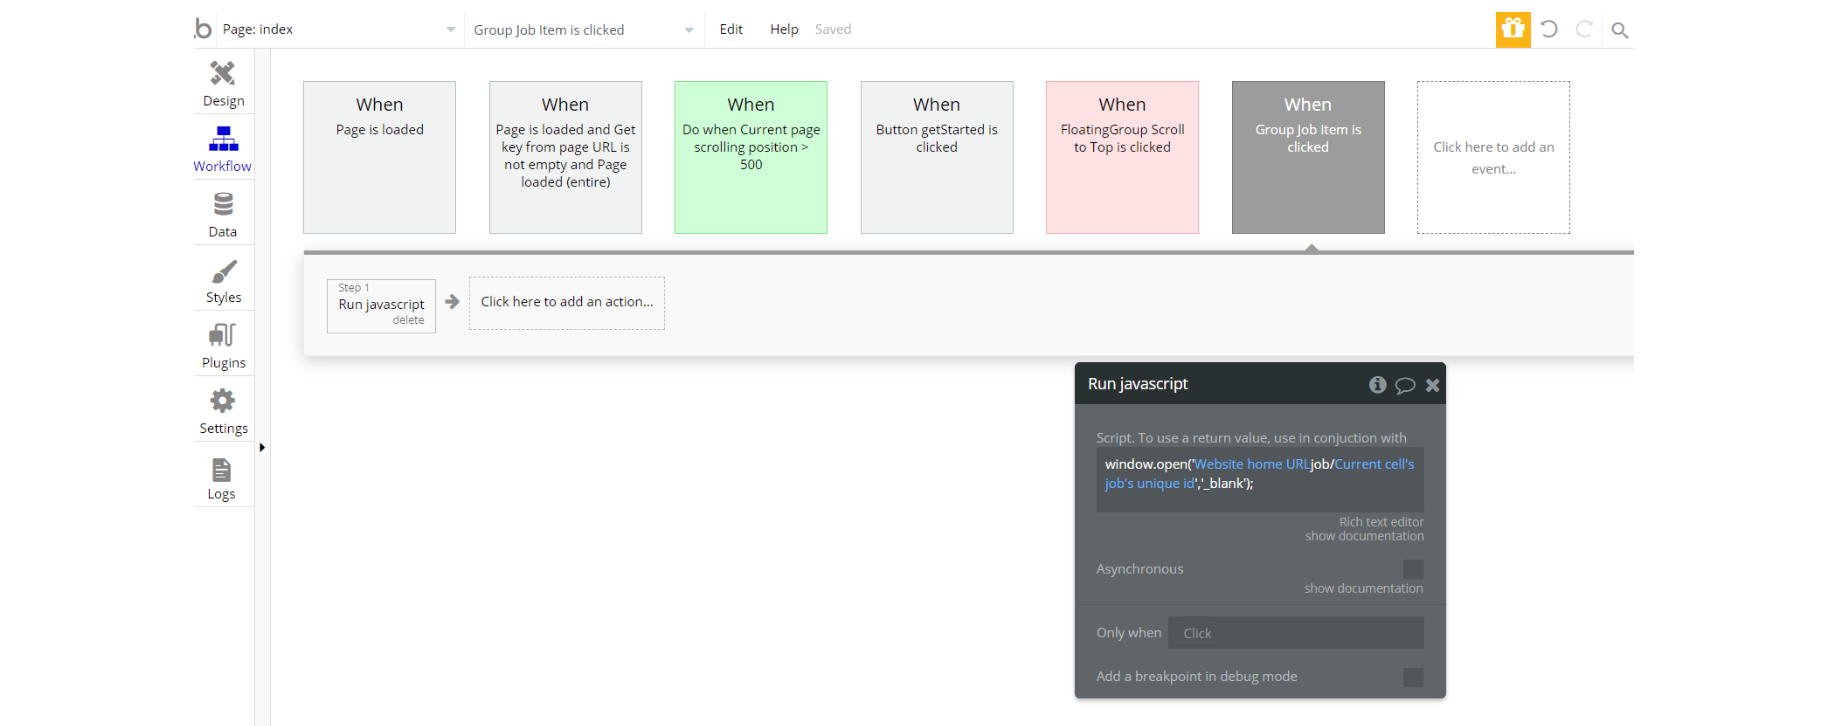
We use the Toolbox plugin on this page for running the js function to open new window that loads specified resource: https://bubble.io/plugin/toolbox-1488796042609x768734193128308700
company page - we use the Toolbox plugin here for running the js function to open a new window that loads specified resource: https://bubble.io/plugin/toolbox-1488796042609x768734193128308700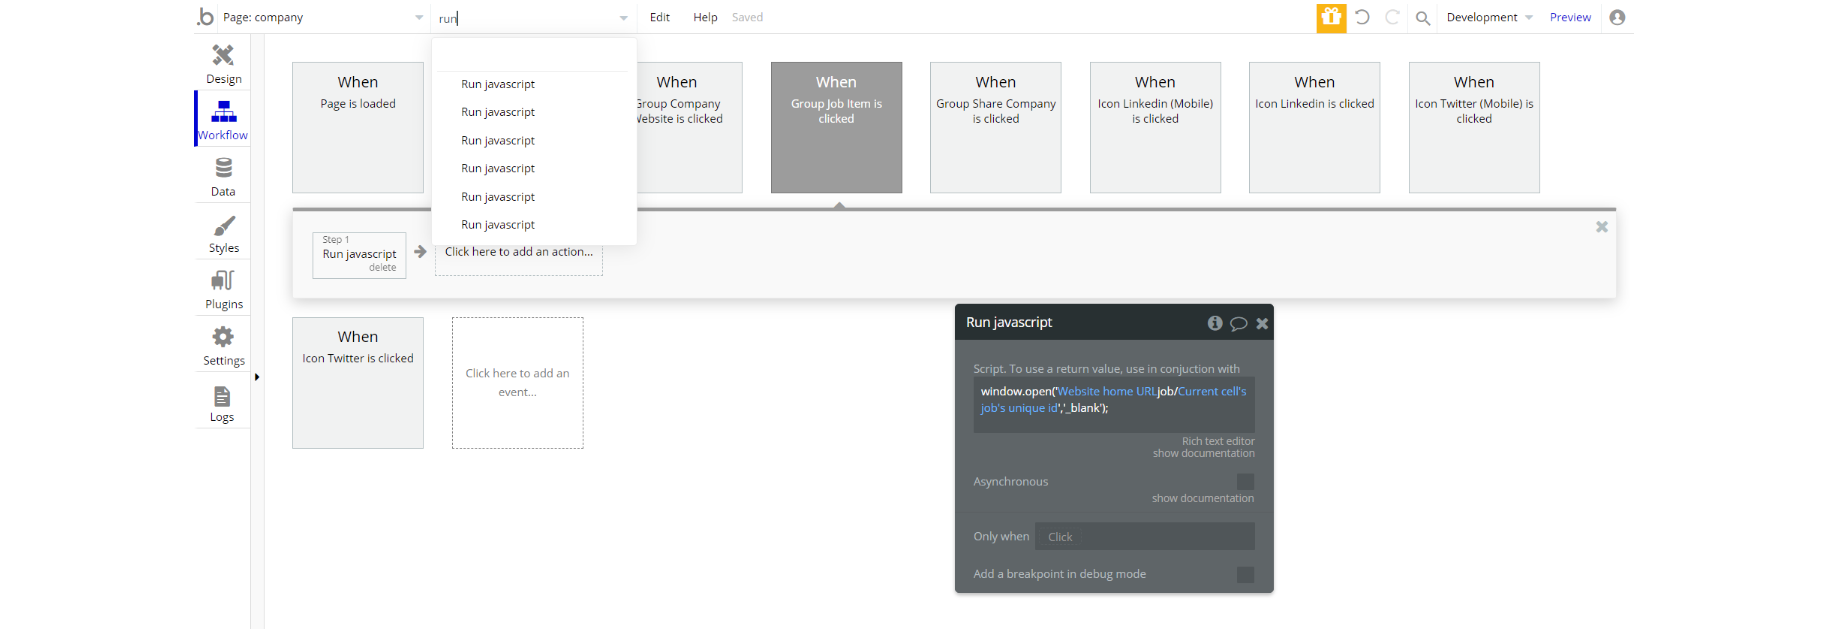
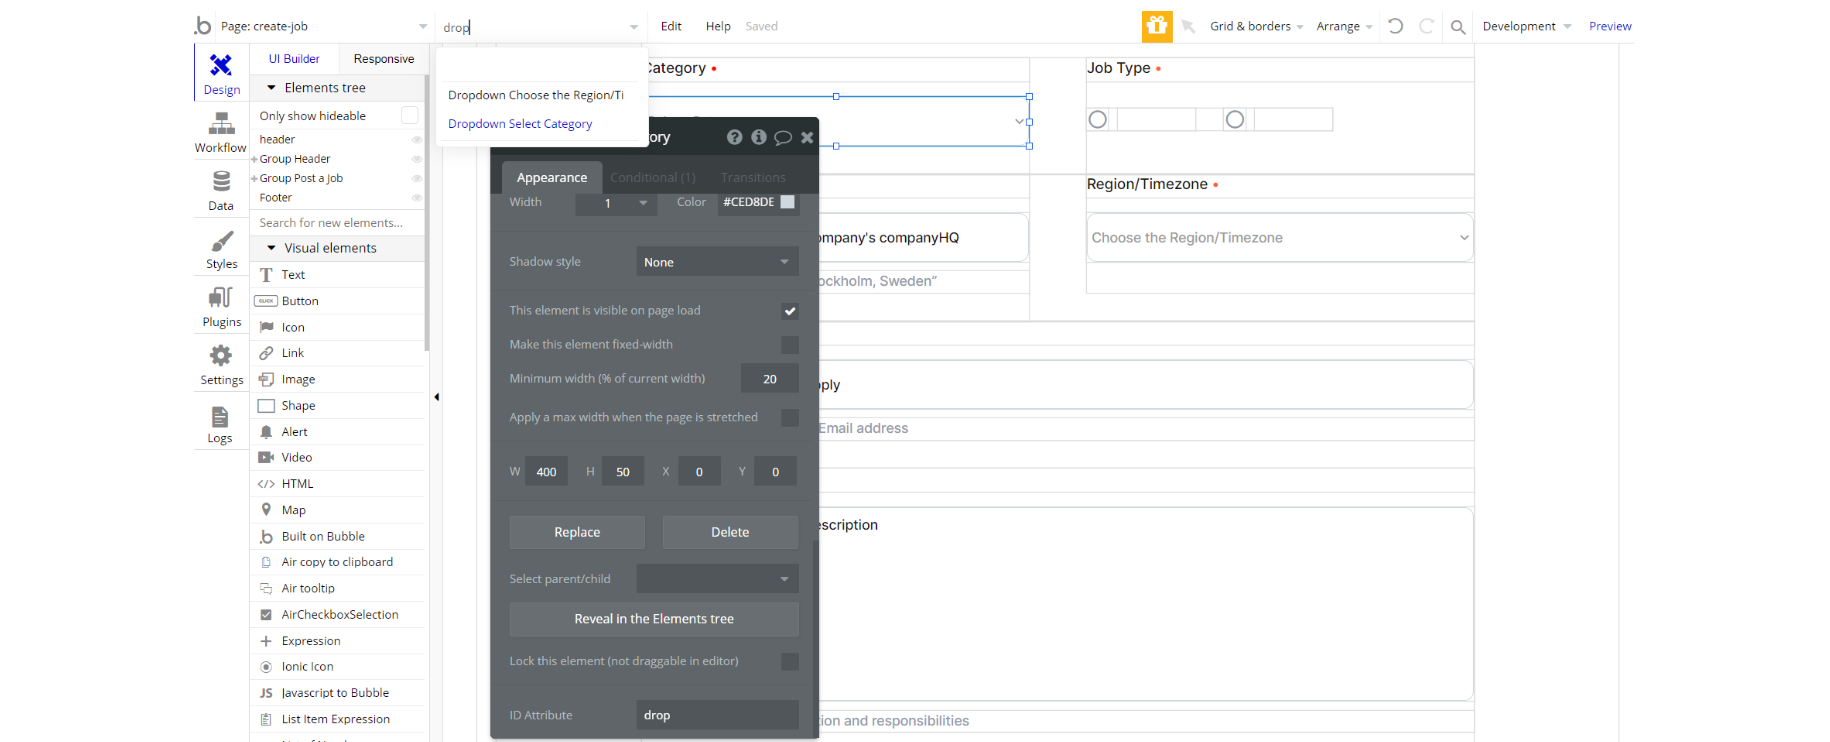
create-job page - you see HTML/CSS code in an HTML element on page. #drop ID applies to the dropdown elements left padding for design look.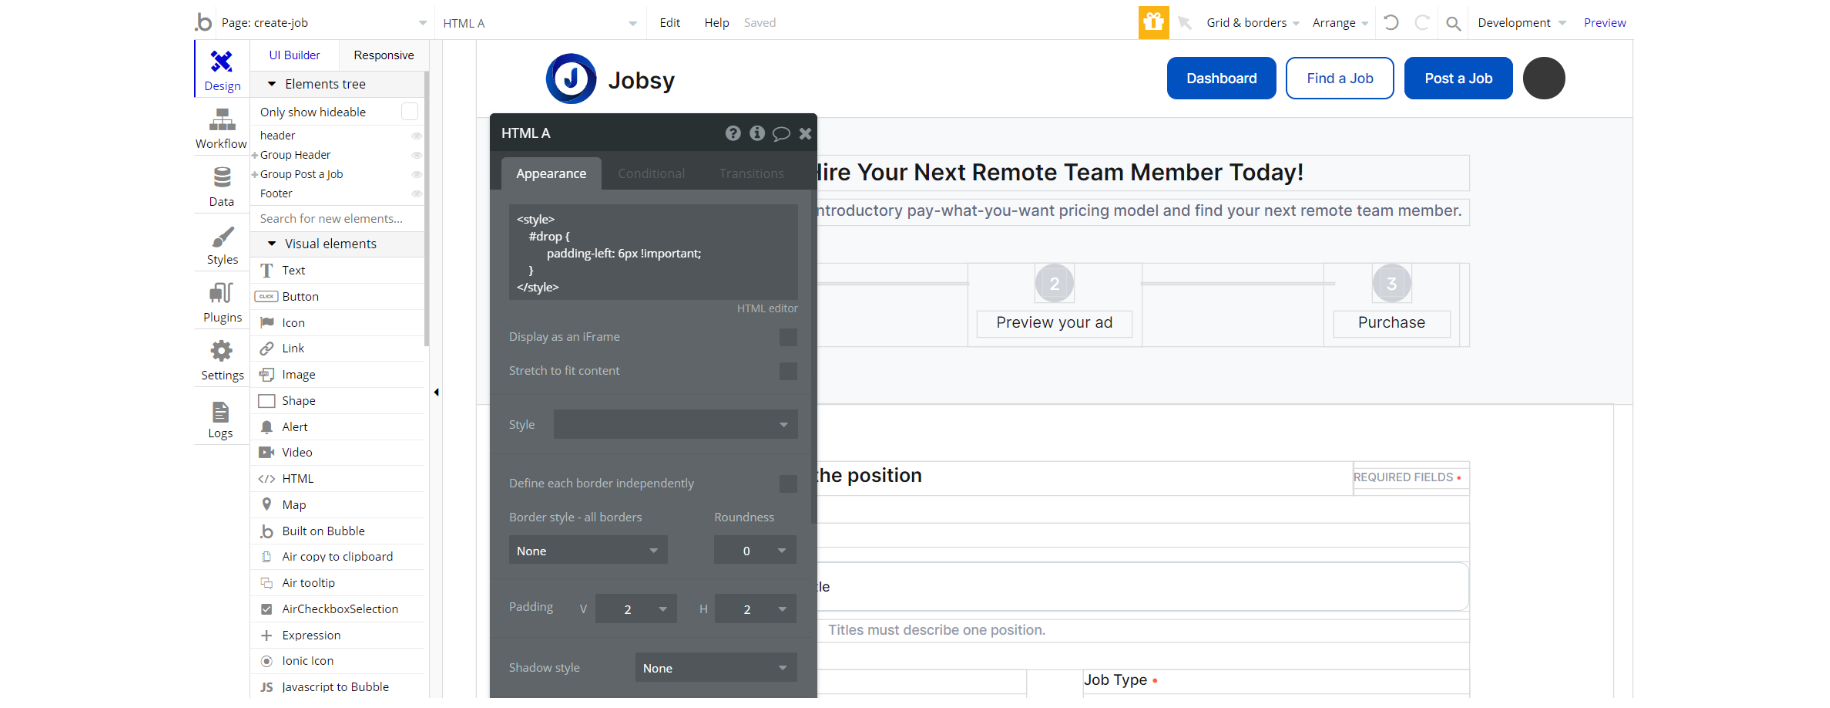
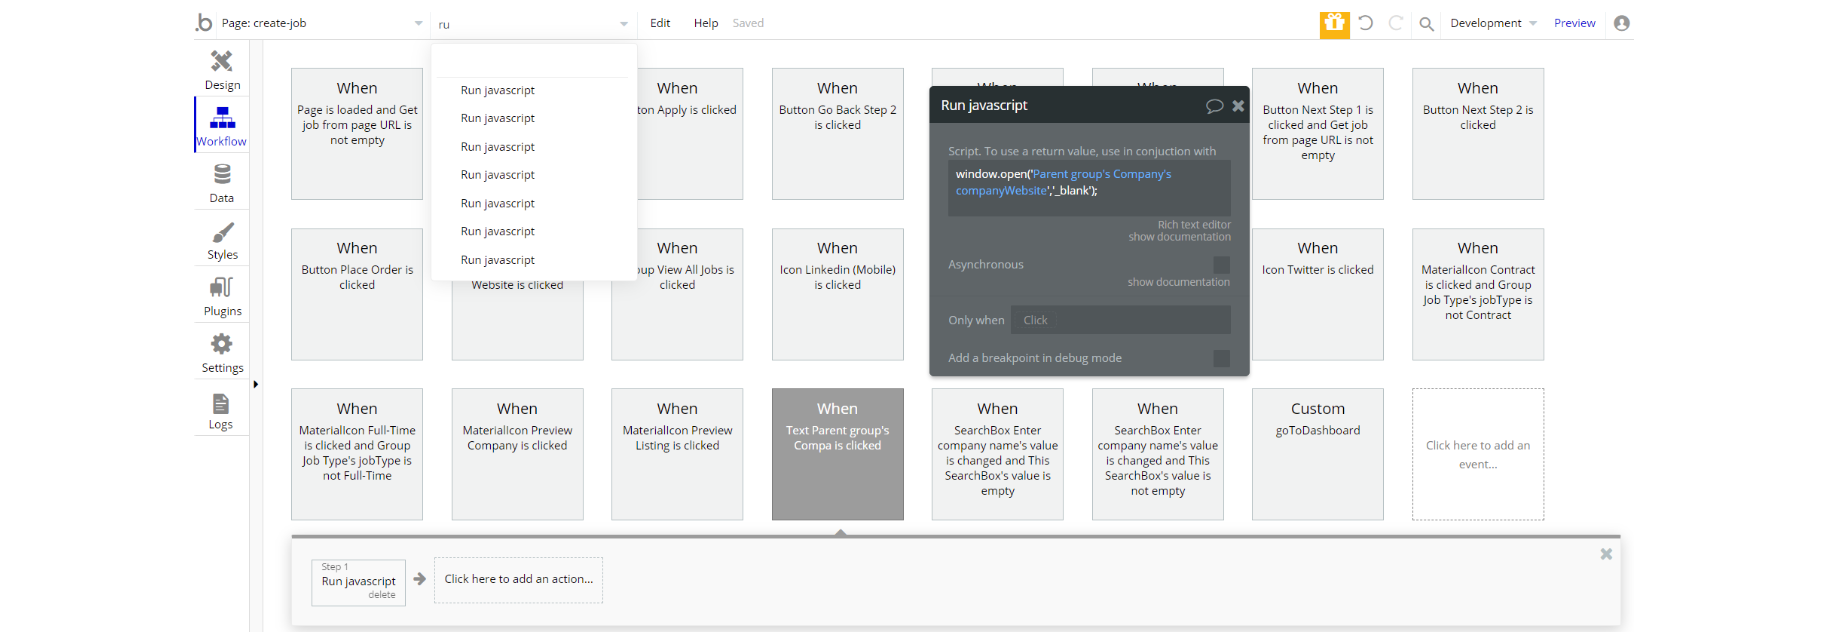
We use the Toolbox plugin on this page for running the js function to open a new window that loads specified resource: https://bubble.io/plugin/toolbox-1488796042609x768734193128308700
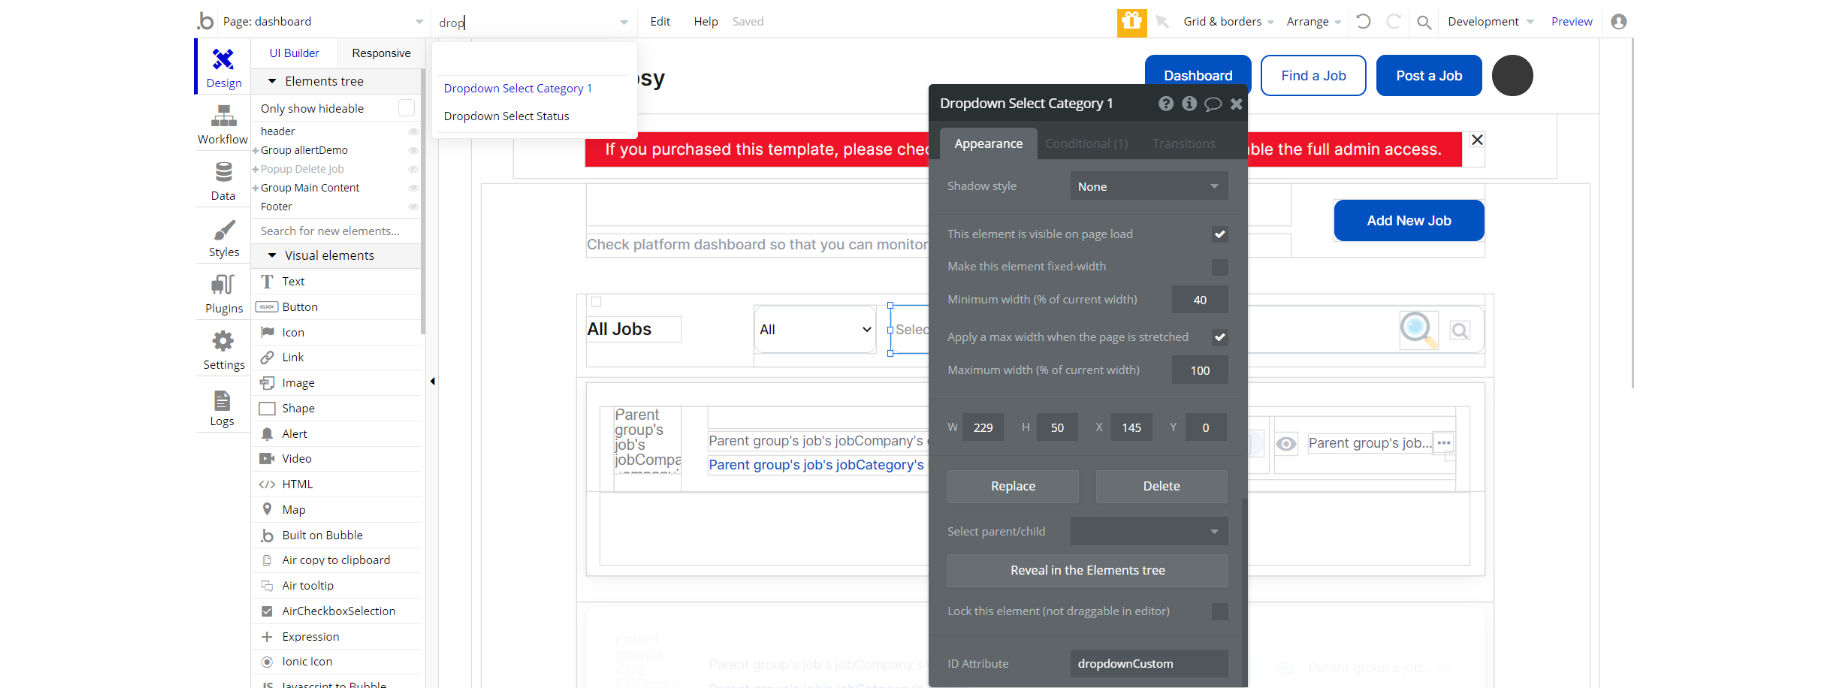
dashboard page - you see HTML/CSS code in an HTML element on page. #customDropdown ID applies to the dropdown elements in order for them to have a pleasant cross-browser look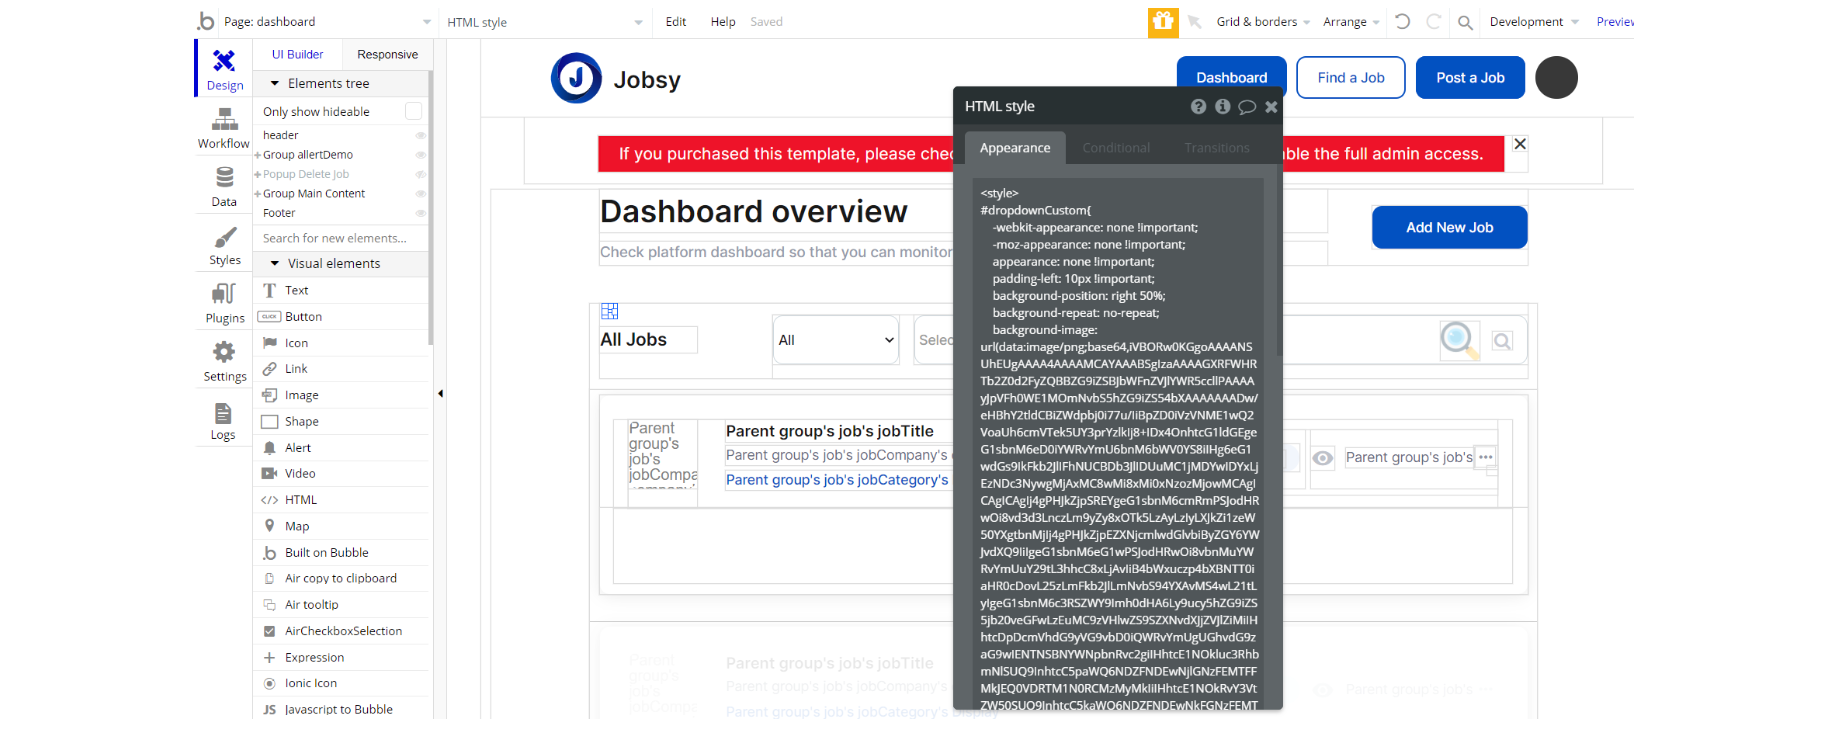
job page - we use the Toolbox plugin on this page for running the js function to open a new window that loads specified resource: https://bubble.io/plugin/toolbox-1488796042609x768734193128308700
Note: Feel free to customize the styles, but please note that changing the code may break the described functionality. Strong CSS/Javascript and Bubble skills recommended.
For all things Bubble check: https://manual.bubble.io/.
For CSS/Javascript check: https://www.w3schools.com/.
Plugins
In this section, we describe additional plugins used in templates on pages for different purposes.
dashboard page
Note: The dashboard page uses the Search and Autocorrect plugin, which adds searching through all the events using Search Box and also handles typos and other errors https://bubble.io/plugin/search--autocorrect-1515542335452x628730204959539200
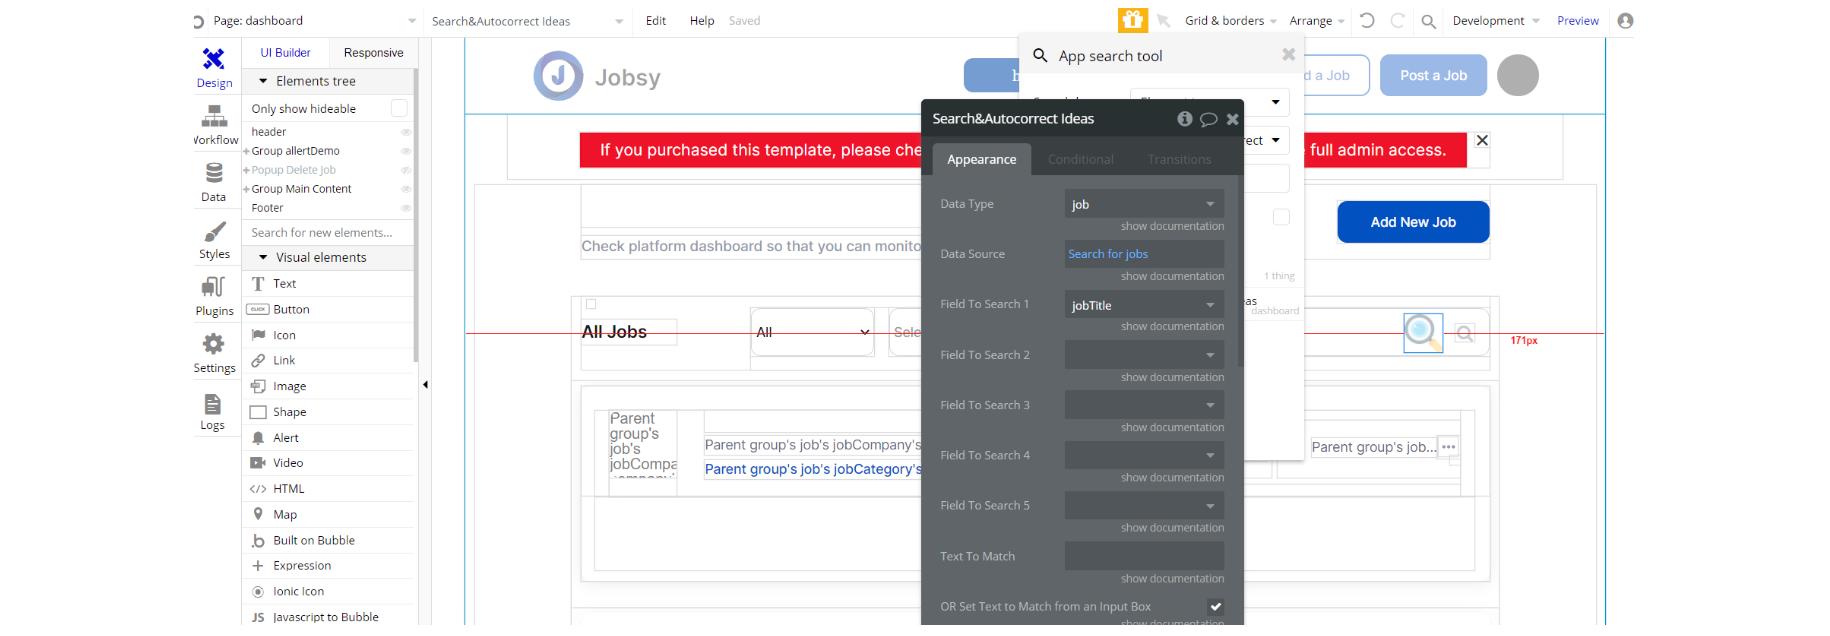
Note: The job page uses the URL_Actions plugin, that adds opening links in new tabs from workflows: https://bubble.io/plugin/url-actions-1533737457967x216228361093251070
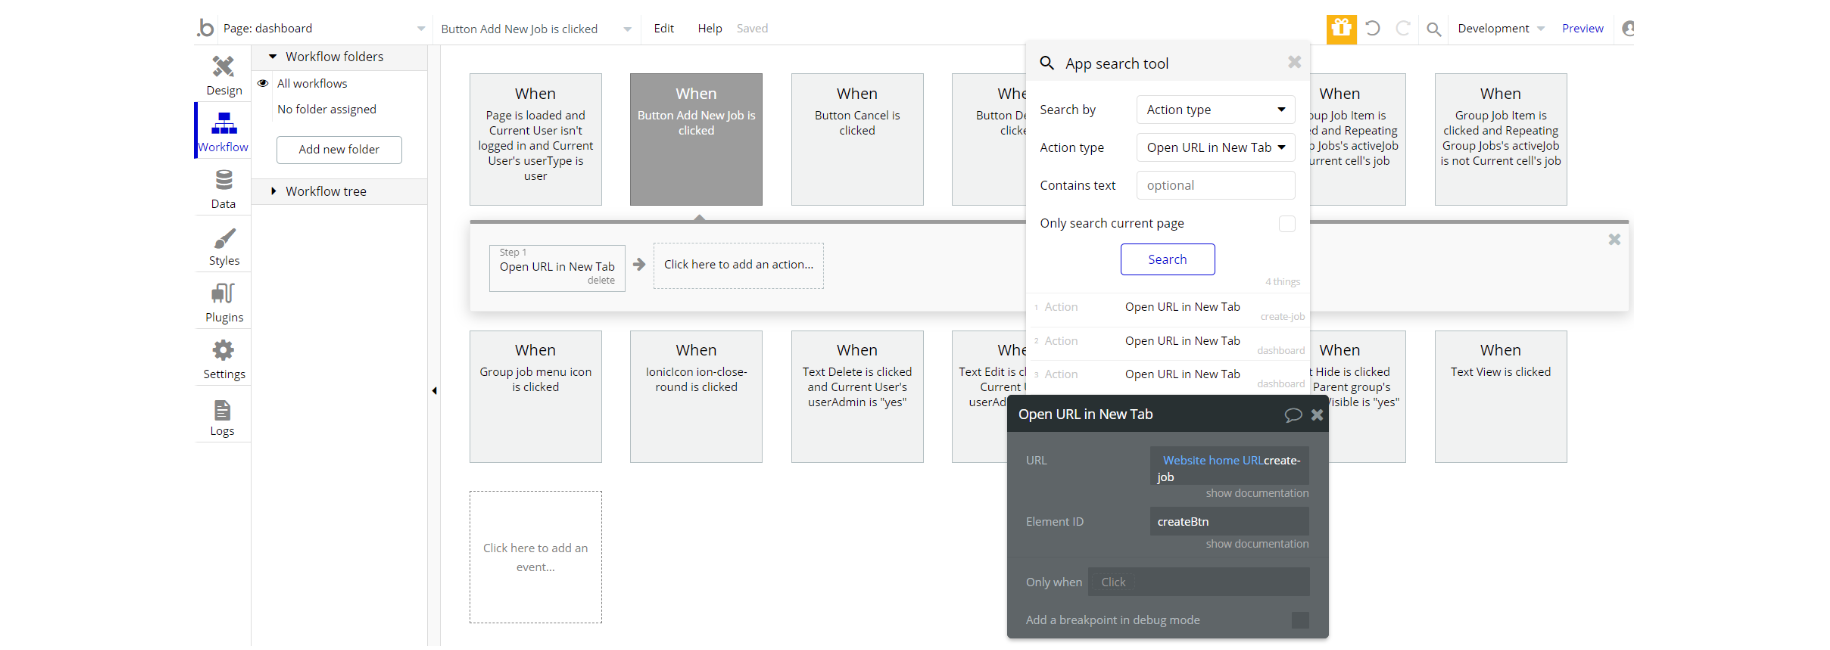
job page
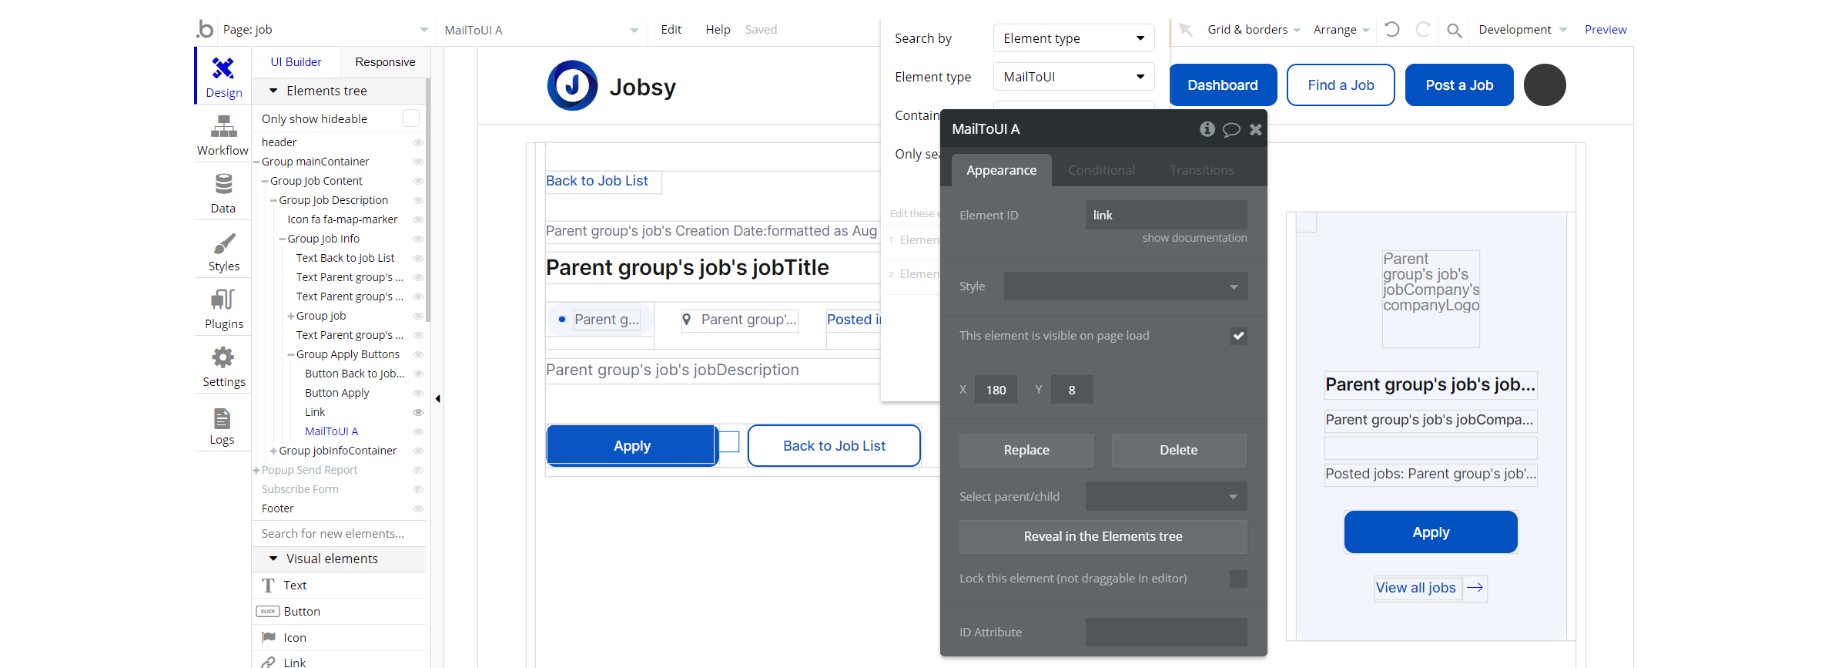
Note: The job page uses the Mailto Links UI plugin, to add beautiful UI to the mailto: links: https://bubble.io/plugin/mailto-links-ui-1584969187587x813708107021549600
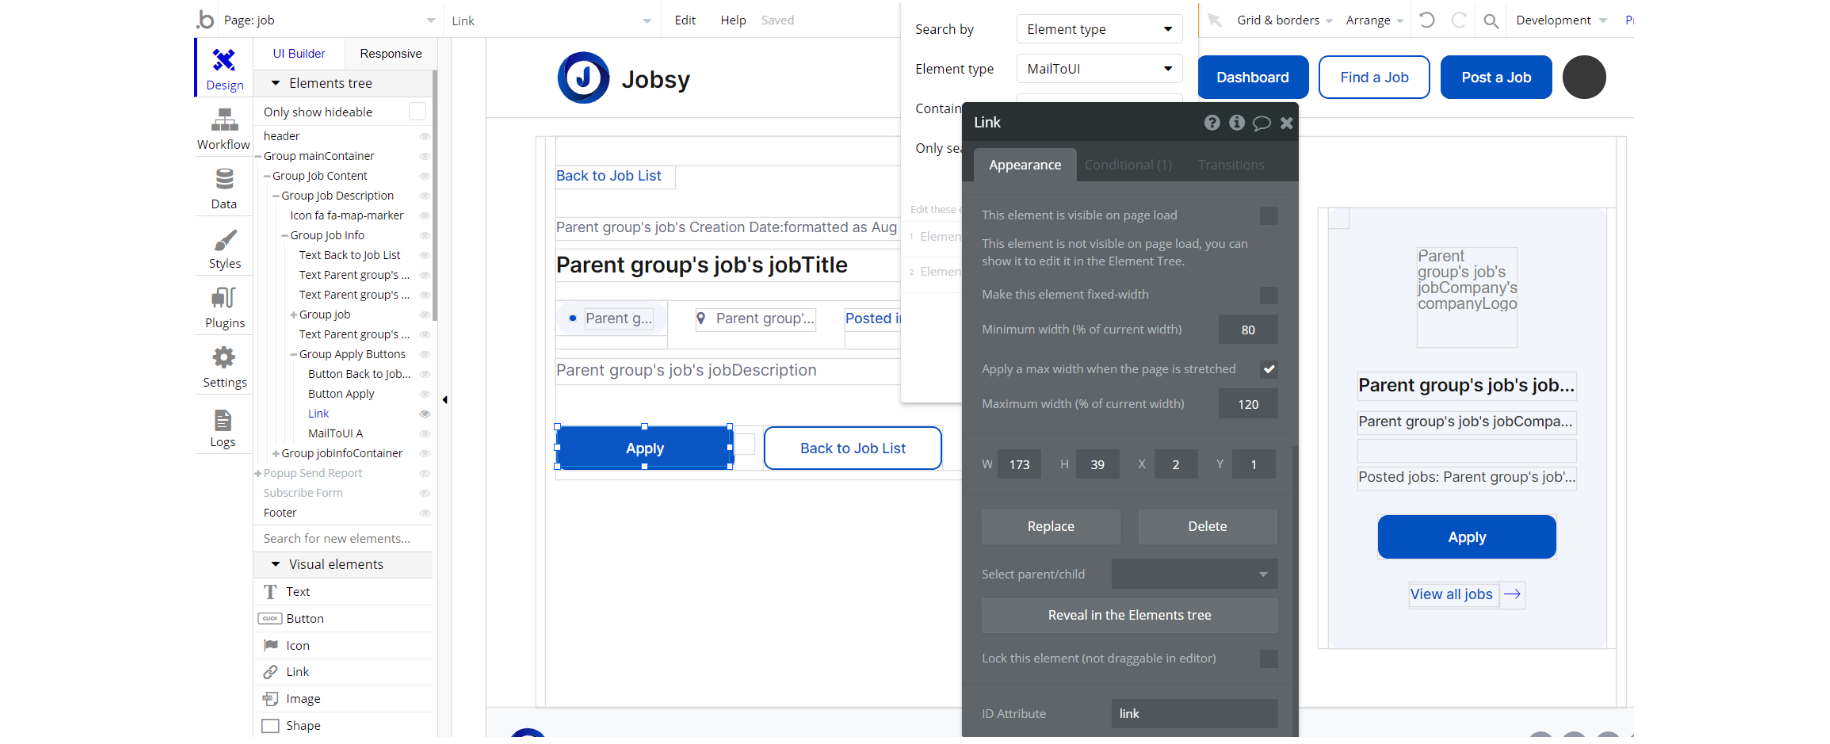
Note: The job page uses the URL_Actions plugin, to add opening links in new tabs from workflows: https://bubble.io/plugin/url-actions-1533737457967x216228361093251070

Note: The footer reusable element uses the Open URL in New Tab plugin, to open URL in a new tab using workflows: https://bubble.io/plugin/open-url-in-new-tab-1583324666271x739637822593433600

Embedded Notes in Bubble Editor
This template comes with explicit Notes for Database fields, Option sets and their fields, and Privacy rules, which will guide you with the modification process.
In order to preview a Note of any data type or field, click on the 💬 icon.
