This section states the purpose of each page.
Introduction
In this summary, we will describe each page and its content. The Page Element is the fundamental one that contains all the other elements.
Tip: See Bubble Reference for more information about Pages element https://bubble.io/reference#Elements.Page 🙂
Pages
admin
This template comes with an admin panel which is divided into 6 sections and provides a wide range of managing tools.
When you enter the admin panel, you will automatically see the dashboard for the selected shop. Whenever you select a shop it will trigger changes in the whole admin panel, and corresponding information will be pulled from the database.
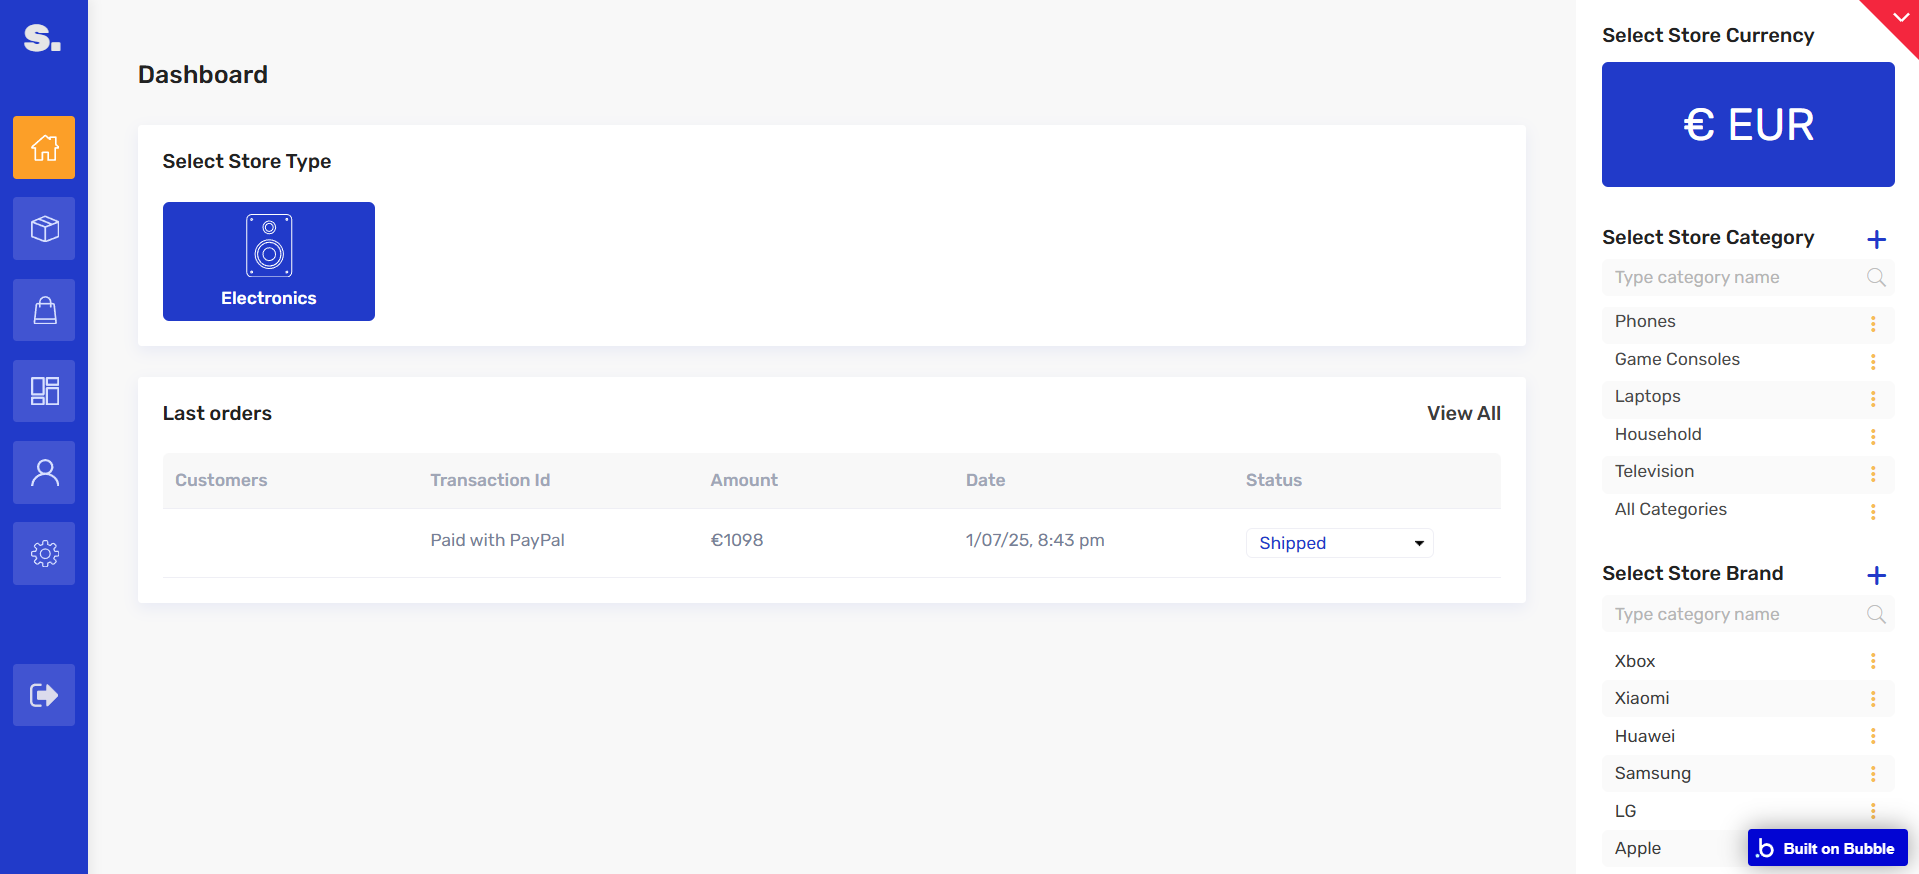
Each store type displays store-specific information in 5 tabs:
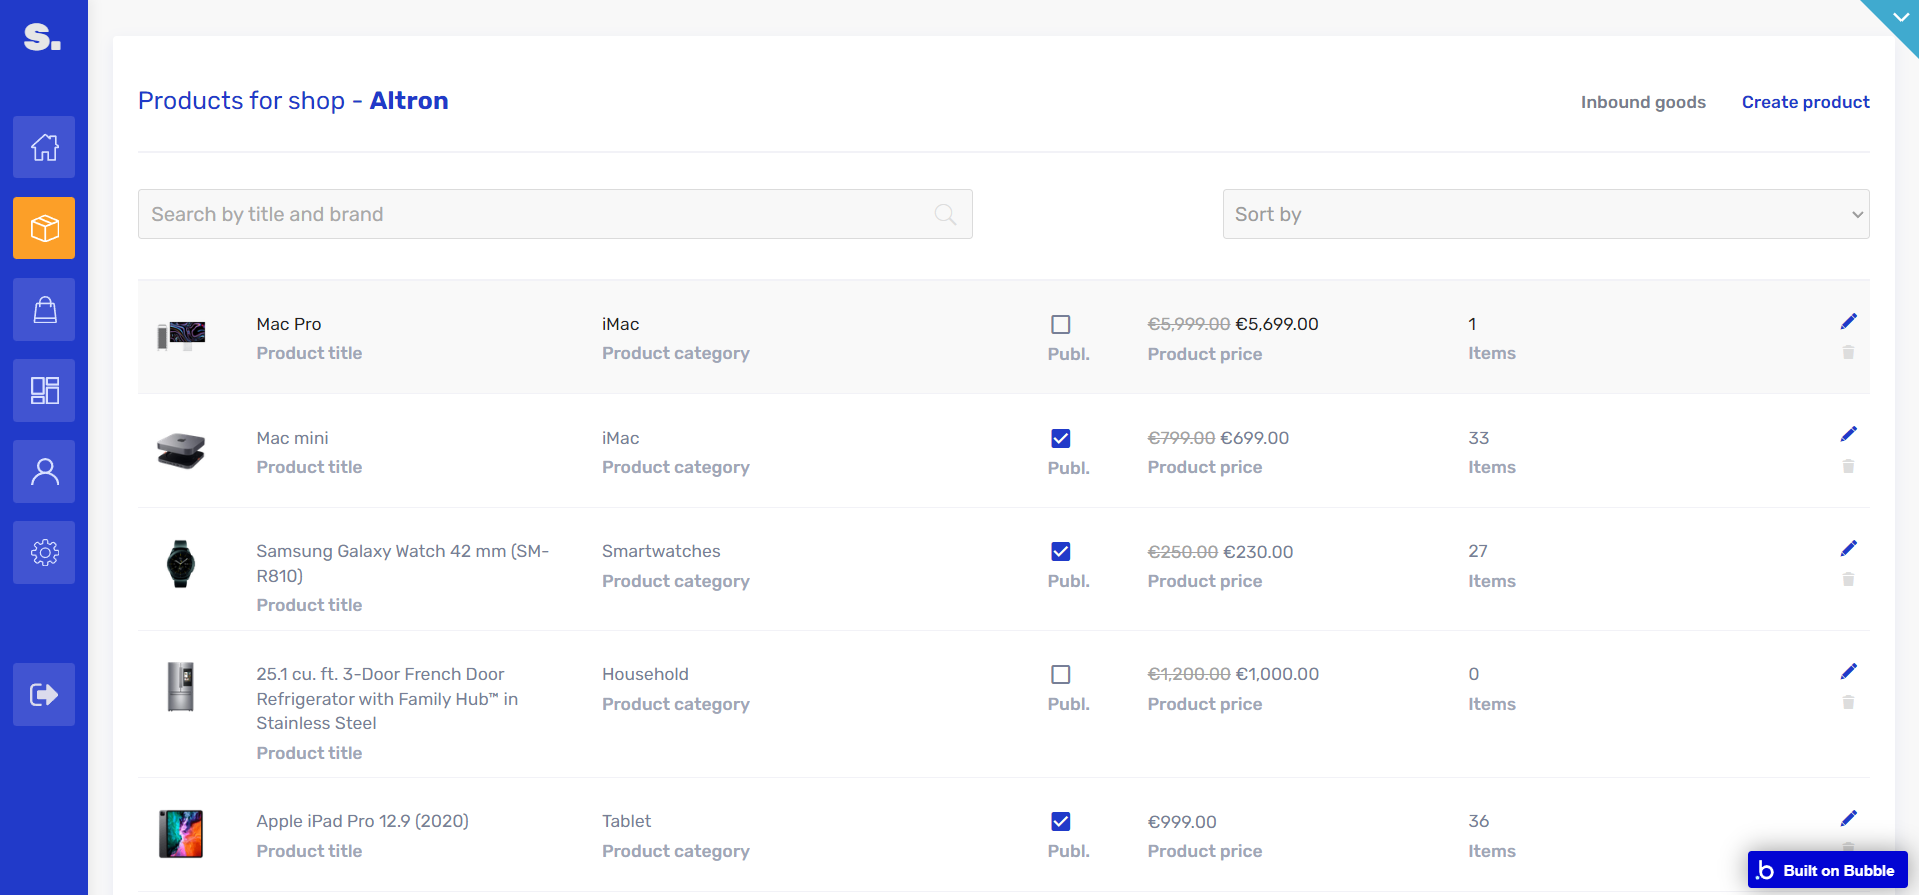
- Products: displays the list of all registered products. Here admin can add, edit, publish and delete any store-related product.
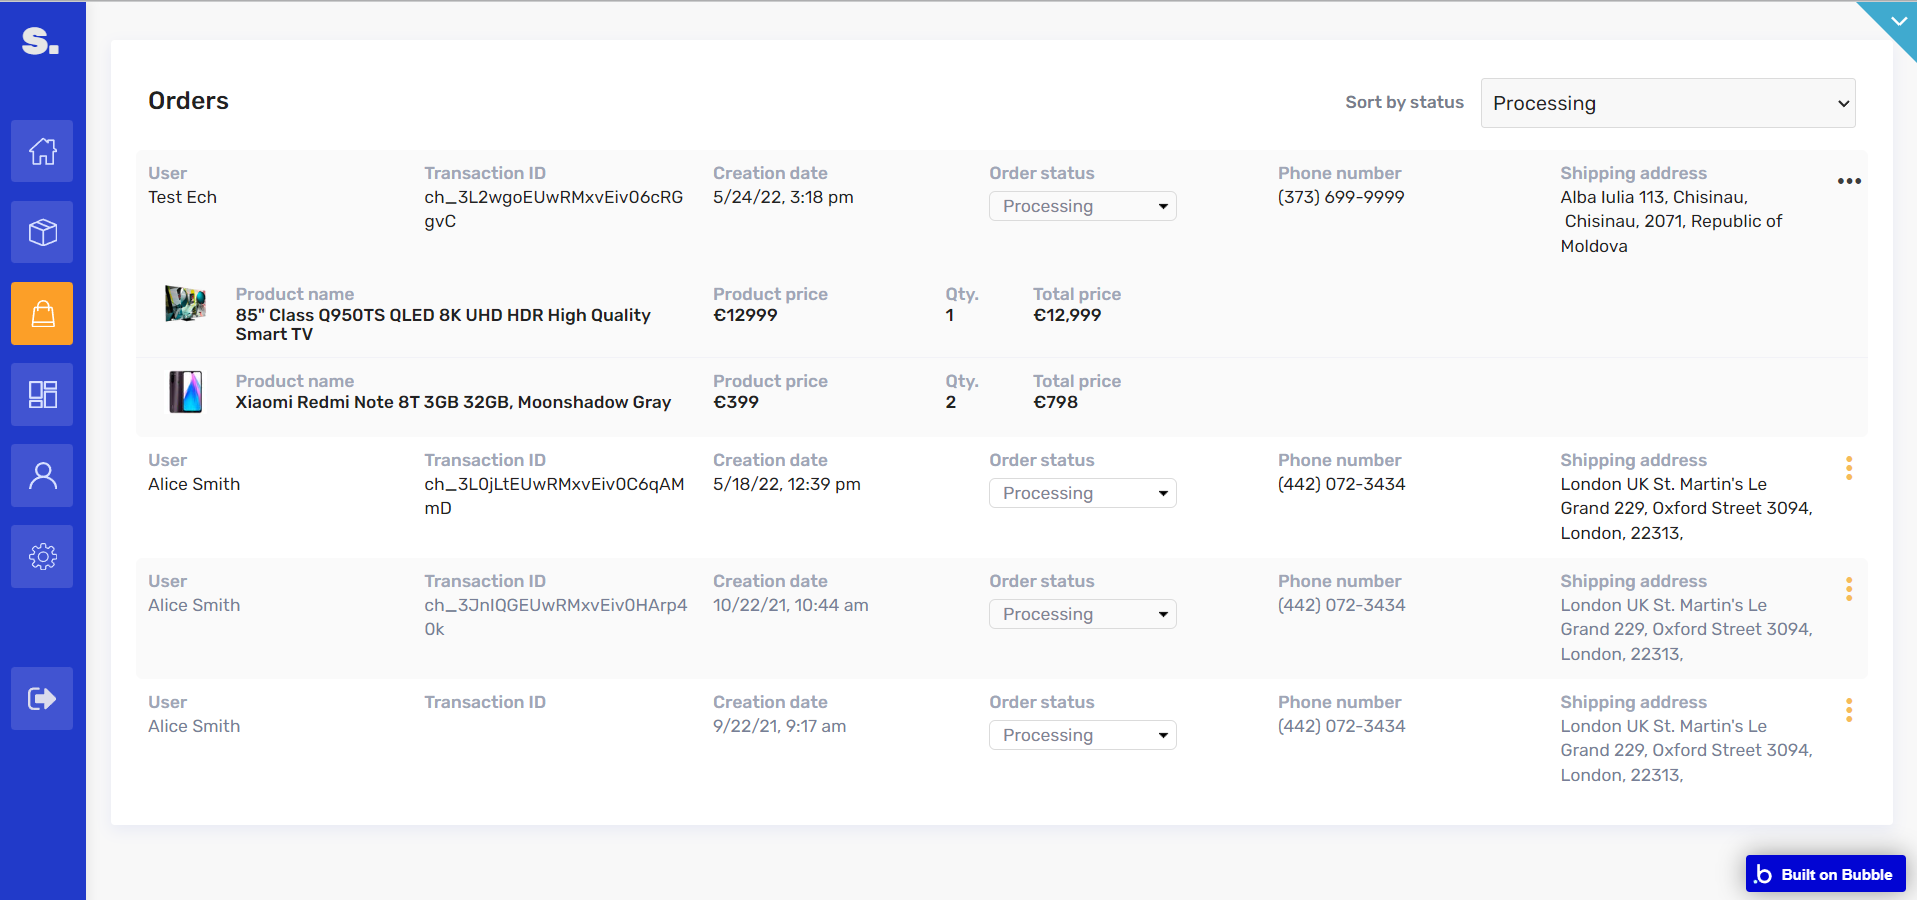
- Orders: displays the list of orders made in-store with transaction ID, creation date, order status, phone number and shipping address for each order. All products within the order are available and hidden under the spoiler.
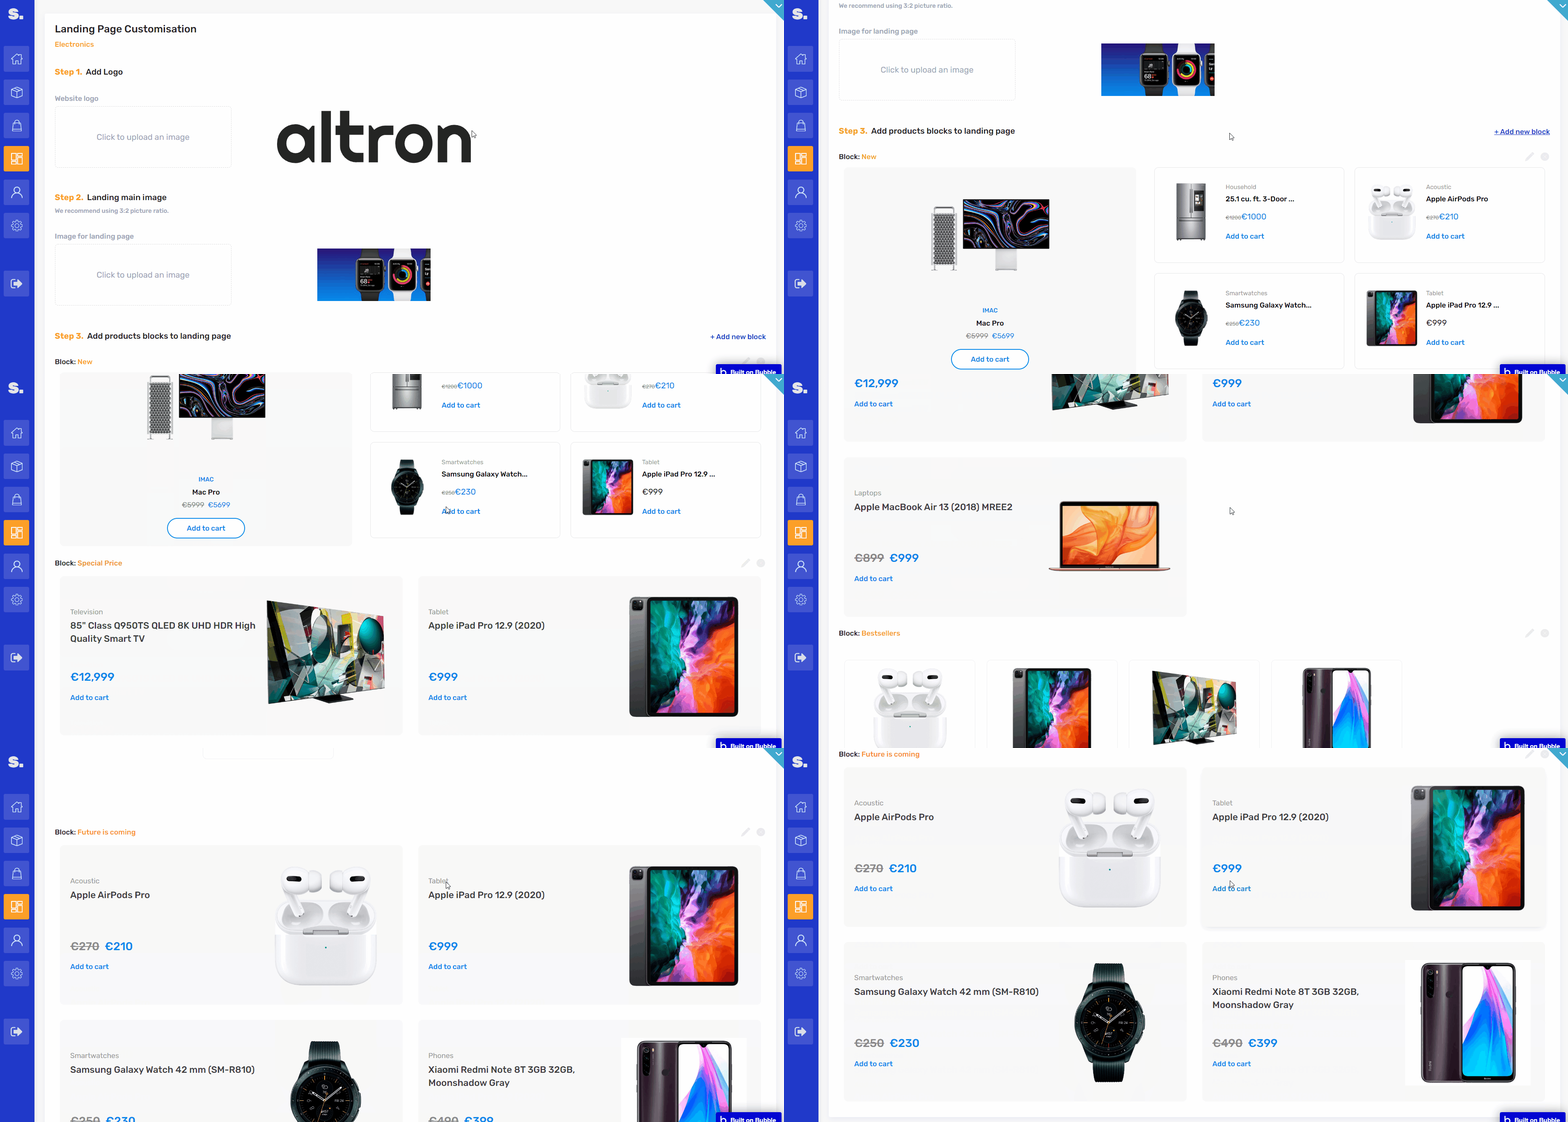
- Marketplace Page Customisation: here the admin can customize the advertising blocks: upload logo & main image, edit and delete product blocks (new, special price, bestsellers & future is coming).
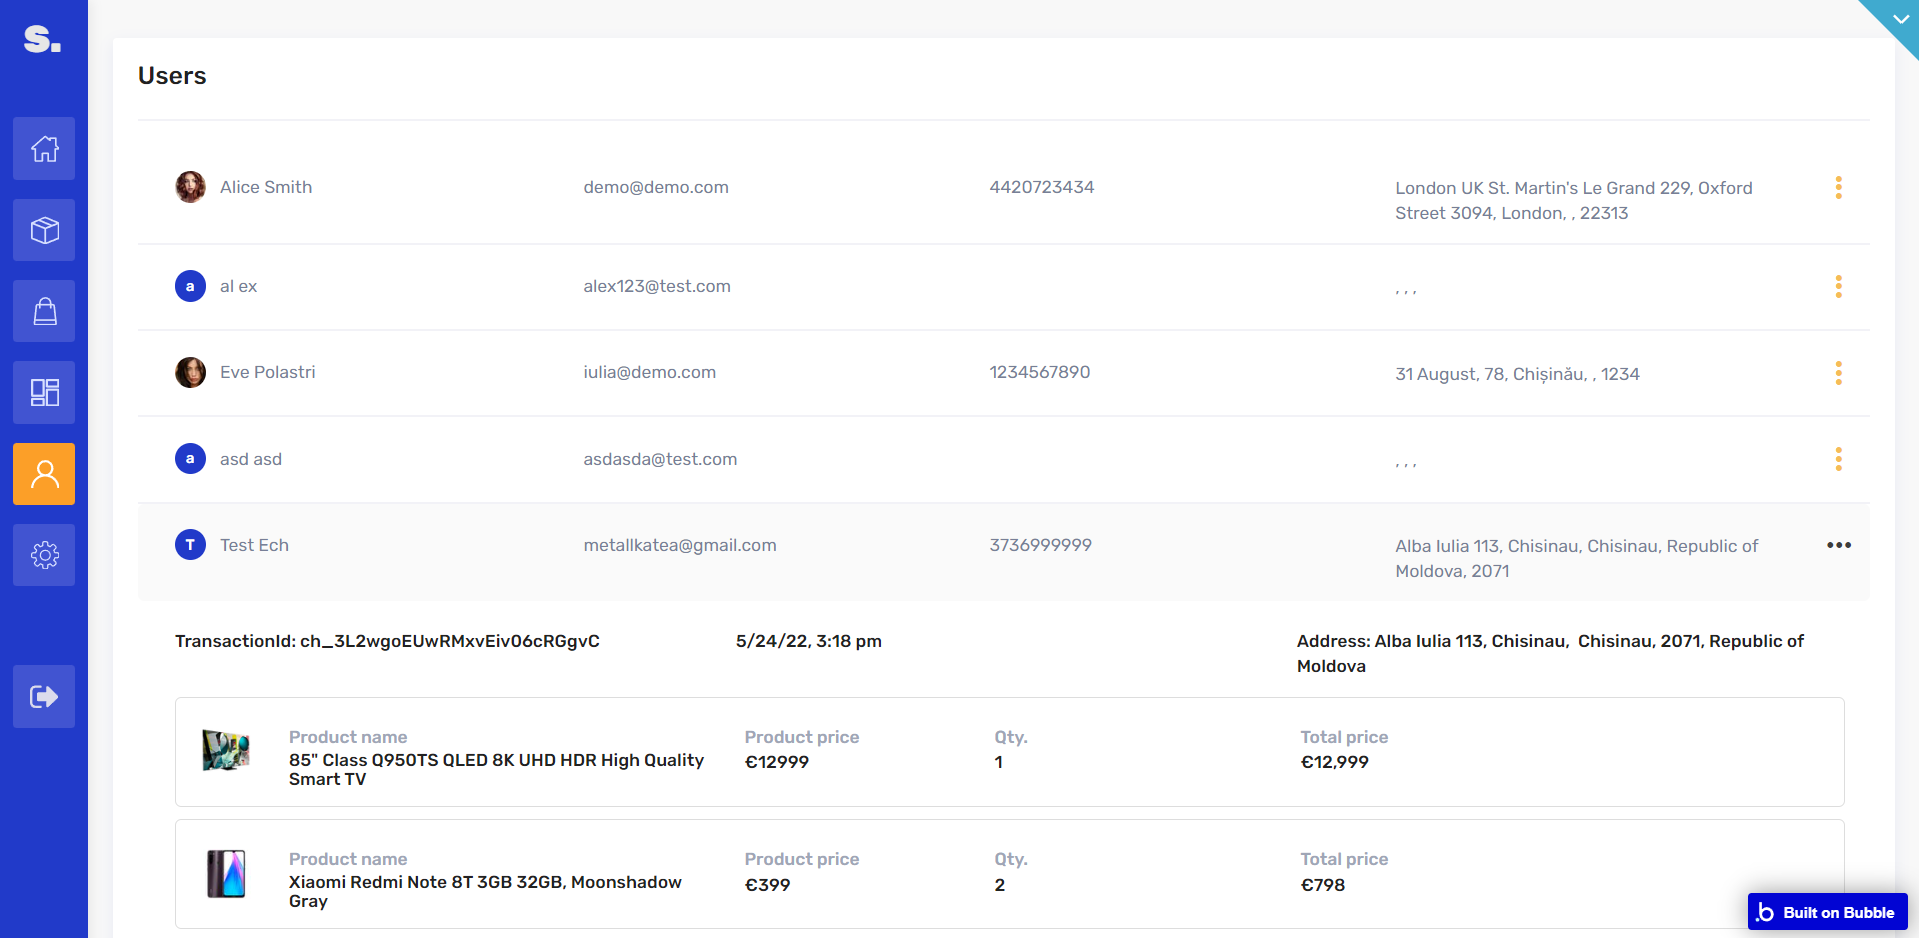
- Users: displays the list of all registered users. All user-related orders are available and hidden under the spoiler.
electronic_checkout
Here, you can see a container on the left with information about the customer, which basically is a list of addresses where you want your product shipped.
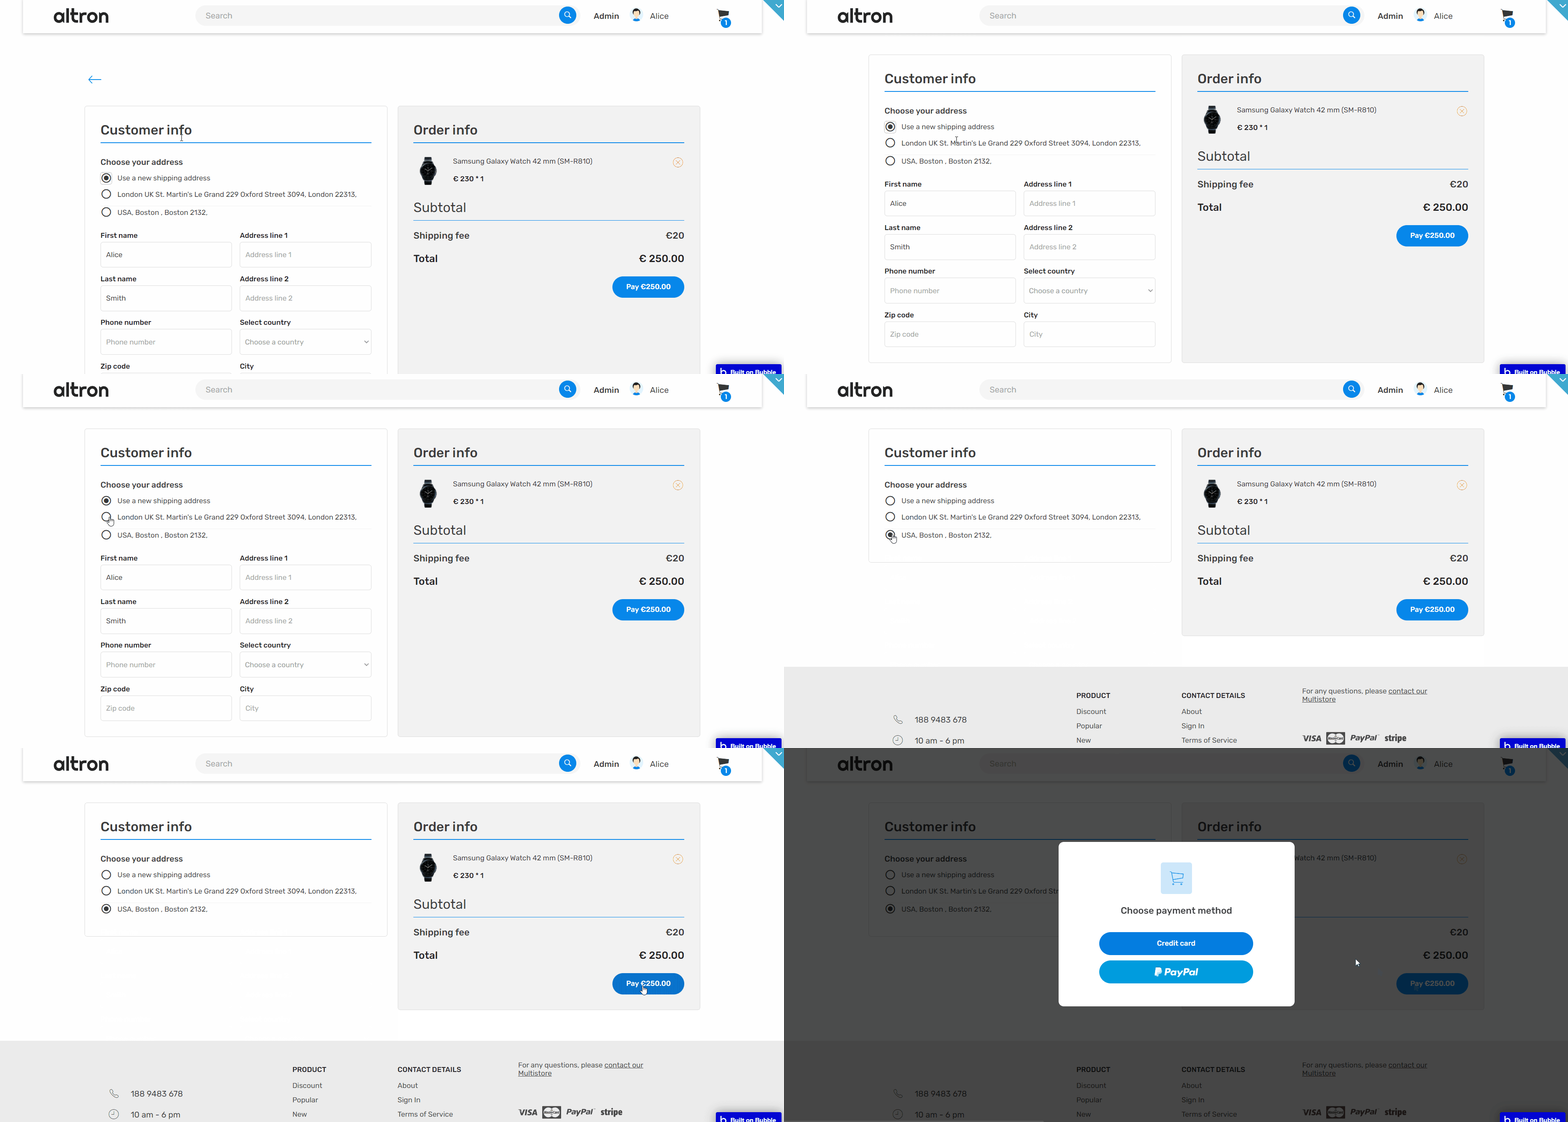
You can either use your default one, select a different one, or use a new address. On the right side of the screen, you have information about your order and a button pay which will lead you to a popup where you can choose one of the methods - Paypal or Credit card.
electronic_login
The login page hosts both login and signup modules. It offers you the possibility to sign-up/sign-in using your Google or Facebook accounts.
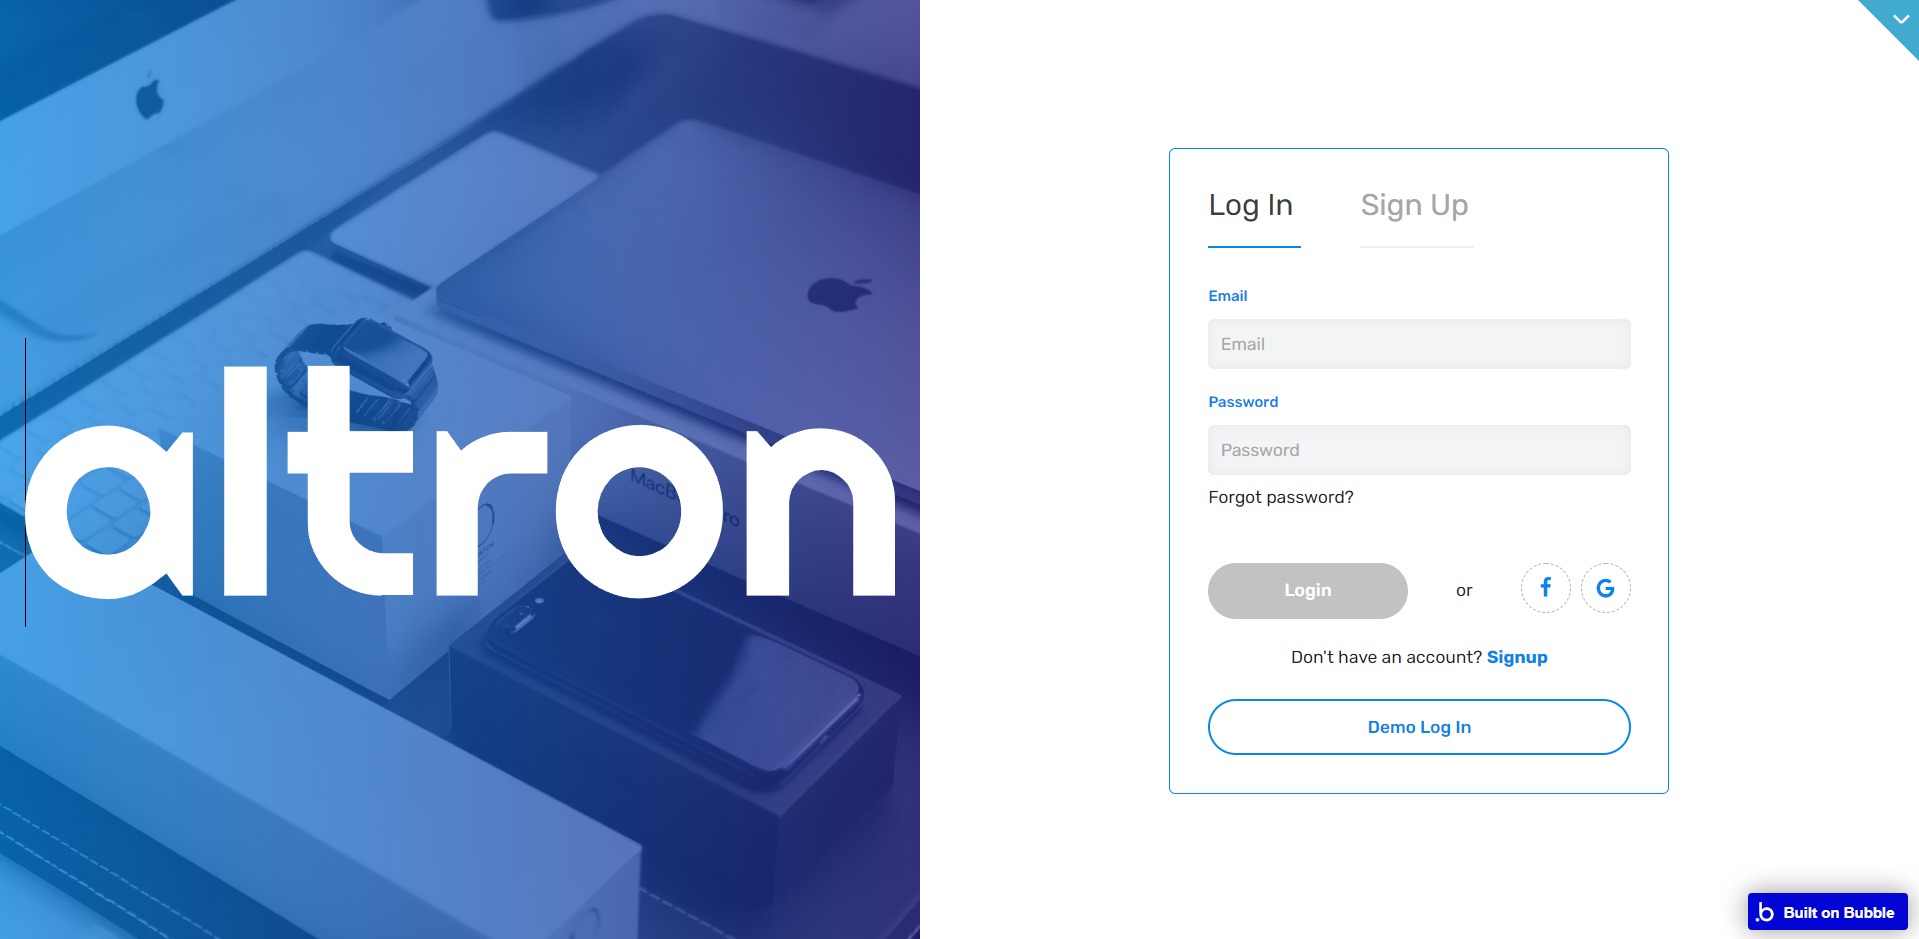
This page lets you test the app using the demo signup/login button which can be removed upon purchase.
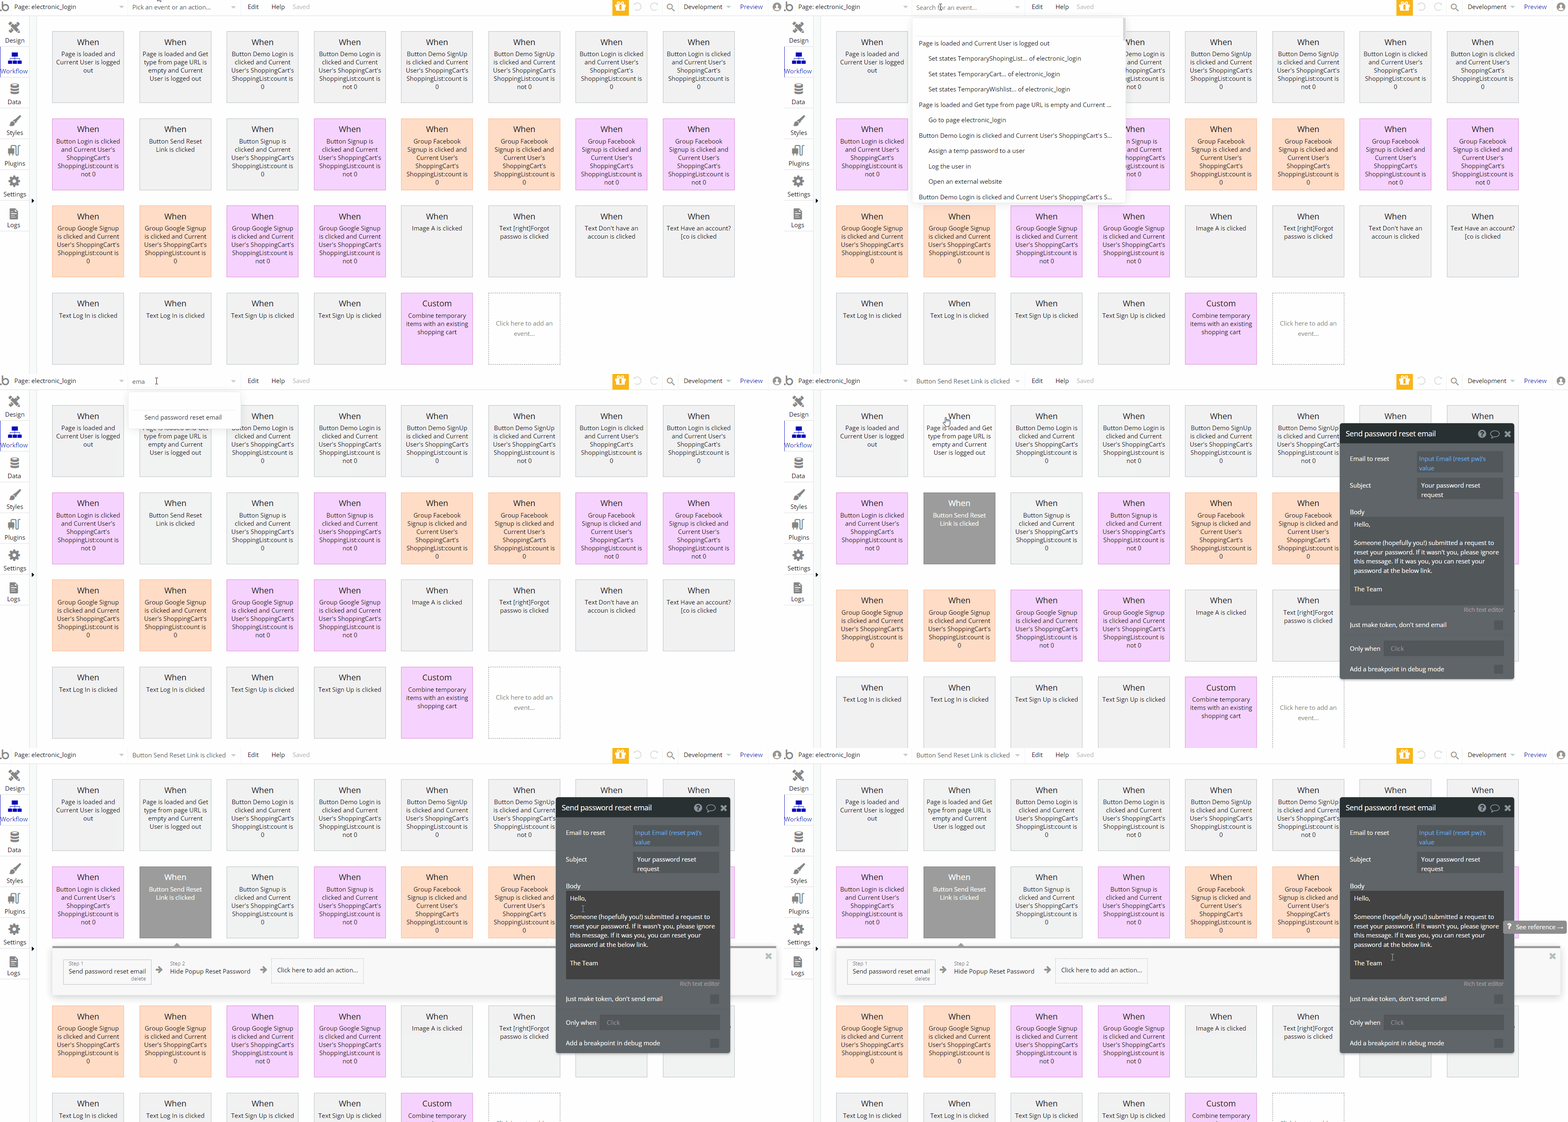
Tip: To modify the text of the mail that is sent on triggered workflows, find the "Send email" action:
electronic_product_details
This page stores all the information available for a specific product selected by the customer.
The left side of the screen displays the main product picture along with the carousel of additional ones and on the right side of the screen, you can see the product title, category, number of items left for each color scheme, and how many colors are available.
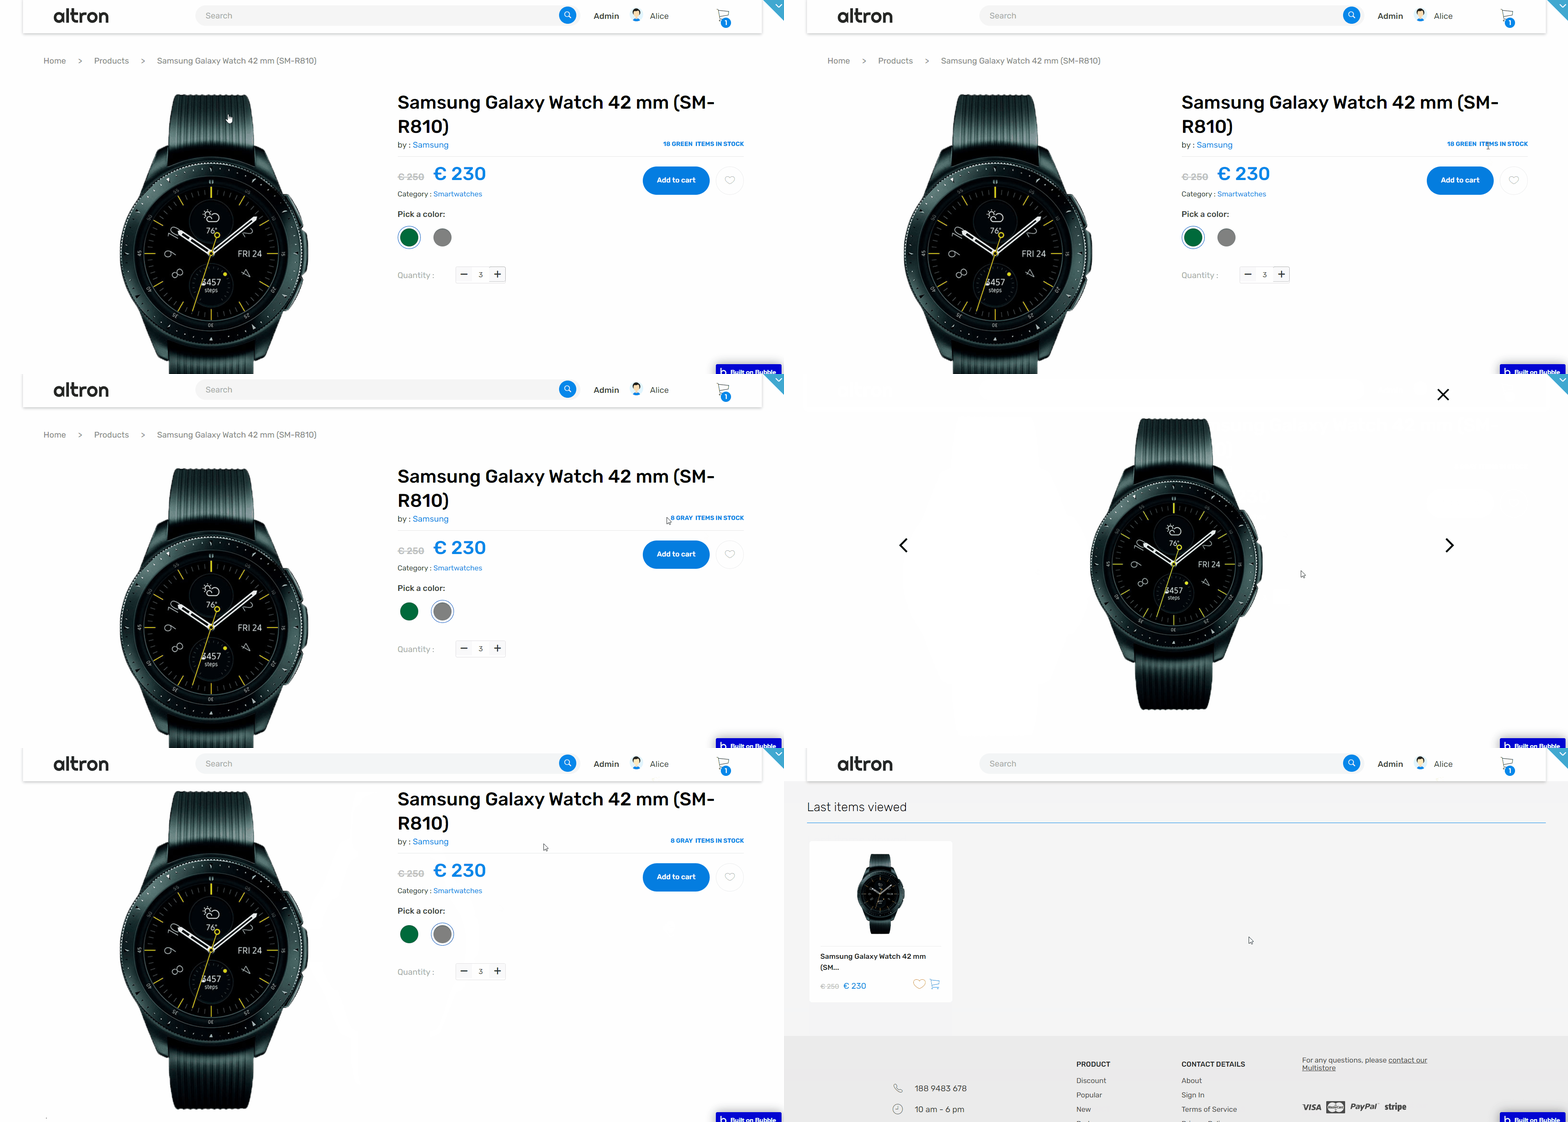
You'll be able to modify the quantity and add this product to your cart or wishlist. Down below you will have specifications with descriptions.
The page ends with two blocks, displaying products that were either recently viewed or related.
electronic_products
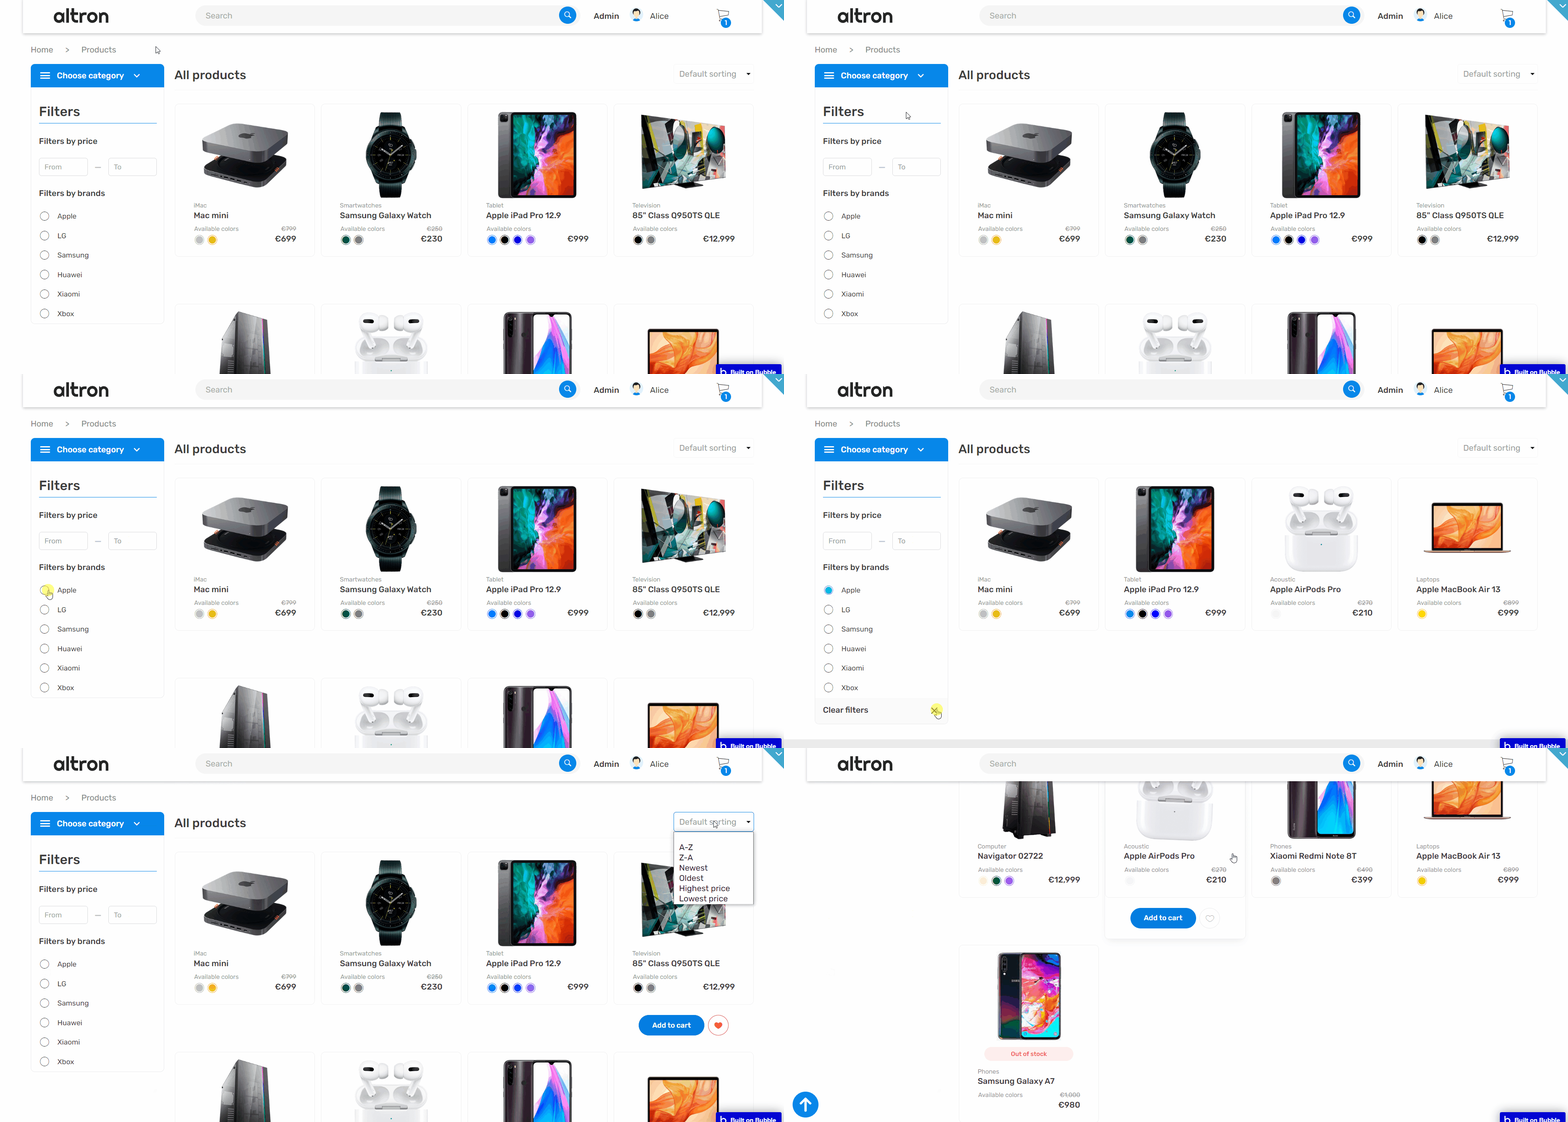
This page lists all the available products on the platform. The customer can filter them using the side menu on the left. Searched items can be filtered by the following aspects: price, brands, and category.
On the right side of the page, you have a dropdown with a couple of options for filtering such as: A-Z, Z-A, Newest, Oldest, Highest price, and Lowest price.
electronic_profile
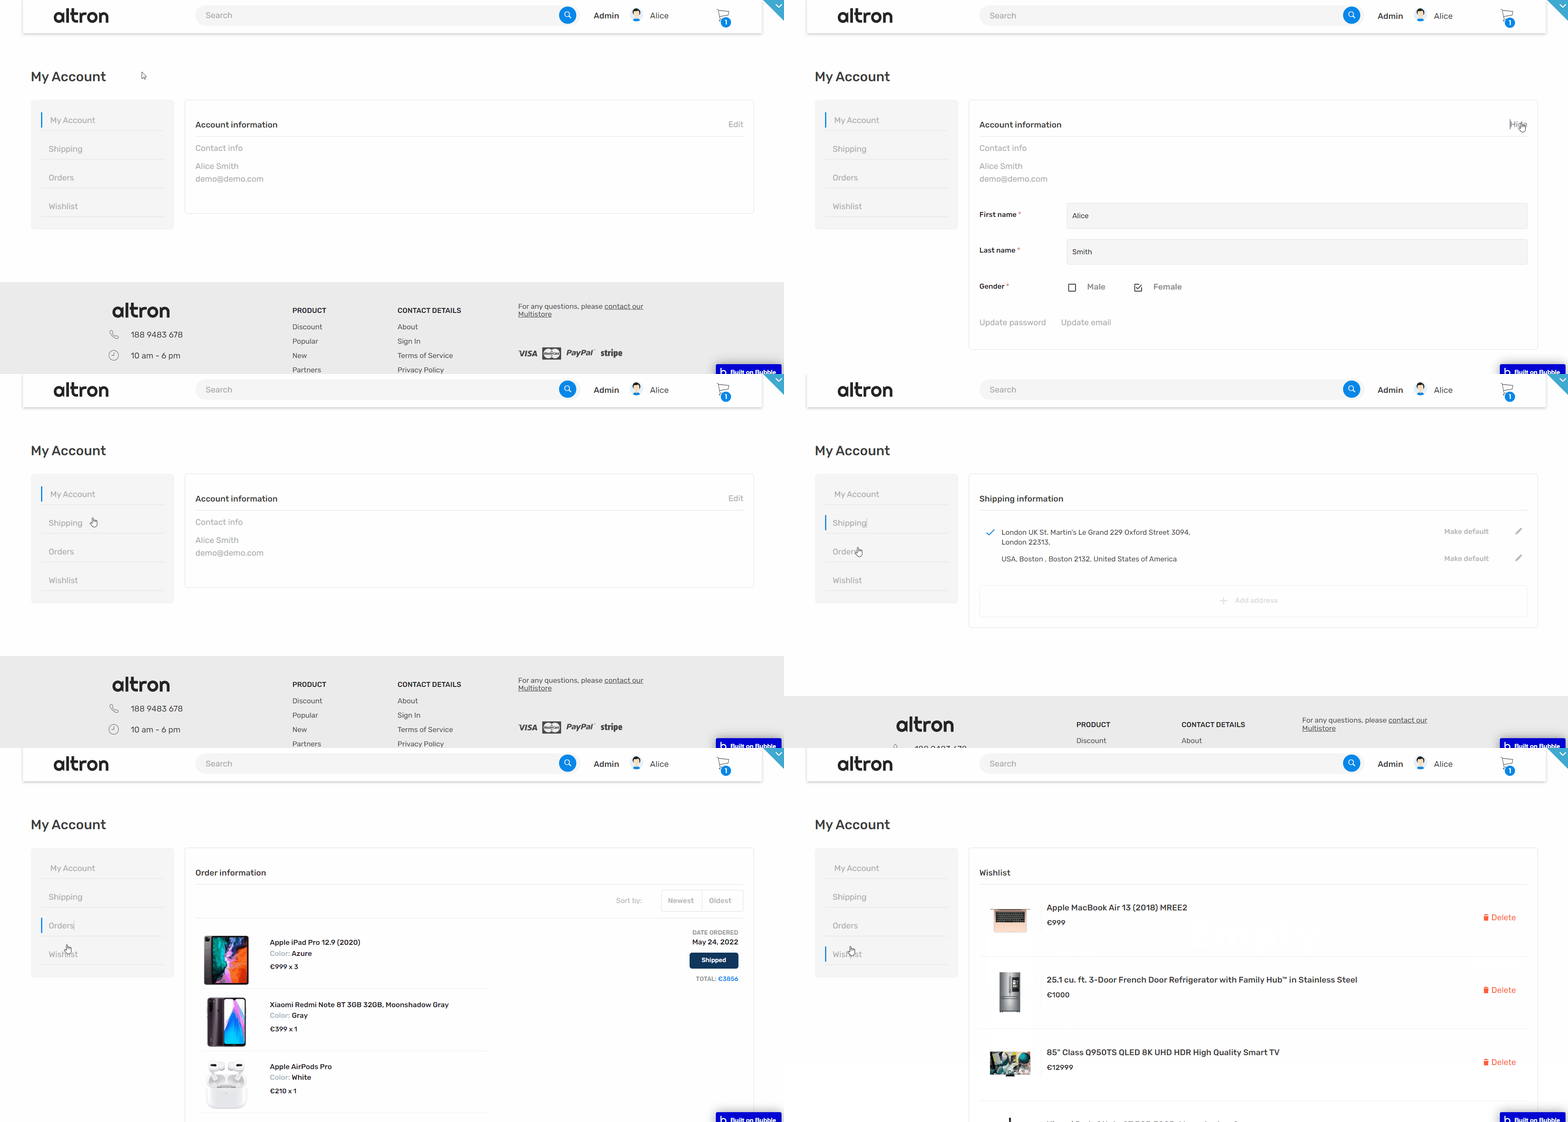
This page stores customers' personal information and more. It is divided into 4 tabs:
- My Account: this tab holds info such as your first and last name, within this block you can edit them and your password.
- Shipping: here are stored your addresses, you can set up as many addresses as you want but only one can be a default one.
- Order: Here is stored the history of your purchases with detailed info about every item.
- Wishlist: This tab stores all the products that you've saved.
electronic_store
This is the index page of our electronics store. It has several customizable blocks, some of them being dynamic - meaning you can change displayed information from your admin panel.
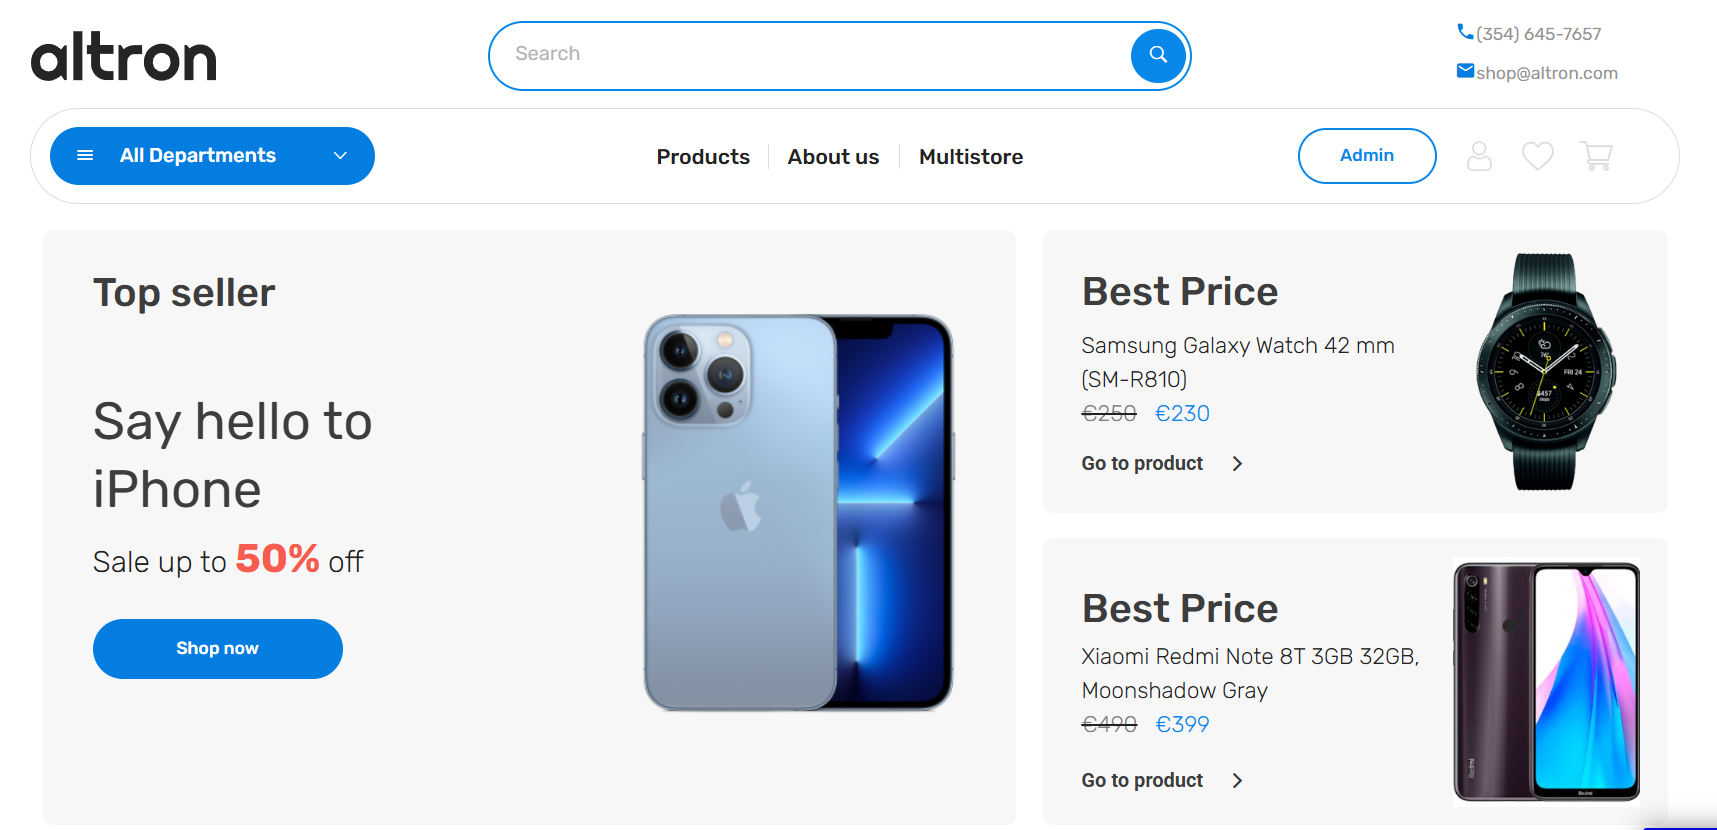
First is the hero section, with generic information. Below, four blocks are fully customizable, that can be rearranged as per project requirements, maintaining the ability to decide what to show within them from our admin panel.
Note: Please be advised that for the time being all those elements are fully responsive, and if you decide to modify them, make sure you set up responsiveness as well.
You then have two static banners that you can modify from the editor. Following that, there's the logo block, which can also be dynamically set up.
Last but not least - the footer, one of the pleasant parts about it is that the dynamic logo can be set up from the admin panel.
privacy
This is the page where users see the legal statement that specifies how the company manages the collected user data.
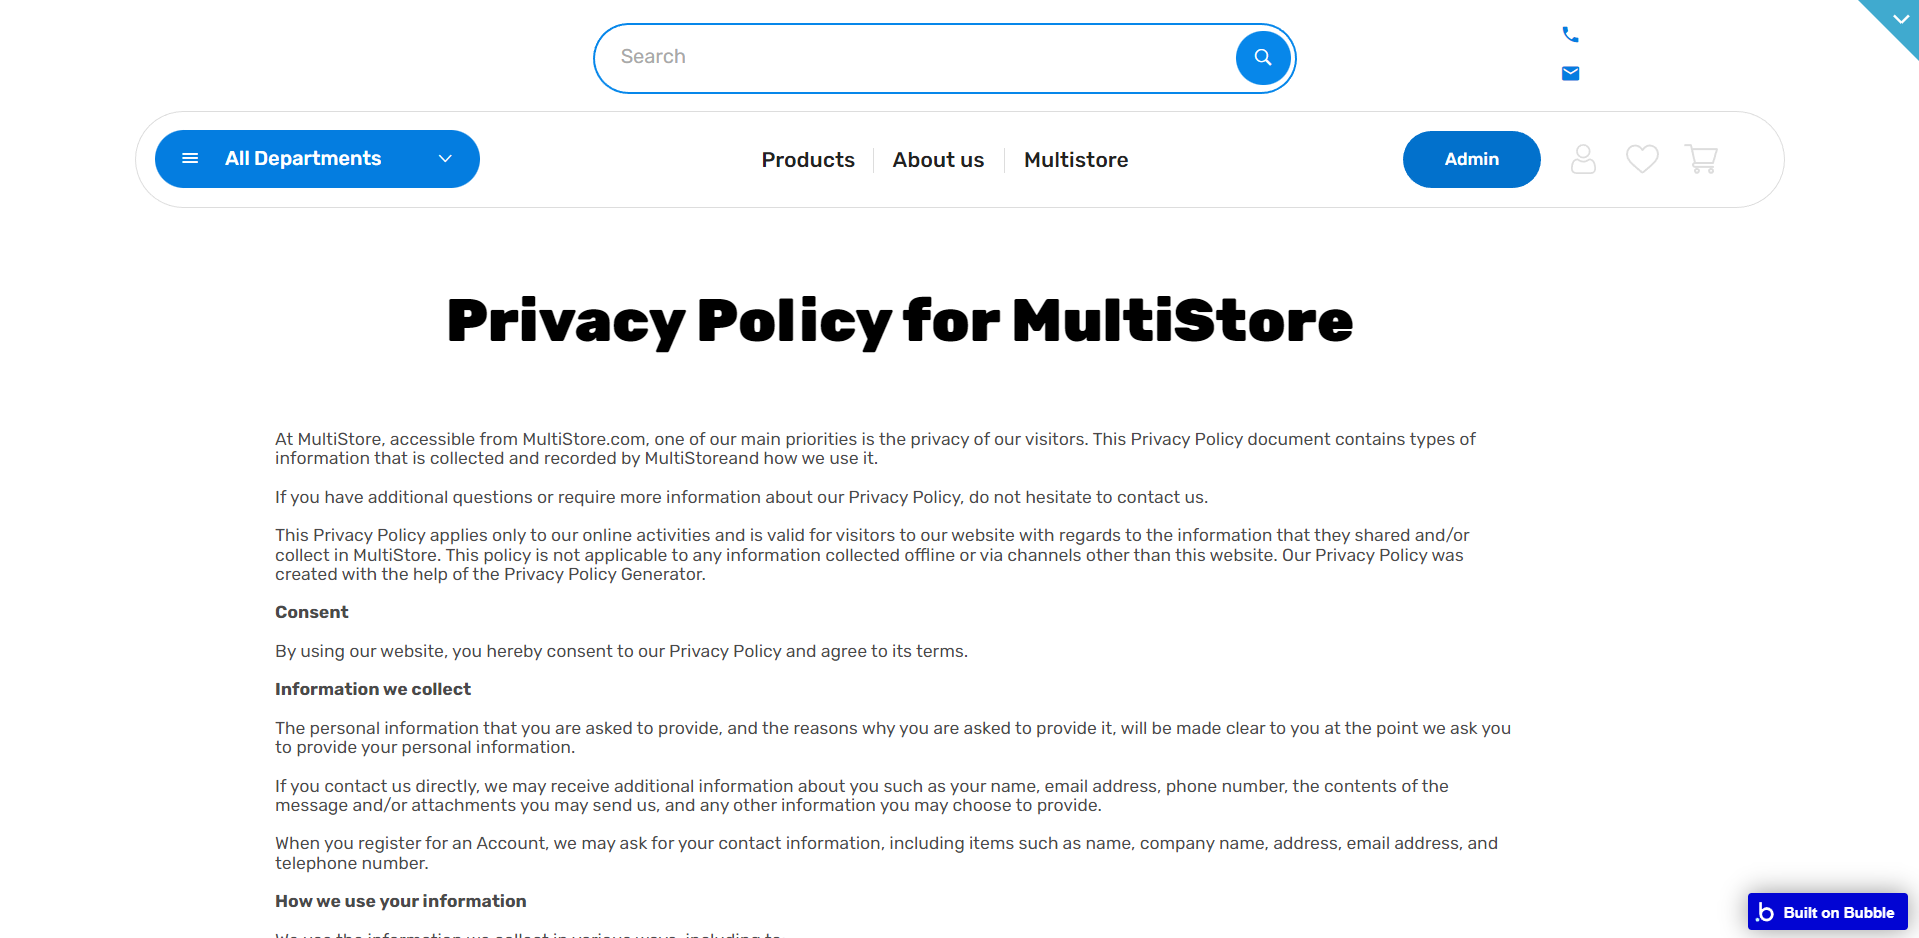
Tip: The text on this page is a placeholder and should be modified according to your own privacy policy.
Tip: Also, make sure you have Terms page in your app. This will help you go through App Store and Google Play approval procedures, in case you decide to convert your Bubble app into native iOS and Android apps. These links are also important for Facebook login.
termsofservice
This is the page where users see the agreement act between both sides: the company that has the web application and users who access the web application.
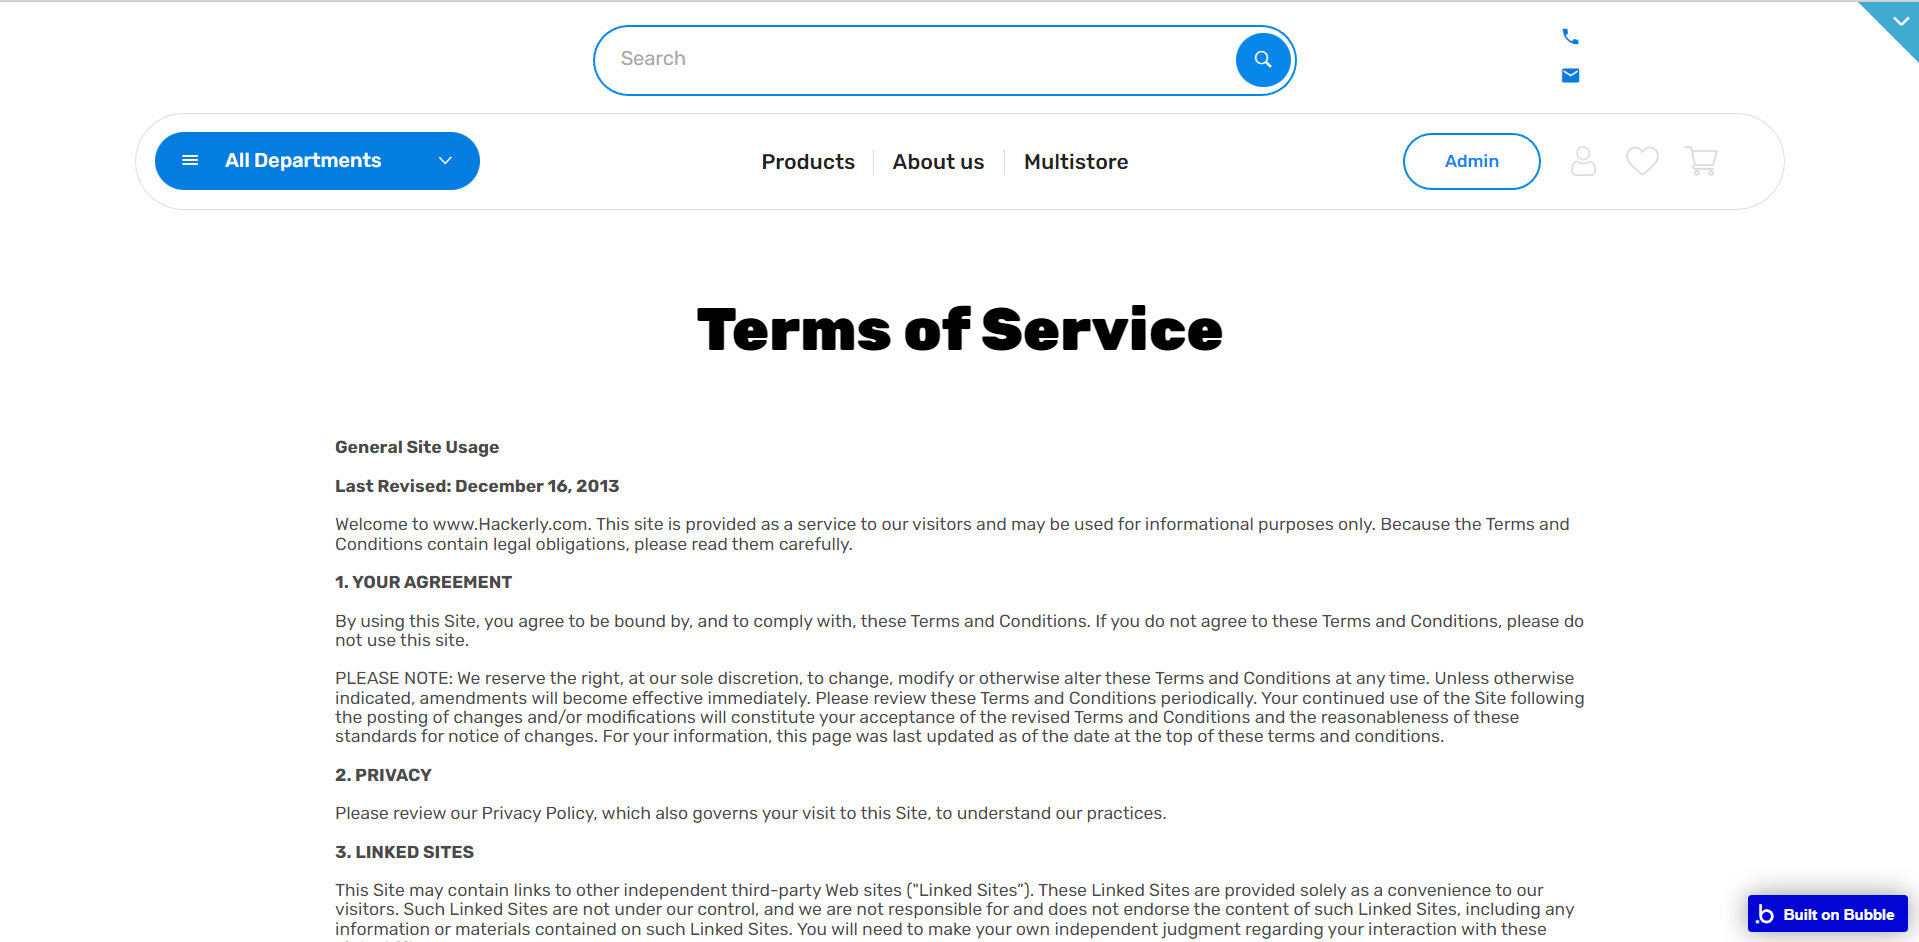
Tip: The text on this page is a placeholder and should be modified according to your own terms of service.
Tip: Also, make sure you have a Privacy page in your app. This will help you go through App Store and Google Play approval procedures, in case you decide to convert your Bubble app into native iOS and Android apps. These links are also important for Facebook login.
reset_pw
This page is for cases when user wants to reset his password.
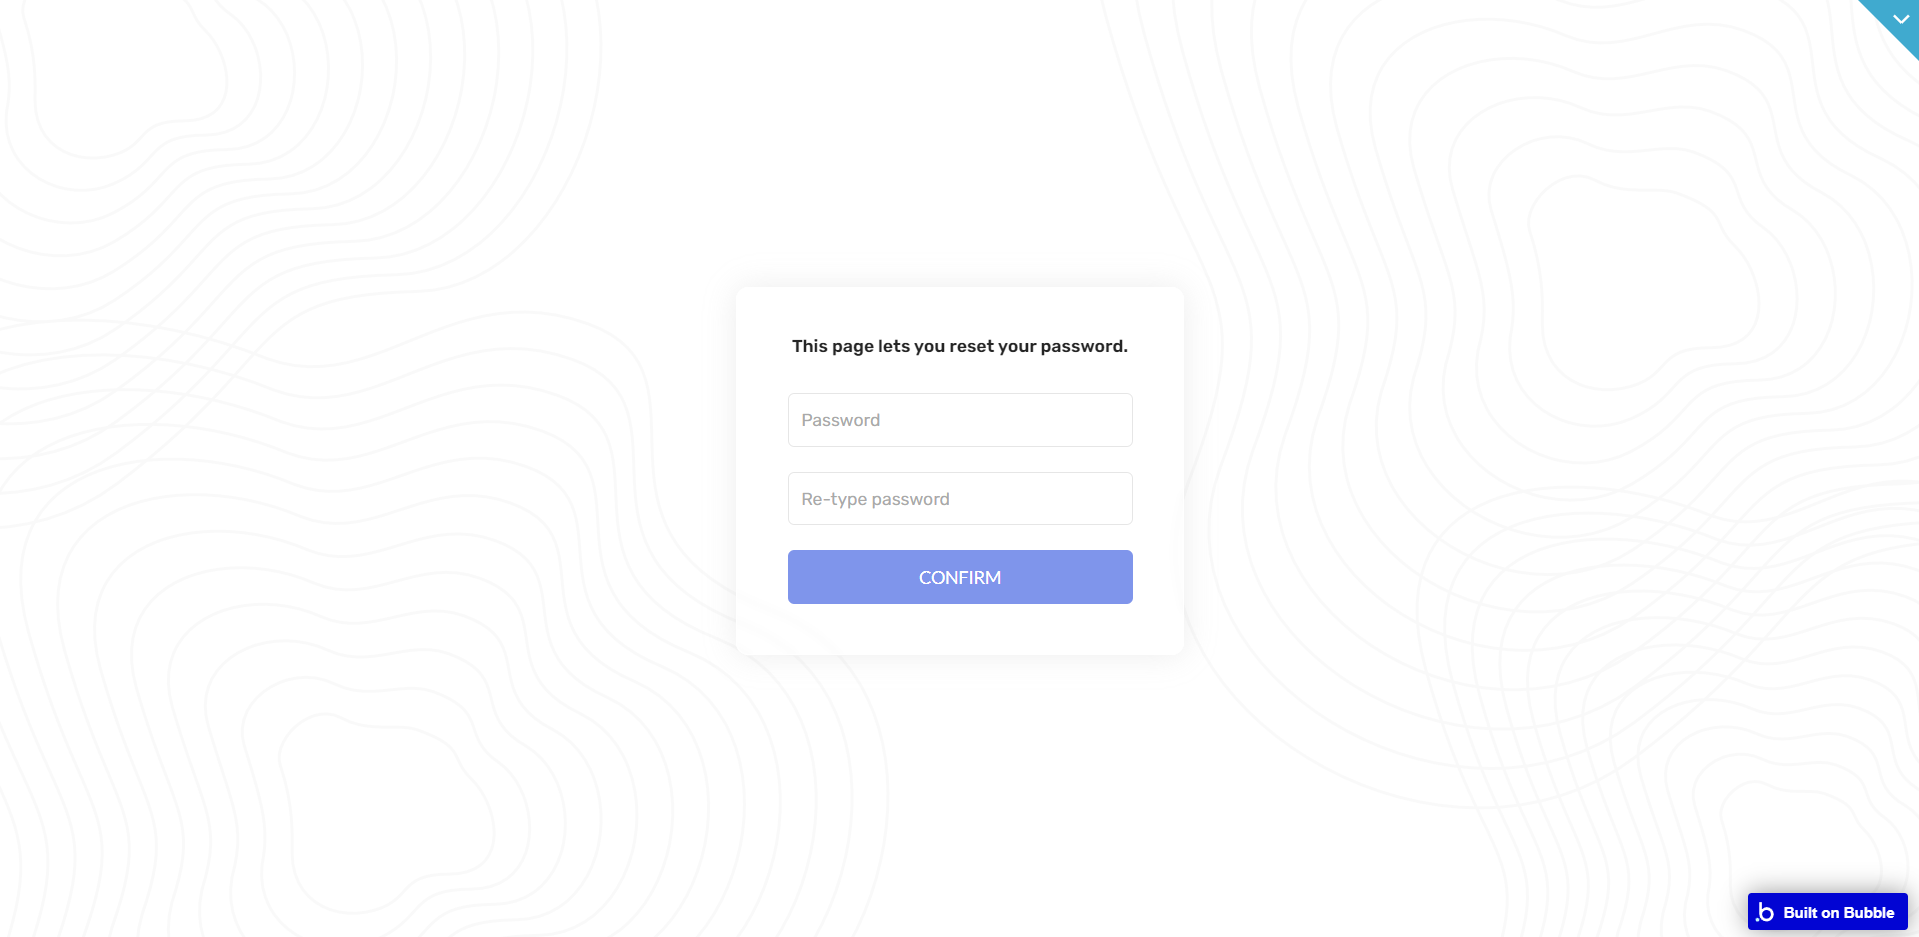
404
This page comes up whenever the user search couldn't be located on the server.
