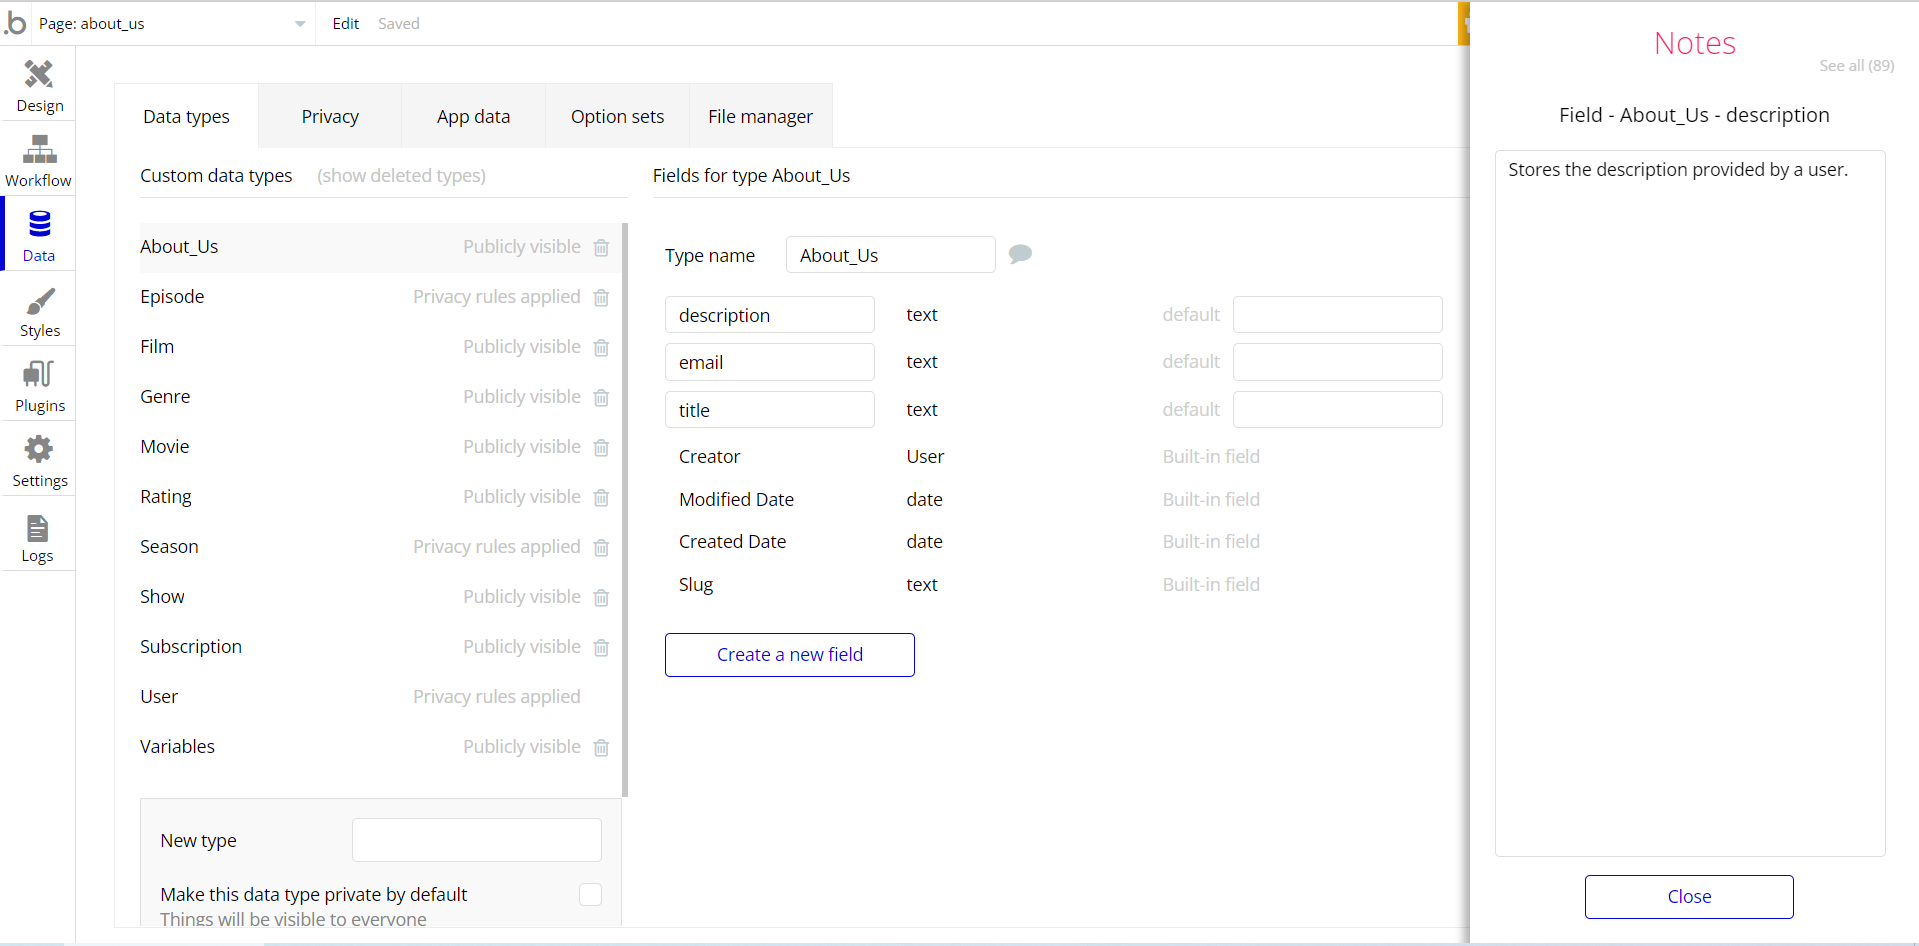
The guide states the things to note, like Admin Access, Custom Code, Notes, APIs, etc.
Admin Rights
For security purposes, this template has limited rights for potential customers. Meaning, you will not be able to use the admin features at its fullest until you purchase the template and enable admin rights.
To enable the admin rights, follow the instructions below.
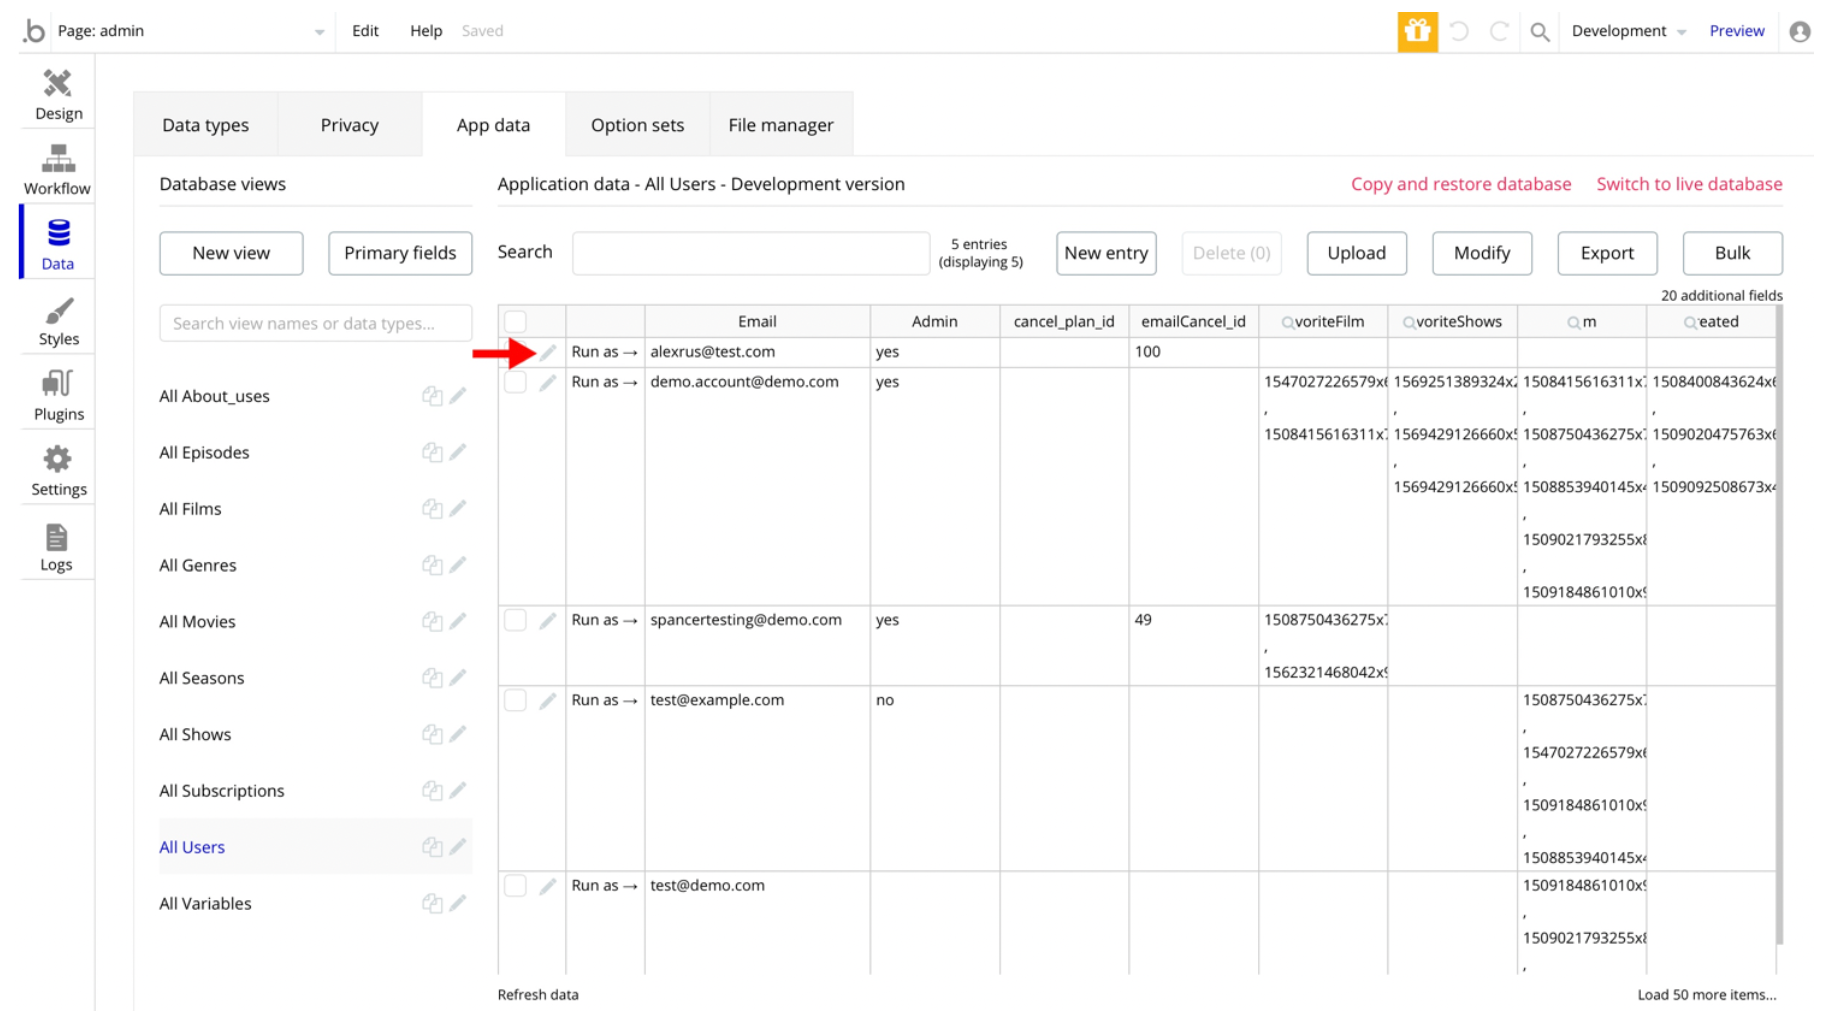
1. Go to Data -> App data -> All Users tab. Select any user you want to grant the admin rights to, and click to edit that database entry:
2. Set the
Admin field to yes: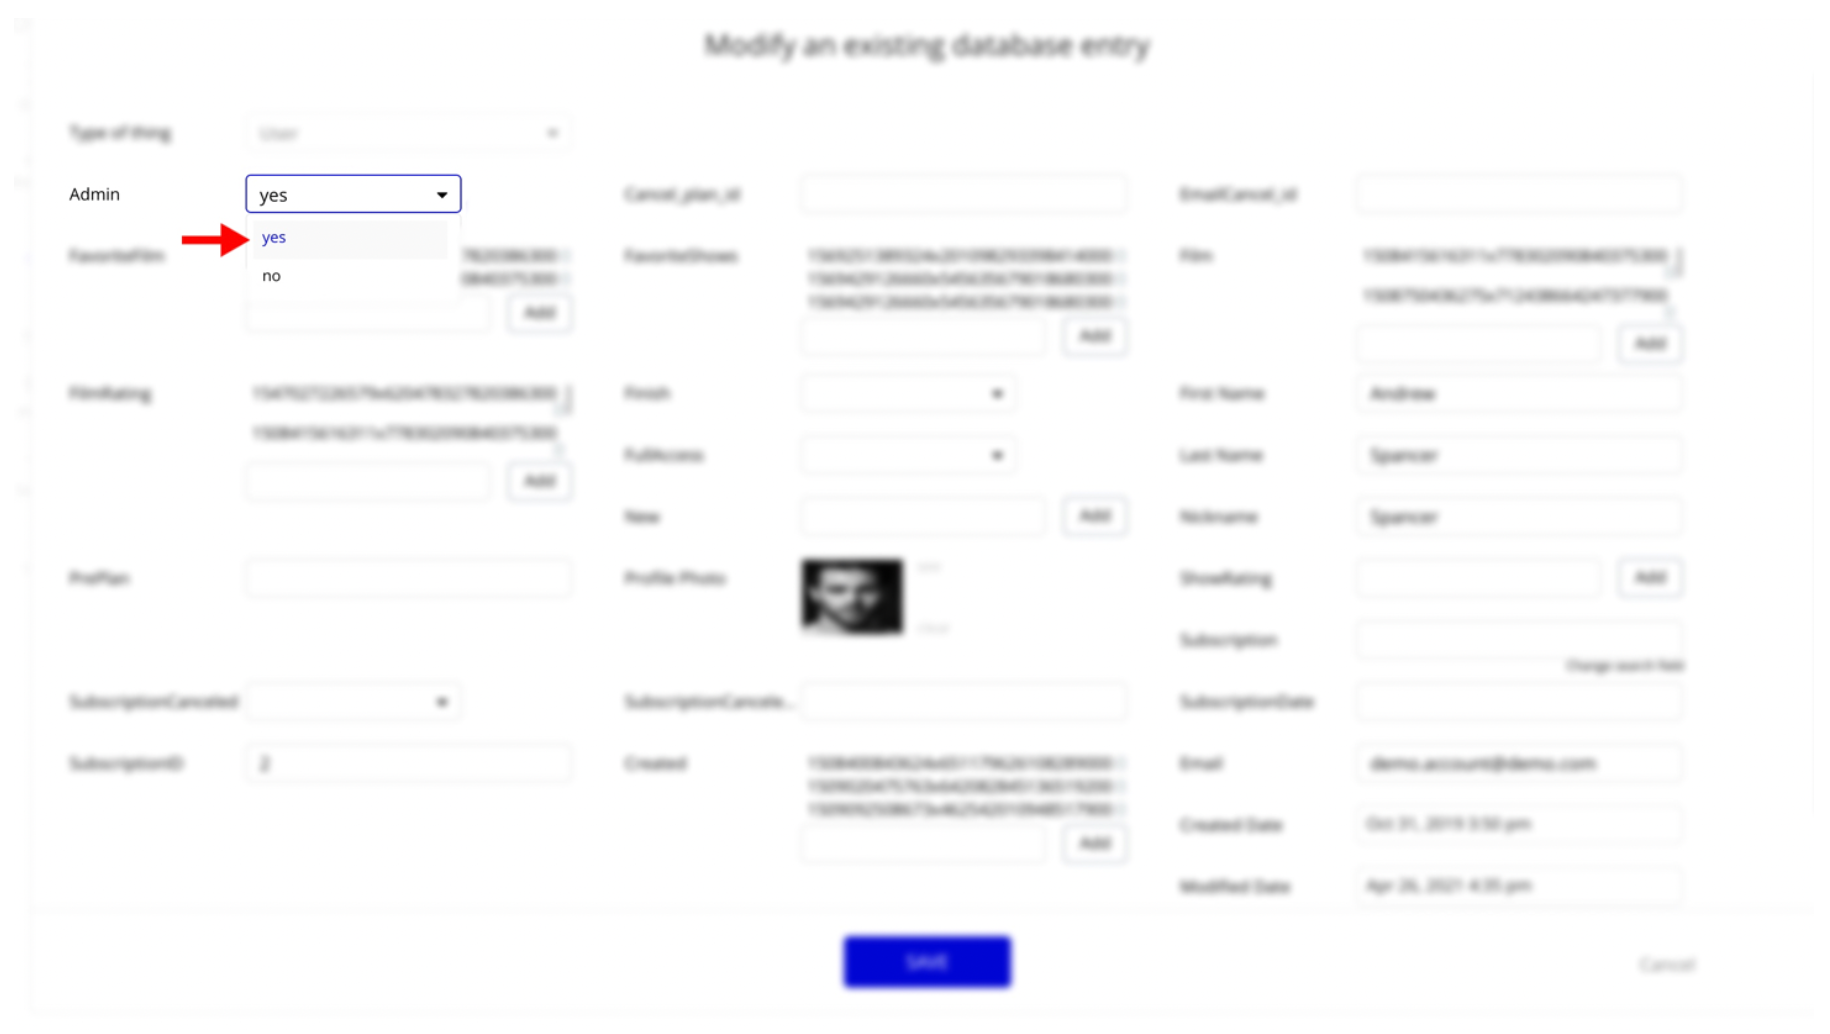
Note: Remember to hit the SAVE button.
Now, you will be to access the admin page and it will not redirect to the index page, because it is not passing this on page load condition:
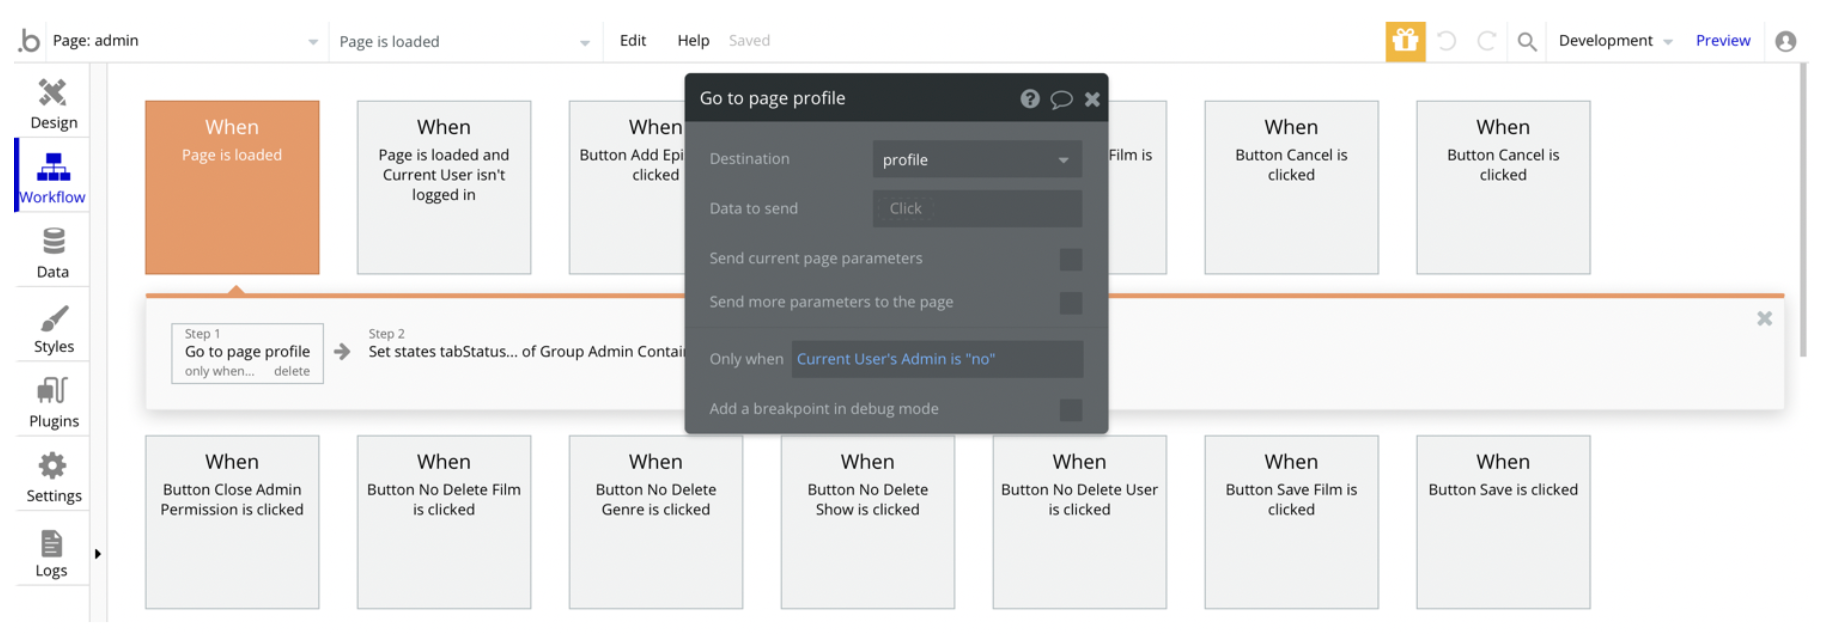
However, in order to use the admin panel features, it is required to set the template access.
1. Go to Data -> App data -> All Variables tab. Modify that single database entry, and set the
Buy field to yes:
Note: Remember to hit the SAVE button.
Now, you will be able to edit/delete data via admin panel because it is bypassing this condition for each edit/delete button, for example:

Congrats: You have successfully granted the admin rights. Now you can use all the admin page and its features as an admin user.
Custom Code
On certain pages, there are some HTML elements used for some solutions that are not available by default.
You can find these codes on the following pages:
admin page - HTML Scrol Bar - this element is used to change the scroll bar appearance (from default to dark one). 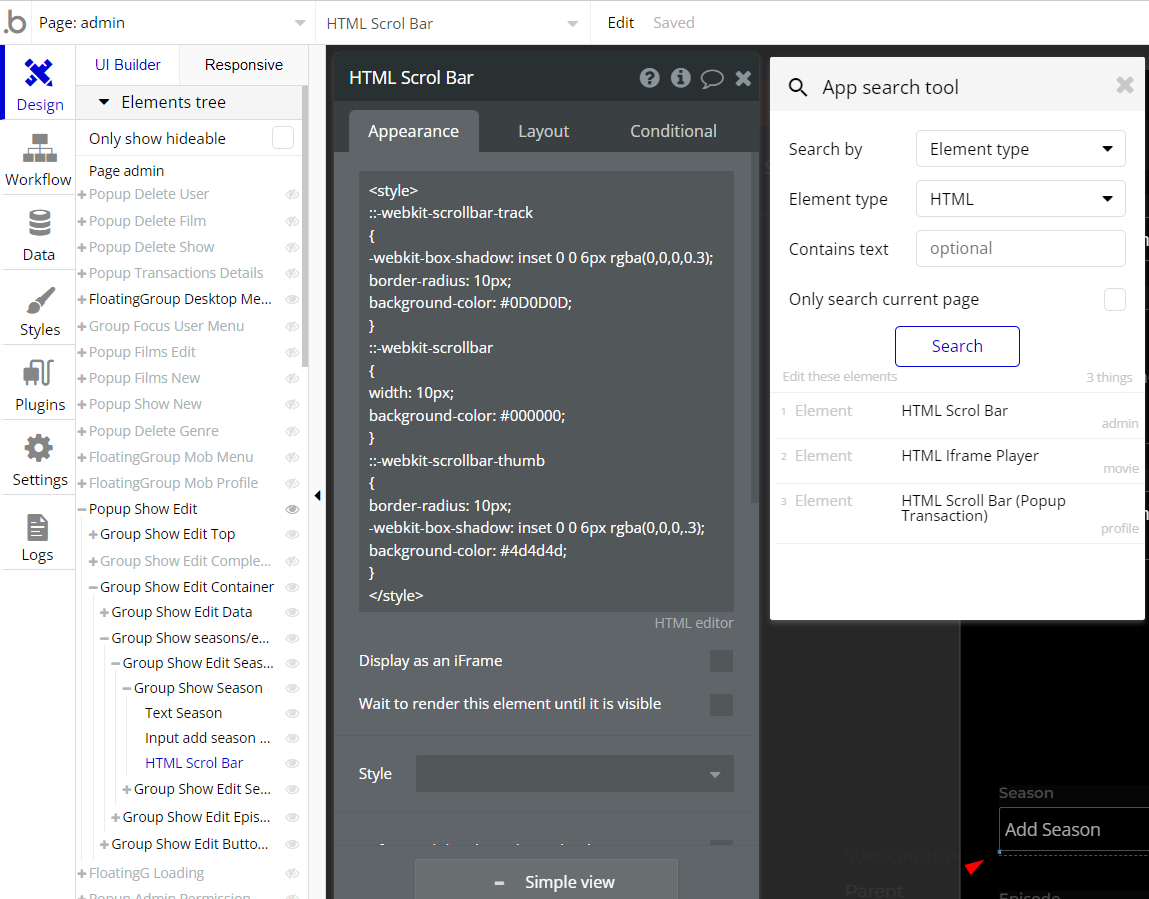
movie page - HTML iframe Player - this element is used to display a iframe window for a player from a video service platform. 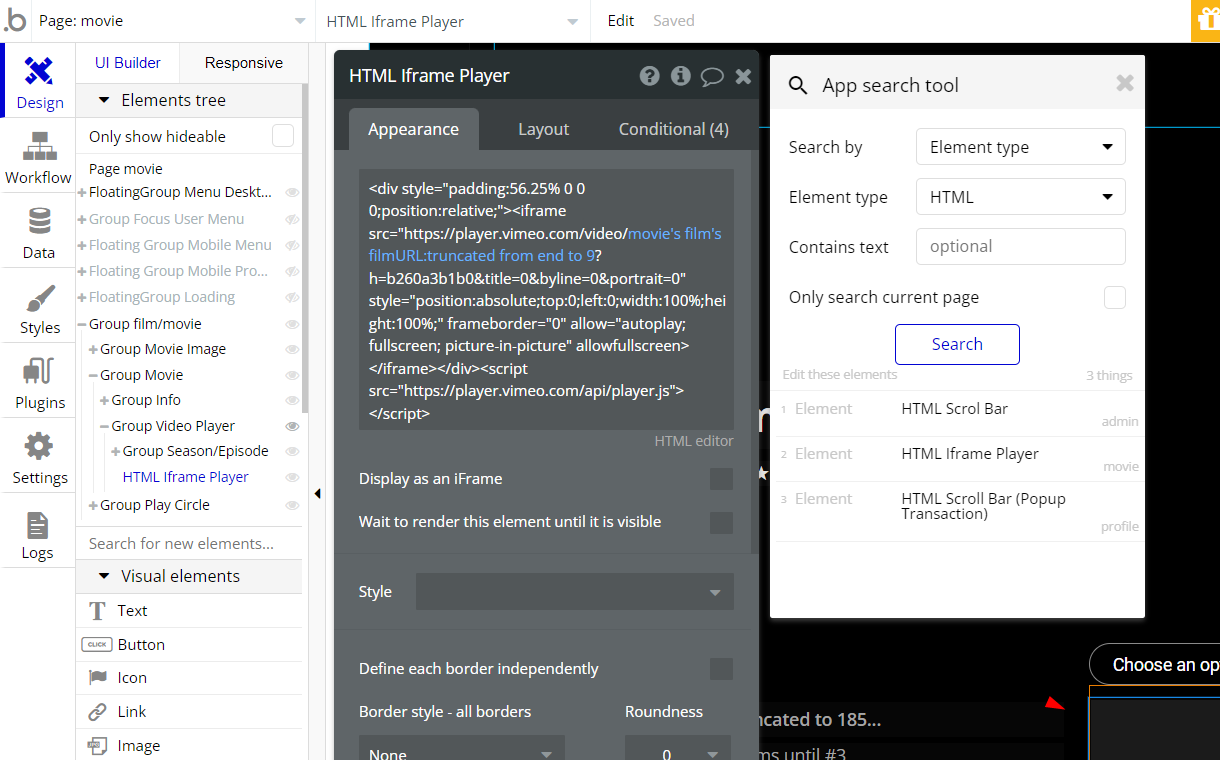
profile page - HTML Scroll Bar (Popup Transaction) - this element is used to change the scroll bar appearance (from default to dark one).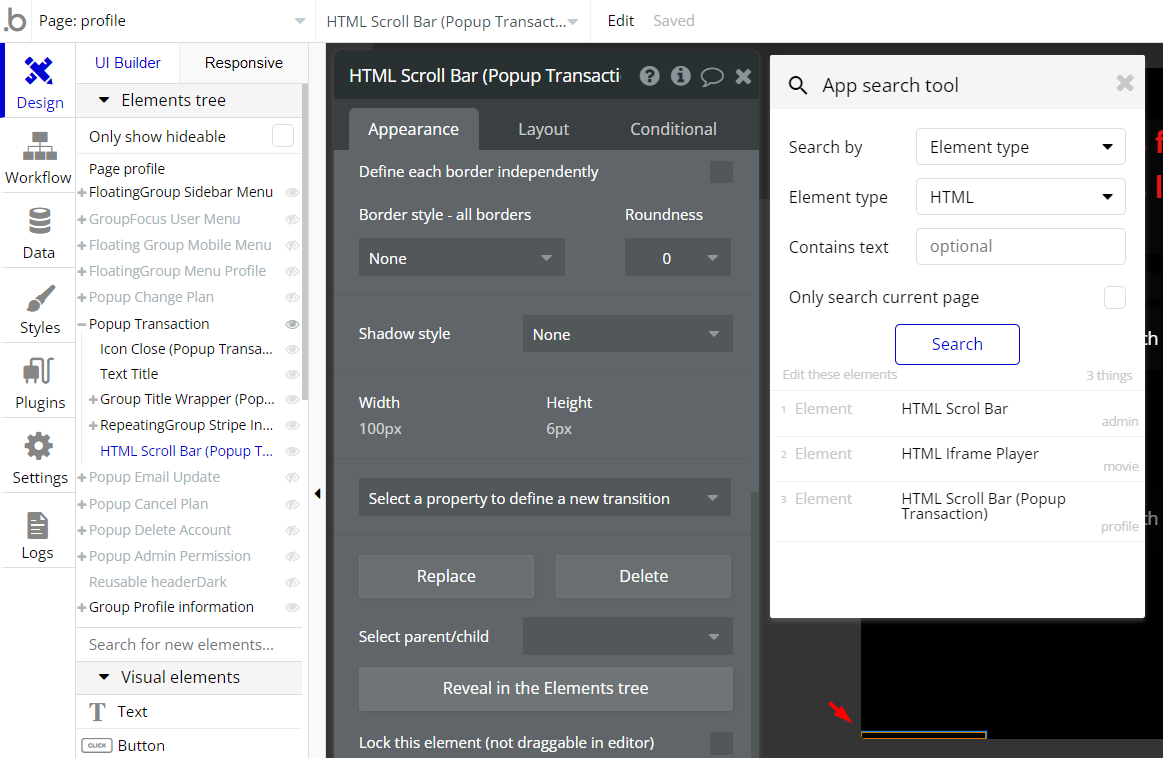
Note: Feel free to customize the styles, but please note that changing the code may break the described functionality. Strong CSS/Javascript and Bubble skills recommended.
❕For all things Bubble check: https://manual.bubble.io/.
❕For CSS/Javascript check: https://www.w3schools.com/.
API Webhooks
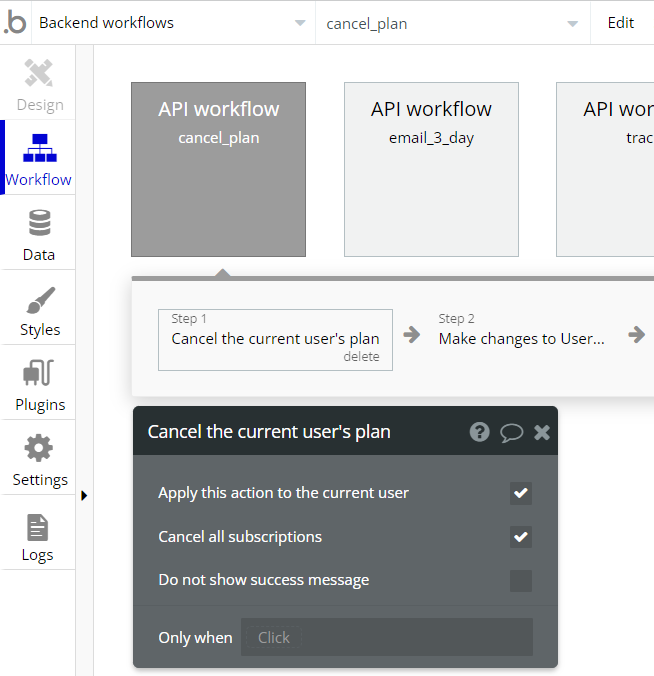
Flixly is using the Backend workflows, located in a separate tab of your Bubble editor:
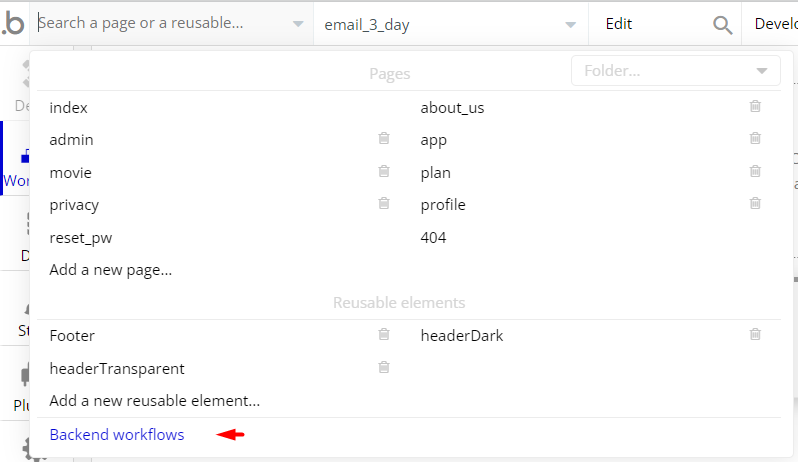
cancel_plan- this flow cancels the current user’s subscription plan.
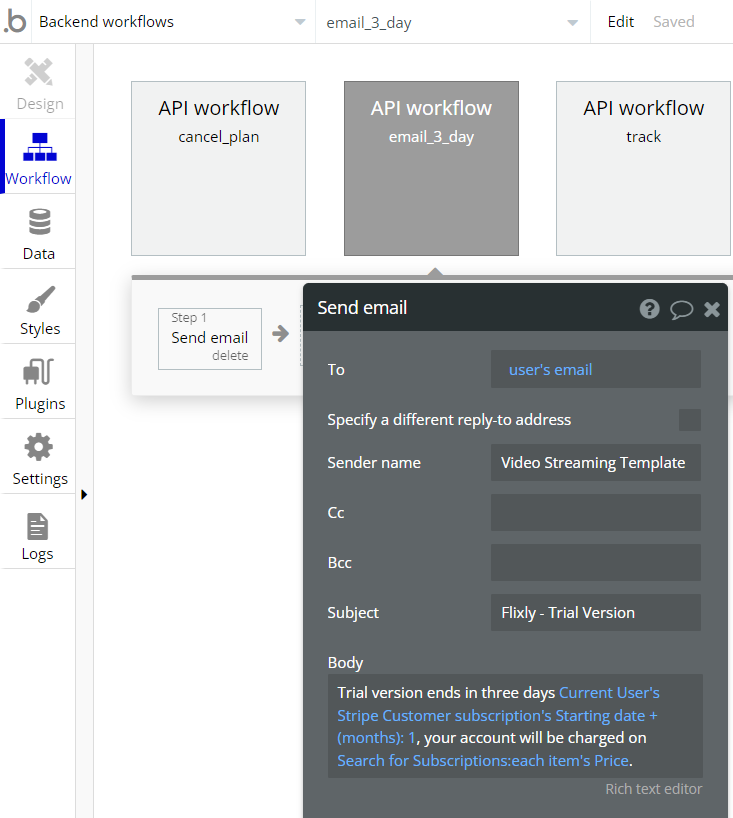
email_3_day- this flow sends a mail notification to the user, 3 days prior to the end of the trial period.
Hidden Design Elements
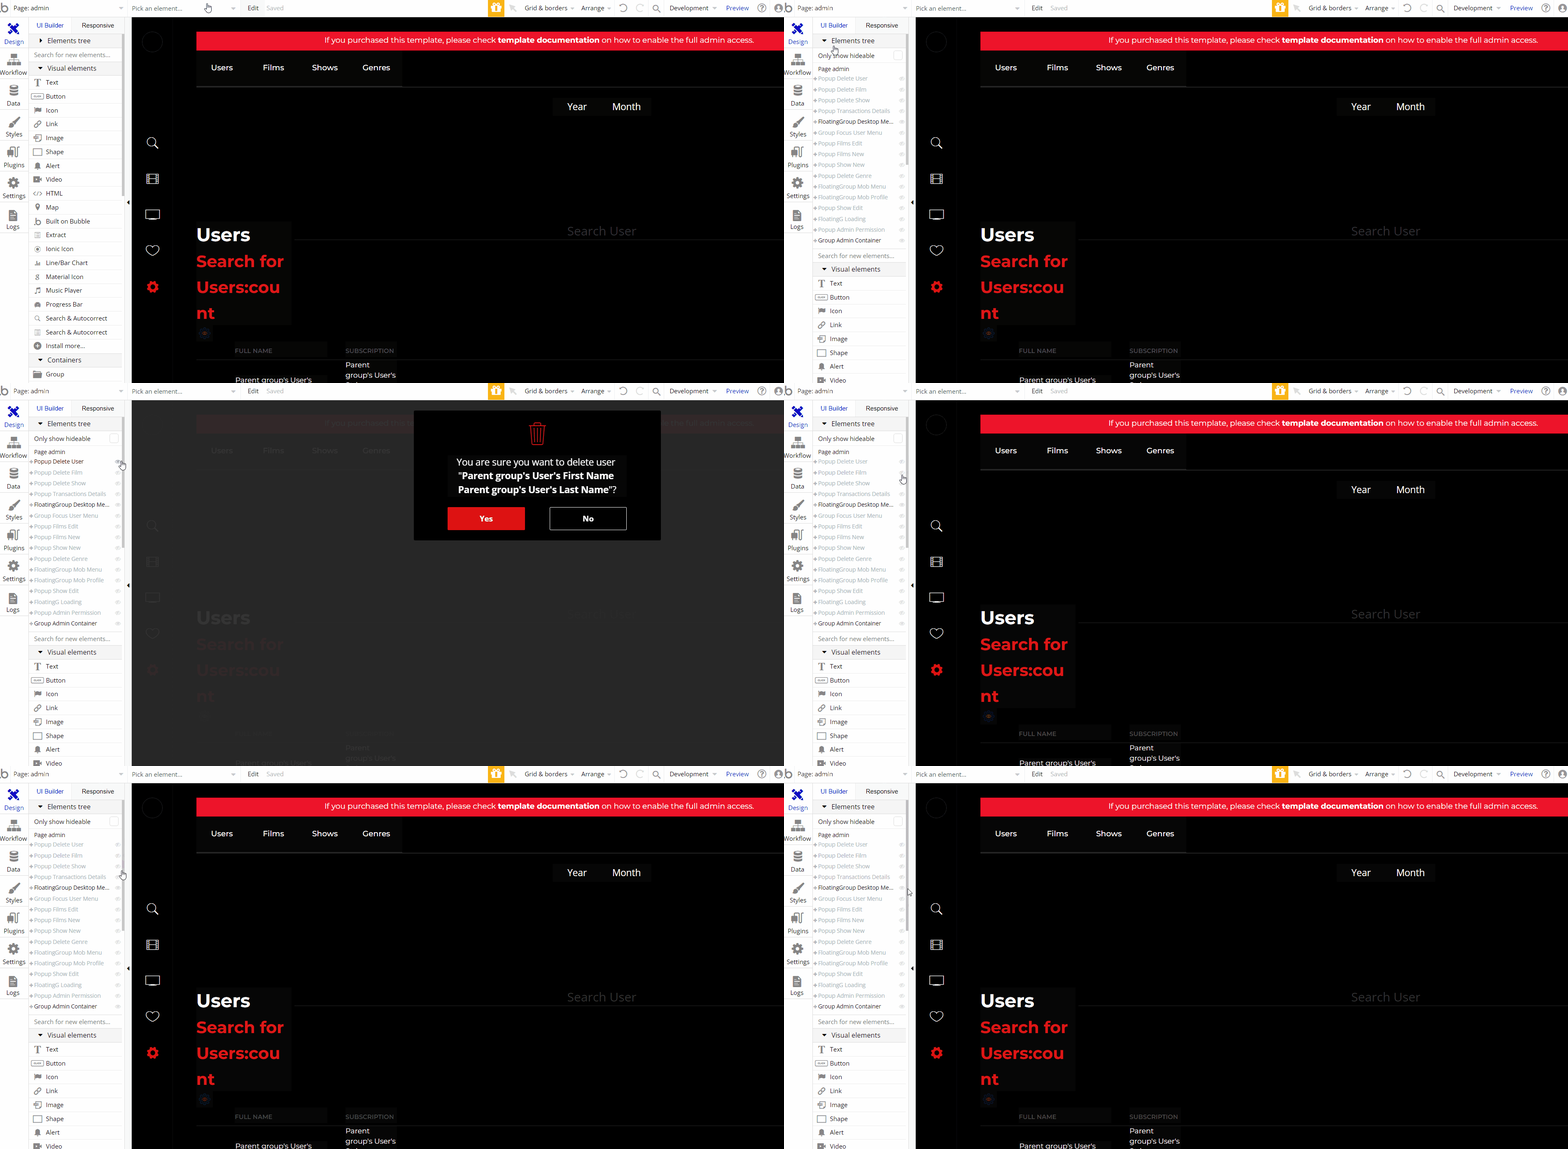
Tip: Initially, on some pages, design elements in Bubble Editor might be hidden.
Here is an example of how to unhide 👀 them:
Embedded Notes in Bubble Editor
This template comes with explicit Notes for Database fields, Option sets and their fields, and Privacy rules, which will guide you with the modification process.
In order to preview a Note of any data type or field, click on the 💬 icon.
